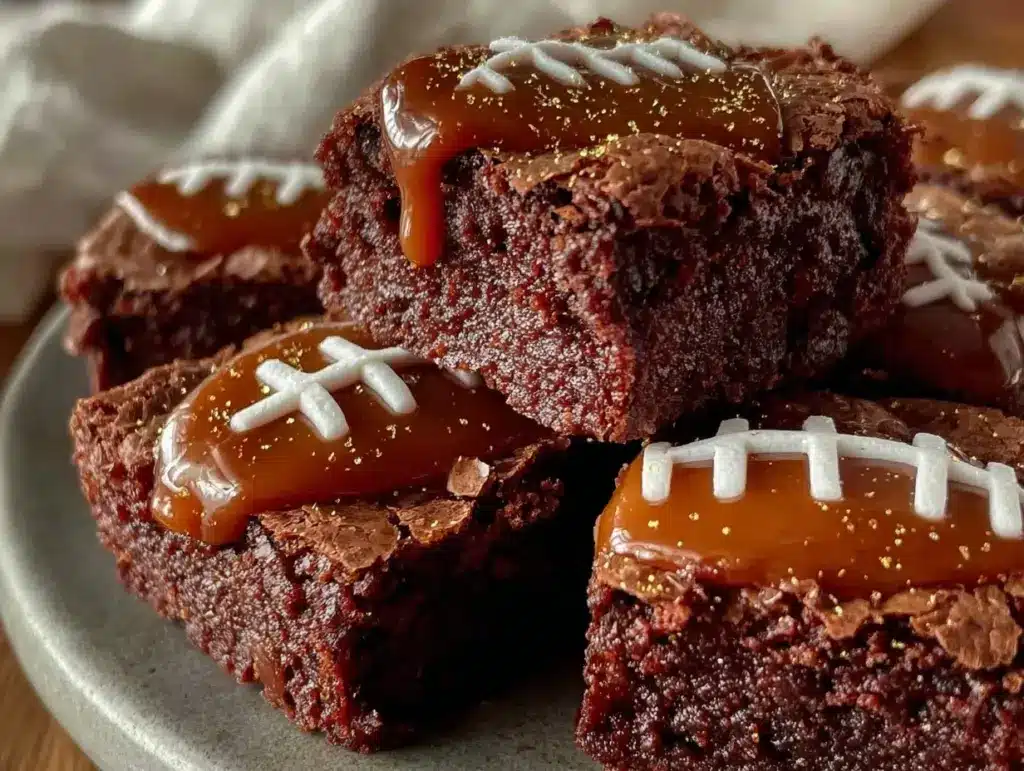
There is a specific kind of chaos that happens when you have thirty guests, two hours, and a living room full of people who only care about the scoreboard, not the snack table. I learned this lesson the hard way during a Super Bowl party last year. I had spent the morning making a massive, elaborate charcuterie board. I was so proud of it, too. The cheeses were arranged by color, the crackers were curated, the fig jam was artisanal. And you know what? Nobody touched it. They were too busy arguing about a penalty call and eating handfuls of chips straight from the bag.
That was the day I realized my football party snacks needed to be less “fancy” and more “grab-and-go.” I needed something sticky, sweet, chocolatey, and utterly impossible to eat politely. I needed Football Chocolate Peanut Butter Brownie Bites. These aren’t just brownies cut into squares. They are dense, fudgy, peanut-butter-swirled morsels that stick to your fingers in the best possible way. They are the culinary equivalent of a touchdown: satisfying, energetic, and universally loved.
I’ve made these bites for every game since then. From the playoffs to the big day itself, they’ve become my secret weapon. They’re better than any store-bought snack you can grab at the gas station, and honestly? They’re better than takeout dessert. Why pay $15 for a slice of something that might be dry when you can make a batch of these that tastes like pure indulgence for under $10? Plus, they’re small enough to eat with one hand while holding a beer or a remote. Let’s get into why these have taken over my game-day repertoire.
Why You’ll Love These Brownie Bites
I don’t say this lightly, but these Football Chocolate Peanut Butter Brownie Bites have completely solved my party hosting anxiety. Here is why they are the MVP of your snack table:
Stupidly Simple — Seriously, if you can melt chocolate and mix a bowl, you can make this. There is no creaming butter and sugar, no worrying about overmixing the gluten, no complex tempering. It’s a one-bowl wonder. I’ve made these while helping my nephew with his homework. It’s that easy.
No-Bake Option Available — Here’s the thing about football season: it often falls in late winter or early spring when the weather is still unpredictable, or in the summer when you don’t want to heat up your house. You can make these baked, sure. But the no-bake version? It’s even fudgier. I usually make a hybrid batch—some baked, some no-bake—because the texture difference is fun to compare.
Perfect Portion Control — When you’re feeding a crowd, big brownies get messy. People drop corners. They get sticky hands. These bites are bitty. You can pop one in your mouth in two bites. No crumbs flying everywhere. It’s the ultimate finger food for a messy game day.
The Flavor Combo is Legendary — Chocolate and peanut butter. It’s a classic for a reason. The saltiness of the peanut butter cuts through the sweetness of the chocolate, creating this addictive balance. I’ve tried adding pretzels for crunch, and it’s a game-changer, but the base is so good you might not even need the add-ins.
Make-Ahead Friendly — This is the big one. You can make these up to three days before the game. In fact, they taste better the next day because the flavors have had time to meld and the texture firms up. You can bake them on Sunday, store them in the fridge, and just pull them out when the guests arrive. Zero stress on game day.
This is my go-to when I need a dessert that feels homemade but requires zero effort during the actual event. No last-minute baking, no cleaning up a huge kitchen mess. Just a container of delicious, chocolatey goodness that disappears fast.
Ingredients You’ll Need
Here’s the best part: you probably have most of this already. I’m particular about three ingredients here, and I’ll tell you exactly why. This isn’t a complex ingredient list, but quality matters, especially when there are only a few components.
Dark Chocolate Chips (12 ounces / 340g) — I use semi-sweet or dark chocolate chips (60% cacao). Milk chocolate is too sweet and can get cloying when mixed with peanut butter. Dark chocolate gives that rich, fudgy base. I always keep Ghirardelli or Lindt on hand because they melt smoothly without seizing up.
Reactive Peanut Butter (1 cup / 250g) — This is non-negotiable. Do not use “natural” peanut butter where the oil separates. That version is too oily and will make your brownies greasy. Use standard creamy peanut butter like Jif or Skippy. The emulsifiers in these brands help the mixture bind together. If you must use natural, add a tablespoon of butter to help stabilize it, but standard is best.
Butter (½ cup / 115g) — Unsalted butter. This adds richness and helps bind the no-bake version. If you’re baking, you can sometimes skip it, but for the no-bake bites, it’s crucial for texture. Use real butter, not margarine. It makes a noticeable difference in flavor.
Sugar (1 cup / 200g) — Granulated white sugar. It provides that slight crunch in the no-bake version and sweetness in the baked version. You can use brown sugar for a chewier, molasses-like flavor, but white sugar keeps that classic brownie taste.
Vanilla Extract (1 teaspoon) — Pure vanilla. Not imitation. It rounds out the chocolate and peanut butter flavors. I keep a bottle of Nielsen-Massey in my pantry because it lasts forever and tastes clean.
Salt (½ teaspoon) — Flaky sea salt for topping. This is the secret weapon. The salt crystals on top of the chocolate bites cut through the sweetness and make the peanut butter pop. Do not skip this step. It’s what makes them taste “bakery quality.”
Optional Mix-Ins — Mini pretzel twists (for crunch), chopped peanuts (for extra nutty flavor), or a drizzle of white chocolate (for decoration). I love adding pretzels because it adds a salty crunch that contrasts with the soft brownie.
Equipment Needed
You don’t need fancy equipment for this. Here’s what I actually use.
Microwave-Safe Bowl — For melting the chocolate and butter. I use a large glass bowl. Ceramic works too, but glass lets you see if there are still unmelted chunks. If you’re baking, you’ll need a mixing bowl.
Spatula — A silicone spatula is essential for scraping the bowl clean. You want every bit of chocolate in there. I have a cheap one from Target that works perfectly.
9×9 Inch Baking Pan — Or an 8×8 if you want thicker bites. Line it with parchment paper. This is crucial for easy removal. I usually leave a “handle” on the parchment so I can lift the whole block out.
Mini Muffin Tin — Optional, but great for shaping the bites if you’re doing the no-bake version. It gives them a uniform, professional look.
Piping Bag or Ziploc Bag — For drizzling chocolate or peanut butter on top. If you don’t have a piping bag, just snip the corner off a Ziploc bag. It works just as well.
Knife — A sharp chef’s knife for cutting the baked brownies into squares. For the no-bake version, you can just scoop them with a small cookie scoop.
How to Make It: Step-by-Step
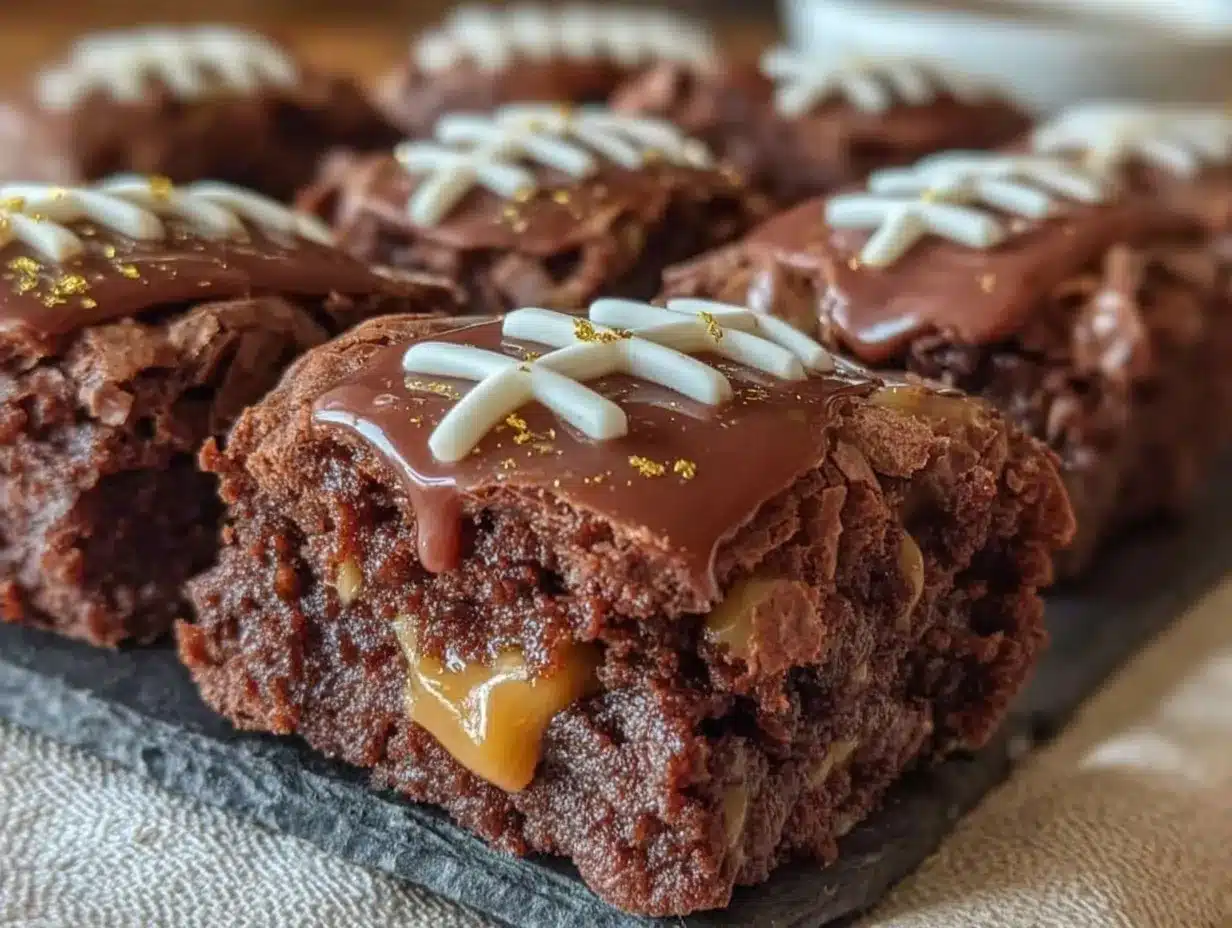
Alright, let’s make this! I’m walking you through exactly how I do it, including the little tricks I’ve picked up. I’ll show you both the baked and no-bake methods, so you can choose based on your mood (or your oven’s availability).
Method 1: The No-Bake Version (Fastest)
Step 1: Melt the Base
In a microwave-safe bowl, combine the chocolate chips and butter. Microwave in 30-second intervals, stirring between each, until smooth. This takes about 1-2 minutes total. Do not overheat it, or the chocolate will seize. You want it glossy and smooth. If it looks grainy, it’s too hot. Let it sit for a minute to cool slightly.
Step 2: Mix in the Peanut Butter
Stir in the peanut butter, sugar, and vanilla extract. Mix vigorously. The mixture will look thick and slightly stiff at first. Keep stirring until it’s completely combined and smooth. It should look like a thick, glossy paste. If it’s too dry, add a teaspoon of milk. If it’s too wet, add a bit more powdered sugar (if you have it) or just chill it longer.
Step 3: Shape the Bites
Using a small cookie scoop or a tablespoon, drop balls of the mixture onto a parchment-lined baking sheet. If you have a mini muffin tin, press the mixture into the cups for uniform shapes. Flatten them slightly with the back of a spoon. They don’t need to be perfect; rustic is fine.
Step 4: Chill and Set
Place the tray in the refrigerator for at least 30 minutes, or the freezer for 15 minutes. You want them firm to the touch. Once firm, sprinkle with flaky sea salt. If you’re drizzling with extra chocolate or peanut butter, do it now while they’re cold so the drizzle sets quickly.
Step 5: Store
Transfer to an airtight container. They will keep in the fridge for up to a week.
Method 2: The Baked Version (Fudgier)
Step 1: Prep the Oven and Pan
Preheat your oven to 350°F (175°C). Line a 9×9 inch baking pan with parchment paper, leaving an overhang on the sides for easy removal. This is non-negotiable. You will thank me later.
Step 2: Melt and Mix
Melt the chocolate and butter as described above. Let it cool for 5 minutes. Stir in the peanut butter, sugar, and vanilla. The mixture will be thick. If you want a denser brownie, you can add a quarter cup of flour here, but I prefer the pure chocolate-peanut butter punch without flour.
Step 3: Spread and Bake
Spread the mixture evenly into the prepared pan. It will be thick, so use a spatula dipped in warm water to smooth it out. Bake for 12-15 minutes. You want the edges to be set but the center to still look slightly soft. Do not overbake, or they will be dry.
Step 4: Cool and Cut
Let the brownies cool completely in the pan on a wire rack. This is crucial. If you cut them warm, they will crumble. Once cool, lift the block out using the parchment handles. Cut into 1-inch squares. Sprinkle with flaky sea salt immediately after cutting so it sticks.
Expert Tips & Tricks
Here’s everything I’ve learned from making these dozens of times. These tips will save you from my mistakes.
Chill Your Tools — If you’re doing the no-bake version and the mixture is too soft to scoop, put your scoop in the freezer for 5 minutes. It helps the mixture hold its shape. I learned this when my kitchen was too warm and my bites were a mess.
Salt is Key — I cannot stress this enough. The flaky sea salt on top isn’t just for looks. It balances the sweetness. If you skip it, they taste like candy. With salt, they taste like a gourmet treat. Use Maldon sea salt if you have it.
Don’t Skip the Parchment — For the baked version, if you don’t line the pan, you will be scraping brownie bits out of the corners for days. Parchment paper makes cleanup instant and removal easy.
Customize the Drizzle — For the visual appeal, melt a little extra chocolate and peanut butter separately. Drizzle them in zig-zags over the set bites. It looks professional and adds extra flavor. I use a Ziploc bag with the corner snipped off for this. It’s easier than a piping bag.
Storage is Simple — These keep well in the fridge for up to a week. In the freezer, they last for a month. I usually make a double batch and freeze half for later game days or just because I want a snack.
Variations & Substitutions
Once you’ve nailed the basic version, here’s how you can mix it up. I’ve tried all of these.
Gluten-Free — This recipe is naturally gluten-free if you use certified gluten-free chocolate chips and peanut butter. Check your labels, as some brands process in facilities with wheat. I use Ghirardelli, which is generally safe.
Reduced Sugar — You can reduce the sugar by half, but the texture will change. The no-bake version might be softer. For the baked version, it will be less chewy. I recommend using a sugar substitute like Erythritol if you’re watching sugar, but know that it doesn’t caramelize the same way.
Almond Butter Swap — Swap the peanut butter for almond butter. It’s slightly more expensive but has a more sophisticated flavor. It works exactly the same way.
Pretzel Crunch — Fold in ½ cup of crushed mini pretzels into the mixture before shaping or spreading. The salty crunch is addictive. This is my personal favorite variation.
White Chocolate Swirl — Melt white chocolate and swirl it into the peanut butter mixture before setting. It creates a beautiful marble effect and adds a different sweetness.
Serving & Storage
How to Serve
I usually serve these on a platter with a few napkins. They are sticky, so napkins are essential. I also like to serve them with a cold glass of milk or a cup of coffee. The Football Chocolate Peanut Butter Brownie Bites pair well with almost any drink, but I find they taste best with something cold and sweet.
Storage Instructions
Refrigerator: Store in an airtight container with parchment paper between layers. They will last up to a week. The cold temperature keeps the no-bake bites firm and the baked ones fudgy.
Freezer: Place the bites on a baking sheet and freeze until solid. Then transfer to a freezer bag. They will last for up to 3 months. Thaw in the fridge for an hour before eating. They taste almost as good as fresh.
Room Temperature: If you’re serving them immediately, they can sit out for up to 4 hours. After that, they might get too soft, especially in a warm house.
Pro Tip: If you’re making these ahead for a party, freeze them. Then take them out 30 minutes before serving. They’ll be perfectly firm but not rock hard.
Nutrition Information
I’m not a nutritionist, but here’s the breakdown if you’re tracking. Keep in mind that these are rich, indulgent bites, so portions matter.
Per Bite (based on 24 bites):
- Calories: 180
- Protein: 4g
- Carbs: 18g
- Fiber: 1g
- Sugar: 14g
- Fat: 12g
- Saturated Fat: 6g
- Sodium: 90mg
What’s Good:
- Good source of healthy fats from peanut butter
- Protein boost from nuts
- Antioxidants from dark chocolate
What to Know:
- High in sugar and calories due to chocolate and sugar content
- Contains dairy (butter) and nuts (peanut butter)
- Not suitable for vegans or those with nut allergies
My Take:
Look, these are a treat. They’re meant to be enjoyed, not counted as a health food. But they are better than a candy bar, and you know exactly what’s in them. When I make these, I enjoy one or two and feel satisfied. They’re rich, so you don’t need a mountain of them.
Final Thoughts
So that’s my go-to Football Chocolate Peanut Butter Brownie Bites! I’ve probably talked your ear off at this point, but when you make a recipe this often, you have a lot to say about it. These bites have saved my game-day dessert game more times than I can count. They’re my answer to “what’s for dessert” when I’m tired, don’t want to bake a huge cake, and still want something that tastes really good.
My kids are happy, my husband’s happy, and I’m happy because I’m not stressed about cooking. Make it yours! Try different mix-ins, swap in your favorite chocolate, or adjust the salt. The best recipes are the ones you adapt to your family’s tastes.
If you make this, drop a comment and let me know what you think! I love hearing how recipes turn out in your kitchen. And if something doesn’t work, tell me that too—I’m here to help troubleshoot. Happy cooking! And I hope your kitchen smells half as good as mine does right now.
Frequently Asked Questions
Can I use natural peanut butter?
You can, but it’s tricky. Natural peanut butter separates, and the oil can make the brownies greasy. If you must use it, stir the oil back in thoroughly before measuring, and add a tablespoon of butter to help bind the mixture. Standard creamy peanut butter is still the best choice for texture.
Why did my no-bake bites fall apart?
This usually means the chocolate and butter weren’t melted enough, or the mixture wasn’t chilled long enough. Make sure the chocolate is completely smooth before adding the peanut butter. If the mixture is still soft after chilling, add a bit more powdered sugar or refrigerate for another 30 minutes.
Can I bake these instead of making them no-bake?
Absolutely! The baked version is fudgier and holds together better if you’re transporting them. Just follow the baked instructions above. The no-bake version is easier, but the baked version has a more “brownie” texture.
How do I store these for a party?
I recommend making them 2-3 days ahead. Store them in an airtight container in the fridge. Take them out 30 minutes before serving so they soften slightly. This gives you plenty of time to prep without stress.
Can I make these gluten-free?
Yes! Just ensure your chocolate chips and peanut butter are certified gluten-free. Most brands are, but always check the label. The recipe itself has no flour, so it’s naturally GF if your ingredients are.
What’s the best way to cut the baked brownies?
Use a sharp knife and wipe it clean between cuts. For even squares, measure the pan first. If the brownies are too soft to cut cleanly, pop them in the freezer for 10 minutes before cutting. Cold brownies cut much cleaner.
Pin This Recipe!
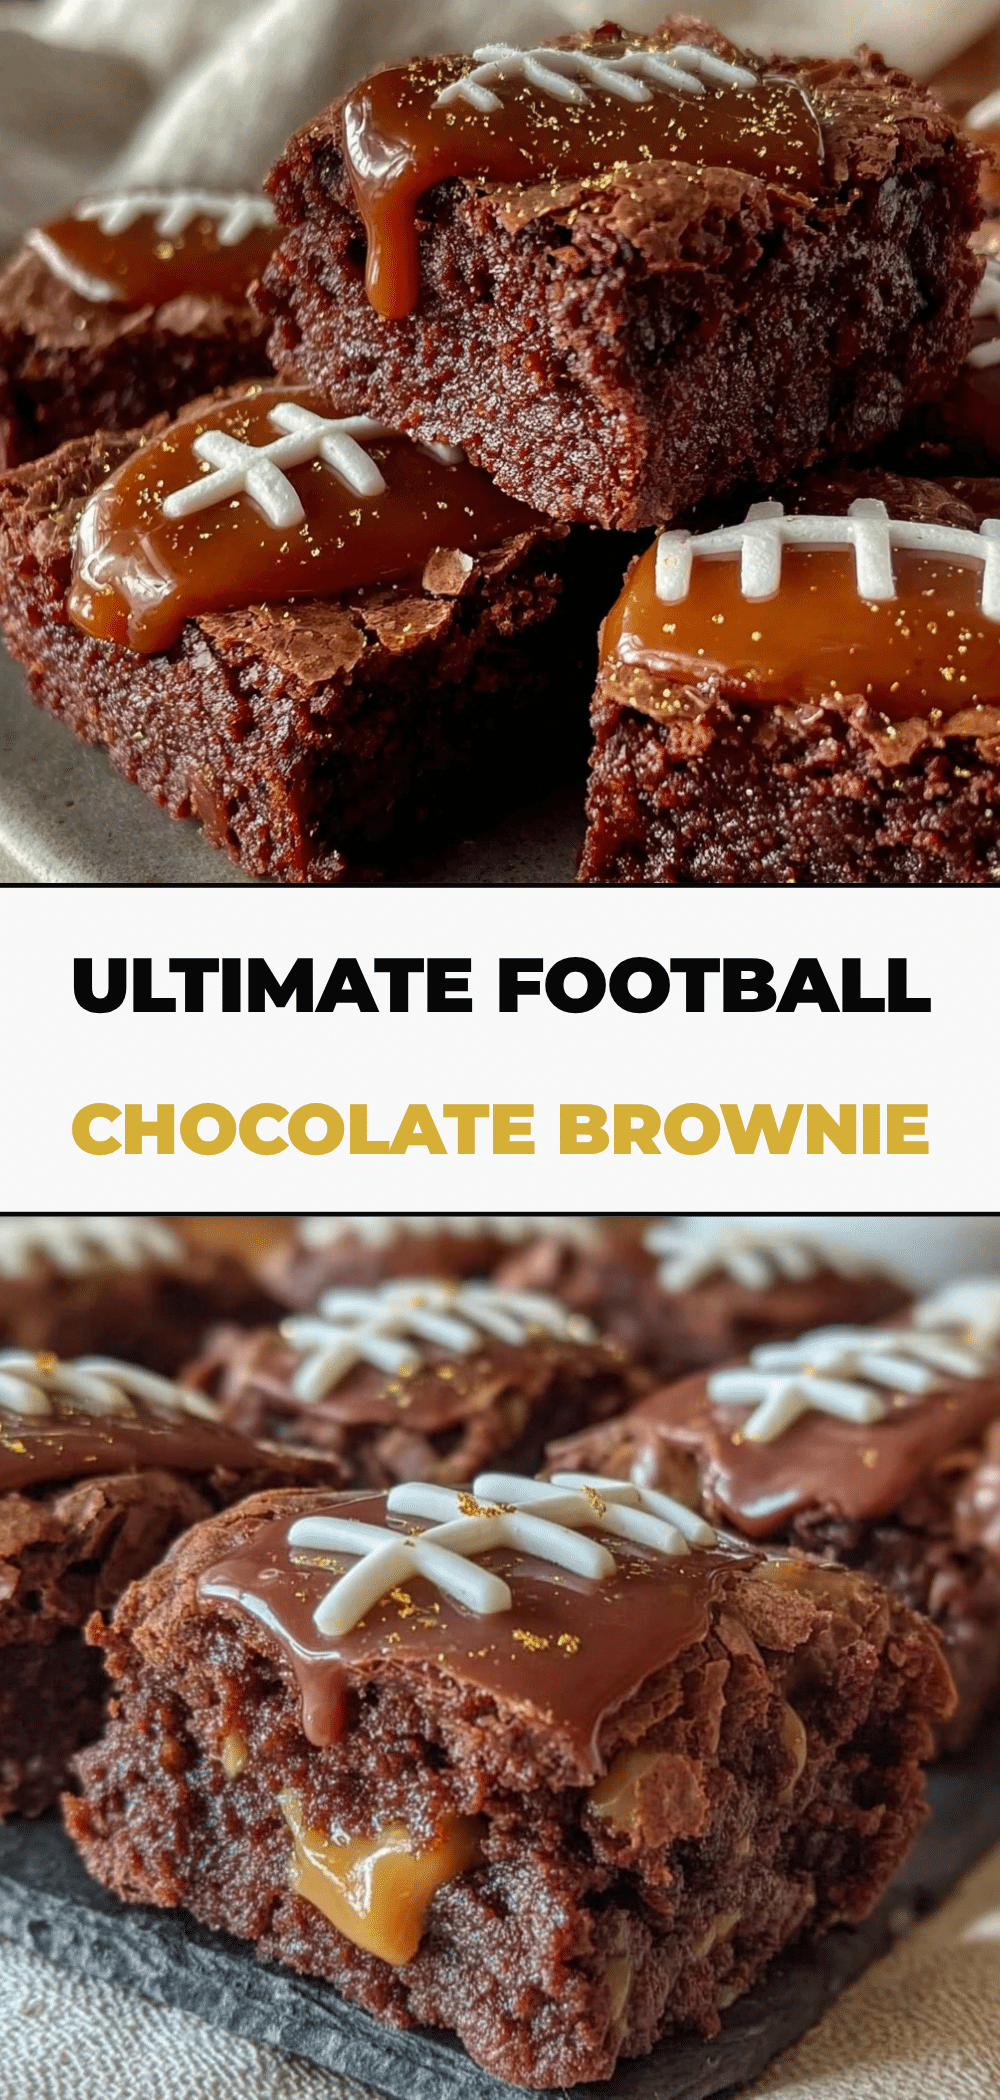
Football Chocolate Peanut Butter Brownie Bites
- Total Time: 30 minutes
- Yield: 24 servings 1x
Description
Dense, fudgy, peanut-butter-swirled brownie bites that are perfect for game day. These grab-and-go treats can be made baked or no-bake, offering a sticky, sweet, and universally loved snack.
Ingredients
- 12 ounces (340g) semi-sweet or dark chocolate chips
- 1 cup (250g) creamy peanut butter (standard brand like Jif or Skippy)
- ½ cup (115g) unsalted butter
- 1 cup (200g) granulated white sugar
- 1 teaspoon pure vanilla extract
- ½ teaspoon flaky sea salt (for topping)
- Optional: Mini pretzel twists, chopped peanuts, or white chocolate for drizzle
Instructions
- Method 1 (No-Bake): In a microwave-safe bowl, combine chocolate chips and butter. Microwave in 30-second intervals, stirring between each, until smooth (1-2 minutes total). Do not overheat.
- Stir in peanut butter, sugar, and vanilla extract until the mixture is completely combined and smooth, resembling a thick, glossy paste.
- Using a small cookie scoop or tablespoon, drop balls of the mixture onto a parchment-lined baking sheet or press into a mini muffin tin.
- Chill in the refrigerator for at least 30 minutes or in the freezer for 15 minutes until firm.
- Sprinkle with flaky sea salt. If drizzling with extra chocolate or peanut butter, do so now while cold.
- Method 2 (Baked): Preheat oven to 350°F (175°C). Line a 9×9 inch baking pan with parchment paper.
- Melt chocolate and butter as described above. Let cool for 5 minutes, then stir in peanut butter, sugar, and vanilla.
- Spread the mixture evenly into the prepared pan. Bake for 12-15 minutes until edges are set but the center looks slightly soft.
- Let cool completely in the pan on a wire rack. Lift out using parchment handles, cut into 1-inch squares, and sprinkle with flaky sea salt.
Notes
Use standard creamy peanut butter, not natural, to avoid greasiness. Chill tools if the no-bake mixture is too soft. Salt is crucial for balancing sweetness. Store in an airtight container in the fridge for up to a week or freeze for up to 3 months.
- Prep Time: 15 minutes
- Cook Time: 15 minutes
- Category: Dessert
- Cuisine: American
Nutrition
- Serving Size: 1 bite
- Calories: 180
- Sugar: 14
- Sodium: 90
- Fat: 12
- Saturated Fat: 6
- Carbohydrates: 18
- Fiber: 1
- Protein: 4
Keywords: football snacks, game day dessert, no-bake brownies, chocolate peanut butter, party bites, easy dessert, make-ahead dessert


