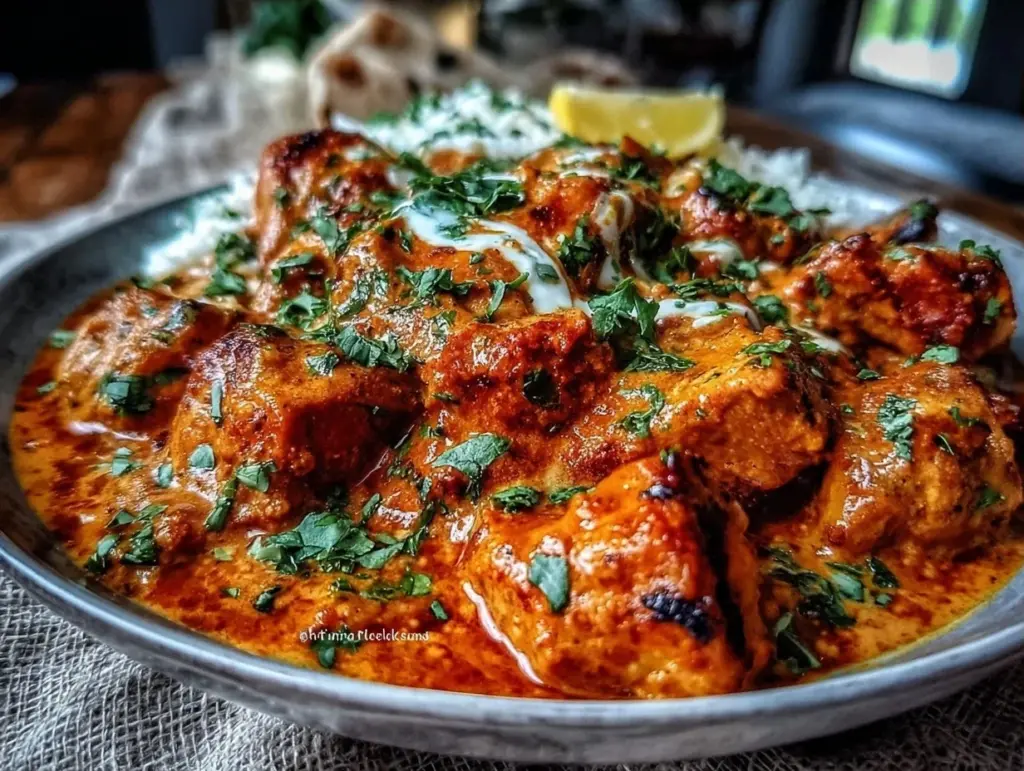
There is a specific kind of hunger that hits on a rainy Tuesday evening. It’s not just “I need food” hungry. It’s “I need that rich, spiced, creamy, deeply flavorful Indian food that wraps around my soul” hungry. For years, my solution was to order from the same local takeout spot. Their chicken tikka masala was good—solidly good. But it was always a gamble. Sometimes the chicken was dry. Sometimes the sauce was just hot tomato soup with spices floating in it. And let’s be honest, by the time the driver knocked on the door, the magic had already started to fade.
Last winter, I decided I was done with the gamble. I wanted to make restaurant-style chicken tikka masala at home, but I didn’t want to spend four hours marinating and broiling like some elaborate weekend project. I wanted the flavor, the creaminess, and the aroma, but I wanted it on the table in 45 minutes. I tested this recipe about eight times. I burned garlic. I made it too spicy. I made it too thin. I made it too thick. But on the ninth try, something clicked. The sauce was velvety, the chicken was juicy, and the spice level hit that perfect middle ground between “warm” and “fiery.”
What I didn’t expect was how much better it tasted than the takeout. When you make it yourself, you control the quality of the tomatoes, the richness of the cream, and the freshness of the ginger. It’s proof that homemade doesn’t have to mean hard. This dish is my go-to for impressing guests or just treating myself after a long week. And the best part? It’s naturally gluten-free if you skip the naan bread, making it a safe haven for anyone with dietary restrictions who still wants to feel indulged.
Why You’ll Love This Recipe
I’ve made this chicken tikka masala for everyone from my spice-hating father-in-law to my friend who claims she “only eats bland food.” Both came back for seconds. Here’s why this version has permanently replaced my takeout routine:
It’s Faster Than Delivery — Seriously. From start to finish, this takes about 40 minutes. That includes the time to sear the chicken and simmer the sauce. By the time you order online, wait for confirmation, and sit through the 45-minute delivery window, I’d already be eating my second bowl. This is a true weeknight warrior recipe.
The Sauce is Actually Creamy — Many homemade versions rely on yogurt, which can curdle if you’re not careful. This recipe uses a blend of tomato paste, crushed tomatoes, and a finish of heavy cream (or coconut cream for dairy-free). The result is a sauce that coats the spoon and clings to every piece of chicken. It’s luxurious without being heavy.
It’s Naturally Gluten-Free — If you’re navigating a gluten-free diet, Indian food can be tricky because of thickeners or cross-contamination. This recipe is inherently gluten-free. The spices are pure, the proteins are pure, and the sauce is pure. Just pair it with rice or gluten-free naan, and you’re safe. It’s proof that dietary needs don’t mean sacrificing flavor.
One-Pot Wonder (Mostly) — You’ll use a few pans, but it’s manageable. You sear the chicken in one, build the sauce in another, and combine them. Cleanup is minimal, which is a huge plus when you’re tired after work.
Freezer-Friendly Leftovers — This tastes even better the next day as the spices meld together. I often make a double batch and freeze half in individual portions. It reheats beautifully in the microwave, making it my secret weapon for busy lunches.
Ingredients You’ll Need
Before we get to the cooking, let’s talk about what goes into this pot. I’m particular about a few of these because they make the difference between “okay” and “addictive.” Don’t skip the fresh ginger, and please, for the love of all things holy, don’t use the pre-minced garlic in the jar for this one.
For the Chicken & Marinade
Chicken thighs (1.5 lbs / 680g, boneless/skinless) — I use thighs because they stay juicy. Breast meat dries out too easily in the sauce. If you must use breast, cut it into large chunks and don’t overcook it. Cut into 1.5-inch cubes for even cooking.
Greek yogurt (½ cup / 120g) — This tenderizes the chicken and adds tang. Full-fat is best, but 2% works too. Plain, unsweetened only.
Garam masala (1 tablespoon) — This is the backbone of the flavor. Use a fresh jar; old spices taste dusty. If you don’t have garam masala, you can mix cumin, coriander, cinnamon, and cloves, but buying it is easier.
Turmeric (1 teaspoon) — Gives that beautiful golden color and earthy base flavor.
Smoked paprika (1 teaspoon) — This adds a subtle smokiness that mimics the charcoal grill of a restaurant tandoor. It’s a game-changer.
Garlic (4 cloves, minced / about 1 tablespoon) — Fresh is non-negotiable here. Jarred garlic has a sharp, metallic aftertaste that clashes with the cream.
Fresh ginger (1 tablespoon, grated) — Yes, grate it yourself. It’s brighter and less fibrous than the paste from the tube. If you’re in a total pinch, 1 teaspoon of paste works, but fresh is better.
Salt and pepper — To taste. Don’t skimp on salting the chicken.
For the Masala Sauce
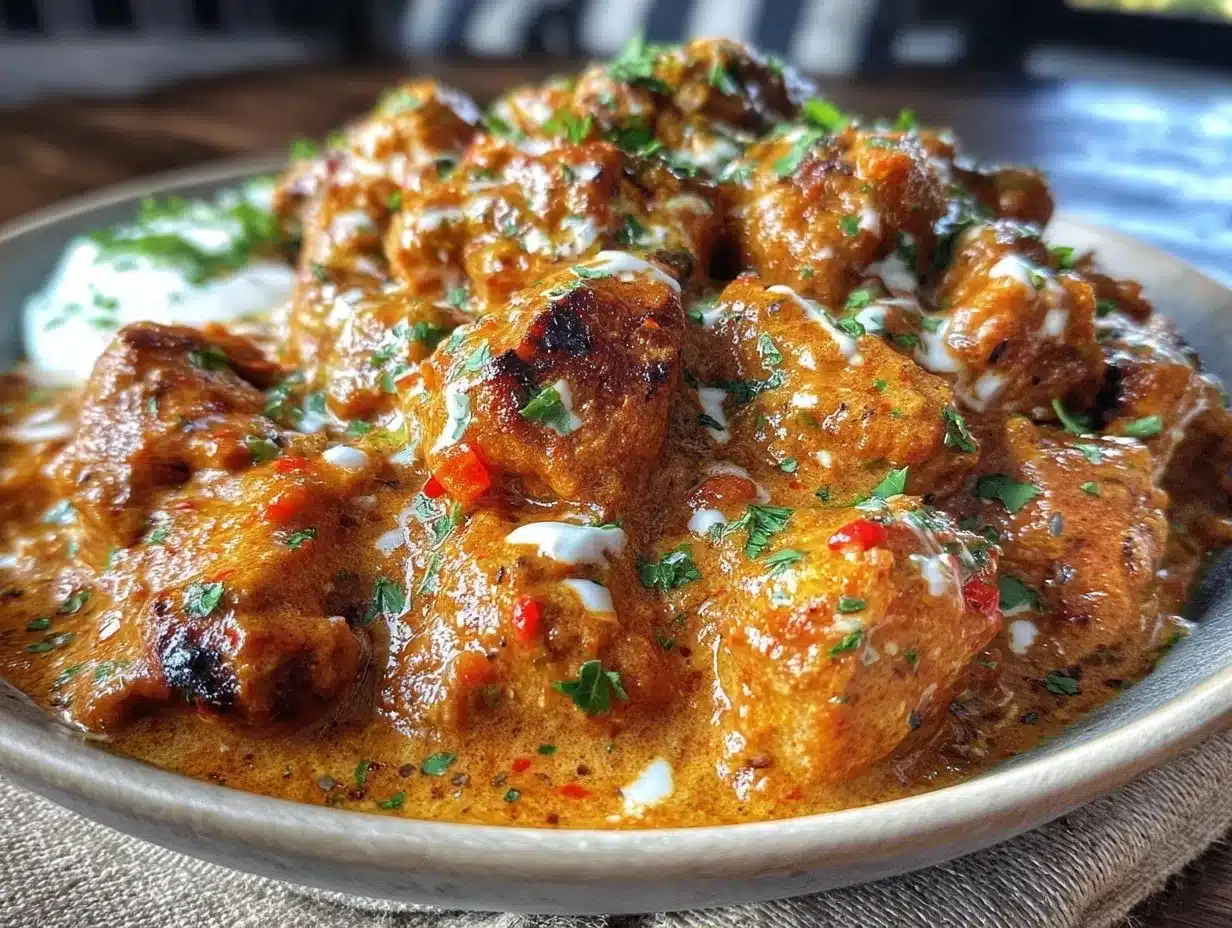
Butter (2 tablespoons) — Or ghee if you prefer. Butter adds a richness that oil can’t match.
Yellow onion (1 medium, finely diced / about 150g) — Sweet onions work too, but yellow gives a deeper savory base. Mince it finely so it melts into the sauce.
Garlic (again) (3 cloves, minced) — Yes, more garlic. This is a garlic-forward dish. I don’t apologize for that.
Fresh ginger (again) (1 tablespoon, grated) — We’re doubling down on the ginger for warmth.
Tomato paste (2 tablespoons) — This concentrates the tomato flavor. Cook it in the butter for a minute to remove the metallic raw taste.
Crushed tomatoes (1 can / 14 oz / 400g) — Use high-quality canned tomatoes. San Marzano if you can find them, but any good brand works. Avoid the “fresh” refrigerated ones; they’re too watery.
Chicken broth (½ cup / 120ml) — Low-sodium is best so you control the salt. Vegetable broth works for a vegetarian version.
Heavy cream (½ cup / 120ml) — For that restaurant-style richness. For dairy-free, use full-fat coconut cream. It adds a slight coconut flavor that actually complements the spices beautifully.
Fresh cilantro (¼ cup, chopped) — For garnish. It adds a fresh, bright finish that cuts through the richness.
Essential Equipment
You don’t need anything fancy. Here’s what I use:
Large skillet or Dutch oven — I prefer a 12-inch skillet with high sides. It needs to hold the chicken and sauce without splattering everywhere. A Dutch oven works too if you like to simmer longer.
Sharp knife and cutting board — For dicing onions and cubing chicken. A dull knife makes this harder and more dangerous.
Measuring spoons — Spices are potent. Measure them out. “A pinch” doesn’t work well with turmeric or cayenne.
Wooden spoon or silicone spatula — For stirring the sauce without scratching your pan.
Microplane or grater — For the fresh ginger. It grates so easily and gives you a smooth paste without the stringy bits.
How to Make It: Step-by-Step
Alright, let’s get cooking. I’m walking you through exactly how I do it, including the little tricks that keep the chicken tender and the sauce smooth.
Step 1: Marinate the Chicken (10 minutes + optional 30 mins)
In a bowl, mix the Greek yogurt, garam masala, turmeric, smoked paprika, minced garlic, grated ginger, salt, and pepper. Add the chicken cubes and toss to coat. Let it sit while you prep the veggies. If you have time, let it marinate in the fridge for 30 minutes to an hour. This tenderizes the meat and infuses flavor deep into the chicken. But if you’re rushing, 10 minutes is enough.
Step 2: Sear the Chicken
Heat a large skillet over medium-high heat with a drizzle of oil. Add the chicken pieces in a single layer. Don’t crowd the pan—do it in two batches if needed. Sear for 2-3 minutes per side until golden brown. You don’t need to cook it through; just get that color. Remove the chicken to a plate and set aside. This step builds flavor through the Maillard reaction. Don’t skip it.
Step 3: Build the Sauce Base
In the same skillet, reduce heat to medium. Add the butter. Once melted, add the diced onion and a pinch of salt. Cook for 5-6 minutes until soft and translucent. Add the remaining garlic and ginger. Cook for 1 minute until fragrant. Then, stir in the tomato paste. Cook it for 1-2 minutes, stirring constantly. You want the tomato paste to darken slightly. This removes the raw, acidic taste and adds depth.
Step 4: Simmer the Sauce
Pour in the crushed tomatoes and chicken broth. Stir well, scraping up any browned bits from the bottom of the pan. Those bits are flavor gold. Bring the sauce to a gentle simmer. Let it cook for 10-15 minutes, stirring occasionally. The sauce will thicken and the raw tomato taste will disappear. If it gets too thick, add a splash more broth. If it’s too thin, let it simmer longer.
Step 5: Combine and Finish
Return the chicken and any accumulated juices to the skillet. Stir to coat the chicken in the sauce. Reduce heat to low. Simmer for 5-7 minutes, until the chicken is cooked through (internal temp of 165°F / 74°C). Stir in the heavy cream (or coconut cream). Simmer for another 2 minutes to heat it through. Do not boil after adding cream, or it might separate.
Step 6: Taste and Adjust
This is the most important step. Taste the sauce. Does it need more salt? A pinch of sugar can balance acidity if the tomatoes are too tart. Want more heat? Add a dash of cayenne or red pepper flakes. Need more brightness? A squeeze of lime juice works wonders. Adjust until it tastes perfect to you.
Step 7: Serve
Remove from heat. Garnish with fresh cilantro and a dollop of yogurt or a drizzle of cream. Serve immediately over basmati rice or with warm naan bread.
Expert Tips & Tricks
Here’s everything I’ve learned from making this dozens of times. These tips will save you from my mistakes.
Don’t Overcrowd the Pan — When searing chicken, give it space. If pieces are touching, they steam instead of sear. You want that golden crust for flavor.
Use Fresh Spices — I’ve made this with a jar of garam masala that’s been sitting since last Christmas. The difference is night and day. Fresh spices are bright and aromatic. Old spices are dusty and flat. Buy small jars and use them up.
Balance the Heat — Tikka masala should be warm, not painful. Start with 1 teaspoon of cayenne or red pepper flakes. You can always add more, but you can’t take it away. The cream mellows the spice, so taste after adding it.
The Sugar Secret — Tomatoes can be acidic. A half-teaspoon of sugar or honey balances the acidity and makes the sauce taste richer. It’s a restaurant trick, and it works.
Gluten-Free Naan Option — If you’re avoiding gluten, many brands now offer gluten-free naan. Or, just serve over rice. The sauce is so good, you don’t even miss the bread. But if you want the experience, look for gluten-free options at Indian grocers.
Variations & Substitutions
Once you’ve nailed the basic version, here’s how you can mix it up. I’ve tried all of these.
Dairy-Free Version — Swap heavy cream for full-fat coconut cream. It adds a subtle coconut flavor that pairs beautifully with the spices. Use coconut oil instead of butter for searing. The result is creamy, rich, and completely dairy-free.
Vegetarian Tikka Masala — Replace chicken with cauliflower florets or chickpeas. Roast the cauliflower until tender before adding to the sauce. Chickpeas just need to be heated through. The sauce works perfectly with both.
Spicy Tikka Masala — Add 1-2 teaspoons of cayenne pepper or fresh chopped jalapeños when sautéing the onions. For extra heat, serve with a side of sriracha or chili oil.
Lighter Version — Use light coconut milk instead of heavy cream. It’s thinner but still creamy. I make this when I want something lighter but still satisfying.
Serving & Storage
How to Serve: I usually serve this straight from the skillet at the dinner table. It looks rustic and stays warm. Pair it with basmati rice, which is naturally gluten-free, or gluten-free naan bread. A simple cucumber raita (yogurt with cucumber and mint) adds a cooling contrast.
Leftovers: Store in an airtight container in the fridge for up to 4 days. The flavors actually improve after a day. Reheat gently on the stovetop over low heat, adding a splash of water or broth if it’s too thick.
Freezing: This freezes well for up to 3 months. Cool completely before freezing. Thaw in the fridge overnight and reheat gently. The cream might separate slightly, but whisking it in while reheating brings it back.
Nutrition Information
I’m not a nutritionist, but here’s the breakdown if you’re tracking. Per serving (based on 4 servings):
– Calories: 450
– Protein: 35g
– Carbs: 25g
– Fiber: 4g
– Sugar: 8g
– Fat: 22g
– Saturated Fat: 12g
– Sodium: 600mg
This is a hearty meal with good protein from the chicken and healthy fats from the cream. It’s naturally gluten-free, making it a great option for those with celiac disease or gluten sensitivity. If you use coconut cream, it’s also dairy-free.
Final Thoughts
So that’s my restaurant-style chicken tikka masala! I’ve probably talked your ear off at this point, but when you make a recipe this often, you have a lot to say about it. This has saved weeknight dinners more times than I can count. It’s my answer to “what’s for dinner” when I’m tired, don’t want takeout, and still want something that tastes really good. My kids are happy, my husband’s happy, and I’m happy because I’m not stressed about cooking.
Make it yours! Try different add-ins, swap in your favorite vegetables, adjust the garlic (though more is always better in my opinion). The best recipes are the ones you adapt to your family’s tastes. And remember, this is proof that dietary needs don’t mean boring food. Whether you’re gluten-free, dairy-free, or just trying to eat better, this dish is delicious and satisfying.
If you make this, drop a comment and let me know what you think! I love hearing how recipes turn out in your kitchen. And if something doesn’t work, tell me that too—I’m here to help troubleshoot. Happy cooking! And I hope your kitchen smells half as good as mine does right now.
Frequently Asked Questions
Can I use chicken breast instead of thighs?
You can, but thighs are juicier and more forgiving. If you use breast, cut it into large chunks and be careful not to overcook it. Breast meat can dry out quickly in the sauce. I recommend removing it from the pan as soon as it’s cooked through.
Why did my sauce separate?
This usually happens if you boil the sauce after adding the cream. High heat causes the fats to separate. Always add cream at the end and simmer gently. If it does separate, whisking it vigorously over low heat can often bring it back together.
Can I make this ahead of time?
Yes! In fact, it tastes better the next day. Make the sauce and chicken, let it cool, and store in the fridge. Reheat gently before serving. This is great for meal prep. Just add fresh cilantro when serving.
Is this recipe gluten-free?
Yes, the recipe itself is naturally gluten-free. Just ensure your spices and broth are certified gluten-free to avoid cross-contamination. Serve with rice or gluten-free naan for a complete meal.
How spicy is this?
It’s mild to medium. The smoked paprika and garam masala provide warmth, but it’s not fiery. If you like it spicier, add cayenne pepper or red pepper flakes to taste. I start with ½ teaspoon and adjust from there.
Can I freeze this?
Yes, it freezes well for up to 3 months. Cool completely, then store in airtight containers or freezer bags. Thaw in the fridge and reheat gently. The texture may change slightly, but the flavor remains excellent.
Pin This Recipe!
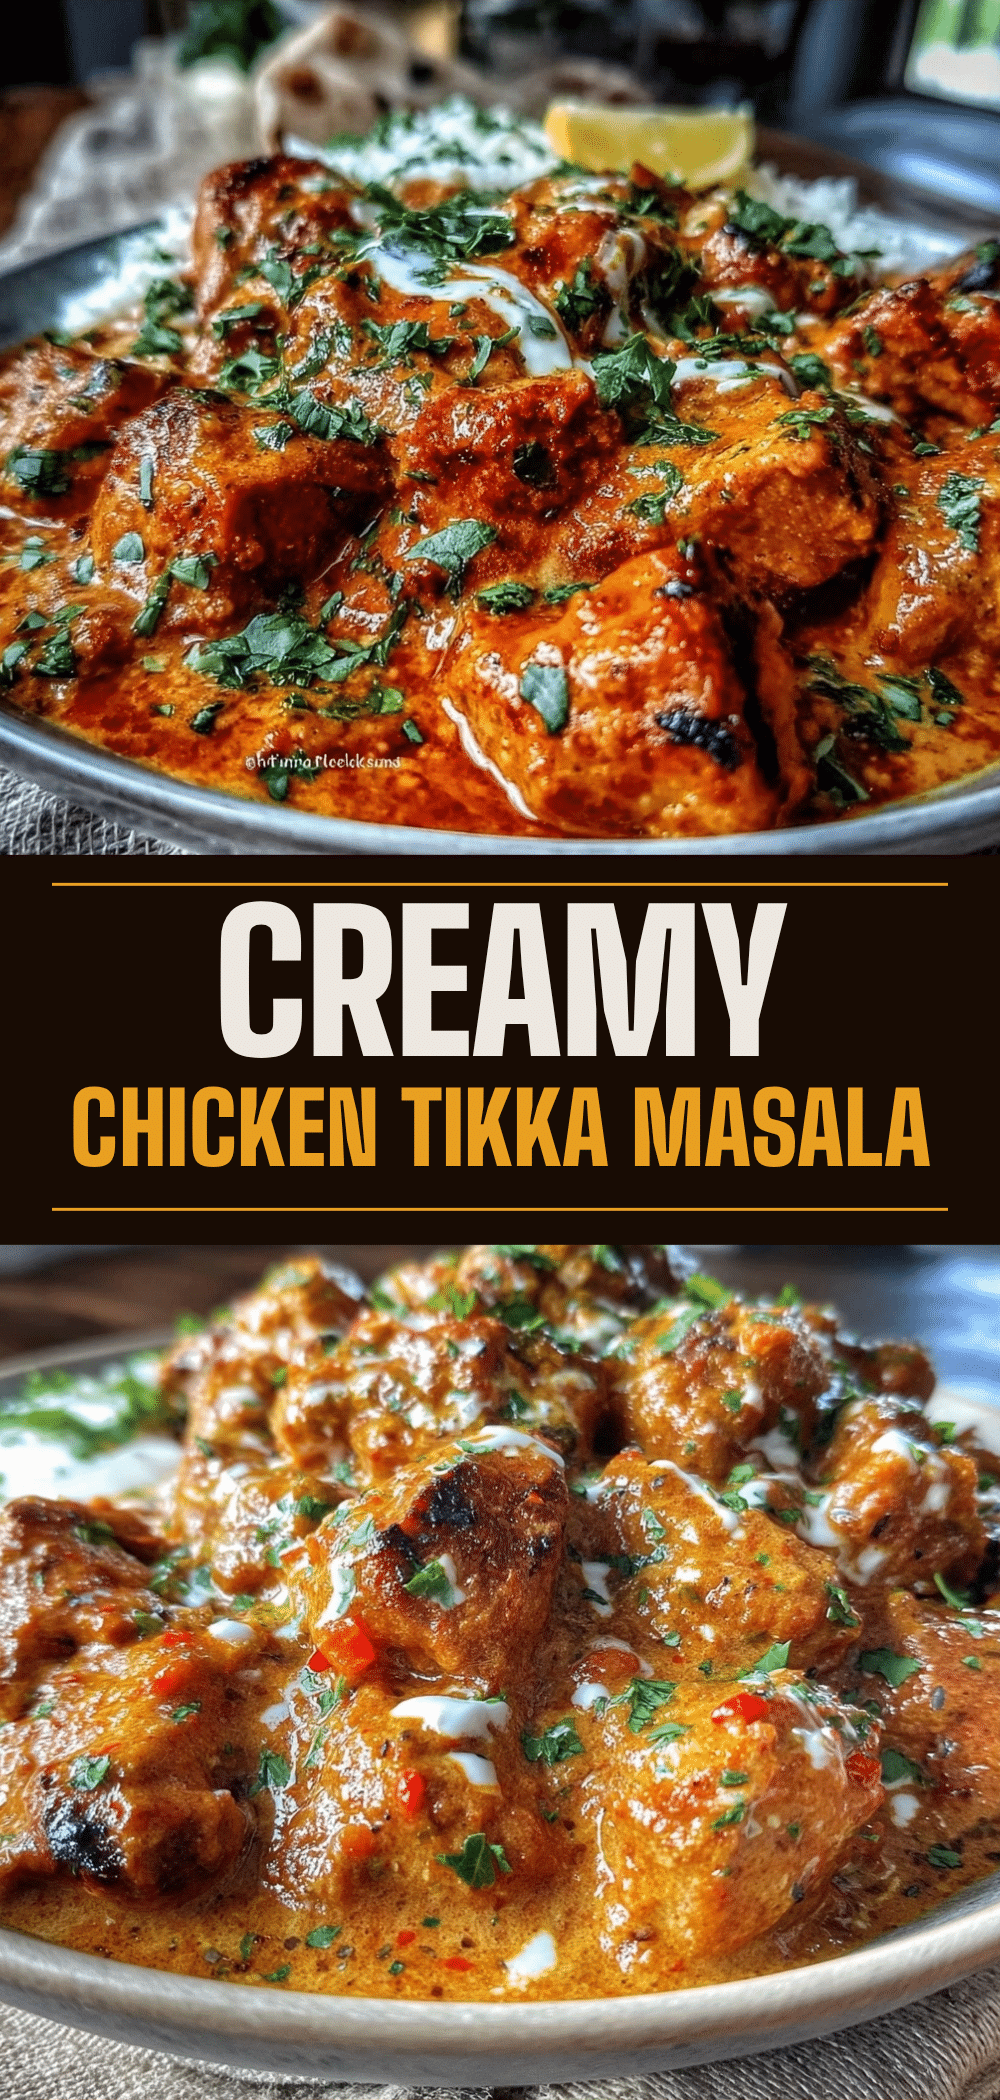

Restaurant-Style Chicken Tikka Masala: Better Than Takeout
- Total Time: 45 minutes
- Yield: 4 servings 1x
Description
A quick, creamy, and flavorful homemade chicken tikka masala that rivals takeout. This naturally gluten-free dish is ready in under 45 minutes and features juicy chicken in a rich, spiced tomato-cream sauce.
Ingredients
- 1.5 lbs boneless, skinless chicken thighs, cut into 1.5-inch cubes
- 1/2 cup plain Greek yogurt
- 1 tablespoon garam masala
- 1 teaspoon turmeric
- 1 teaspoon smoked paprika
- 4 cloves garlic, minced
- 1 tablespoon fresh ginger, grated
- Salt and black pepper to taste
- 2 tablespoons butter or ghee
- 1 medium yellow onion, finely diced
- 3 cloves garlic, minced
- 1 tablespoon fresh ginger, grated
- 2 tablespoons tomato paste
- 1 can (14 oz) crushed tomatoes
- 1/2 cup low-sodium chicken broth
- 1/2 cup heavy cream (or full-fat coconut cream for dairy-free)
- 1/4 cup fresh cilantro, chopped
Instructions
- In a bowl, mix Greek yogurt, garam masala, turmeric, smoked paprika, 4 cloves minced garlic, grated ginger, salt, and pepper. Add chicken cubes and toss to coat. Let marinate for at least 10 minutes (or up to 1 hour in the fridge).
- Heat a large skillet over medium-high heat with a drizzle of oil. Sear chicken pieces in a single layer for 2-3 minutes per side until golden brown. Remove chicken to a plate and set aside.
- Reduce heat to medium. Add butter to the skillet. Once melted, add diced onion and a pinch of salt. Cook for 5-6 minutes until soft and translucent.
- Add remaining 3 cloves minced garlic and 1 tablespoon grated ginger. Cook for 1 minute until fragrant.
- Stir in tomato paste and cook for 1-2 minutes, stirring constantly, until it darkens slightly.
- Pour in crushed tomatoes and chicken broth. Stir well, scraping up browned bits from the bottom of the pan. Bring to a gentle simmer and cook for 10-15 minutes until the sauce thickens.
- Return the chicken and any accumulated juices to the skillet. Stir to coat in the sauce. Reduce heat to low and simmer for 5-7 minutes until chicken is cooked through (165°F).
- Stir in heavy cream (or coconut cream). Simmer for another 2 minutes to heat through. Do not boil after adding cream.
- Taste and adjust seasoning with salt, sugar (to balance acidity), or cayenne (for heat). Garnish with fresh cilantro and serve over basmati rice or with naan bread.
Notes
For a dairy-free version, substitute heavy cream with full-fat coconut cream and butter with coconut oil. For a vegetarian version, replace chicken with cauliflower florets or chickpeas. Ensure spices are fresh for best flavor. The sauce may separate if boiled after adding cream; whisk gently over low heat to fix.
- Prep Time: 15 minutes
- Cook Time: 30 minutes
- Category: Main Course
- Cuisine: Indian
Nutrition
- Serving Size: 1/4 of the recipe
- Calories: 450
- Sugar: 8
- Sodium: 600
- Fat: 22
- Saturated Fat: 12
- Carbohydrates: 25
- Fiber: 4
- Protein: 35
Keywords: chicken tikka masala, indian food, gluten-free dinner, creamy chicken recipe, weeknight dinner, restaurant style chicken, easy indian recipe


