It started with a bag of pecans I bought on sale. You know the kind—those big, crunchy, golden-brown nuts that promise to make your life better if you just bake them into something sweet. I had half a bag sitting in my pantry for three weeks, staring at me, daring me to use them. I kept thinking about making traditional pecan pie, but let’s be real: the crust is a nightmare. You have to roll it out, keep it cold, and pray it doesn’t shrink into the pan. And then there’s the filling—usually so sweet it makes your teeth ache.
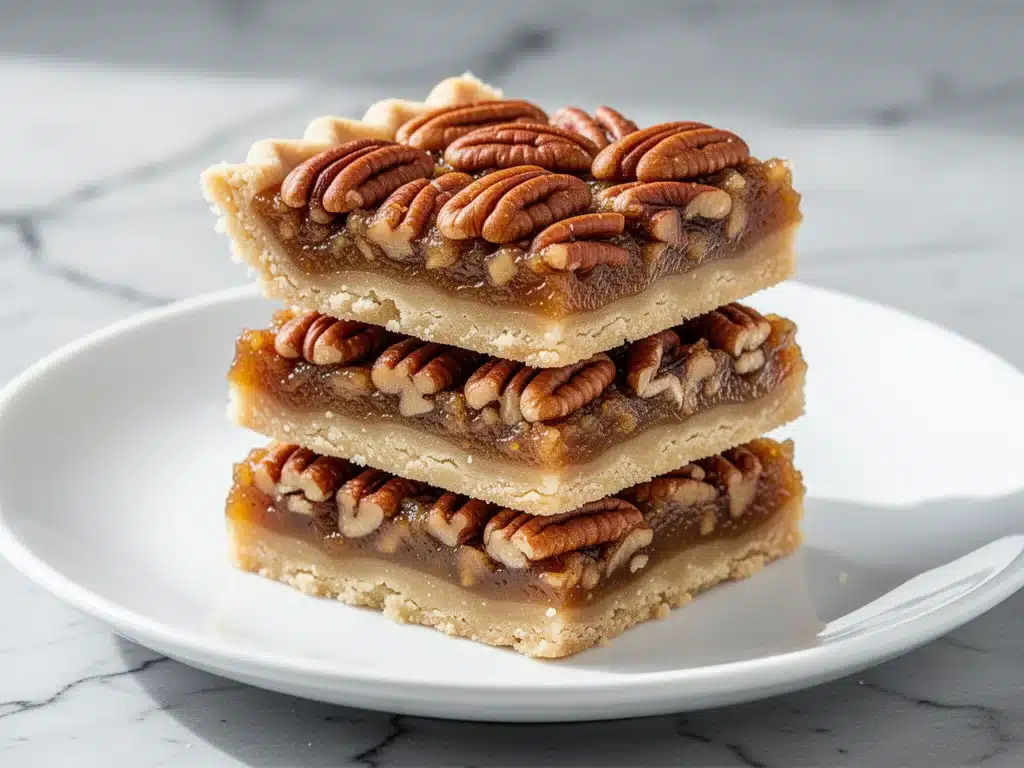
Last weekend, I decided to take a shortcut that completely changed my dessert game. I grabbed some flour, butter, and brown sugar, and pressed it into the pan to make a flaky shortbread crust. Then, I swapped the corn syrup for pure maple syrup and added a pinch of cinnamon. The result? Fall Maple Pecan Pie Bars with a flaky shortbread crust that are absolutely addictive. They’re chewy, buttery, nutty, and taste like autumn in a single bite.
I made these on a Tuesday afternoon while listening to cozy fall butternut squash soup simmer on the stove (yes, I multitask in the kitchen like a maniac). By the time the oven timer went off, my whole house smelled like a high-end bakery. My husband took one bite, chewed slowly, and said, “Okay, you need to make these every weekend.” I’ve made them four times since. Four. Because they disappear so fast that I can’t wait for the next craving to hit.
If you’re looking for a dessert that’s easier than pie but feels just as special, you need to try these. They’re perfect for Thanksgiving, harvest parties, or just because you want something sweet that doesn’t require a degree in pastry arts.
Why You’ll Love This Recipe
There are about ten reasons I keep making these maple pecan bars, but here are the big ones that keep me coming back to the recipe box.
Shortbread Crust Magic — Most pecan pie recipes use a standard pastry crust that can get soggy or tough. This recipe uses a shortbread base. It’s buttery, crumbly, and stays crisp even when the warm filling is poured on top. It’s the best of both worlds: the texture of a bar cookie with the flavor of pie.
Maple Over Corn Syrup — I used to make pecan pie with corn syrup because it’s cheap and easy. But the flavor is one-dimensional. Pure maple syrup adds this deep, complex, woody sweetness that pairs perfectly with the toasted pecans. It tastes more sophisticated and less like candy.
One-Pan Wonder — Seriously, if you can mix a bowl and press dough into a pan, you can make this. There’s no rolling pin, no pie dish to fuss with. Just a 9×13 baking pan. Cleanup is a breeze, which is crucial when you’re already stressed about hosting.
Perfect for Meal Prep (Yes, Really) — I know we usually think of meal prep for lunches, but these bars keep incredibly well. I make a batch on Sunday, store them in the fridge, and grab one with my morning coffee. They taste even better after a day or two because the flavors meld together. It’s like having a mini dessert ready to go all week long.
Gluten-Free Friendly — If you swap the all-purpose flour for a 1-to-1 gluten-free blend, these work beautifully. My gluten-sensitive sister requests these specifically for family gatherings now. It’s nice to have a dessert everyone can enjoy without worrying about cross-contamination.
This is my go-to when I need to impress guests but don’t have hours to spare. It’s reliable, delicious, and makes your kitchen smell like heaven.
Ingredients You’ll Need
Here’s the best part: you probably have most of this already. I’m particular about a few things here, and I’ll tell you exactly why. This isn’t just a list; it’s your guide to getting it right the first time.
For the Flaky Shortbread Crust
Unsalted butter (1 cup / 226g, cold and cubed) — This is non-negotiable. Cold butter creates steam when it hits the oven, which creates those flaky layers. If your butter is soft, the crust will be greasy and dense. Keep it in the fridge until the last second.
All-purpose flour (2 cups / 250g) — Standard flour works great. For a gluten-free version, use a high-quality 1-to-1 baking blend like King Arthur Measure for Measure. Don’t use almond flour; it won’t hold the structure the same way.
Granulated sugar (½ cup / 100g) — Just a little bit to sweeten the crust. It helps with browning.
Salt (½ teaspoon) — Essential. It cuts through the sweetness of the butter and sugar. Don’t skip it.
For the Maple Pecan Filling
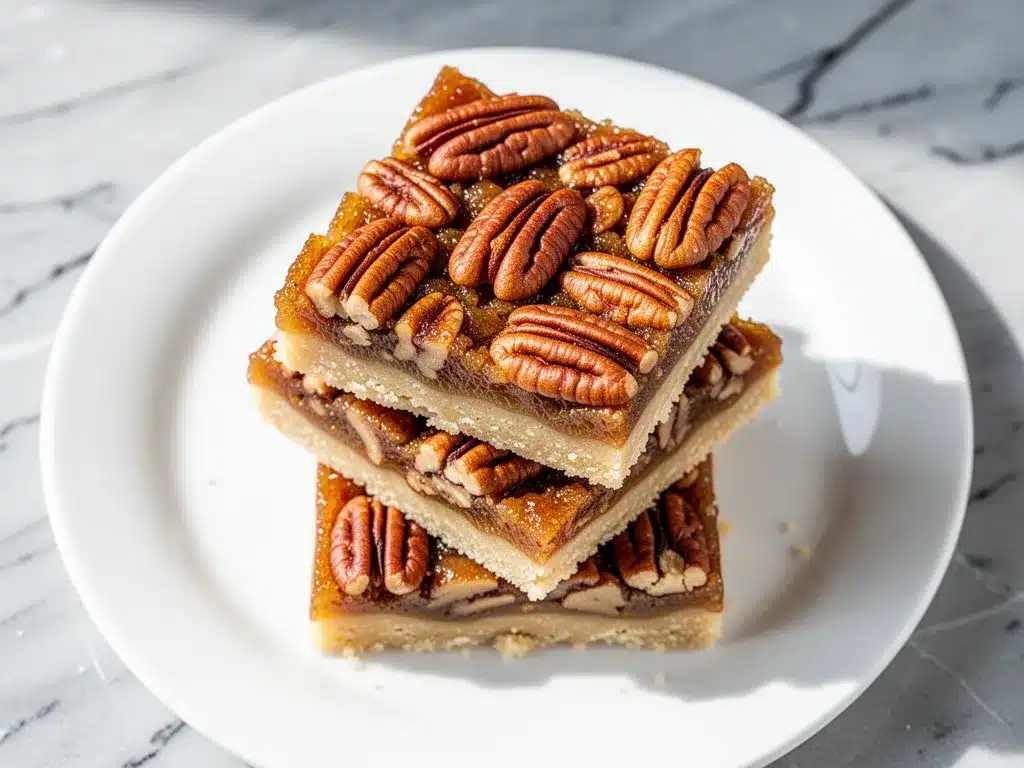
Pure maple syrup (1 cup / 240ml) — Look for Grade A Dark Amber or Grade B. These have a stronger maple flavor than Grade A Light. Avoid “pancake syrup” or anything with corn syrup listed first. This is the star of the show.
Light brown sugar (1 cup / 200g) — Adds moisture and a caramel-like depth. Pack it tightly into the measuring cup.
Large eggs (3 large) — Room temperature eggs blend better into the filling. If you’re in a rush, just crack them into a warm bowl of water for 5 minutes.
Vanilla extract (1 teaspoon) — Pure vanilla, please. The artificial stuff tastes harsh with the maple.
Cinnamon (1 teaspoon) — Warm, cozy spice that bridges the gap between the crust and the filling.
Heavy cream (2 tablespoons / 30ml) — Just a splash to make the filling rich and custardy. Milk works in a pinch, but cream is better.
Toasted pecan halves (2 cups / 220g) — Toasting them first brings out their natural oils and makes them crunchier. Buy them pre-toasted if you’re lazy, but toasting them yourself takes 5 minutes and is worth it.
Pinch of salt — In the filling too. It balances the sweetness perfectly.
Optional Topping
Flaky sea salt — A sprinkle on top right after baking adds a sophisticated touch and contrasts the sweetness. I always do this.
Equipment Needed
You don’t need fancy equipment for this. Here’s what I actually use.
9×13 inch baking dish — Glass or ceramic works best because it distributes heat evenly. Metal pans can brown the edges too quickly.
Stand mixer or hand mixer — For the crust, a mixer makes it easy to combine the butter and flour without overworking it. I use my KitchenAid, but a food processor works too (just pulse it).
Mixing bowls — One medium bowl for the filling. A large one for the crust.
Parchment paper — Line your pan! This is the secret to clean slices. If you don’t use parchment, you’ll be scraping burnt sugar off your pan for days.
Whisk — For the filling. You want it smooth and lump-free.
Pastry brush — Optional, but nice for brushing the crust with an egg wash if you want it shiny. I usually skip this for a more rustic look.
Knife — A sharp chef’s knife for slicing. Clean the blade between cuts for neat squares.
How to Make It: Step-by-Step
Alright, let’s make these! I’m walking you through exactly how I do it, including the little tricks I’ve picked up over the years.
Step 1: Prep Your Pan and Oven (5 minutes)
Preheat your oven to 350°F (175°C). Line a 9×13 inch baking dish with parchment paper, leaving an overhang on the long sides. This overhang is your handle—you’ll use it to lift the bars out once they’re baked. Grease the parchment lightly with butter or cooking spray.
Step 2: Make the Shortbread Crust (10 minutes)
In a large bowl, mix the flour, sugar, and salt. Add the cold, cubed butter. If you’re using a mixer, pulse on low until the mixture looks like coarse crumbs with some pea-sized chunks of butter remaining. These chunks are what make the crust flaky. If you’re doing it by hand, use a pastry cutter or your fingers to rub the butter into the flour.
Press the mixture firmly and evenly into the bottom of the prepared pan. Use the bottom of a measuring cup to pack it down tight. No cracks or holes!
Step 3: Blind Bake the Crust (15 minutes)
Bake the crust for 15 minutes until it’s lightly golden and set. Remove from the oven. Leave the oven on. This step ensures the crust stays crisp and doesn’t get soggy from the wet filling. It’s a game-changer.
Step 4: Toast the Pecans (5 minutes)
While the crust bakes, spread the pecan halves on a baking sheet. Toast them in the oven (you can put them in next to the crust if you have room, or use a separate pan) for 5-7 minutes. Watch them closely—they burn fast. Let them cool slightly.
Step 5: Make the Filling (5 minutes)
In a medium bowl, whisk together the maple syrup, brown sugar, eggs, vanilla, cinnamon, cream, and salt. Whisk vigorously until the sugar is mostly dissolved and the mixture is smooth. It should look glossy and amber-colored.
Step 6: Assemble and Bake (40-45 minutes)
Spread the toasted pecans evenly over the hot crust. Pour the maple syrup filling over the pecans. The pecans will float to the top as it bakes, which is perfect.
Return the pan to the oven. Bake for 40-45 minutes. You’ll know it’s done when the edges are bubbling vigorously and the center is set but still has a slight jiggle. It shouldn’t look liquid, but it shouldn’t be rock hard either. It will firm up as it cools.
Step 7: Cool Completely (At least 2 hours)
This is the hardest part. You have to let the bars cool completely in the pan on a wire rack. If you cut them warm, they’ll fall apart. The filling needs time to set. I usually let them cool for at least 2 hours, but overnight is best for clean slices.
Once cooled, use the parchment overhang to lift the entire slab out of the pan. Place it on a cutting board and slice into squares.
Expert Tips & Tricks
Here’s everything I’ve learned from making these dozens of times. These tips will save you from my mistakes.
Keep the Butter Cold
I can’t stress this enough. If your butter melts before it hits the oven, your crust will be a biscuit, not a shortbread. Cube the butter and keep it in the fridge until the moment you’re ready to mix. If your kitchen is hot, put the bowl in the fridge for 10 minutes before pressing it into the pan.
Toast Those Pecans
Raw pecans are fine, but toasted pecans are incredible. The heat releases their oils, making them nuttier and crunchier. It adds a depth of flavor that you just don’t get from raw nuts. Don’t skip this step.
Don’t Overbake
The center should look slightly underdone when you take it out. It continues to cook from the residual heat. If you bake it until the center is completely firm, it will be dry and crumbly. Look for that gentle jiggle.
Use Real Maple Syrup
“Maple-flavored” syrup is just sugar water with artificial flavoring. It won’t have the depth you need. Look for the label that says “100% Pure Maple Syrup.” It’s worth the extra few dollars.
Scale the Bar Size
These are rich. I like to cut them into smaller squares (24-36 bars) rather than large rectangles. They’re perfect as a dessert after a meal, not as a snack to eat while watching TV. Trust me on portion control here.
Storage is Key
Store them in an airtight container at room temperature for up to 3 days. If your house is hot, keep them in the fridge. They’ll last up to a week. They also freeze well for up to 3 months. Thaw them in the fridge overnight.
Variations & Substitutions
Once you’ve nailed the basic version, here’s how you can mix it up. I’ve tried all of these.
Maple Bourbon Pecan Bars
Add 2 tablespoons of bourbon to the filling. It adds a warm, spicy kick that pairs beautifully with the maple. Skip the cinnamon if you use bourbon. This is my favorite variation for adult gatherings.
Maple Walnut Bars
Swap the pecans for walnuts. It’s a classic combination. Walnuts have a slightly more bitter edge that balances the sweet maple well. I use this version when pecans are too expensive.
Maple Pumpkin Spice Bars
Add 1 teaspoon of pumpkin pie spice to the filling and 1 tablespoon of pumpkin puree. It makes the filling slightly denser and more autumnal. Great for October.
Gluten-Free Version
Use a 1-to-1 gluten-free flour blend for the crust. The rest of the recipe is naturally gluten-free. The texture might be slightly more crumbly, but it tastes just as good.
Dairy-Free Version
Use vegan butter for the crust and coconut cream instead of heavy cream. The flavor will be slightly different (coconutty), but it’s still delicious. My dairy-free friend loves this version.
No Maple Syrup? Use Honey
If you’re out of maple syrup, you can use honey. It will taste more floral, but it still works. Just be aware that honey is sweeter and thinner, so you might need to reduce the liquid slightly or add a teaspoon of cornstarch to the filling to help it set.
Serving & Storage
How to serve these bars to make them shine.
How to Serve:
I usually serve these at room temperature. They’re too sweet to serve warm, and the texture is best when fully set. Pair them with a cup of coffee or tea. If you want to make it fancy, serve a small square with a dollop of whipped cream and a drizzle of extra maple syrup.
Side Dishes:
These bars are dessert, so they don’t need a side. But if you’re serving them as part of a larger spread, they pair well with caramel apple cinnamon roll bake for a fall brunch, or alongside a slice of brown butter toffee cookies for a cookie platter.
Storage Instructions:
Refrigerator: Store in an airtight container for up to 5 days. They actually taste better after a day or two as the maple flavor deepens.
Freezer: Wrap individual bars in plastic wrap, then place them in a freezer bag. They’ll last for 3 months. Thaw in the fridge overnight.
Reheating: You don’t need to reheat these. But if you prefer them warm, microwave a square for 10-15 seconds. Don’t overdo it, or the filling will melt into a puddle.
Pro Tip: If you’re bringing these to a potluck, transport them in the pan with the parchment overhang. Just lift the whole slab into a serving dish. No messy transferring.
Nutrition Information
I’m not a nutritionist, but here’s the breakdown if you’re tracking. Keep in mind that these are rich, so portion size matters.
Per Bar (based on 24 bars):
- Calories: 280
- Protein: 4g
- Carbs: 32g
- Fiber: 2g
- Sugar: 24g
- Fat: 16g
- Saturated Fat: 7g
- Cholesterol: 35mg
- Sodium: 180mg
What’s Good:
- Good source of healthy fats from the pecans
- Contains some protein and fiber
- Naturally gluten-free option available
What to Know:
- High in sugar due to the maple syrup and brown sugar
- High in calories because of the butter and nuts
- Contains dairy and gluten (unless modified)
My Take:
Look, this is a dessert bar. It’s sweet, buttery, and indulgent. It’s not a health food. But it’s better than store-bought candy bars, and it’s made with real ingredients. When I make these, I enjoy one square with my coffee and feel satisfied. That’s the goal.
Final Thoughts
So that’s my go-to Fall Maple Pecan Pie Bars with Flaky Shortbread Crust! I’ve probably talked your ear off at this point, but when you make a recipe this often, you have a lot to say about it.
This has saved my dessert game more times than I can count. It’s my answer to “what should I bring to the party” or “what can I make for a last-minute guest.” It’s easy, it’s delicious, and it tastes like I spent all day in the kitchen (even though it only takes about an hour of active time).
Make it yours! Try the bourbon version, swap the nuts, or add a drizzle of chocolate. The best recipes are the ones you adapt to your family’s tastes. And if you’re looking for more cozy fall treats, check out my blueberry lemon cheesecake bars for a lighter option, or my iced vanilla chai latte to sip while you bake.
If you make these, drop a comment and let me know what you think! I love hearing how recipes turn out in your kitchen. And if something doesn’t work, tell me that too—I’m here to help troubleshoot.
Happy baking! And I hope your kitchen smells half as good as mine does right now.
Frequently Asked Questions
Can I use honey instead of maple syrup?
You can, but the flavor will be different. Honey is sweeter and more floral, while maple syrup has that distinct woody, caramel note. If you use honey, reduce the amount slightly or add a teaspoon of cornstarch to help the filling set, as honey is thinner. I recommend sticking to maple syrup for the authentic taste.
Why did my filling run off the crust?
This usually happens if the crust wasn’t pressed down firmly enough, or if you poured the filling too quickly. Make sure you press the crust tight to the bottom and sides of the pan. Also, let the crust cool for a few minutes before pouring the filling—this helps it set slightly and creates a barrier.
Can I make these ahead of time?
Yes! These bars actually taste better after a day or two. You can make them up to 3 days ahead and store them at room temperature. For longer storage, freeze them. Just thaw them in the fridge overnight before serving.
How do I store leftover bars?
Store them in an airtight container at room temperature for up to 3 days. If your house is very warm or humid, keep them in the fridge. They’ll last up to a week. For longer storage, wrap them individually and freeze for up to 3 months.
Can I use a different type of nut?
Absolutely. Walnuts, almonds, or hazelnuts all work well. Toast them just like you would the pecans. Walnuts are a classic substitute, and hazelnuts add a nice earthy flavor. Just keep the quantity the same (2 cups).
Why is my crust soggy?
This usually means the crust wasn’t baked long enough before adding the filling. The blind baking step is crucial. Make sure the crust is lightly golden and set before you add the wet filling. Also, ensure your oven is fully preheated to 350°F.
Can I double this recipe?
You can, but you’ll need a larger pan (like a 9×13 or even a 10×15). Double the ingredients and increase the baking time by 5-10 minutes. Keep an eye on the center to make sure it’s set. I usually just make one batch because they disappear so fast!
Pin This Recipe!
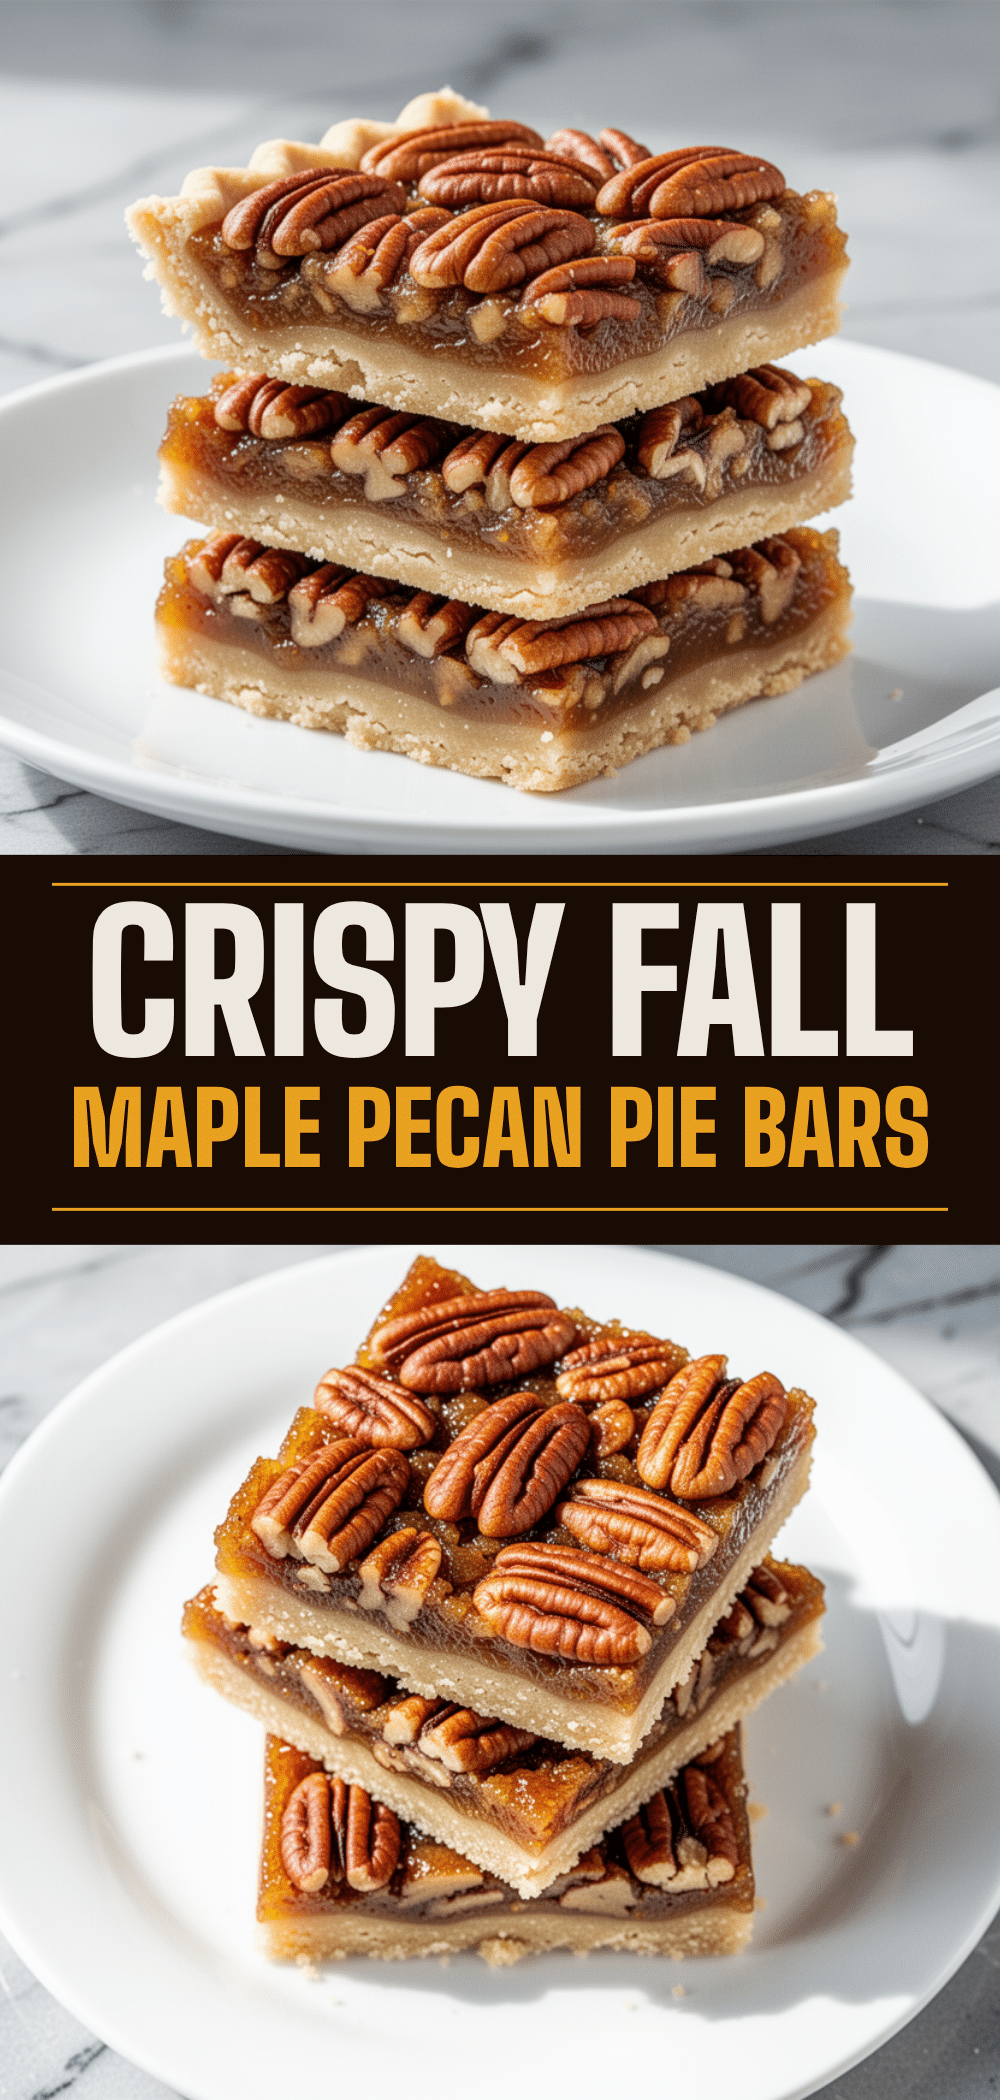
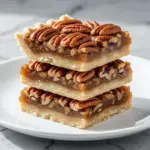
Fall Maple Pecan Pie Bars: 10 Easy Flaky Shortbread Dessert
- Total Time: 80 minutes
- Yield: 24 servings 1x
Description
These Fall Maple Pecan Pie Bars feature a buttery, flaky shortbread crust topped with a rich, chewy filling made from pure maple syrup and toasted pecans. They are easier to make than traditional pie and perfect for autumn gatherings.
Ingredients
- 1 cup (226g) unsalted butter, cold and cubed
- 2 cups (250g) all-purpose flour
- 1/2 cup (100g) granulated sugar
- 1/2 teaspoon salt
- 1 cup (240ml) pure maple syrup
- 1 cup (200g) light brown sugar
- 3 large eggs, room temperature
- 1 teaspoon vanilla extract
- 1 teaspoon cinnamon
- 2 tablespoons (30ml) heavy cream
- 2 cups (220g) toasted pecan halves
- Pinch of salt
- Flaky sea salt (optional, for topping)
Instructions
- Preheat oven to 350°F (175°C). Line a 9×13 inch baking dish with parchment paper, leaving an overhang on the long sides, and grease lightly.
- In a large bowl, mix flour, granulated sugar, and 1/2 teaspoon salt. Add cold cubed butter and pulse or rub in until the mixture resembles coarse crumbs with pea-sized butter chunks.
- Press the crust mixture firmly and evenly into the bottom of the prepared pan.
- Blind bake the crust for 15 minutes until lightly golden and set. Remove from oven but leave the oven on.
- While the crust bakes, toast pecan halves on a baking sheet for 5-7 minutes until fragrant. Let cool slightly.
- In a medium bowl, whisk together maple syrup, brown sugar, eggs, vanilla, cinnamon, heavy cream, and a pinch of salt until smooth.
- Spread toasted pecans evenly over the hot crust. Pour the maple syrup filling over the pecans.
- Return to the oven and bake for 40-45 minutes until edges are bubbling and the center is set but has a slight jiggle.
- Cool completely in the pan on a wire rack for at least 2 hours (overnight is best) to allow the filling to set.
- Use the parchment overhang to lift the slab out of the pan. Slice into squares and sprinkle with flaky sea salt if desired.
Notes
Keep butter cold for a flaky crust. Toast pecans for better flavor. Do not overbake; the center should have a slight jiggle. Bars taste better after sitting for a day or two. Can be stored at room temperature for 3 days or frozen for 3 months.
- Prep Time: 20 minutes
- Cook Time: 60 minutes
- Category: Dessert
- Cuisine: American
Nutrition
- Serving Size: 1 bar
- Calories: 280
- Sugar: 24
- Sodium: 180
- Fat: 16
- Saturated Fat: 7
- Carbohydrates: 32
- Fiber: 2
- Protein: 4
Keywords: pecan pie bars, maple pecan bars, shortbread crust, fall dessert, easy dessert, gluten-free option, autumn baking