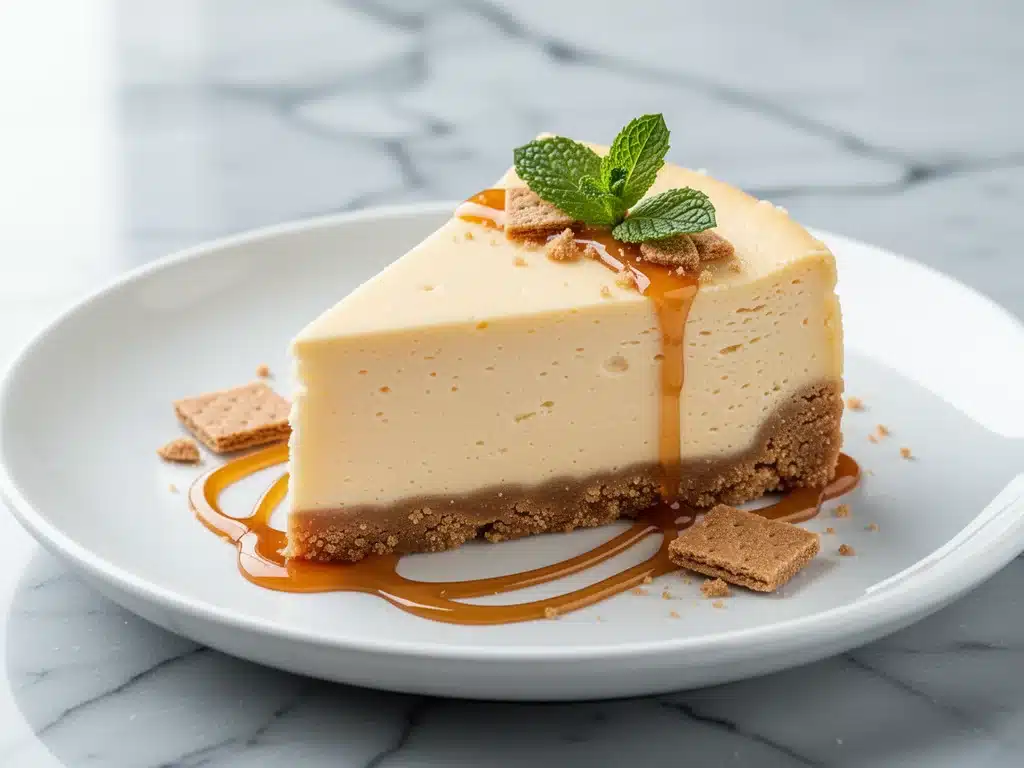
I used to be terrified of cheesecake. Not because I don’t like it—I love the dense, creamy texture—but because I was convinced I couldn’t make one that didn’t crack down the middle. For years, I stuck to no-bake versions or those weird mousse-like bakes that were more like pudding than actual dessert. Then, about three years ago, I attempted a classic New York cheesecake for my brother’s birthday. I followed a fancy Pinterest recipe, watched it bubble ominously in the oven, and pulled out a dessert that looked like a topographic map of the Andes. It tasted okay, but it was a mess.
That failure stuck with me. I didn’t want to give up on the idea of a proper, bakery-quality cheesecake. So, I went back to the drawing board. I tested five different methods, ruined two batches of cream cheese, and learned exactly why cheesecakes crack (spoiler: it’s usually temperature shock). After months of tweaking, I finally nailed it. This isn’t just a recipe; it’s a system. It’s the kind of cheesecake that looks like it came from a high-end Manhattan bakery but is actually simple enough to make on a rainy Tuesday.
What makes this New York cheesecake different? It’s the texture. It’s dense but spoon-soft, rich without being cloying, and it has that signature graham cracker crust that actually holds up. I’ve made this for holiday dinners, potlucks, and just because I wanted a slice after dinner. Every single time, people ask for the recipe. And the best part? It’s foolproof. Once you understand the one or two tricks I’m about to share, you’ll never buy a store-bought cheesecake again.
Why You’ll Love This Recipe
There are plenty of cheesecake recipes out there, but this one has earned a permanent spot in my rotation for good reason. It’s not just about the taste (though it’s incredible); it’s about the experience of making it.
- Zero Cracks, Guaranteed — This is the big one. The method I use prevents the dreaded central crack. No tape, no water baths that leak everywhere, just simple temperature control that actually works.
- Dense But Not Heavy — New York style is supposed to be dense, but I’ve found the balance. It’s creamy and rich, but you don’t feel like you need a nap after eating a slice. It’s luxurious, not suffocating.
- Pantry-Friendly Ingredients — You don’t need exotic ingredients. Just cream cheese, sugar, eggs, vanilla, and graham crackers. If you have these, you can make this dessert.
- Make-Ahead Friendly — Cheesecake tastes better after sitting in the fridge for 24 hours. This recipe is designed to be made a day ahead, so you can stress less and celebrate more. It’s perfect for holiday planning.
- Impressive Presentation — It looks stunning on its own. You don’t need fancy decorations. A simple dusting of powdered sugar or a few fresh berries makes it look professional. It’s the dessert that makes you look like a pro baker.
This recipe has saved me more times than I can count. It’s my go-to when I need to impress in-laws, bring something to a church potluck, or just treat myself on a hard week. It’s reliable, delicious, and surprisingly easy.
Ingredients You’ll Need
Let’s talk about what goes into this masterpiece. The beauty of a New York cheesecake is its simplicity. You don’t need a dozen weird spices or hard-to-find items. But you do need quality ingredients, especially the cream cheese. Here’s exactly what you need and why it matters.
For the Crust:
- Graham Cracker Crumbs (1 ½ cups / 150g) — Don’t buy the pre-made crumbs if you can avoid it. They’re often stale. Crush your own boxes of graham crackers in a food processor. It takes two minutes and tastes way better. If you’re short on time, pre-made works, but crush them again for finer texture.
- Unsalted Butter (6 tablespoons / 85g, melted) — This binds the crust. Use real butter, not margarine. It adds that rich, savory flavor that balances the sweet filling.
- Granulated Sugar (2 tablespoons / 25g) — Just a little sweetness for the crust. It helps it caramelize slightly.
- Pinch of Salt — Enhances the chocolate/vanilla notes in the graham crackers.
For the Filling:
- Cream Cheese (32 ounces / 900g, full-fat) — This is the star. You need four 8-ounce blocks. Do not use the tub stuff. It has too much moisture and air. Block cream cheese is denser and gives you that authentic NY texture. Make sure it’s room temperature. I know, I know, it’s hard to wait. But cold cream cheese creates lumps that are impossible to beat out.
- Granulated Sugar (1 cup / 200g) — Standard white sugar. It dissolves easily and doesn’t darken the crust.
- Sour Cream (1 cup / 240g, full-fat) — This is the secret ingredient. It adds tanginess and moisture, keeping the cheesecake from becoming too dry. It also helps prevent cracks. Don’t skip it.
- Heavy Cream (2 tablespoons / 30ml) — Adds extra richness and helps smooth out the batter. It’s optional but recommended for that silky mouthfeel.
- Eggs (4 large, room temperature) — Eggs provide structure. Room temperature eggs blend more evenly, preventing overmixing. Overmixing incorporates air, which causes cracking.
- Vanilla Extract (2 teaspoons) — Use real vanilla, not imitation. It’s a subtle flavor, but it makes a huge difference in a dairy-heavy dessert.
- Cornstarch (2 tablespoons / 15g) — This is the game-changer. It stabilizes the filling, preventing cracks and ensuring a uniform texture. It’s the “foolproof” part of the recipe.
For Topping (Optional):
- Fresh Berries — Strawberries, raspberries, or blueberries. The tartness cuts through the richness.
- Whipped Cream — For extra indulgence.
- Chocolate Shavings — For a decadent twist.
Quick tip: If you want to try a different flavor, you can swap the vanilla for lemon zest or add a swirl of caramel before baking. But for this classic version, keep it simple.
Equipment Needed
You don’t need a lot of fancy gadgets, but having the right tools makes the process much smoother.
- 9-Inch Springform Pan — Essential for cheesecake. It allows you to release the sides without flipping the cake. Look for one with a tight seal to prevent leaks. If you’re worried about leaks, wrap the bottom in aluminum foil.
- Stand Mixer or Hand Mixer — You need to beat the cream cheese until it’s completely smooth. A stand mixer is ideal, but a hand mixer works fine. Avoid using a whisk by hand; it’s too much work.
- Food Processor — For crushing the graham crackers into fine crumbs. A zip-top bag and rolling pin works in a pinch, but the processor gives a more even texture.
- Large Bowl — For mixing the batter. Make sure it’s big enough to scrape the sides easily.
- Offset Spatula — For smoothing the top of the cheesecake before baking. It gives that professional, flat finish.
- Cooling Rack — For cooling the cake gradually. Sudden temperature changes cause cracks.
Don’t have a stand mixer? A sturdy hand mixer is fine. Just be patient and scrape the sides often. And please, for the love of all that is holy, use a springform pan. Trying to get a cheesecake out of a regular pan is a nightmare.
How to Make It: Step-by-Step
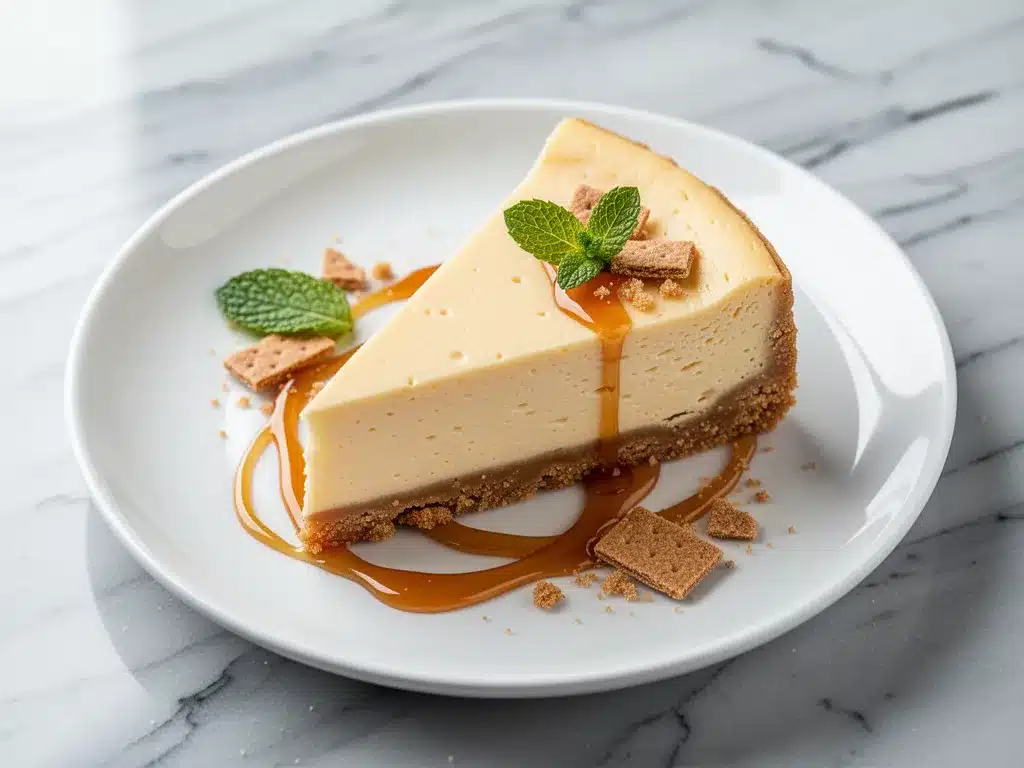
Alright, let’s make this! I’m walking you through exactly how I do it, including the little tricks I’ve picked up over the years. This process takes about 15 minutes of active prep, plus baking and cooling time.
Step 1: Prepare the Crust (5 minutes)
Preheat your oven to 325°F (160°C). This lower temperature is crucial. It bakes the cheesecake gently, preventing cracks. In a food processor, pulse the graham cracker crumbs until they’re fine. Add the melted butter, sugar, and salt. Pulse until the mixture looks like wet sand. Press this mixture firmly into the bottom of your springform pan. Use the bottom of a measuring cup to pack it down evenly. You want a solid base, not a loose crumbly one. Set aside.
Step 2: Beat the Cream Cheese (3 minutes)
In a large bowl, beat the room-temperature cream cheese on medium-low speed until it’s completely smooth and creamy. This is the most important step. Scrape down the sides and bottom of the bowl. If there are any lumps, keep beating. It should look like frosting. This usually takes 2-3 minutes. Don’t rush this part.
Step 3: Add Sugar and Dry Ingredients (2 minutes)
Add the sugar and cornstarch to the cream cheese. Mix on low until combined. Scrape the bowl again. You want everything incorporated, but don’t overmix. Overmixing adds air, which leads to cracks.
Step 4: Incorporate Wet Ingredients (2 minutes)
Add the sour cream, heavy cream, and vanilla extract. Mix on low until just combined. Then, add the eggs one at a time, mixing on low speed after each addition. Stop as soon as the egg is incorporated. Do not beat the eggs in. You just want them to blend. The batter should be thick and smooth.
Step 5: Bake the Cheesecake (1 hour 15 minutes)
Pour the batter over the crust. Smooth the top with an offset spatula. Tap the pan gently on the counter a few times to release any air bubbles. Bake at 325°F for 1 hour and 15 minutes. The edges should be set, but the center should still jiggle slightly like Jell-O when you shake the pan. It will firm up as it cools. Do not overbake!
Step 6: Cool Gradually (2 hours)
Turn off the oven and crack the door open slightly. Leave the cheesecake inside for 1 hour. This gradual cooling prevents thermal shock, which is the main cause of cracking. After an hour, remove the cheesecake from the oven and let it cool on the counter for another hour. Then, refrigerate it for at least 6 hours, preferably overnight.
Step 7: Serve
Run a knife around the edge of the pan to loosen the cake before releasing the springform ring. Slice with a sharp knife dipped in hot water for clean cuts. Top with berries or whipped cream if desired.
Total Time: About 2 hours active, plus 8+ hours cooling/chilling.
Expert Tips & Tricks
Here’s everything I’ve learned from making this dozens of times. These tips will save you from my mistakes.
- Room Temperature Ingredients — This cannot be stressed enough. Cold cream cheese and eggs create lumps and uneven mixing. Take your cream cheese out of the fridge 2-3 hours before baking. If you forget, microwave it in 10-second bursts until it’s pliable.
- Don’t Overmix — Once you add the eggs, mix on low speed and stop as soon as they’re incorporated. Overmixing adds air bubbles, which expand in the oven and cause cracks. Think gentle, not vigorous.
- The Jiggle Test — The cheesecake is done when the edges are set but the center 2 inches still jiggle slightly. It will firm up as it cools. If it’s completely firm in the oven, it’s overbaked and will crack.
- Gradual Cooling — The oven-off method is non-negotiable. Letting the cake cool slowly in the turned-off oven prevents the temperature shock that causes cracks. Be patient.
- Chill Overnight — Cheesecake tastes better after sitting in the fridge for 24 hours. The flavors meld, and the texture becomes firmer and creamier. If you can wait, wait.
Common Mistakes:
- Mistake: Cracked Top — Fix: You overmixed or cooled too quickly. Next time, mix less and cool slowly.
- Mistake: Runny Center — Fix: Underbaked. Bake for 5-10 minutes longer next time.
- Mistake: Dense and Dry — Fix: Overbaked or too much flour/cornstarch. Ensure you’re using the right amount of cornstarch and not overbaking.
Variations & Substitutions
Once you’ve nailed the basic version, here’s how you can mix it up. I’ve tried all of these.
- Chocolate Cheesecake — Add ½ cup cocoa powder to the dry ingredients. It’s rich and fudgy.
- Lemon Cheesecake — Add the zest of two lemons and 2 tablespoons of lemon juice. Bright and refreshing.
- Strawberry Swirl — Mix ½ cup strawberry jam with 1 teaspoon cornstarch. Swirl into the batter before baking.
- Graham Cracker Crust Alternative — Use crushed digestive biscuits or Oreos (remove the filling for a lighter crust). It changes the flavor profile slightly but works well.
- Sour Cream Sub — You can use Greek yogurt, but it’s tangier and thinner. Use less if you do.
Dietary Modifications:
- Gluten-Free — Use gluten-free graham crackers or almond flour for the crust. The filling is naturally gluten-free.
- Dairy-Free — Use vegan cream cheese and coconut cream. It won’t be exactly the same, but it’s creamy and delicious.
Serving & Storage
How to Serve:
I usually serve this straight from the fridge. It’s best when it’s cold and firm. Slice with a sharp knife dipped in hot water for clean cuts. Wipe the knife between cuts. Top with fresh berries, a dollop of whipped cream, or a drizzle of chocolate sauce. It pairs beautifully with a cup of coffee or tea.
Storage Instructions:
- Refrigerator: Store in an airtight container or covered with plastic wrap for up to 5 days. It actually tastes better on day two.
- Freezing: Yes, you can freeze it! Wrap the whole cake (or individual slices) tightly in plastic wrap and then aluminum foil. Freeze for up to 2 months. Thaw in the fridge overnight. Note: The texture may be slightly different after freezing, but it’s still good.
Pro Tip: If you’re bringing this to a party, make it the day before. It gives you time to relax and enjoy the process. Plus, it looks more professional after settling overnight.
Nutrition Information
I’m not a nutritionist, but here’s the breakdown if you’re tracking. This is a rich dessert, so portion control is key.
Per Serving (based on 12 slices):
- Calories: 380
- Protein: 6g
- Carbs: 28g
- Fiber: 1g
- Sugar: 20g
- Fat: 28g
- Saturated Fat: 16g
- Cholesterol: 95mg
- Sodium: 250mg
What’s Good: High in protein from the cream cheese. Calcium-rich. What to Know: Higher in calories and fat due to the dairy. It’s a treat, not a health food. But it’s better than most store-bought options because you control the ingredients.
Final Thoughts
So that’s my foolproof New York cheesecake! I’ve probably talked your ear off at this point, but when you make a recipe this often, you have a lot to say about it. This has saved me more times than I can count. It’s my answer to “what dessert can I make that will impress everyone without stressing me out?”
Make it yours! Try different toppings, swap in your favorite fruit, or add a swirl of jam. The best recipes are the ones you adapt to your tastes. If you make this, drop a comment and let me know what you think! I love hearing how recipes turn out in your kitchen. And if something doesn’t work, tell me that too—I’m here to help troubleshoot.
Happy baking! And I hope your kitchen smells half as good as mine does right now.
Frequently Asked Questions
Q: Why did my cheesecake crack?
A: Usually, it’s because the cake was overmixed or cooled too quickly. Next time, mix the eggs in gently on low speed, and use the oven-off cooling method. Also, make sure your cream cheese is room temperature to avoid lumps that require overmixing.
Q: Can I use a water bath?
A: You can, but it’s not necessary with this recipe. The cornstarch and gradual cooling method work just as well and are less messy. If you prefer a water bath, wrap your springform pan tightly in foil to prevent leaks.
Q: Can I make this ahead of time?
A: Absolutely! This recipe is designed to be made a day ahead. In fact, it tastes better after sitting in the fridge for 24 hours. You can make it up to 3 days in advance.
Q: Why is my cheesecake runny?
A: It might be underbaked. The center should jiggle slightly but not be liquid. If it’s still runny after cooling, you may need to bake it for 5-10 minutes longer next time. Also, ensure your oven temperature is accurate.
Q: Can I freeze cheesecake?
A: Yes! Wrap it tightly in plastic wrap and then aluminum foil. Freeze for up to 2 months. Thaw in the fridge overnight. The texture may be slightly different, but it’s still delicious.
Q: Can I use low-fat cream cheese?
A: I don’t recommend it. Low-fat cream cheese has more water and less fat, which affects the texture and flavor. Full-fat cream cheese gives you the authentic, creamy texture you’re looking for.
Q: How do I get clean slices?
A: Dip your knife in hot water and wipe it dry between each cut. This ensures smooth, clean slices without dragging the top of the cake.
Pin This Recipe!
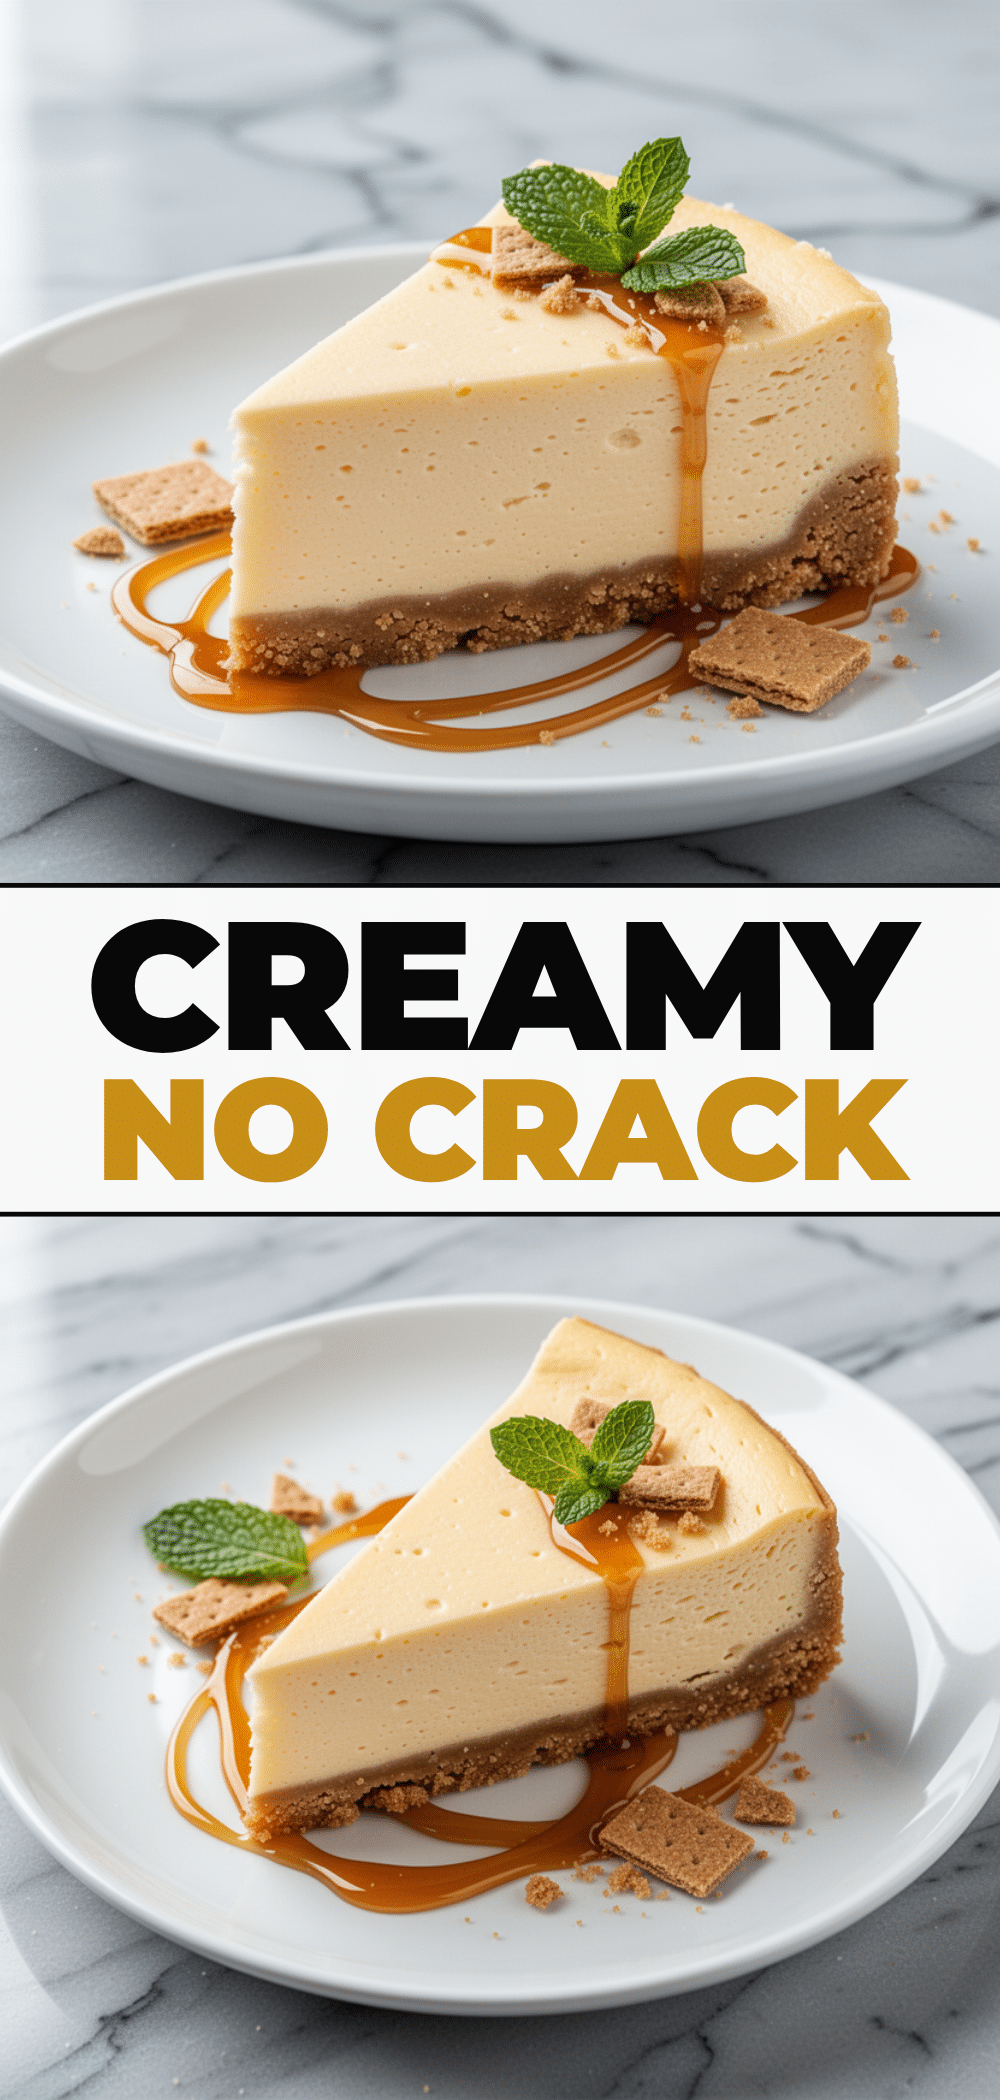
Foolproof New York Cheesecake: Best Creamy Recipe
- Total Time: 8 hours 30 minutes
- Yield: 12 servings 1x
Description
A dense, creamy, and foolproof New York-style cheesecake with a graham cracker crust. This recipe prevents cracking through temperature control and cornstarch, resulting in a bakery-quality dessert that is rich yet spoon-soft.
Ingredients
- 1 ½ cups (150g) graham cracker crumbs
- 6 tablespoons (85g) unsalted butter, melted
- 2 tablespoons (25g) granulated sugar
- Pinch of salt
- 32 ounces (900g) full-fat block cream cheese, room temperature
- 1 cup (200g) granulated sugar
- 1 cup (240g) full-fat sour cream
- 2 tablespoons (30ml) heavy cream
- 4 large eggs, room temperature
- 2 teaspoons vanilla extract
- 2 tablespoons (15g) cornstarch
Instructions
- Preheat oven to 325°F (160°C).
- In a food processor, pulse graham cracker crumbs until fine. Add melted butter, sugar, and salt; pulse until mixture resembles wet sand.
- Press the crust mixture firmly into the bottom of a 9-inch springform pan. Set aside.
- In a large bowl, beat room-temperature cream cheese on medium-low speed until completely smooth and creamy (2-3 minutes). Scrape down sides and bottom.
- Add sugar and cornstarch to the cream cheese. Mix on low until combined. Scrape bowl again.
- Add sour cream, heavy cream, and vanilla extract. Mix on low until just combined.
- Add eggs one at a time, mixing on low speed after each addition. Stop as soon as the egg is incorporated. Do not overmix.
- Pour batter over the crust and smooth the top with an offset spatula.
- Tap the pan gently on the counter to release air bubbles.
- Bake at 325°F for 1 hour and 15 minutes. The edges should be set, but the center should jiggle slightly like Jell-O.
- Turn off the oven and crack the door open slightly. Leave the cheesecake inside for 1 hour to cool gradually.
- Remove from oven and let cool on the counter for another hour.
- Refrigerate for at least 6 hours, preferably overnight.
- Run a knife around the edge to loosen before releasing the springform ring.
- Slice with a sharp knife dipped in hot water for clean cuts. Serve with toppings if desired.
Notes
Ensure all ingredients, especially cream cheese and eggs, are at room temperature to prevent lumps and cracking. Do not overmix the batter once eggs are added, as this incorporates air which causes cracks. The cheesecake must cool gradually in the turned-off oven to prevent thermal shock. It tastes best after chilling overnight.
- Prep Time: 15 minutes
- Cook Time: 1 hour 15 minutes
- Category: Dessert
- Cuisine: American
Nutrition
- Serving Size: 1 slice
- Calories: 380
- Sugar: 20
- Sodium: 250
- Fat: 28
- Saturated Fat: 16
- Carbohydrates: 28
- Fiber: 1
- Protein: 6
Keywords: New York Cheesecake, creamy cheesecake, no crack cheesecake, graham cracker crust, homemade dessert, baking recipe


