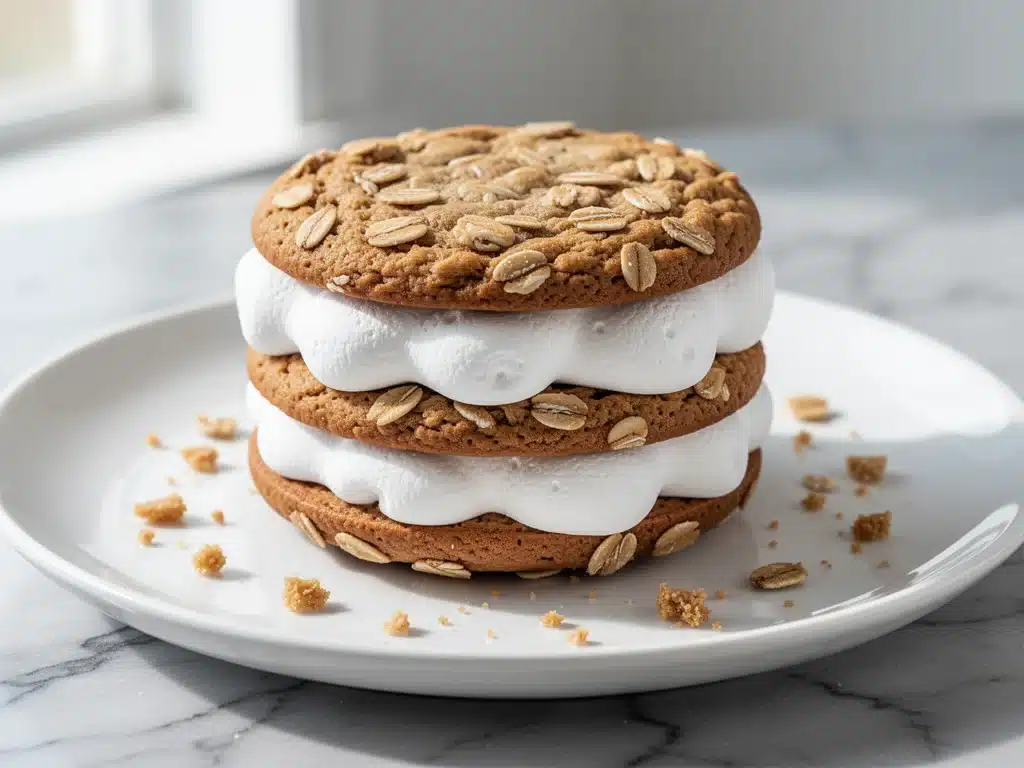
I still remember the exact moment my life changed from “regular home baker” to “the person who makes the good snacks.” It was a rainy Tuesday in late October, and my neighbor, Mrs. Higgins, was looking a little blue. She’d mentioned offhand that her husband was feeling under the weather and she was too tired to make anything special. I felt guilty because I’d just pulled a massive batch of cookies out of the oven, so I grabbed a few warm ones, threw them in a Tupperware, and walked over.
Fast forward three weeks. Mrs. Higgins shows up at my door with a handwritten note and a Tupperware container that was suspiciously empty except for crumbs. The note read: “I made your pies for my book club. They are now the property of the book club. Sorry not sorry.” Suddenly, my phone was blowing up. Friends I hadn’t seen in years were asking for the recipe. People started asking if I was selling them. It was flattering, sure, but it was also a lot of pressure. If I mess up one batch, I’m ruining people’s weekends.
So I went to work. I tested this chewy oatmeal cream pie recipe about twelve times. I tweaked the spice blend, I adjusted the buttercream consistency, and I figured out exactly how to keep the cookies soft for days (spoiler: it’s all about the brown sugar ratio). What I ended up with isn’t just a copycat of the store-bought version—though it’s nostalgic enough to make you close your eyes. It’s better. The cookies are thick, chewy, and packed with warm cinnamon and nutmeg. The filling is light, fluffy, and tastes like actual marshmallow fluff, not that sticky, overly sweet stuff from a jar.
These treats are the ultimate comfort food. They’re perfect for lunchboxes, holiday cookie swaps, or just eating straight out of the jar while you’re staring into your open fridge at midnight. I’ve made these for my kids’ classes, for office potlucks, and for rainy day snacks with my husband. And every single time, I get the same reaction: “How did you make these? They taste like childhood.” If you’re looking for a dessert that’s easy to make but looks like you spent hours in a bakery kitchen, this is it. They’re surprisingly simple, using ingredients you probably already have in your pantry.
Why You’ll Love This Recipe
There are a hundred cookie recipes out there, but this homemade marshmallow cream pie holds a special place in my heart. It’s the kind of recipe that just works, every single time. Here’s why these pies have taken over my kitchen:
- Soft as a Cloud — Seriously, these cookies stay soft for days. I’ve left them out on the counter for four days, and they’re still chewy. The secret is the brown sugar and a touch of corn syrup in the dough. Store-bought ones get rock-hard by day two. These don’t.
- Fluffy, Not Sticky — Most marshmallow fillings are either too runny or so sticky you need a chainsaw to get them off your fingers. This buttercream is whipped to perfection. It’s light, airy, and holds its shape beautifully when you sandwich the cookies together.
- Spice That Wakes You Up — I don’t skimp on the cinnamon and nutmeg. These cookies smell like a cozy fall morning. If you love the scent of baking cinnamon rolls or chai-spiced snickerdoodles, you’re going to love these.
- Nostalgic but Elevated — They taste like the little orange packages from your childhood, but with real butter, fresh spices, and a filling that isn’t just powdered sugar. It feels homemade and special, even if you’re just making a quick snack.
- Make-Ahead Friendly — You can bake the cookies days in advance and store them in an airtight container. Then, when you’re ready, just whip up the filling and assemble. It’s the perfect way to prep for a party or a school bake sale without the last-minute stress.
- Kid-Approved — My picky eater son, who usually turns his nose up at anything with “marshmallow” in the name, devoured three of these in one sitting. They’re sweet but not cloying, and the texture is just right.
This recipe has saved me more times than I can count. When I need to bring something to a potluck that’s guaranteed to disappear, I make these. When I need to comfort my kids after a bad day, I make these. It’s my go-to “I love you” dessert.
Ingredients You’ll Need
The beauty of this recipe is that it relies on pantry staples. You don’t need anything fancy or hard to find. Here’s what you’ll need to make these chewy oatmeal cream pies, along with my tips for picking the best ingredients.
For the Chewy Oatmeal Cookies
Unsalted butter (1 cup / 226g) — Room temperature is non-negotiable. If your butter is cold, it won’t cream properly with the sugar, and your cookies will be dense. I take my butter out of the fridge an hour before I start.
Light brown sugar (1 cup / 200g) — Packed. This is what gives the cookies their chewiness and that deep molasses flavor. Dark brown sugar works too, but it might make the cookies a bit too dense. Light brown is the sweet spot.
Granulated white sugar (½ cup / 100g) — This helps with the slight crispness on the edges. Don’t skip it entirely, or the cookies will be too cake-like.
Large egg (1) — Room temperature. It helps bind everything together. Crack it into a small bowl first to make sure it’s fresh.
Vanilla extract (2 teaspoons) — Use real vanilla, not imitation. It makes a huge difference in the flavor profile. I use Nielsen-Massey because it’s pure and aromatic.
All-purpose flour (1¾ cups / 220g) — Spoon and level your flour. Don’t scoop it directly from the bag, or you’ll pack too much in and get dry cookies.
Baking soda (1 teaspoon) — This helps the cookies spread and brown. Make sure it’s fresh; if it’s old, your cookies won’t rise.
Cornstarch (1 teaspoon) — This is my secret weapon. It softens the texture of the cookie, making it tender and chewy rather than crunchy.
Corn syrup (1 tablespoon) — Yes, really. This keeps the cookies soft for days. It’s the same trick used in commercial oatmeal cream pies. You won’t taste it, I promise.
Cinnamon (1½ teaspoons) — Ground cinnamon. Use a fresh jar if you can; old cinnamon loses its punch.
Nutmeg (½ teaspoon) — Freshly grated is best, but ground works fine. It adds that warm, cozy flavor.
Salt (½ teaspoon) — To balance the sweetness.
Rolled oats (2 cups / 160g) — Use old-fashioned rolled oats, not quick oats. Quick oats will make the cookies mushy. Old oats give that classic chewy texture.
For the Fluffy Marshmallow Buttercream
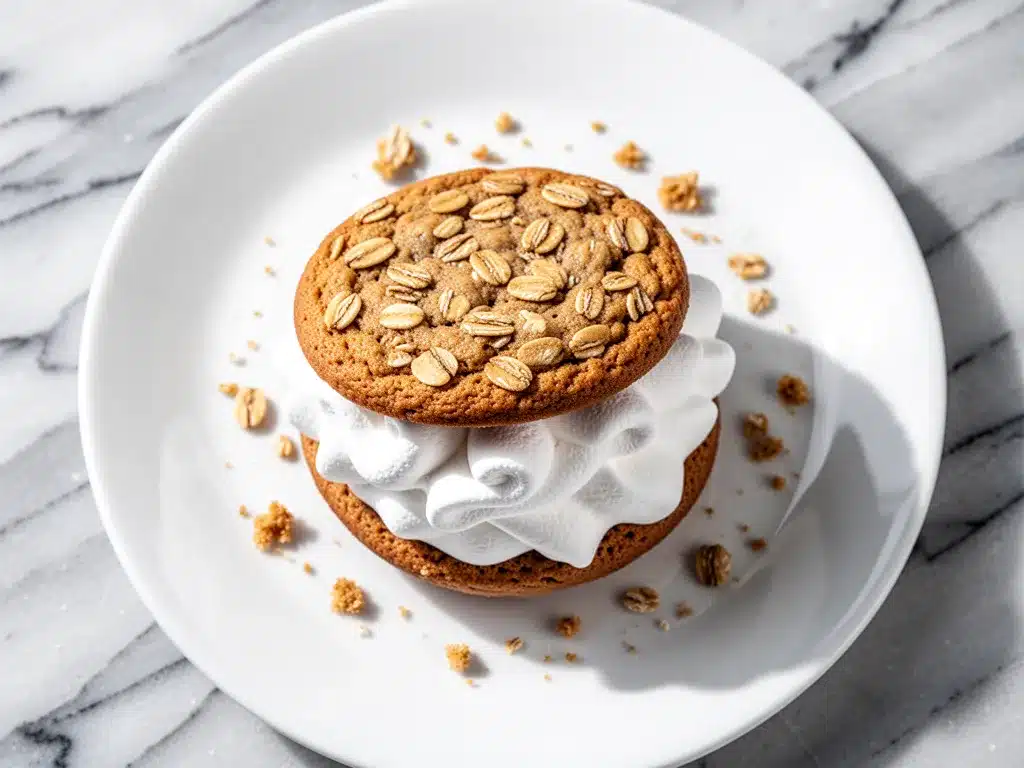
Marshmallow fluff (1 jar / 7 oz) — The key ingredient. I use Jet-Puffed because it’s the standard, but any brand works. Don’t try to substitute with marshmallows; the texture will be wrong.
Unsalted butter (½ cup / 113g) — Room temperature. Soft and creamy.
Confectioners’ sugar (2 cups / 240g) — Sifted if it’s lumpy. You want a smooth, silky frosting.
Vanilla extract (1 teaspoon) — For flavor.
Milk (1-2 tablespoons) — Whole milk works best for richness, but any milk will do. Add it slowly to get the right consistency.
Pinch of salt — To cut the sweetness.
Pro Tip: I always measure my marshmallow fluff by weighing it if I have a kitchen scale, but if I don’t, I spoon it into the measuring cup instead of scooping, which makes it stick too much.
Equipment Needed
You don’t need a fancy kitchen to make these. Here’s what I actually use:
Stand mixer or hand mixer — I prefer my stand mixer because it’s less tiring, but a hand mixer works perfectly fine. You just need to cream the butter and sugar until light and fluffy.
Mixing bowls — One large bowl for the wet ingredients, one for the dry. I use stainless steel because they’re durable and easy to clean.
Cooling racks — Essential. You need to cool the cookies completely before filling them, or the buttercream will melt. I have two wire racks that sit on my counter.
Baking sheets — I use half-sheet pans. Dark non-stick pans work well because they promote browning.
Piping bag or spoon — I use a piping bag with a large round tip for a pretty look, but a spoon works just as well if you’re in a hurry. I also use a small offset spatula to smooth the filling.
Measuring cups and spoons — Accurate measuring is key for baking. I have a set of metal cups that don’t bend.
Whisk — For mixing the dry ingredients.
Storage containers — Airtight containers to keep the cookies soft. I use glass ones with locking lids.
How to Make It: Step-by-Step
Alright, let’s get baking! This recipe is straightforward, but there are a few tricks to getting that perfect chewy texture and fluffy filling.
Step 1: Prep Your Oven and Pans (5 minutes)
Preheat your oven to 350°F (175°C). Line two large baking sheets with parchment paper or silicone baking mats. This prevents sticking and makes cleanup a breeze. I always use parchment because it gives the cookies even browning.
Step 2: Cream the Butter and Sugars (3 minutes)
In the bowl of your stand mixer fitted with the paddle attachment, beat the softened butter, brown sugar, and granulated sugar on medium-high speed for about 2-3 minutes. You want the mixture to be pale, fluffy, and light. This step incorporates air, which helps the cookies rise. If you’re using a hand mixer, this might take 4-5 minutes. Don’t rush it.
Step 3: Add Wet Ingredients (1 minute)
Add the egg, vanilla extract, and corn syrup to the butter mixture. Beat on medium speed until just combined. Scrape down the sides of the bowl with a spatula to make sure everything is mixed in evenly.
Step 4: Mix Dry Ingredients (2 minutes)
In a separate medium bowl, whisk together the flour, baking soda, cornstarch, cinnamon, nutmeg, and salt. This ensures the spices are evenly distributed so you don’t get a bite that’s just pure cinnamon.
Step 5: Combine Wet and Dry (2 minutes)
With the mixer on low speed, gradually add the dry ingredients to the wet ingredients. Mix until just combined. Do not overmix, or the cookies will be tough. Once the flour streaks disappear, stop mixing.
Step 6: Fold in the Oats (1 minute)
Use a rubber spatula to gently fold in the rolled oats. Folding by hand ensures the oats are distributed without breaking them down too much. You want big, chewy bits of oat in every bite.
Step 7: Scoop and Bake (12-14 minutes)
Scoop about 2 tablespoons of dough per cookie (I use a small ice cream scoop for consistency) and place them on the prepared baking sheets, spacing them about 2 inches apart. They will spread. Bake for 12-14 minutes, or until the edges are golden brown but the centers still look slightly soft. They will firm up as they cool. I rotate the pans halfway through baking for even browning.
Step 8: Cool Completely (30 minutes)
Let the cookies cool on the baking sheets for 5 minutes, then transfer them to a wire rack to cool completely. This is crucial. If you fill warm cookies, the buttercream will melt and slide off. Patience pays off here.
Step 9: Make the Buttercream (5 minutes)
While the cookies cool, make the filling. In a clean bowl, beat the softened butter until creamy. Add the marshmallow fluff and beat on medium-high speed until smooth and fluffy, about 2 minutes. Gradually add the confectioners’ sugar, vanilla, and salt. Beat on low until combined, then increase speed to high and beat for another 2 minutes until light and airy. If the frosting is too thick, add milk one teaspoon at a time. If it’s too thin, add a bit more powdered sugar.
Step 10: Assemble the Pies (10 minutes)
Take a cookie and spread a generous amount of buttercream on the flat side. Press another cookie on top, flat side down, to form a sandwich. Gently press down to spread the filling to the edges. Repeat with all cookies. I like to smooth the edges with a finger or a small spatel for a neat look, but it’s not necessary.
Expert Tips & Tricks
Here’s everything I’ve learned from making these dozens of times. These tips will save you from common pitfalls.
Don’t Overbake
This is the most important tip. The cookies should look slightly underdone when you take them out. They continue to cook on the hot pan. Overbaked cookies are crunchy, not chewy. I pull mine out when the edges are just turning gold.
Room Temperature Ingredients
Butter and eggs should be room temperature. Cold ingredients don’t emulsify properly, leading to a grainy dough and uneven baking. I leave my butter on the counter for an hour. If I forget, I can grate cold butter into small pieces and microwave for 10 seconds to speed it up.
Measure Flour Correctly
Flour is the enemy of chewy cookies if you use too much. Spoon it into the measuring cup and level it off with a knife. Never scoop directly from the bag. This simple habit makes a huge difference.
Chill the Dough (Optional)
If your kitchen is warm, or if you have time, chill the dough for 30 minutes before baking. This prevents the cookies from spreading too much and helps them stay thick and chewy. I usually skip this because I’m impatient, but it’s a good trick for hot days.
Store Properly
Once assembled, store the pies in an airtight container at room temperature for up to 5 days. If you live in a humid climate, add a slice of bread to the container. The cookies will absorb the moisture from the bread and stay soft.
Freezing the Cookies
You can freeze the baked cookies (unfilled) for up to 3 months. Thaw them at room temperature before filling. This is great for meal prepping.
Variations & Substitutions
Once you’ve mastered the basic version, here are some fun ways to mix it up. I’ve tried all of these.
Chocolate Chip Oatmeal Cream Pies
Add 1 cup of semi-sweet chocolate chips to the dough. My kids love these. It’s like a chewy oatmeal cookie sandwich with a hint of chocolate.
White Chocolate Macadamia
Substitute the chocolate chips with white chocolate chips and ½ cup of chopped macadamia nuts. It’s fancy and delicious.
Pumpkin Spice Version
Add ½ cup of pumpkin puree to the wet ingredients and increase the cinnamon to 2 teaspoons. This is perfect for fall. You might need to add a little extra flour to balance the moisture.
Gluten-Free Option
Use a 1:1 gluten-free flour blend. The texture will be slightly different but still delicious. I’ve used Bob’s Red Mill 1-to-1 blend with great results.
Dairy-Free
Use dairy-free butter and dairy-free marshmallow fluff (like Dandies). The cookies will be slightly less rich, but still tasty.
Double Chocolate
Add ¼ cup of cocoa powder to the dry ingredients and use chocolate chips in the dough. The filling can stay the same, or you can mix a little cocoa into the buttercream for a mocha flavor.
Serving & Storage
How to Serve:
I usually serve these with a cold glass of milk. It’s the classic combo. They’re also great with coffee or tea. I like to arrange them on a platter with napkins for parties. They look rustic and homemade.
Side Dishes:
These are a dessert, so they don’t really need sides. But if you’re having a tea party, they pair well with iced vanilla chai latte or simple lemonade.
Storage Instructions:
Refrigerator: Store in an airtight container for up to 5 days. They might firm up slightly in the fridge, so let them sit at room temperature for 15 minutes before eating.
Freezing: You can freeze the assembled pies for up to 2 months. Wrap them individually in plastic wrap, then place them in a freezer bag. Thaw at room temperature. The texture might be slightly softer, but they’re still good.
Pro Tip: If you’re making these ahead for a party, assemble them the day before. They taste even better the next day as the flavors meld together.
Nutrition Information
I’m not a nutritionist, but here’s the breakdown if you’re tracking. Keep in mind, these are sweet treats, so enjoy in moderation.
Per Serving (1 pie, based on 24 pies):
- Calories: 280
- Protein: 3g
- Carbs: 42g
- Fiber: 1g
- Sugar: 28g
- Fat: 12g
- Saturated Fat: 7g
- Cholesterol: 30mg
- Sodium: 180mg
What’s Good:
- Oats provide some fiber and heart-healthy benefits.
- They’re a satisfying sweet treat that’s better than processed candy.
What to Know:
- High in sugar and saturated fat due to the butter and marshmallow fluff.
- Contains gluten and dairy.
My Take:
Look, these are cookies. They’re supposed to be sweet and indulgent. They’re not a health food. But they’re made with real ingredients, and I know exactly what’s in them. When I make them, I enjoy one or two and savor every bite. That’s the best way to approach them.
Final Thoughts
So that’s my recipe for chewy oatmeal cream pies with fluffy marshmallow buttercream. I’ve probably talked your ear off at this point, but when you make a recipe this often, you have a lot to say about it. These pies have become a staple in my house. They’re my answer to “what’s for dessert?” when I want something comforting and nostalgic. My kids are happy, my neighbors are happy, and I’m happy because I’m not stressed about making something complicated.
Make them yours! Try adding chocolate chips, swap the oats for different textures, or adjust the spice level to your liking. The best recipes are the ones you adapt to your family’s tastes. If you make these, drop a comment and let me know what you think! I love hearing how recipes turn out in your kitchen. And if something doesn’t work, tell me that too—I’m here to help troubleshoot.
Happy baking! And I hope your kitchen smells half as good as mine does right now.
Frequently Asked Questions
Q: Can I use quick oats instead of rolled oats?
A: I wouldn’t recommend it. Quick oats are cut smaller and will make the cookies mushy and dense. Old-fashioned rolled oats give that classic chewy texture. If you only have quick oats, you can pulse them in a food processor a few times to make them larger, but it’s not ideal.
Q: Why did my cookies spread too much?
A: This usually happens if the butter was too soft or if the oven wasn’t preheated enough. Make sure your butter is softened but not melted. Also, check your oven temperature with a thermometer; ovens can be off by 25 degrees. Chilling the dough for 30 minutes can also help prevent spreading.
Q: Can I freeze the assembled pies?
A: Yes, but they might get a bit soggy when thawed. I recommend freezing the cookies unfilled, then thawing and assembling them fresh. If you must freeze them assembled, wrap them tightly in plastic wrap and foil. Thaw at room temperature.
Q: Can I use homemade marshmallow fluff?
A: Homemade fluff is delicious, but it’s usually wetter than store-bought fluff. If you use it, you might need to add more powdered sugar to the buttercream to get the right consistency. Start with less milk and add it slowly.
Q: How do I keep the cookies soft?
A: The key is the brown sugar and corn syrup in the dough, plus not overbaking them. Store them in an airtight container with a slice of bread. The bread releases moisture that keeps the cookies soft.
Q: Can I make these gluten-free?
A: Yes! Use a 1:1 gluten-free flour blend. The texture will be slightly different but still tasty. I’ve used Bob’s Red Mill 1-to-1 blend with great results.
Q: Can I double the recipe?
A: Absolutely! Just make sure you have enough mixing bowl space and baking sheets. You can bake multiple sheets at once, rotating them halfway through. The baking time stays the same.
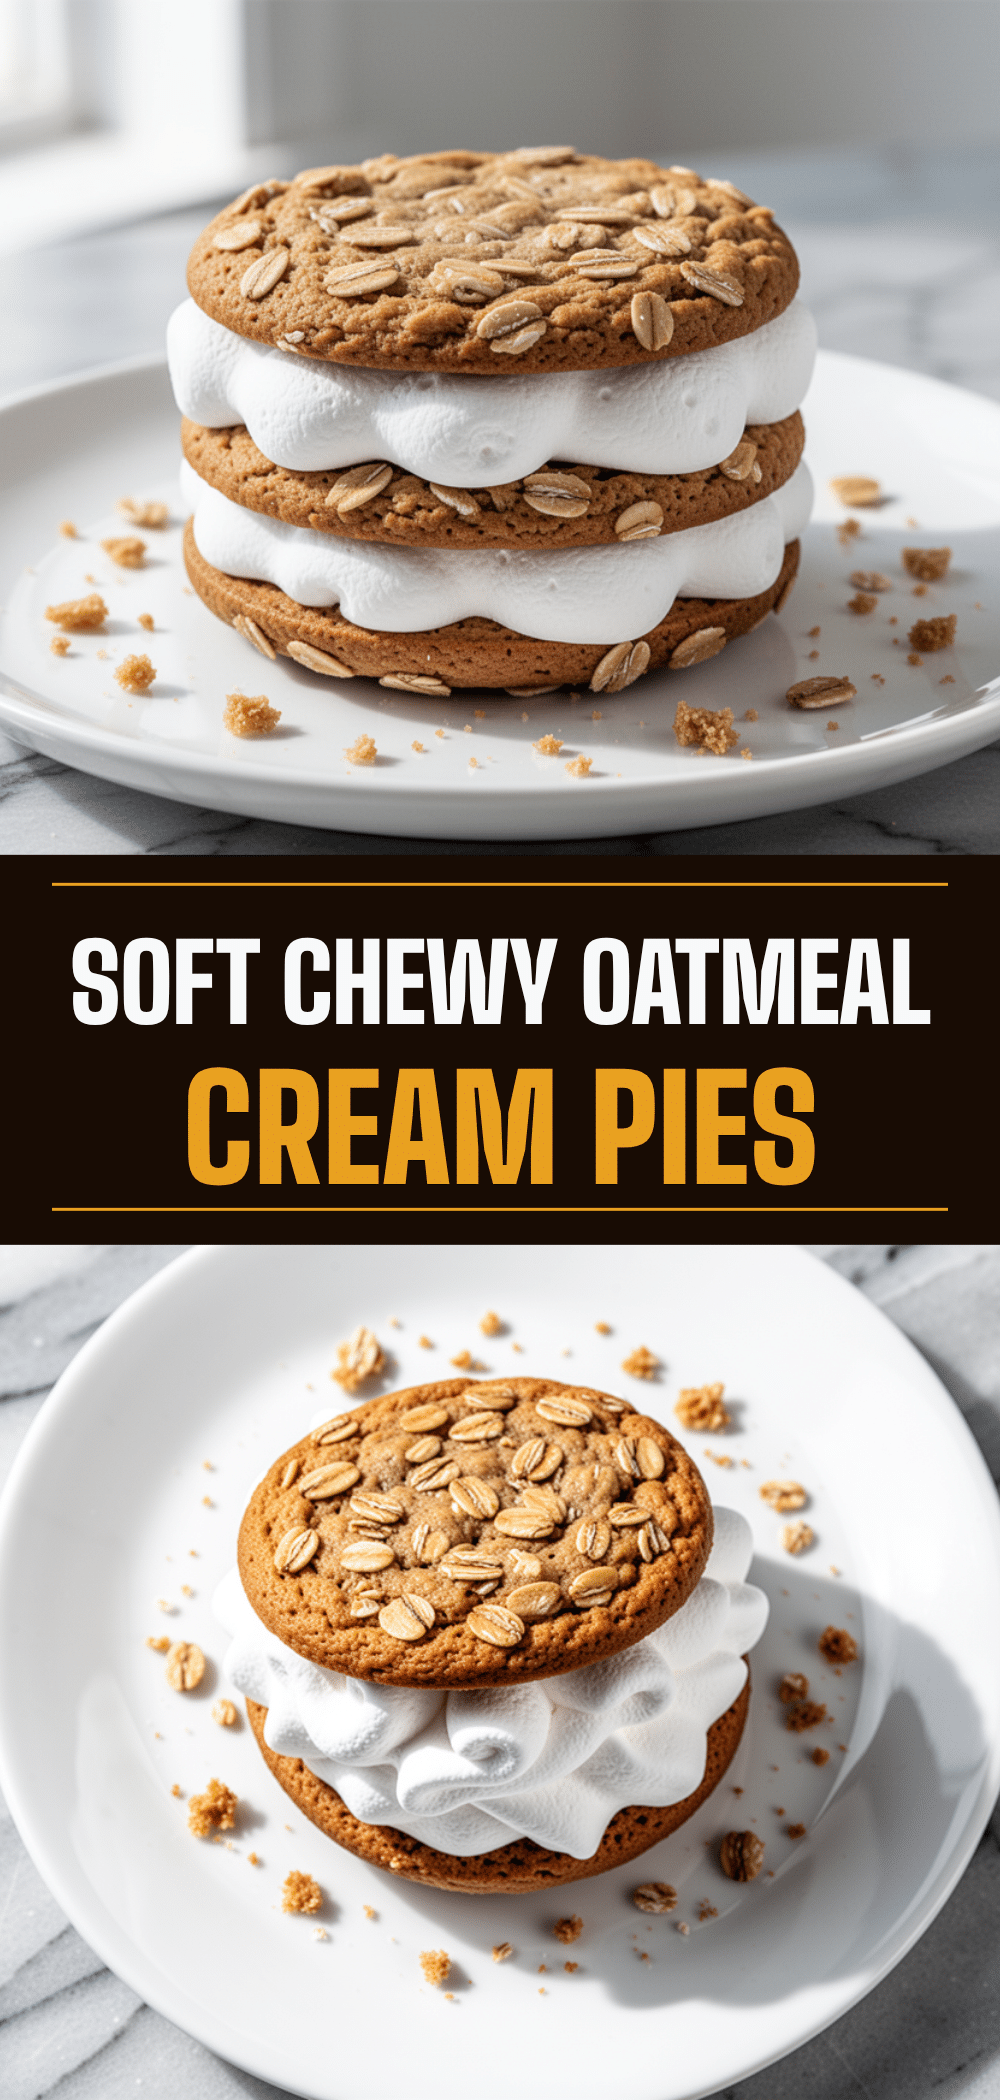
Pin This Recipe!
Chewy Oatmeal Cream Pies: 5 Easy Homemade Marshmallow Treats
- Total Time: 50 minutes
- Yield: 24 servings 1x
Description
These homemade oatmeal cream pies feature thick, chewy cookies packed with warm cinnamon and nutmeg, sandwiched around a light, fluffy marshmallow buttercream filling. They are soft, nostalgic, and surprisingly easy to make using pantry staples.
Ingredients
- 1 cup (226g) unsalted butter, room temperature
- 1 cup (200g) light brown sugar, packed
- ½ cup (100g) granulated white sugar
- 1 large egg, room temperature
- 2 teaspoons vanilla extract
- 1¾ cups (220g) all-purpose flour
- 1 teaspoon baking soda
- 1 teaspoon cornstarch
- 1 tablespoon corn syrup
- 1½ teaspoons ground cinnamon
- ½ teaspoon ground nutmeg
- ½ teaspoon salt
- 2 cups (160g) old-fashioned rolled oats
- 1 jar (7 oz) marshmallow fluff
- ½ cup (113g) unsalted butter, room temperature
- 2 cups (240g) confectioners’ sugar, sifted
- 1 teaspoon vanilla extract
- 1–2 tablespoons whole milk
- Pinch of salt
Instructions
- Preheat oven to 350°F (175°C). Line two large baking sheets with parchment paper or silicone mats.
- In a stand mixer fitted with the paddle attachment, beat the softened butter, brown sugar, and granulated sugar on medium-high speed for 2-3 minutes until pale and fluffy.
- Add the egg, vanilla extract, and corn syrup. Beat on medium speed until just combined, scraping down the sides of the bowl.
- In a separate medium bowl, whisk together the flour, baking soda, cornstarch, cinnamon, nutmeg, and salt.
- With the mixer on low speed, gradually add the dry ingredients to the wet ingredients. Mix until just combined; do not overmix.
- Use a rubber spatula to gently fold in the rolled oats.
- Scoop about 2 tablespoons of dough per cookie onto the prepared baking sheets, spacing them 2 inches apart.
- Bake for 12-14 minutes, or until edges are golden brown but centers look slightly soft. Rotate pans halfway through baking.
- Let cookies cool on baking sheets for 5 minutes, then transfer to a wire rack to cool completely.
- While cookies cool, beat the softened butter for the filling until creamy. Add marshmallow fluff and beat until smooth.
- Gradually add confectioners’ sugar, vanilla, and a pinch of salt. Beat on high until light and airy. Add milk one teaspoon at a time if needed to adjust consistency.
- Spread a generous amount of buttercream on the flat side of a cookie. Press another cookie on top to form a sandwich. Repeat with all cookies.
Notes
Ensure butter and eggs are at room temperature for proper emulsification. Do not overbake the cookies; they should look slightly underdone when removed from the oven as they firm up while cooling. Store in an airtight container at room temperature for up to 5 days. For extra softness, add a slice of bread to the container. Cookies can be frozen unfilled for up to 3 months.
- Prep Time: 20 minutes
- Cook Time: 14 minutes
- Category: Dessert
- Cuisine: American
Nutrition
- Serving Size: 1 pie
- Calories: 280
- Sugar: 28
- Sodium: 180
- Fat: 12
- Saturated Fat: 7
- Carbohydrates: 42
- Fiber: 1
- Protein: 3
Keywords: oatmeal cream pies, marshmallow cookies, homemade marshmallow fluff, chewy oatmeal cookies, fall baking, kid-friendly snacks, comfort food


