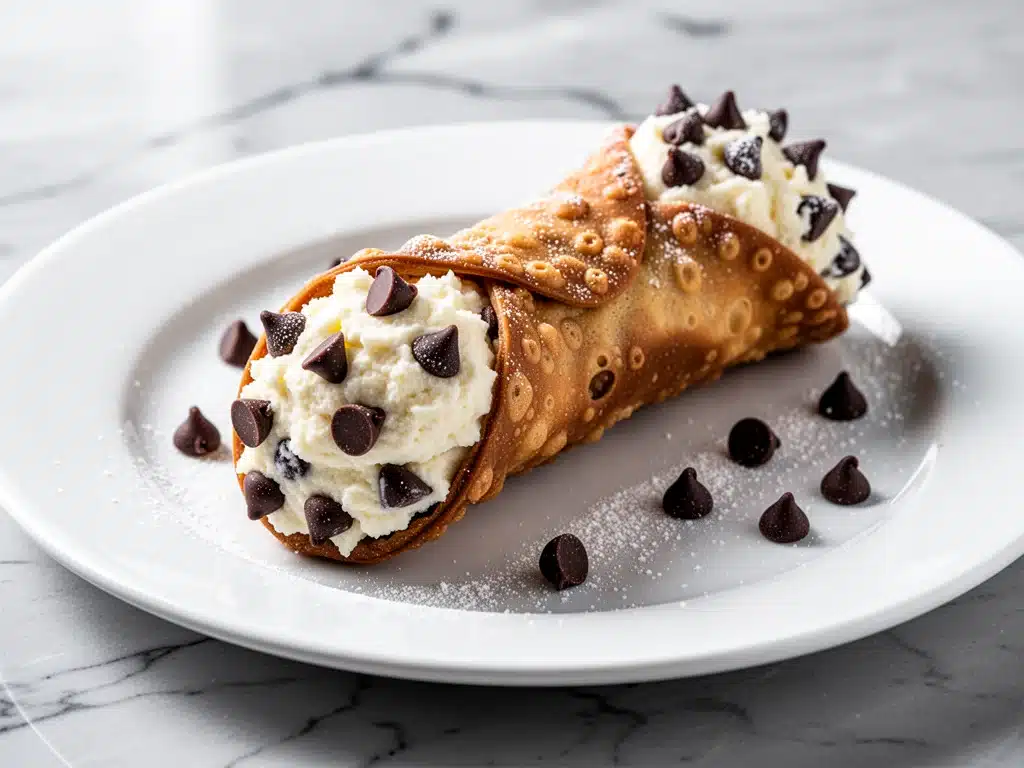
Let me set the scene for you. It was last Easter, and I was standing in my aunt Maria’s kitchen, watching her pull a tray of cannoli shells out of the fryer. They looked perfect—golden, crisp, and rigid. But here’s the thing: the filling was already piped inside. By the time we got to the table twenty minutes later, the shells were soggy. Sad, limp, and disappointingly soft. I took one bite and immediately reached for the next one, but that first bite ruined it for me. It tasted like heavy cream and wet cardboard.
I’ve made ultra-crispy homemade cannoli countless times since then, and I can confidently say that the difference between a bakery-quality cannoli and a sad, soggy mess comes down to two things: the shell technique and the timing. Most recipes online skip the hard parts—the part where you actually get the dough thin enough, and the part where you keep it crispy until the very last second.
After years of testing, failing, and eating a lot of soggy pastry, I’ve cracked the code. This method uses a simple vodka trick (yes, really) to ensure the shells snap when you bite them, and it includes a foolproof filling strategy that keeps everything fresh for dessert parties. If you’ve ever wanted to impress your family with something that tastes like it came from a high-end Italian bakery but is actually easy enough to make on a Sunday afternoon, this is the recipe for you. I’ve tested this ultra-crispy homemade cannoli recipe for everything from casual brunches to formal dinner parties, and it never fails.
Why You’ll Love This Recipe
There are about a dozen reasons I keep making these cannoli, but let’s be real—you’re here because you want that perfect crunch without the stress. Here’s why this method wins every time:
- Actually Crisp Shells — I’ve tried every shell recipe out there. This one uses a splash of vodka in the dough. It sounds weird, but the alcohol evaporates faster than water, creating tiny air pockets that make the pastry shatteringly crisp. No chewiness. Just snap.
- Make-Ahead Friendly — You can prep the shells up to 3 days ahead and store them in an airtight container. The filling is best made the day of, but you can prep the ricotta mixture a few hours in advance. This is a lifesaver for hosting.
- Simple Ingredients — You probably have most of this in your pantry. Flour, sugar, cocoa powder, butter, ricotta, vanilla, and a few chocolates. No weird stabilizers or hard-to-find items.
- Party-Proof — These hold up beautifully on a dessert table. Unlike fudgy mint chocolate brownies which need to be eaten immediately, or fall maple pecan pie bars that can get sticky in humidity, cannoli shells stay rigid for hours if kept dry. Perfect for buffets.
- Customizable — Love chocolate chips? Add them. Prefer white chocolate? Swap it out. Want a hint of orange? Add zest. This recipe is a blank canvas for your creativity.
This recipe has saved my hosting reputation more than once. It looks incredibly professional and difficult, but once you get the hang of rolling and frying the shells, it’s actually quite meditative. Plus, the smell of frying dough and vanilla cream filling will have everyone asking for the recipe.
Ingredients You’ll Need
Here’s the best part: you don’t need fancy equipment or exotic ingredients. I’m particular about three things here—the quality of the ricotta, the type of flour, and the chocolate—and I’ll tell you exactly why.
For the Shells
All-purpose flour (2 cups / 250g) — Don’t use cake flour or bread flour. All-purpose gives the right balance of structure and tenderness. Sift it first to remove lumps; it makes rolling easier.
Cocoa powder (2 tablespoons / 10g) — I use unsweetened cocoa powder for a rich, dark shell. If you want white cannoli shells, just omit this and add an extra tablespoon of sugar. Natural cocoa is best, but Dutch-processed works too.
Granulated sugar (2 tablespoons / 25g) — Just a little sweetness in the dough so it balances the filling. Don’t skip it; it helps with browning.
Unsalted butter (2 tablespoons / 28g, melted) — Cold butter is for pie crusts. Melted butter keeps the dough pliable and tender. Let it cool slightly before adding.
Egg yolk (1 large) — Only the yolk. The fat in the yolk adds richness and helps bind the dough without making it tough.
Vodka (1 tablespoon / 15ml) — This is the secret weapon. It doesn’t taste like alcohol in the final product (it burns off completely during frying), but it inhibits gluten formation, ensuring maximum crispiness.
Vegetable or canola oil (for frying) — You need enough oil to submerge the shells. I use a neutral oil with a high smoke point. Olive oil is too flavorful for this.
Confectioners’ sugar (for dusting) — Essential for that classic bakery look. Have a fine-mesh sieve ready.
For the Filling
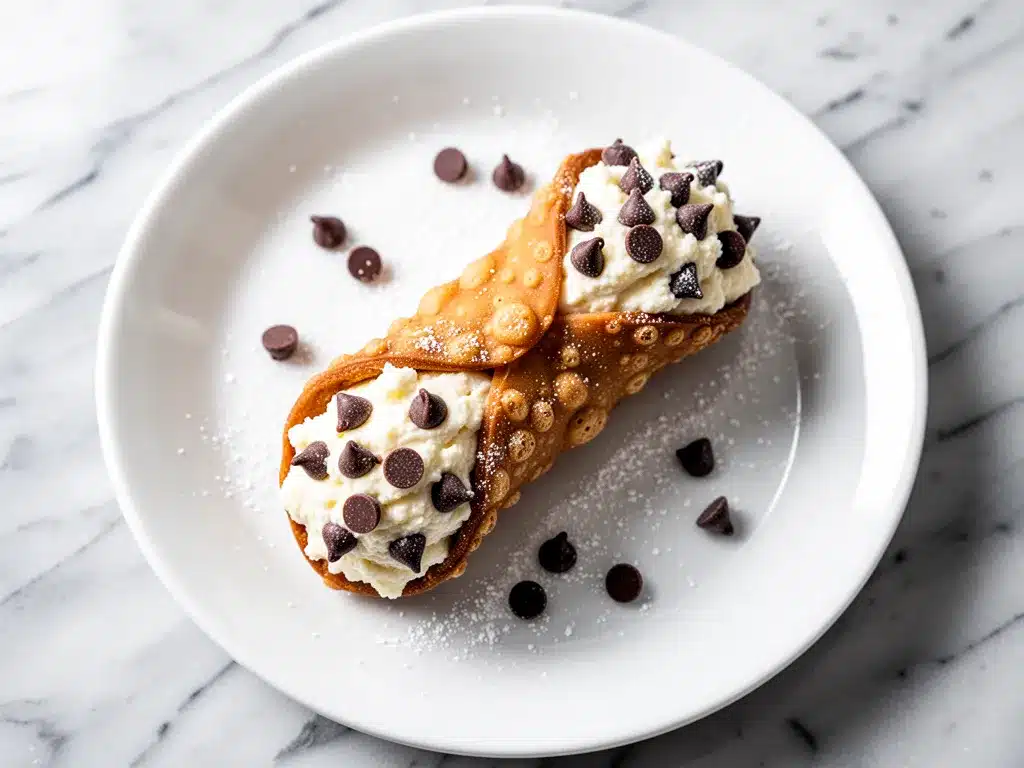
Whole-milk ricotta cheese (16 oz / 450g) — This is non-negotiable. Do not use low-fat ricotta. Do not use cottage cheese unless you blend it until completely smooth (and even then, it’s not the same). Whole-milk ricotta is creamy and rich. Buy the best brand you can find.
Confectioners’ sugar (½ cup / 60g) — Sift this! Lumpy sugar in the filling is a texture nightmare.
Vanilla extract (1 teaspoon) — Use pure vanilla. Artificial vanilla tastes harsh in a delicate cream filling.
Orange zest (1 teaspoon) — Optional but highly recommended. It cuts through the richness of the cheese and adds brightness.
Melted chocolate (½ cup / 85g) — Dark or semi-sweet chocolate chips, melted. This is for dipping the ends of the shells. It seals the edge and adds a beautiful finish.
Crushed pistachios or chocolate sprinkles (for garnish) — For decoration. Pistachios are traditional and add a nice salty crunch.
Equipment Needed
You don’t need fancy equipment for this. Here’s what I actually use:
Large mixing bowl — For combining the dough. A glass or ceramic bowl works well.
Pastry brush — For brushing the shells with egg wash if you’re doing a decorative pattern, or just for handling the dough.
Rolling pin — A standard wooden rolling pin is fine. I like a French-style rolling pin because it has no handle, giving you more control.
Cannoli forms or metal tubes — You can buy these online or at kitchen stores. They usually come in sets of 4-6. If you don’t have them, you can use wooden chopsticks, but metal tubes are easier to handle.
Deep fryer or heavy-bottomed pot — A Dutch oven works great. You need something with high sides to prevent oil splatter.
Candy thermometer — Crucial for getting the oil to the right temperature (375°F / 190°C). Frying at the wrong temp leads to greasy or burnt shells.
Piping bag with a large star tip — A ½-inch star tip gives that classic ridged look. If you don’t have a piping bag, you can use a Ziploc bag with the corner snipped off, but a piping bag is much cleaner.
Wire rack and paper towels — For draining the fried shells. You need airflow to keep them crisp.
How to Make It: Step-by-Step
Alright, let’s make this! I’m walking you through exactly how I do it, including the little tricks I’ve picked up over the years.
Step 1: Make the Dough (10 minutes)
In a large bowl, whisk together the flour, cocoa powder, and sugar. Make a well in the center. Add the melted butter, egg yolk, and vodka. Mix with a fork until a shaggy dough forms. Turn it out onto a lightly floured surface and knead gently for 2-3 minutes until smooth. Don’t overwork it! The dough should be soft and pliable. Wrap it in plastic wrap and refrigerate for at least 30 minutes. This relaxes the gluten and makes rolling much easier.
Step 2: Roll the Dough Thin (15 minutes)
Take the chilled dough out. Cut it in half. On a lightly floured surface, roll one half out as thin as possible. I mean paper-thin. If you can see your hand through it, you’re good. Thin dough is the key to crispy shells. If it’s too thick, they’ll be chewy. Cut the dough into circles using a round cutter or the rim of a glass. You should get about 8-10 circles per half. Keep the unused half wrapped so it doesn’t dry out.
Step 3: Wrap the Shells (5 minutes)
Take a circle of dough and wrap it diagonally around a cannoli tube. Press the edges gently to seal. If the dough is too dry, brush the edge with a little water. The dough should be tight but not stretched so thin that it tears. Repeat with all the circles. If the dough starts to crack, let it sit for a few minutes to warm up slightly.
Step 4: Fry the Shells (10 minutes)
Heat the oil in your pot to 375°F (190°C). Carefully slide 2-3 shells into the oil. They will puff up immediately. Fry for 1-2 minutes, turning once, until golden brown and crisp. Use a slotted spoon to remove them. Let them drain on a wire rack for about 30 seconds. While they’re still warm and flexible, gently slide them off the tubes. If they cool down too much, they’ll become brittle and break. Place them back on the rack to cool completely. They will crisp up further as they cool.
Step 5: Prepare the Filling (15 minutes)
In a food processor or blender, pulse the ricotta cheese until smooth. This takes about 30 seconds. Scrape down the sides. Add the sifted confectioners’ sugar, vanilla extract, and orange zest. Pulse again until well combined. The mixture should be thick and creamy. If it’s too runny, add more sugar. If it’s too thick, add a teaspoon of milk. Transfer to a piping bag fitted with a star tip.
Step 6: Melt the Chocolate
Melt the chocolate chips in the microwave in 30-second intervals, stirring between each. Or use a double boiler. Let it cool slightly so it’s warm but not hot. You don’t want it so hot that it melts the cream filling.
Step 7: Assemble Just Before Serving
Take a cooled cannoli shell. Pipe the ricotta filling into one end until it bulges slightly. Dip the filled end into the melted chocolate, then into crushed pistachios or sprinkles. Repeat with the other end. Place on a plate. Serve immediately. The longer you wait, the softer the shell gets.
Expert Tips & Tricks
Here’s everything I’ve learned from making this dozens of times. These tips will save you from my mistakes.
- Roll It Thin — I can’t stress this enough. Thick dough = chewy shells. Thin dough = crispy shells. Don’t be afraid to roll it out. If it sticks, add a little more flour.
- Oil Temperature Matters — If the oil is too cool, the shells absorb oil and become greasy. If it’s too hot, they burn before they cook through. Use a thermometer. If you don’t have one, drop a small piece of dough in; it should sizzle vigorously and float to the top immediately.
- Drain Well — After frying, let the shells drain on a wire rack, not paper towels. Paper towels can trap steam and make the bottoms soggy. Wire racks allow air to circulate all around.
- Fill Last Minute — Cannoli shells are hygroscopic—they absorb moisture from the air and the filling. If you fill them hours in advance, they will be soggy. Fill them right before you serve them. If you must prep ahead, store the shells and filling separately.
- Smooth the Ricotta — Lumpy ricotta ruins the texture. Use a food processor or blender to get it silky smooth. It makes a huge difference in the mouthfeel.
- Chocolate Seal — Dipping the ends in chocolate seals the shell, preventing the filling from leaking out and keeping the end crisp a little longer.
Variations & Substitutions
Once you’ve nailed the basic version, here’s how you can mix it up. I’ve tried all of these.
- White Chocolate Cannoli — Omit the cocoa powder from the dough. Add 1 teaspoon of lemon zest to the filling instead of orange. Dip the ends in white chocolate.
- Matcha Cannoli — Replace the cocoa powder with 1 tablespoon of matcha powder in the dough. Add a hint of white chocolate to the filling.
- Mini Cannoli — Use smaller tubes or even just roll the dough into small logs. These are perfect for cocktail parties and look elegant on a dessert board, similar to how fall charcuterie boards use bite-sized items.
- Gluten-Free — Use a 1:1 gluten-free flour blend. The vodka trick still works, but GF flour can be more brittle, so handle the shells gently.
- Dairy-Free — Use dairy-free butter in the dough. For the filling, use a dairy-free ricotta alternative (like cashew-based ricotta) or a thick coconut cream whipped with sugar and vanilla. The texture will be different, but still delicious.
Serving & Storage
How to Serve: I usually serve these on a platter lined with parchment paper. Dust them lightly with confectioners’ sugar right before serving for that fresh-from-the-bakery look. They pair beautifully with iced vanilla chai lattes or strong espresso.
Storage: Store unfilled shells in an airtight container at room temperature for up to 3 days. Do not refrigerate them, as the humidity will make them soft. The filling can be stored in the fridge for up to 24 hours. Bring it to room temperature before piping. Do not freeze filled cannoli; the shells will become soggy upon thawing.
Reheating: You don’t need to reheat cannoli. If the shells get soft, you can refresh them by placing them in a 300°F (150°C) oven for 2-3 minutes. Let them cool completely before filling. This restores some of the crispiness.
Nutrition Information
I’m not a nutritionist, but here’s the breakdown if you’re tracking. These are indulgent treats, so portion control is key!
Per Cannolo (based on 12 servings):
- Calories: 320
- Protein: 8g
- Carbs: 28g
- Fat: 20g
- Sugar: 18g
- Sodium: 120mg
These are richer than a standard cookie, largely due to the fried dough and cheese filling. But they’re also satisfying in small quantities. If you’re watching your sugar, you can reduce the sugar in the filling by half and use dark chocolate for dipping.
Final Thoughts
So that’s my go-to ultra-crispy homemade cannoli! I know it looks intimidating, but once you break it down into steps, it’s actually quite simple. The hardest part is waiting to fill them until the last minute. I’ve made these for holiday parties, bridal showers, and lazy Sunday afternoons, and they always get rave reviews.
Make it yours! Try different chocolates, different nuts, or different flavor extracts. The best recipes are the ones you adapt to your tastes. If you make these, drop a comment and let me know how they turned out! I love hearing how recipes work in your kitchen. And if something doesn’t work, tell me that too—I’m here to help troubleshoot.
Happy cooking! I hope your kitchen smells half as good as mine does right now.
Frequently Asked Questions
Why are my cannoli shells soggy?
Most likely, you filled them too early. Cannoli shells absorb moisture from the air and the filling very quickly. Fill them right before serving. Also, make sure you rolled the dough thin enough and fried it at the correct temperature. If the oil was too cool, the shells will be greasy and soft.
Can I bake the shells instead of frying them?
You can, but they won’t be as crispy or authentic. To bake, place the wrapped shells on a baking sheet and bake at 375°F (190°C) for 8-10 minutes. They will be more like a pastry shell than a crisp tube. Frying is the traditional method and gives that signature snap.
Can I make the dough ahead of time?
Yes! Wrap the dough tightly in plastic wrap and refrigerate for up to 2 days. You can also freeze it for up to 1 month. Thaw it in the fridge overnight before rolling. This can actually help the dough relax, making it easier to roll thin.
Why did my dough crack when I wrapped it around the tubes?
The dough was probably too dry or too cold. Let it sit at room temperature for 10-15 minutes before rolling. If it’s still cracking, add a teaspoon of water or milk to the dough next time. The vodka helps with crispiness, but you still need enough moisture to keep it pliable.
Can I use a different type of cheese?
Traditional cannoli use ricotta. Mascarpone is too soft and won’t hold its shape well. Cream cheese is too tangy and dense. Ricotta is the right balance of sweetness, texture, and flavor. If you must substitute, try blending cottage cheese until completely smooth, but the texture will be different.
How do I get the filling out of the piping bag?
If the filling is too stiff, it will be hard to pipe. Let it sit at room temperature for 15 minutes before piping. If it’s still too thick, add a teaspoon of milk or cream. The filling should be thick enough to hold its shape but soft enough to pipe smoothly.
Can I freeze the filled cannoli?
No, I don’t recommend it. The shells will become soggy and the filling may separate upon thawing. It’s best to freeze the unfilled shells if you need to prep ahead, but even then, they’re best fresh. Fresh cannoli are always superior to frozen ones.
Pin This Recipe!
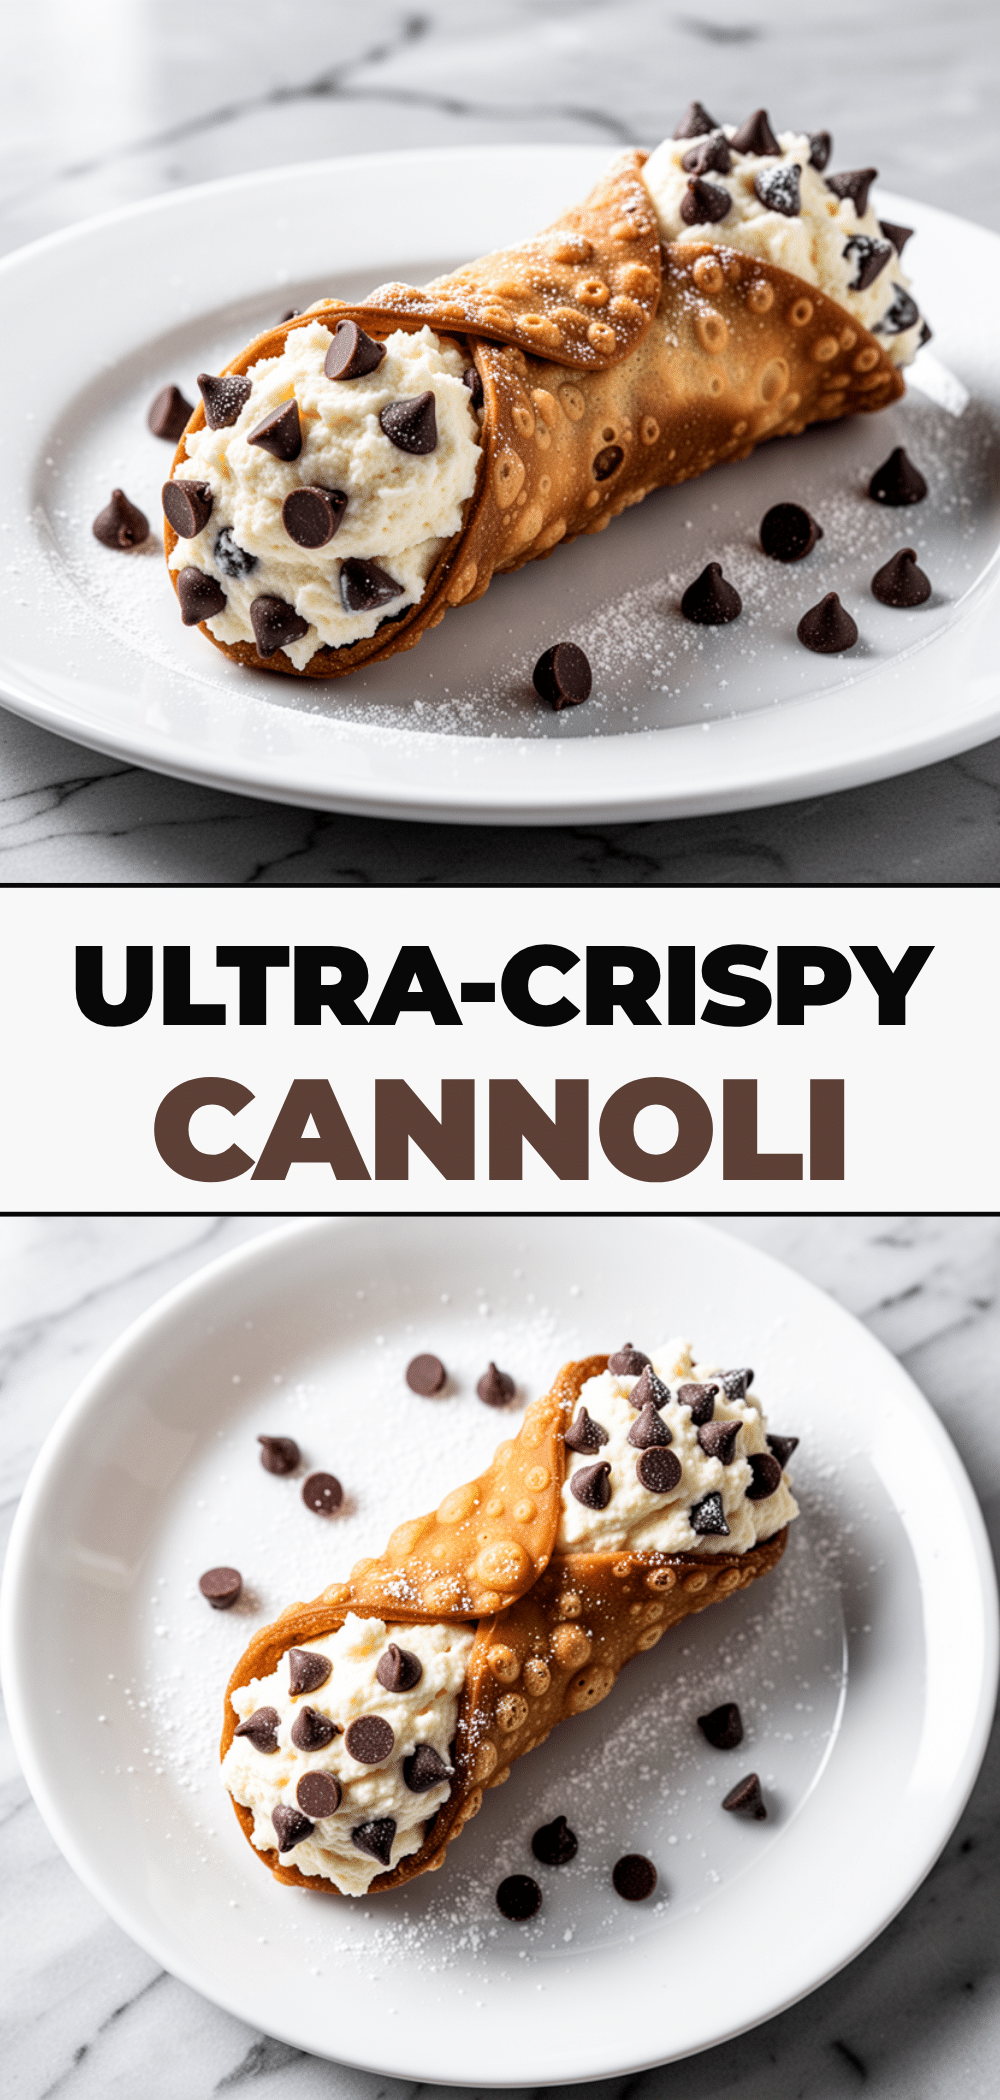

Ultra-Crispy Homemade Cannoli: 5 Easy Steps
- Total Time: 55 minutes
- Yield: 12 servings 1x
Description
Achieve bakery-quality, shatteringly crisp cannoli shells using a secret vodka trick in the dough. This recipe includes a foolproof ricotta filling strategy and step-by-step instructions for perfect timing and texture.
Ingredients
- 2 cups (250g) all-purpose flour
- 2 tablespoons (10g) unsweetened cocoa powder
- 2 tablespoons (25g) granulated sugar
- 2 tablespoons (28g) unsalted butter, melted
- 1 large egg yolk
- 1 tablespoon (15ml) vodka
- Vegetable or canola oil (for frying)
- Confectioners’ sugar (for dusting)
- 16 oz (450g) whole-milk ricotta cheese
- 1/2 cup (60g) confectioners’ sugar, sifted
- 1 teaspoon vanilla extract
- 1 teaspoon orange zest
- 1/2 cup (85g) dark or semi-sweet chocolate chips, melted
- Crushed pistachios or chocolate sprinkles (for garnish)
Instructions
- In a large bowl, whisk together flour, cocoa powder, and sugar. Make a well in the center.
- Add melted butter, egg yolk, and vodka. Mix with a fork until a shaggy dough forms.
- Turn dough onto a lightly floured surface and knead gently for 2-3 minutes until smooth. Wrap in plastic wrap and refrigerate for at least 30 minutes.
- Take chilled dough out and cut in half. Roll one half out as thin as possible on a floured surface.
- Cut dough into circles using a round cutter or glass rim (approx. 8-10 circles per half).
- Wrap a circle of dough diagonally around a cannoli tube, pressing edges gently to seal.
- Heat oil in a heavy-bottomed pot to 375°F (190°C).
- Carefully slide 2-3 shells into the oil. Fry for 1-2 minutes, turning once, until golden brown and crisp.
- Remove with a slotted spoon and drain on a wire rack for 30 seconds.
- While still warm, gently slide shells off the tubes and place back on the rack to cool completely.
- In a food processor, pulse ricotta cheese until smooth. Add sifted confectioners’ sugar, vanilla, and orange zest. Pulse until combined.
- Transfer filling to a piping bag fitted with a large star tip.
- Melt chocolate chips in 30-second intervals or using a double boiler.
- Pipe ricotta filling into one end of a cooled shell until it bulges slightly.
- Dip the filled end into melted chocolate, then into crushed pistachios or sprinkles.
- Repeat with the other end and serve immediately.
Notes
The vodka in the dough evaporates during frying, inhibiting gluten formation for maximum crispiness. Do not fill cannoli until just before serving to prevent soggy shells. Store unfilled shells in an airtight container at room temperature for up to 3 days. The ricotta should be blended until completely smooth for the best texture.
- Prep Time: 45 minutes
- Cook Time: 10 minutes
- Category: Dessert
- Cuisine: Italian
Nutrition
- Serving Size: 1 cannolo
- Calories: 320
- Sugar: 18
- Sodium: 120
- Fat: 20
- Saturated Fat: 10
- Carbohydrates: 28
- Fiber: 1
- Protein: 8
Keywords: cannoli, homemade cannoli, crispy cannoli shells, italian dessert, ricotta filling, vodka dough, party dessert, easy cannoli recipe


