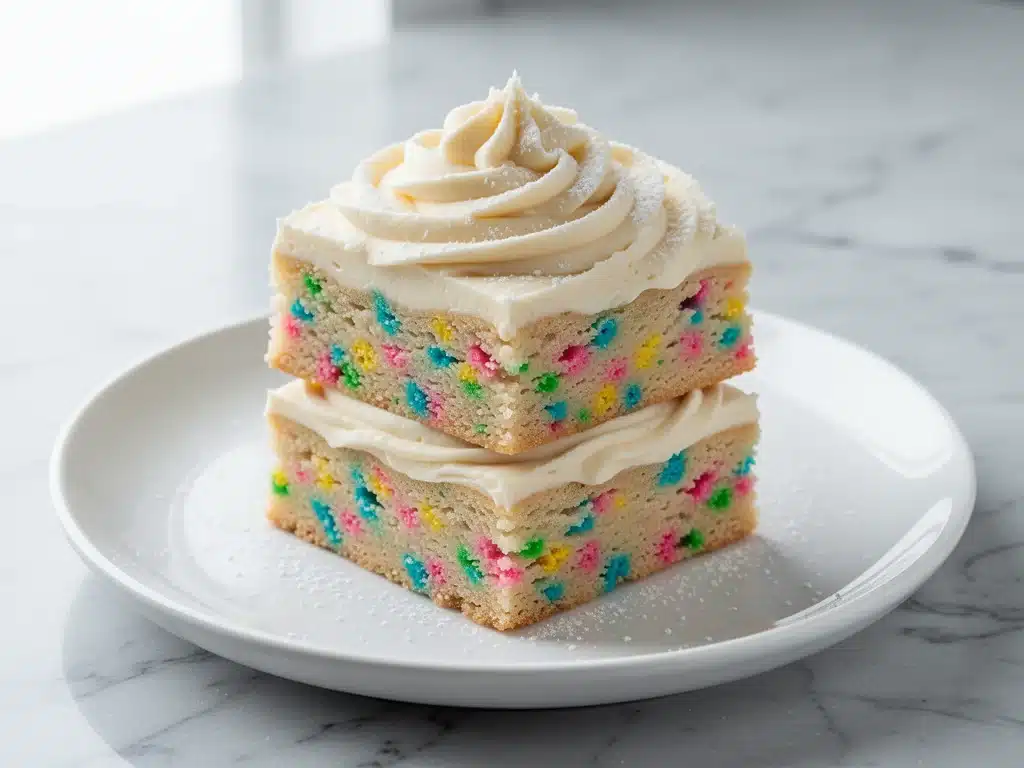
Last month, I was standing in my kitchen at 9 PM on a Thursday, staring at a recipe box from 1998 that was clearly written by someone who hated joy. It called for “creaming butter and sugar until the mixture resembles fine sand.” Fine sand? Who bakes like that? I was trying to make something simple for my nephew’s fifth birthday party the next day—something colorful, nostalgic, and easy enough to throw together while managing a toddler’s meltdown over a missing sock. I wanted the classic birthday cake vibe, but I didn’t want to bake a whole dozen cupcakes or spend three hours icing a layer cake that would just get smashed by excited kids.
That’s when I decided to make small batch funfetti sugar cookie bars. I’ve made these bars at least a dozen times since then, and they have completely replaced my old, tedious birthday dessert routine. They’re bright, they’re chewy, they’re packed with colorful sprinkles, and best of all, they require almost no special equipment. You don’t need a stand mixer (though I use one because I’m lazy), and you don’t need a fancy pan. Just a 8×8 baking dish and about 30 minutes of active time.
Here’s the thing about birthday parties: you don’t need a feast. You need a dessert that makes people smile and doesn’t leave you with a mountain of dishes to scrub the next morning. These bars are the answer. They’re dense enough to feel substantial but soft enough to melt in your mouth. And because I make them in a small batch, I can finish the whole batch before the party starts, rather than hoping the leftovers survive the car ride. If you’re looking for that perfect balance of nostalgia and ease, you’re in the right place.
Why You’ll Love This Recipe
I’ve tried every “easy” cookie bar recipe out there, from the overly crumbly shortbread types to the tough-as-boots bar cookies. This small batch funfetti sugar cookie bar recipe is the sweet spot. It’s the kind of dessert that makes your guests ask for the recipe before they’ve even finished their second square. Here’s why this has become my go-to for any celebration, big or small:
- Stupid Simple — Seriously, if you can mix a bowl and press batter into a pan, you can make this. I’ve walked my teenage daughter through it over FaceTime while she was at college. No complex techniques, no tempering chocolate, no waiting for dough to chill for hours.
- Perfectly Portioned — The small batch aspect is a game-changer. Most cookie bar recipes serve a crowd of 20. This one serves 12-16 generously. It’s perfect for a classroom party, a small playdate, or just when you want to satisfy a craving without a month’s supply of sugar in your pantry.
- Nostalgic Flavor — These taste exactly like the funfetti cake my mom used to buy from the grocery store in the 90s, but baked into a bar format. That specific vanilla-sprinkle flavor hits a memory center in my brain every single time.
- Make-Ahead Friendly — I’ve made these two days in advance, and they actually taste better after a night in the fridge. The flavors meld, and the texture firms up, making them easier to cut into neat squares.
- Zero Waste — Because it’s a small batch, I’m not throwing away half a bag of sprinkles or a stick of butter. I use exactly what I need. It’s budget-friendly and reduces food waste, which is a nice bonus.
This is my go-to when I need a dessert that feels festive but requires zero stress. No complicated techniques, no weird ingredients, just reliable, delicious food that makes everyone happy.
Ingredients You’ll Need
Here’s the best part: you probably have most of this already. This isn’t a recipe that requires a special trip to a specialty store. It’s pantry staples with one or two fun additions. I’m particular about three ingredients here, and I’ll tell you exactly why.
For the Base:
Unsalted butter (½ cup / 113g) — Room temperature is key here. If your butter is cold, it won’t cream properly with the sugar, and your bars will be dense. If you forget to take it out, microwave it for 10-second bursts until it’s soft but not melted. I use high-quality butter like Plugrá or Kerrygold because the flavor really shines through.
Granulated sugar (1 cup / 200g) — This gives the bars their structure and slight crispness on the edges. Don’t swap this for brown sugar unless you want a chewier, molasses-heavy bar. For this specific funfetti vibe, white sugar is the way to go.
Light brown sugar (½ cup / 100g) — This adds moisture and a hint of caramel flavor. It keeps the bars soft. If you’re out, you can use all white sugar, but the texture will be slightly less tender.
Large egg (1) — Room temperature eggs emulsify better into the batter. Cold eggs can cause the butter to seize up slightly. Just let it sit on the counter for 20 minutes while you preheat the oven.
Vanilla extract (2 teaspoons) — Use real vanilla, not imitation. The flavor is concentrated in these bars, so cheap vanilla tastes artificial. I keep a bottle of Nielsen-Massey on hand for baking.
For the Dry Mix:
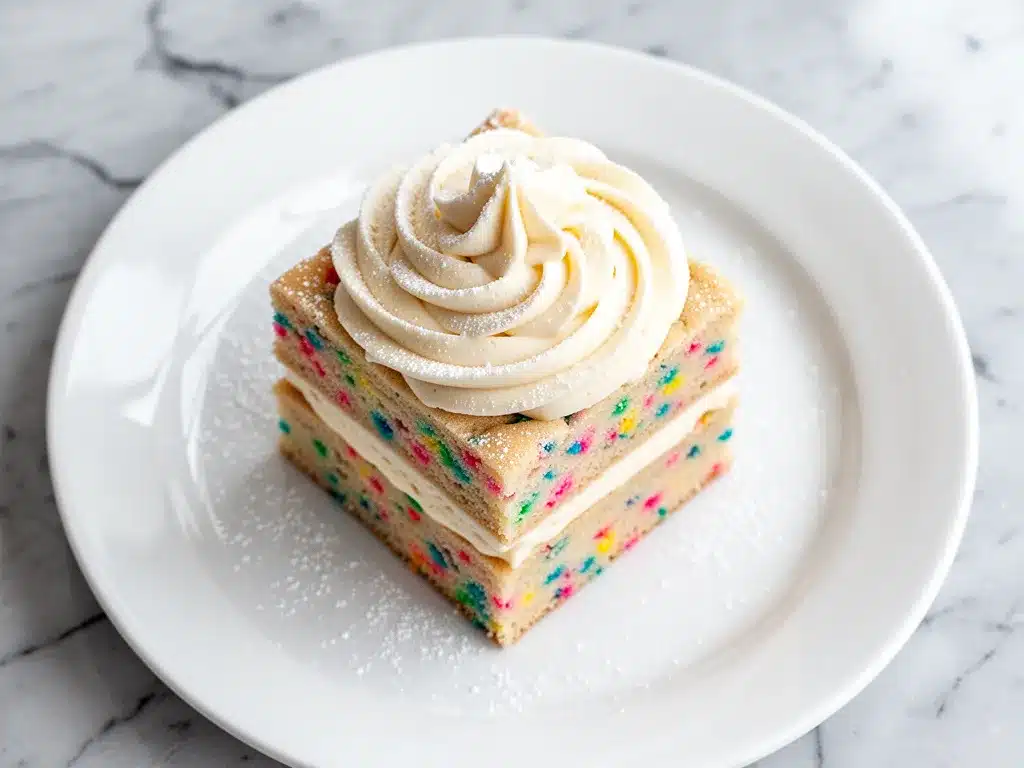
All-purpose flour (1 ½ cups / 190g) — Spoon and level method! Don’t scoop straight from the bag, or you’ll pack in too much flour and get dry bars. Spoon it into the cup and scrape off the top. This is the most common mistake in baking.
Baking powder (1 teaspoon) — This gives them a little lift so they aren’t flat like crackers.
Salt (½ teaspoon) — Essential. It balances the sweetness. Don’t skip it.
For the Fun Part:
Jimmies sprinkles (½ cup / 60g) — Use the long, cylindrical sprinkles, not the round nonpareils. The jimmies hold their shape better in the batter and don’t bleed color as much. I buy a big bag of rainbow jimmies because I use them for everything.
White chocolate chips (¼ cup / 45g) — Optional, but I highly recommend them. They add little pockets of sweetness that mimic the cake batter chunks in traditional funfetti cake. If you’re allergic or avoiding dairy, skip this or use vegan chips.
Equipment Needed
You don’t need fancy equipment for this. Here’s what I actually use.
8×8-inch baking dish — Glass or ceramic works best because it conducts heat evenly. Metal pans can cause the edges to burn faster. I use a Pyrex dish that I’ve had for ten years. It’s scratched up but perfect.
Mixing bowls — One large bowl for the wet ingredients and one medium for the dry. You can do it in one bowl, but two keeps things organized.
Electric hand mixer — I use this because it’s faster than whisking by hand. But if you’re strong, a wooden spoon works fine. You just need to cream the butter and sugars until they’re fluffy, which takes about 3 minutes by hand.
Parchment paper — Line your baking dish with parchment, leaving an overhang on the sides. This is the secret to easy cleanup. You lift the bars out, cut them on a cutting board, and the pan stays clean. I’ve ruined so many dishes by scrubbing stuck-on sugar. Don’t be me.
Wire cooling rack — Essential. Don’t cut the bars while they’re hot. They’ll crumble. Let them cool completely in the pan.
How to Make It: Step-by-Step
Alright, let’s make this! I’m walking you through exactly how I do it, including the little tricks I’ve picked up. This process is straightforward, but timing matters.
Step 1: Prep Your Pan and Oven (2 minutes)
Preheat your oven to 350°F (175°C). Line your 8×8-inch baking dish with parchment paper. Leave a little overhang on the long sides—this acts as a handle to lift the bars out later. Lightly spray the parchment with cooking spray to ensure nothing sticks.
Step 2: Cream the Butter and Sugars (3-4 minutes)
In a large bowl, beat the softened butter, granulated sugar, and brown sugar together. If you’re using a hand mixer, start on medium-low and gradually increase to medium-high. You’re looking for a light, fluffy texture, about 3-4 minutes. The mixture should look pale and airy. If it’s still grainy, keep beating. This step incorporates air, which makes the bars tender.
Step 3: Add Wet Ingredients (1 minute)
Beat in the egg and vanilla extract until just combined. Scrape down the sides of the bowl with a spatula to make sure everything is mixed evenly. The mixture might look slightly curdled—that’s okay. It will come together in the next step.
Step 4: Mix Dry Ingredients (1 minute)
In a separate medium bowl, whisk together the flour, baking powder, and salt. Then, gently fold the dry ingredients into the wet mixture using a spatula. Mix until *just* combined. Do not overmix! Overmixing develops gluten, and you’ll end up with tough, chewy bars instead of soft, cake-like ones. It’s okay if there are a few small streaks of flour.
Step 5: Fold in Sprinkles and Chips (1 minute)
Gently fold in the rainbow sprinkles and white chocolate chips. Use a gentle hand here so the sprinkles don’t break. If you break them, they’ll bleed color into the batter and turn it pinkish-gray instead of keeping the vibrant speckles.
Step 6: Bake (18-22 minutes)
Spread the batter evenly into the prepared pan. Bake for 18-22 minutes. You’ll know they’re done when the edges are lightly golden and the center is set but still has a tiny bit of give. A toothpick inserted into the center should come out with a few moist crumbs, not wet batter. If it’s clean, they might be overbaked. Remember, they continue to cook slightly as they cool.
Step 7: Cool and Cut (30 minutes)
Let the bars cool in the pan for at least 30 minutes. This is the hardest part, but patience pays off. Once cooled, lift the parchment paper out of the pan. Place the block of bars on a cutting board. Use a sharp knife to cut into squares. I like 2-inch squares, which gives you about 16 bars.
Expert Tips & Tricks
Here’s everything I’ve learned from making these dozens of times. These tips will save you from my mistakes.
Don’t Overbake — This is the #1 mistake. Sugar cookie bars dry out quickly. Pull them out when they look *almost* done. The residual heat will finish the job. I’ve ruined several batches by waiting for the toothpick to come out completely clean. They were like rocks.
Room Temperature Ingredients — I can’t stress this enough. Cold butter and eggs won’t emulsify properly. Take your butter and egg out of the fridge 30 minutes before you start. If you’re short on time, soften butter in the microwave in 10-second bursts.
Use “Jimmies” Only — Stick to the long sprinkles. Round nonpareils dissolve into the batter and make it look muddy. If you want color, use sprinkles that hold their shape. I also avoid “rainbow” sprinkles that bleed; look for ones labeled “no-bleed” if you want those bright speckles.
Press Firmly — When you spread the batter into the pan, press it down firmly with the back of a spoon or your fingers. This ensures even baking and prevents large air pockets. You want a dense, chewy bar, not a fluffy cake.
Sharp Knife for Cutting — Use a sharp chef’s knife for clean cuts. If your knife is dull, it will squish the bars and make the edges ragged. Wipe the knife clean between cuts if the sprinkles stick to it.
Storage is Key — These bars stay fresh in an airtight container at room temperature for up to 5 days. If it’s hot or humid, store them in the fridge. They actually taste better chilled, in my opinion.
Variations & Substitutions
Once you’ve nailed the basic version, here’s how you can mix it up. I’ve tried all of these.
Chocolate Chip Funfetti — Swap the white chocolate chips for semi-sweet chocolate chips. The contrast of dark chocolate and rainbow sprinkles is amazing. It’s like a birthday cake meets a chocolate chip cookie.
Red Velvet — Add 1 tablespoon of red food coloring paste to the batter. It turns the bars a beautiful pink and adds a tangy flavor. Use red jimmies for extra effect.
Vanilla Bean — Replace the vanilla extract with the seeds from half a vanilla bean. It adds those beautiful little black specks and a deeper, more complex flavor. It feels fancy but is easy to do.
Gluten-Free — Use a 1:1 gluten-free flour blend (like Bob’s Red Mill or King Arthur). Make sure it contains xanthan gum, or add ½ teaspoon yourself. The texture might be slightly more crumbly, but it still tastes great.
Dairy-Free — Use vegan butter sticks (not tub margarine) and dairy-free chocolate chips. The texture will be slightly different, but it works. I’ve made these for friends with allergies, and they couldn’t tell the difference.
Lemon Funfetti — Add the zest of one lemon to the batter and replace the vanilla with 1 tablespoon of lemon juice. It’s brighter and fresher, perfect for spring parties.
Serving & Storage
How to serve these bars depends on the occasion, but here’s how I usually do it.
At a Party: I cut them into smaller, bite-sized squares (1-inch) and arrange them on a platter. They’re easy to grab and eat while standing around. I also keep a few larger squares for myself because let’s be honest, I’m the quality control tester.
With Drinks: These pair beautifully with coffee, milk, or even a glass of champagne if you’re feeling fancy. They’re not too sweet to balance out strong drinks.
Storing Leftovers: If you have any left (unlikely), store them in an airtight container at room temperature for up to 5 days. Layer them between sheets of parchment paper to prevent sticking. They freeze well too! Wrap individual bars in plastic wrap and store in a freezer bag for up to 3 months. Thaw at room temperature for 30 minutes.
Reheating: You don’t really need to reheat these, but if you prefer them warm, microwave a square for 10-15 seconds. It melts the chocolate chips and makes the bar extra soft.
Nutrition Information
I’m not a nutritionist, but here’s the breakdown if you’re tracking. Keep in mind that these are treats, so enjoy them in moderation.
Per Serving (based on 16 bars):
- Calories: 180
- Protein: 2g
- Carbs: 24g
- Fiber: 0g
- Sugar: 16g
- Fat: 9g
- Saturated Fat: 5g
- Cholesterol: 25mg
- Sodium: 90mg
What’s Good: They’re smaller than a standard cookie bar, so the portion control is easier. They don’t have frosting, which cuts down on sugar compared to other birthday desserts.
What to Know: They’re still high in sugar and saturated fat from the butter and sprinkles. If you’re watching your intake, stick to one or two squares.
My Take: Look, this is a birthday dessert. It’s supposed to be fun and sweet. Don’t stress about the calories. Make it for the memories, not the macros.
Final Thoughts
So that’s my go-to small batch funfetti sugar cookie bar recipe! I’ve probably talked your ear off at this point, but when you make a recipe this often, you have a lot to say about it.
This has saved me from last-minute dessert disasters more times than I can count. It’s my answer to “what do I bring to the party?” when I’m tired, don’t want to bake a whole cake, and still want something that feels special. My kids love the sprinkles, my husband loves the chewiness, and I love that I can make it in 30 minutes.
Make it yours! Try different sprinkles, add different chips, or swap the vanilla for almond extract. The best recipes are the ones you adapt to your family’s tastes.
If you make this, drop a comment and let me know what you think! I love hearing how recipes turn out in your kitchen. And if something doesn’t work, tell me that too—I’m here to help troubleshoot.
Happy baking! And I hope your kitchen smells half as good as mine does right now.
Frequently Asked Questions
Can I use a 9×13 pan?
You can, but these won’t be small batch anymore. If you use a 9×13 pan, double the recipe. The baking time will increase by about 5-7 minutes. Watch them closely so they don’t dry out. For this specific recipe, an 8×8 pan is ideal for the perfect thickness.
Why did my bars crumble when I cut them?
They were probably underbaked or not cooled enough. Sugar cookie bars need to set completely. If you cut them while they’re warm, they’ll fall apart. Let them cool in the pan for at least 30 minutes, ideally until completely cool. Also, make sure you pressed the batter firmly into the pan.
Can I make these ahead of time?
Yes! In fact, they taste better the next day. Make them up to 2 days in advance. Store in an airtight container at room temperature. They’ll stay fresh and moist. You can also freeze them for up to 3 months.
Do the sprinkles bleed color?
It depends on the type of sprinkle. Long jimmies usually hold their color well. Round nonpareils tend to bleed. If you’re worried, toss the sprinkles in a teaspoon of flour before folding them into the batter. This helps absorb excess moisture and prevents bleeding.
Can I use self-rising flour?
If you use self-rising flour, omit the baking powder and salt in the recipe. Self-rising flour already contains leavening and salt. The texture might be slightly lighter, but it works fine.
What if I don’t have an 8×8 pan?
You can use a square baking dish or even a loaf pan, but the baking time will change. In a loaf pan, the bars will be taller and may need 5-10 minutes more baking time. Check with a toothpick to ensure they’re done.
Are these bars similar to blueberry lemon cheesecake bars?
They’re both bar desserts, but the texture is different. These funfetti bars are cake-like and chewy, while cheesecake bars are denser and creamier. Both are great for parties, but these are quicker and easier to make since they don’t require a water bath or cream cheese.
Do these taste like the peanut butter chocolate chip cookie cups?
Not at all! These are sweet, vanilla-forward, and colorful. The cookie cups are nutty and rich. They’re completely different flavor profiles, though both are easy dessert options.
Pin This Recipe!
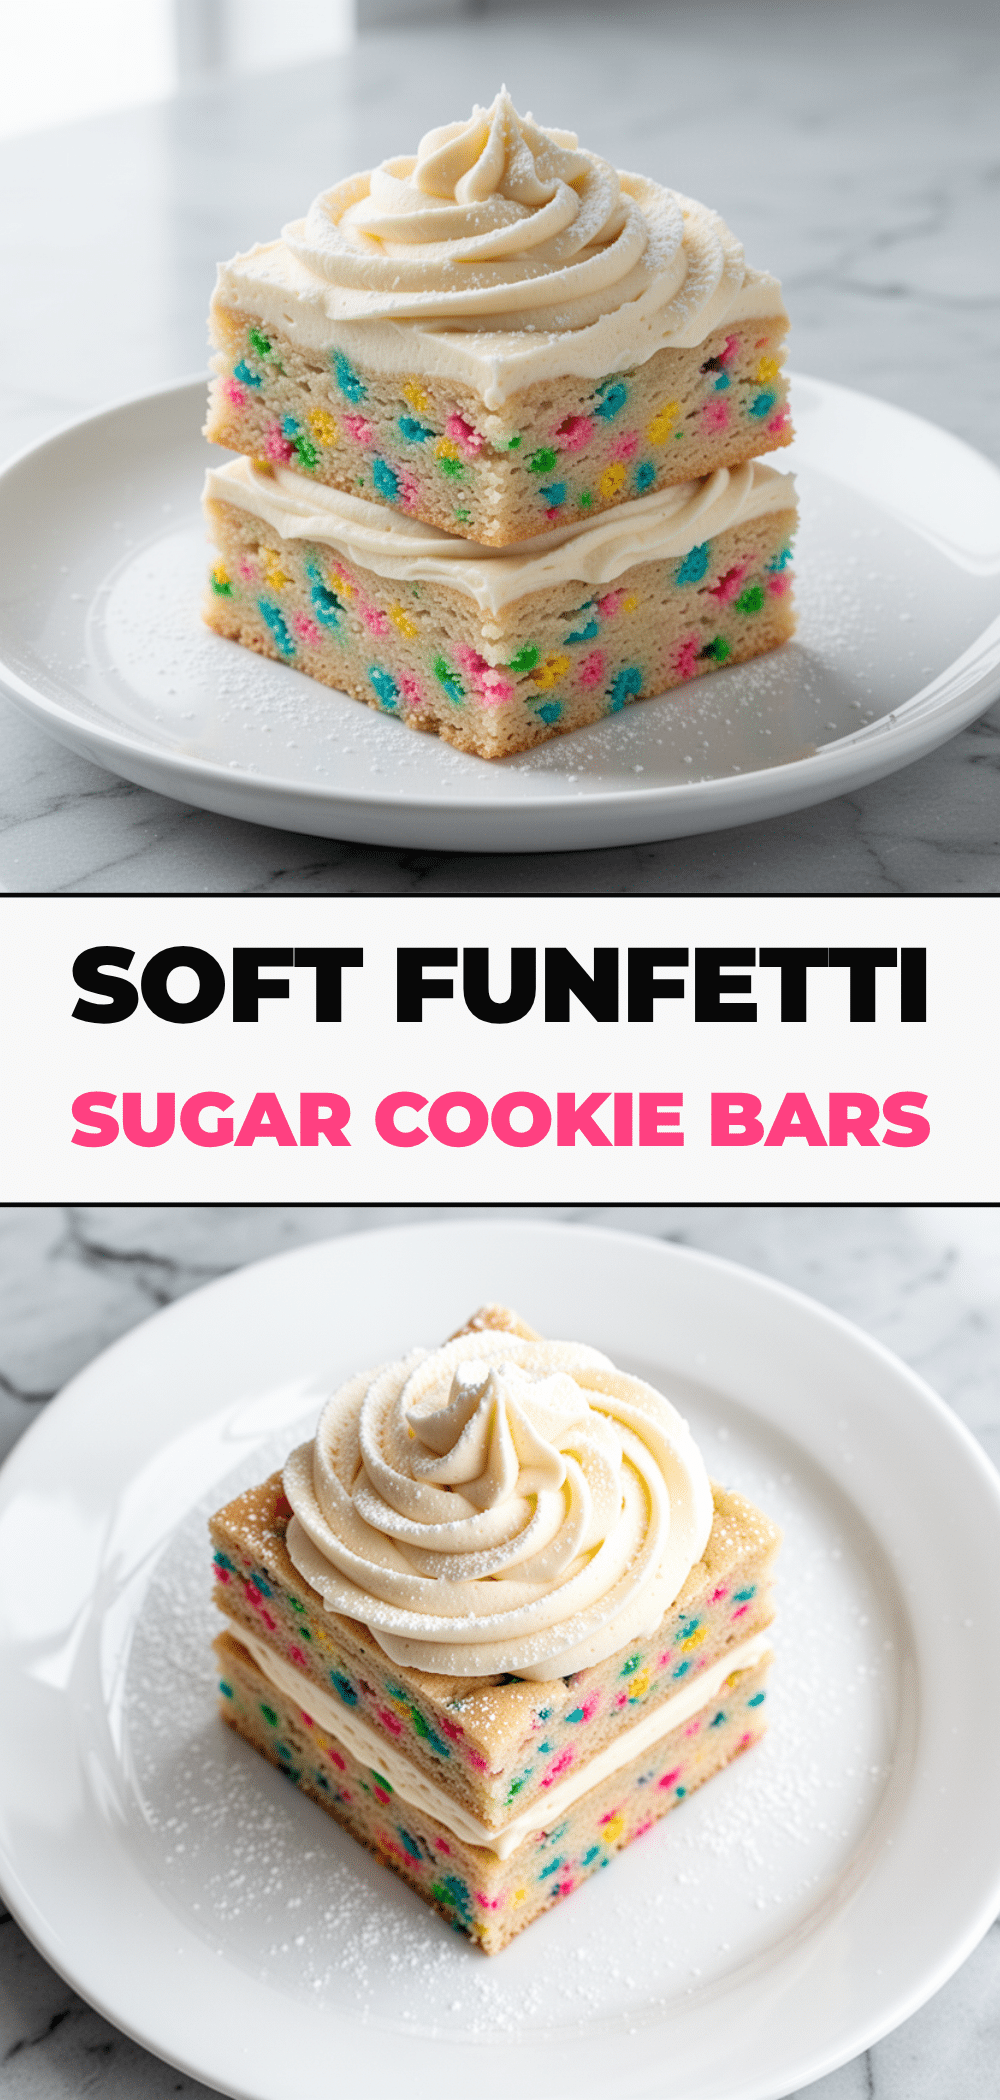
Small Batch Funfetti Sugar Cookie Bars
- Total Time: 30 minutes
- Yield: 16 servings 1x
Description
These small batch funfetti sugar cookie bars are bright, chewy, and packed with colorful sprinkles. They offer a nostalgic birthday cake vibe with minimal effort and equipment, making them the perfect easy party dessert.
Ingredients
- 1/2 cup (113g) unsalted butter, room temperature
- 1 cup (200g) granulated sugar
- 1/2 cup (100g) light brown sugar
- 1 large egg, room temperature
- 2 teaspoons vanilla extract
- 1 1/2 cups (190g) all-purpose flour
- 1 teaspoon baking powder
- 1/2 teaspoon salt
- 1/2 cup (60g) rainbow jimmies sprinkles
- 1/4 cup (45g) white chocolate chips (optional)
Instructions
- Preheat oven to 350°F (175°C). Line an 8×8-inch baking dish with parchment paper, leaving an overhang on the sides, and lightly spray with cooking spray.
- In a large bowl, beat the softened butter, granulated sugar, and brown sugar together until light and fluffy, about 3-4 minutes.
- Beat in the egg and vanilla extract until just combined, scraping down the sides of the bowl.
- In a separate medium bowl, whisk together the flour, baking powder, and salt.
- Gently fold the dry ingredients into the wet mixture using a spatula until just combined. Do not overmix.
- Fold in the rainbow sprinkles and white chocolate chips gently to prevent the sprinkles from breaking.
- Spread the batter evenly into the prepared pan, pressing down firmly.
- Bake for 18-22 minutes, or until edges are lightly golden and the center is set but still has a tiny bit of give.
- Let the bars cool in the pan for at least 30 minutes before lifting them out and cutting into squares.
Notes
Use room temperature ingredients for best emulsification. Use long ‘jimmies’ sprinkles rather than round nonpareils to prevent color bleeding. Do not overbake to avoid dry bars. Press batter firmly into the pan for even baking. Store in an airtight container at room temperature for up to 5 days or freeze for up to 3 months.
- Prep Time: 10 minutes
- Cook Time: 20 minutes
- Category: Dessert
- Cuisine: American
Nutrition
- Serving Size: 1 bar (approx. 2-inc
- Calories: 180
- Sugar: 16
- Sodium: 90
- Fat: 9
- Saturated Fat: 5
- Carbohydrates: 24
- Protein: 2
Keywords: funfetti, sugar cookie bars, small batch, party dessert, easy baking, birthday cake bars, sprinkle cookies


