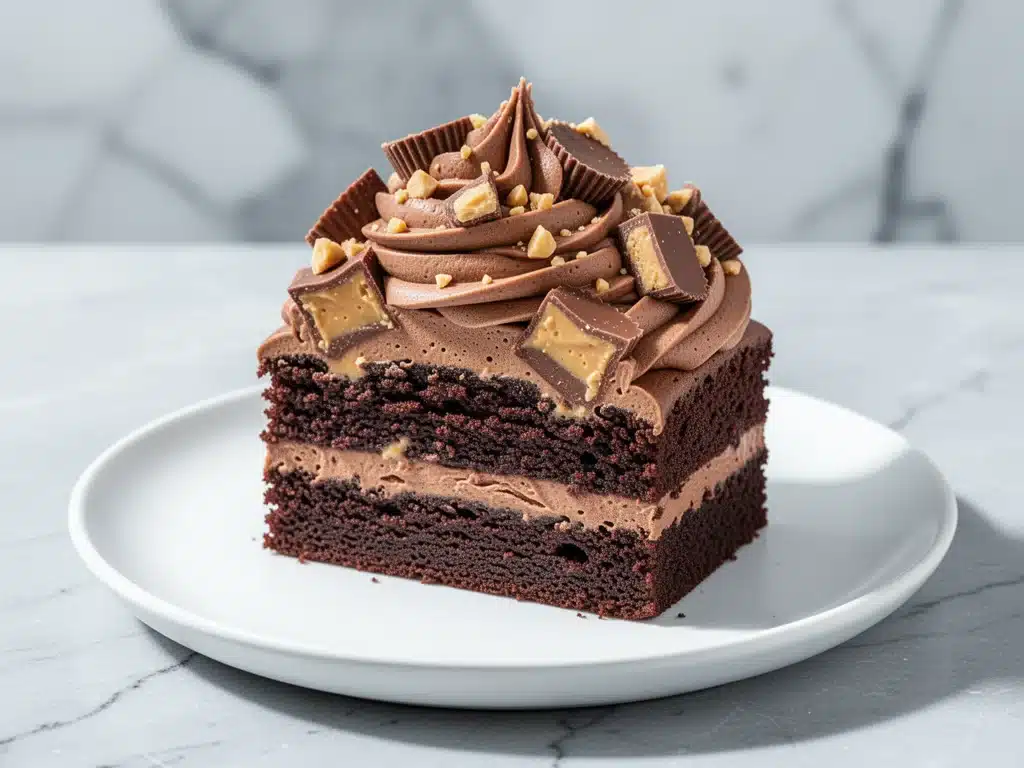
Last Saturday, I was staring at the fridge door, which was practically empty except for a sad half-gallon of milk and a jar of peanut butter that had hardened into a brick. I had zero plans, zero energy for cooking, and a serious sugar craving that felt like a personal emergency. I didn’t want to drive to the store. I definitely didn’t want to order takeout and wait 45 minutes for cold fries.
So, I did what any desperate home cook does: I raided the pantry. I found some cocoa powder, a box of cake mix, and a bag of chocolate chips. I threw them together in a bowl, expecting a mediocre, dense lump of chocolate goodness. Instead, I got something that tasted like a fancy dessert from a high-end bakery, but with that comforting, nostalgic hit of a Reese’s cup.
This Homemade Peanut Butter Cup Chocolate Cake has become my secret weapon. It’s the kind of dessert that makes people stop mid-chew and ask, “Wait, you made this? From scratch? With a box mix?” (Shhh, don’t tell them about the shortcut). It’s rich, it’s fudgy, and it has that perfect salty-sweet contrast that keeps you coming back for another slice. I’ve made this at least a dozen times since that random Saturday, tweaking the ratios until it was absolutely perfect.
If you’ve been searching for a dessert that feels indulgent but doesn’t require a degree in pastry arts, this is it. It’s better than takeout because it’s fresh, it’s warm, and it smells like heaven. Plus, it’s cheaper than buying a fancy slice of cake at the grocery store. Let’s get into why this simple chocolate cake deserves a permanent spot in your dessert rotation.
Why You’ll Love This Peanut Butter Cup Chocolate Cake
There are about ten reasons I keep making this cake, but here are the big ones that keep me coming back to the kitchen instead of the couch.
It’s Stupidly Simple — Seriously, if you can boil water and stir a spoon, you can make this. I’ve walked my teenage niece through it over FaceTime while she was bored at home. There’s no complex tempering, no fancy piping, and no waiting for layers to chill for hours. You mix, you bake, you eat.
Lightning Fast — From start to finish, this takes about 45 minutes. That includes baking time, which is mostly hands-off. I make this on weeknights when I need a dessert to show off but don’t want to spend the evening in the kitchen. It’s faster than waiting for a pizza delivery.
Pantry-Friendly — You probably have 80% of these ingredients already. I keep a box of chocolate cake mix, cocoa powder, and peanut butter stocked specifically so I can whip this up on a whim. It’s the ultimate “I need dessert now” recipe.
Crowd-Pleaser — I’ve served this to my picky eater brother, my gluten-conscious friend (with a gluten-free mix), and my sweet-toothed coworkers. Everyone loves it. The peanut butter and chocolate combo is a classic for a reason—it just works.
Makes Amazing Leftovers — Actually tastes better the next day. The flavors meld together overnight, making the cake even moister. I deliberately make extra for breakfast or afternoon snacks. It’s like eating a dessert for breakfast, and I have zero regrets.
This is my go-to when I need a dessert to just work. No complicated techniques, no weird ingredients, just reliable, delicious food that makes everyone happy. And honestly, it’s way better than anything you’d get at a takeout place.
Ingredients You’ll Need
Here’s the best part: you probably have most of this already in your pantry. This isn’t a recipe that requires a special trip to the grocery store for obscure items. It’s built on basics that taste incredible when combined.
Chocolate Cake Mix (1 box / 15.25 oz) — I use a standard box mix. Devil’s Food or Dark Chocolate works best for that deep, rich flavor. I like Duncan Hines or Betty Crocker, but any brand works. Don’t feel guilty about using a mix—it’s the shortcut that makes this easy.
Instant Pudding Mix (1 small box / 3.4 oz) — Chocolate instant pudding. This is the secret ingredient. It adds moisture and density, making the cake super fudgy. It’s what transforms a regular cake mix into something closer to a brownie.
Vegetable Oil (½ cup / 120ml) — Neutral oil keeps the cake moist. I use vegetable or canola oil. Olive oil would be too strong-tasting. This helps with the texture, keeping it from drying out.
Water (1 cup / 240ml) — Hot water helps “bloom” the cocoa powder in the mix, intensifying the chocolate flavor. If you’re using a mix that calls for oil and water, this fits right in. Some people use coffee instead, but water is simpler and still delicious.
Large Eggs (3 large) — Room temperature eggs mix better. I take them out of the fridge 15 minutes before baking. They help bind everything together and add structure.
Peanut Butter (½ cup / 128g) — Creamy peanut butter is key here. I use Jif or Skippy. Natural peanut butter can be too oily and separate, which might make the cake greasy. You want that smooth, sweet consistency.
Chocolate Chips (1 cup / 170g) — Semi-sweet chocolate chips. I like Ghirardelli or Hershey’s. They melt into pockets of gooeyness throughout the cake. Dark chocolate chips work too if you want it less sweet.
Whipped Topping (1 tub / 8 oz) — Cool Whip or similar. This is for the topping. It adds a light, airy contrast to the dense cake. I always keep a tub in the freezer.
Peanut Butter Cups (1 bag / 11 oz) — Mini Reese’s Peanut Butter Cups. Chopped. This is for the decoration and extra peanut butter flavor. I buy the mini ones because they’re easier to chop evenly.
Optional: Sea Salt Flakes — A sprinkle on top adds a nice crunch and enhances the sweetness. I love this touch for a fancy finish.
Ingredient Tips and Substitutions
Gluten-Free? Use a gluten-free chocolate cake mix. Everything else is naturally gluten-free, so it’s a easy swap. I’ve tested this with King Arthur Gluten-Free Mix, and it works perfectly.
Vegan? Use a vegan cake mix, flax eggs instead of regular eggs, and dairy-free chocolate chips. The peanut butter and topping need to be vegan-friendly too. It’s not quite the same texture, but it’s still tasty.
No Pudding Mix? You can skip it, but the cake will be lighter and less fudgy. If you want to keep the moisture, add an extra egg and a tablespoon of cocoa powder.
Chunky Peanut Butter? Avoid it. It can make the batter lumpy and uneven. Stick to creamy for a smooth cake.
Equipment Needed
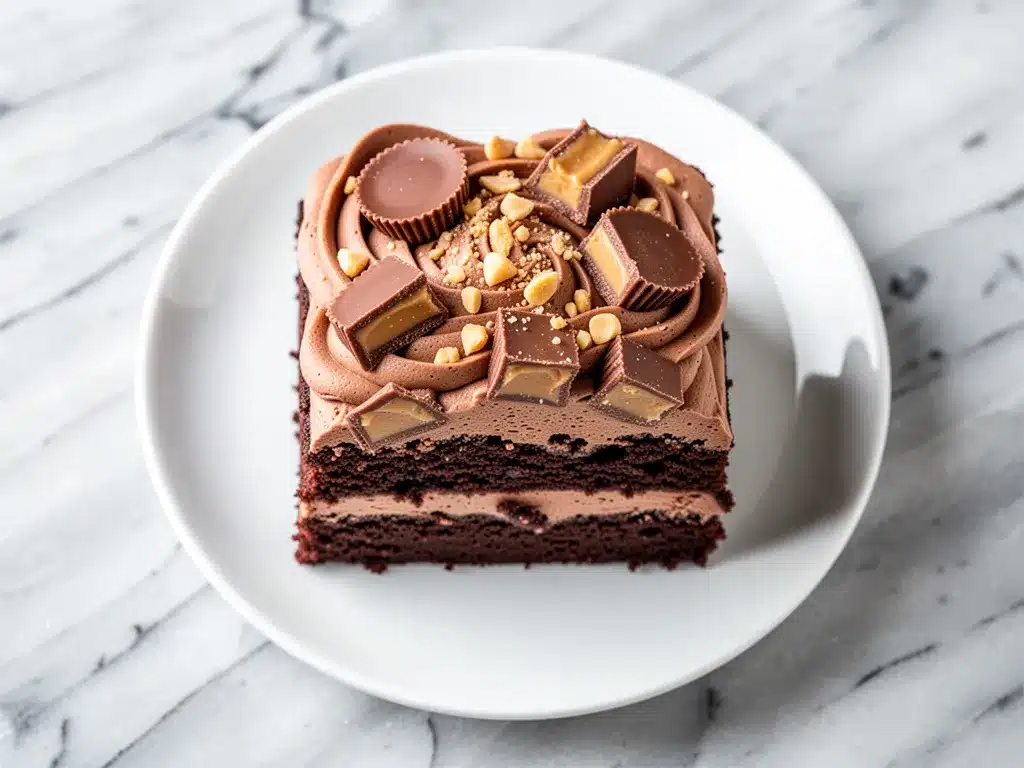
You don’t need fancy equipment for this. Here’s what I actually use.
9×13 Inch Baking Pan — I use a glass pan because it bakes evenly. Metal works too, but glass is easier to clean. Grease it well with non-stick spray.
Large Mixing Bowl — Something big enough to hold all the ingredients. I use a 5-quart bowl. It needs to be sturdy so it doesn’t tip over when you’re mixing.
Electric Mixer — Handheld or stand mixer. I use my handheld mixer because it’s quick and easy. You can whisk by hand, but it takes more effort. I’m lazy, so I use the mixer.
Measuring Cups and Spoons — Standard stuff. Dollar store versions work fine. Just make sure they’re accurate.
Knife — For chopping the peanut butter cups. A sharp chef’s knife works best. If your peanut butter cups are cold, they chop easier. I put them in the freezer for 5 minutes first.
Wire Rack — For cooling the cake. I have a basic one from IKEA. It’s fine. You can also cool it on the stovetop if you’re in a pinch.
Offset Spatula — For spreading the whipped topping. It makes it easier to get a smooth layer. I use a regular butter knife if I forget, but the offset is better.
How to Make It: Step-by-Step
Alright, let’s make this! I’m walking you through exactly how I do it, including the little tricks I’ve picked up.
Step 1: Prep Your Pan and Oven (5 minutes)
Preheat your oven to 350°F (175°C). Grease a 9×13 inch baking pan with non-stick spray or butter. I like to line the bottom with parchment paper for easy removal, but it’s not strictly necessary. Dust the pan with a little cocoa powder to prevent sticking.
Step 2: Mix the Cake Batter (5 minutes)
In your large mixing bowl, combine the cake mix, instant pudding mix, eggs, oil, water, and peanut butter. Mix on medium speed for about 2 minutes, until smooth. The batter will be thick and chocolatey. Don’t overmix—it just needs to be combined. Scrape down the sides of the bowl to make sure everything is incorporated.
Step 3: Add the Chocolate Chips (2 minutes)
Stir in the chocolate chips by hand with a spatula. Don’t use the mixer for this part, or you’ll crush the chips. Fold them in gently until they’re evenly distributed. You want pockets of chocolate, not a uniform chocolate mess.
Step 4: Bake the Cake (30-35 minutes)
Pour the batter into the prepared pan and spread it out evenly. Bake for 30-35 minutes. Check it at 30 minutes by inserting a toothpick into the center. If it comes out clean or with a few moist crumbs, it’s done. If it’s wet, give it 5 more minutes. Don’t overbake, or it’ll be dry.
Step 5: Cool Completely (30 minutes)
Let the cake cool in the pan for 10 minutes, then transfer it to a wire rack to cool completely. This is crucial. If you put the topping on a warm cake, it’ll melt into a mess. I usually let it cool while I chop the peanut butter cups. Patience pays off.
Step 6: Prepare the Topping (5 minutes)
Once the cake is cool, spread the whipped topping evenly over the top. Use an offset spatula for a smooth finish. If you want a rustic look, dollops work too. I prefer smooth because it looks more professional.
Step 7: Add the Peanut Butter Cups (2 minutes)
Chop the mini peanut butter cups into small pieces. Sprinkle them evenly over the whipped topping. Press them in slightly so they stick. If you like sea salt, sprinkle a little on top now. This is the fun part—watching the cake come together.
Step 8: Serve and Enjoy
Slice into squares and serve. I recommend eating it at room temperature for the best texture. It’s rich, so a small slice goes a long way. Pair it with a cold glass of milk or a cup of coffee.
Expert Tips & Tricks
Here’s everything I’ve learned from making this dozens of times. These tips will save you from my mistakes.
Don’t Skip the Pudding Mix
I know it seems weird, but the pudding mix is what makes this cake so fudgy. It adds moisture and density. Without it, the cake is just a regular chocolate cake. With it, it’s a peanut butter cup cake. Trust me.
Use Hot Water
If your cake mix calls for hot water, use it. It helps dissolve the cocoa powder and intensifies the chocolate flavor. Cold water works, but hot water makes the chocolate taste more “chocolatey.”
Chop Peanut Butter Cups While Cold
Warm peanut butter cups are sticky and hard to chop. Put them in the freezer for 5-10 minutes before chopping. They’ll snap into pieces easily. Use a sharp knife and a cutting board.
Don’t Overbake
Cake mix bakes quickly. Keep an eye on it after 30 minutes. Overbaking dries out the cake, and you want this one moist and fudgy. A few moist crumbs on the toothpick are perfect.
Cool Completely Before Topping
I know it’s tempting to eat it warm, but wait. The whipped topping will melt if the cake is warm. Let it cool for at least 30 minutes. The texture will be much better.
Variations & Substitutions
Once you’ve nailed the basic version, here’s how you can mix it up. I’ve tried all of these.
Double Chocolate Version
Add ½ cup of cocoa powder to the batter. This makes it even more chocolatey. Perfect for serious chocolate lovers. I do this when I want a really intense flavor.
Peanut Butter Swirl
Before baking, dollop small amounts of peanut butter on top of the batter and swirl it with a knife. This creates beautiful marble patterns and extra peanut butter pockets. It looks fancy and tastes even better.
Chocolate Frosting
Instead of whipped topping, use a chocolate ganache or buttercream frosting. It’s richer and heavier. I like whipped topping because it’s lighter, but frosting is great for a decadent treat.
Gluten-Free
Use a gluten-free cake mix and ensure your chocolate chips and peanut butter cups are gluten-free. Most mini Reese’s are gluten-free, but check the label. It works just as well.
Vegan
Use a vegan cake mix, flax eggs, dairy-free chocolate chips, and vegan whipped topping. The peanut butter cups need to be vegan too (most Reese’s are not). It’s a bit trickier, but still delicious.
Serving & Storage
I usually serve this straight from the fridge—it’s firmer and easier to slice. But here are other ways I’ve enjoyed it:
Side Dishes
This is a dessert, so it doesn’t need sides. But it pairs well with a cup of coffee or a cold glass of milk. I also like it with a slice of lemon on the side to cut the sweetness.
Storage Instructions
Refrigerator: Store in an airtight container or covered with plastic wrap for up to 5 days. The cake stays moist in the fridge. I usually keep it in the pan, covered with foil.
Freezing: You can freeze this cake, but the whipped topping might get icy. I freeze the cake without the topping, then add fresh topping after thawing. It works well.
Reheating: You don’t need to reheat this. It’s best served cold or at room temperature. If you want it warm, microwave a slice for 10 seconds. Don’t overheat, or the chocolate chips will melt too much.
Pro tip: If the whipped topping starts to weep, just smooth it over with a spatula. It happens sometimes, but it’s not a big deal.
Nutrition Information
I’m not a nutritionist, but here’s the breakdown if you’re tracking.
Per Serving (based on 12 servings):
- Calories: 380
- Protein: 5g
- Carbs: 45g
- Fiber: 2g
- Sugar: 32g
- Fat: 20g
- Saturated Fat: 8g
- Cholesterol: 35mg
- Sodium: 280mg
What’s Good:
- Decent protein from the eggs and peanut butter
- Calcium from the pudding mix
- Easy to modify for dietary needs
What to Know:
- Higher in calories from the cake mix and peanut butter
- Contains gluten and dairy
- High in sugar, as expected for a dessert
My Take:
Look, this is a dessert. It’s sweet, rich, and indulgent. It’s not a health food. But it’s way better than store-bought cake, and it’s fun to make. When I want to make it lighter, I use less peanut butter and more whipped topping. But usually? I just eat a small slice and enjoy it.
Final Thoughts
So that’s my Homemade Peanut Butter Cup Chocolate Cake! I’ve probably talked your ear off at this point, but when you make a recipe this often, you have a lot to say about it.
This has saved dessert nights more times than I can count. It’s my answer to “what’s for dessert” when I want something fancy but don’t want to stress. My kids are happy, my husband’s happy, and I’m happy because it’s so easy to make.
Make it yours! Try different toppings, swap in your favorite chocolate chips, or add a layer of peanut butter in the middle. The best recipes are the ones you adapt to your family’s tastes.
If you make this, drop a comment and let me know what you think! I love hearing how recipes turn out in your kitchen. And if something doesn’t work, tell me that too—I’m here to help troubleshoot.
Happy baking! And I hope your kitchen smells half as good as mine does right now.
Frequently Asked Questions
Q: Can I use homemade cake batter instead of a mix?
A: You can, but the timing and liquid ratios will be different. A mix is consistent and reliable for this recipe. If you use homemade batter, you might need to adjust the baking time. I stick with the mix for ease.
Q: Why did my cake turn out dry?
A: Probably overbaked. Check it at 30 minutes. Also, make sure you’re using the right amount of oil and water. Too much flour can also dry it out. Measure carefully.
Q: Can I make this ahead of time?
A: Yes! Make the cake a day ahead. Store it covered in the fridge. Add the topping right before serving. It actually tastes better after sitting overnight.
Q: Can I use chunky peanut butter?
A: I don’t recommend it. It can make the batter lumpy. Creamy peanut butter mixes in smoothly and gives a consistent texture.
Q: How do I store leftovers?
A: Keep it covered in the fridge for up to 5 days. The whipped topping might soften, but it’s still good. Don’t leave it out at room temperature for more than 2 hours.
Q: Can I freeze this cake?
A: Yes, but freeze it without the topping. Wrap it tightly in plastic wrap and foil. Thaw in the fridge overnight, then add fresh whipped topping.
Q: Is this cake better than takeout?
A: In my opinion, absolutely. It’s fresh, warm, and personalized. Plus, it’s cheaper and you know exactly what’s in it. No hidden oils or preservatives. Just good, honest dessert.
Pin This Recipe!
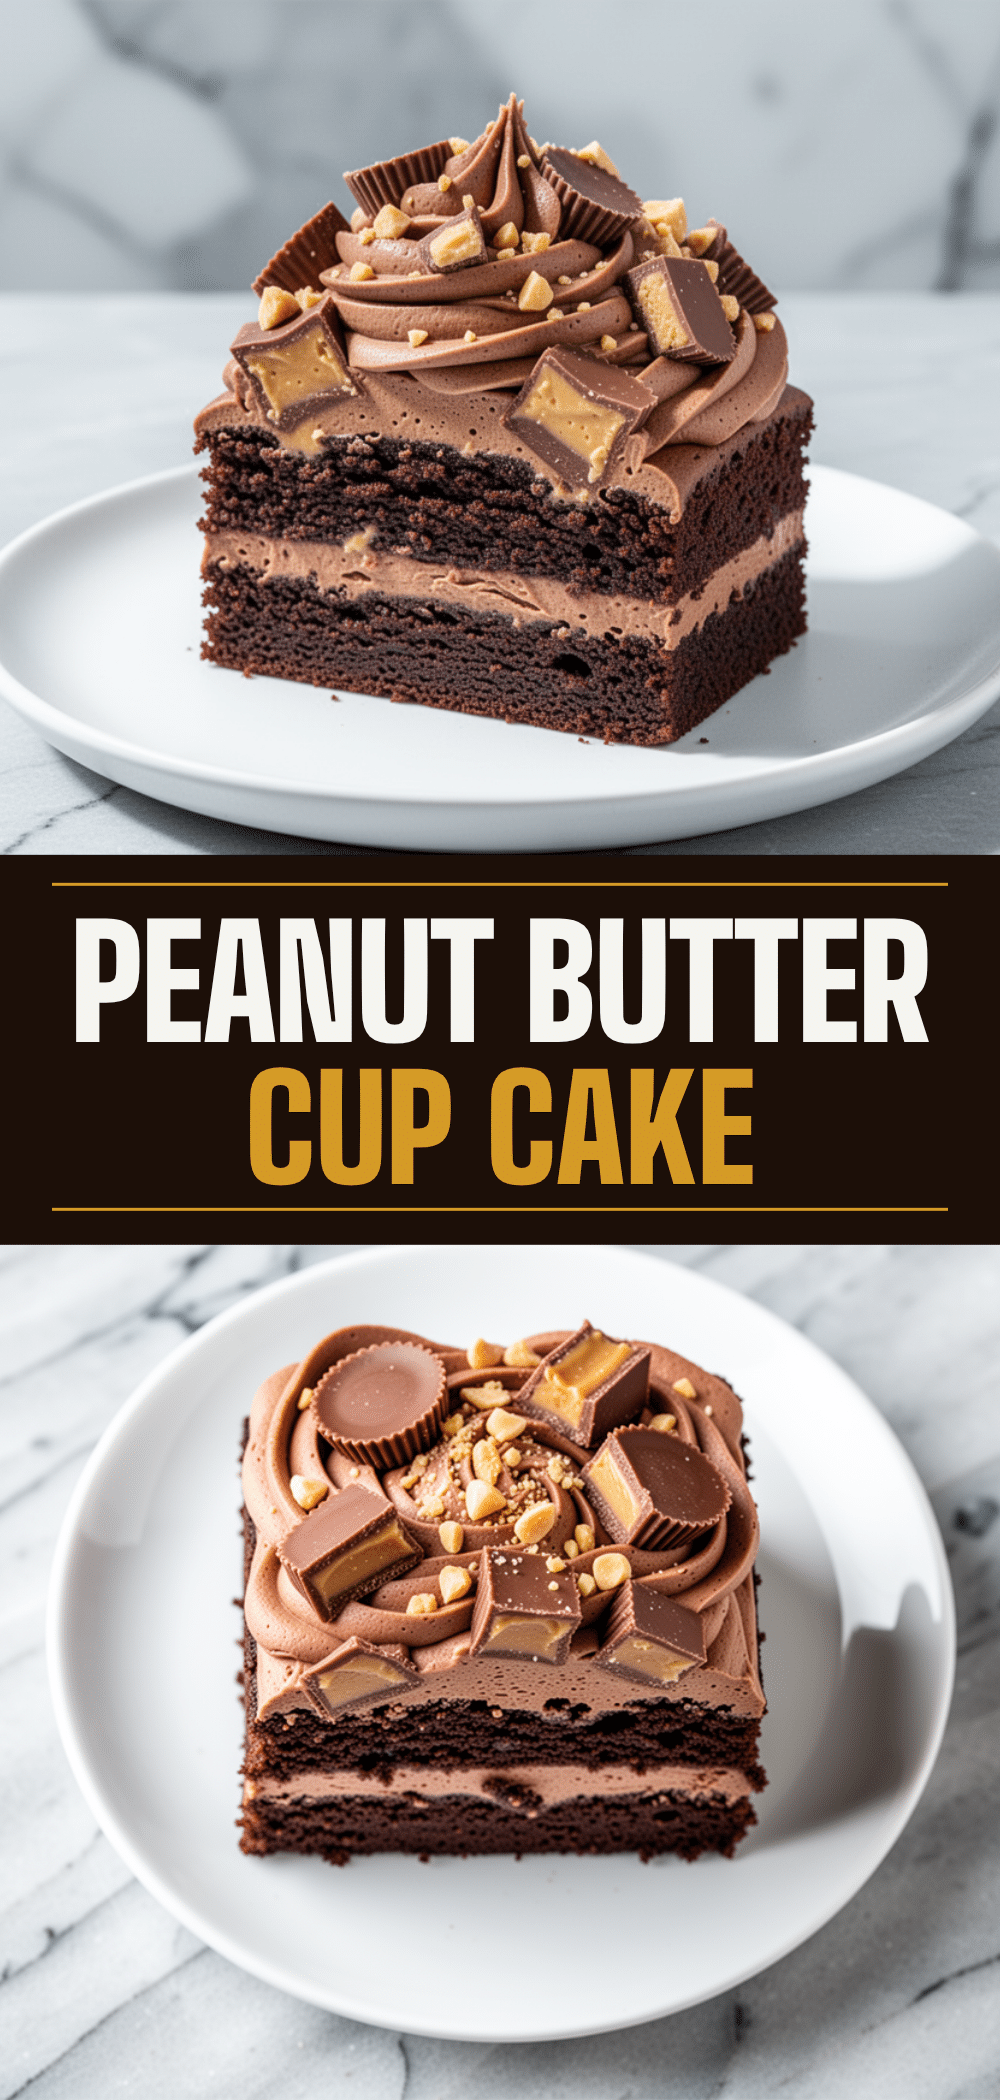
Homemade Peanut Butter Cup Chocolate Cake
- Total Time: 45 minutes
- Yield: 12 servings 1x
Description
A rich, fudgy 4-ingredient dessert that combines chocolate cake mix with peanut butter and chocolate chips for a Reese’s-inspired treat. It’s simple to make, pantry-friendly, and perfect for weeknights.
Ingredients
- 1 box (15.25 oz) chocolate cake mix (Devil’s Food or Dark Chocolate)
- 1 small box (3.4 oz) chocolate instant pudding mix
- 1/2 cup (120ml) vegetable oil
- 1 cup (240ml) hot water
- 3 large eggs, room temperature
- 1/2 cup (128g) creamy peanut butter
- 1 cup (170g) semi-sweet chocolate chips
- 1 tub (8 oz) whipped topping (e.g., Cool Whip)
- 1 bag (11 oz) mini Reese’s Peanut Butter Cups, chopped
- Sea salt flakes (optional)
Instructions
- Preheat oven to 350°F (175°C). Grease a 9×13 inch baking pan with non-stick spray or butter, optionally lining the bottom with parchment paper and dusting with cocoa powder.
- In a large mixing bowl, combine the cake mix, instant pudding mix, eggs, oil, water, and peanut butter. Mix on medium speed for about 2 minutes until smooth.
- Stir in the chocolate chips by hand with a spatula, folding them in gently until evenly distributed.
- Pour the batter into the prepared pan and spread it out evenly.
- Bake for 30-35 minutes, or until a toothpick inserted into the center comes out clean or with a few moist crumbs.
- Let the cake cool in the pan for 10 minutes, then transfer to a wire rack to cool completely.
- Once cooled, spread the whipped topping evenly over the top of the cake using an offset spatula.
- Sprinkle the chopped peanut butter cups evenly over the whipped topping, pressing them in slightly. Add sea salt flakes if desired.
- Slice into squares and serve at room temperature or chilled.
Notes
Use hot water to bloom the cocoa powder for deeper chocolate flavor. Ensure the cake is completely cool before adding whipped topping to prevent melting. For a gluten-free version, use a gluten-free cake mix. For vegan, use vegan cake mix, flax eggs, and dairy-free chocolate chips/topping.
- Prep Time: 15 minutes
- Cook Time: 30 minutes
- Category: Dessert
- Cuisine: American
Nutrition
- Serving Size: 1 slice
- Calories: 380
- Sugar: 32
- Sodium: 280
- Fat: 20
- Saturated Fat: 8
- Carbohydrates: 45
- Fiber: 2
- Protein: 5
Keywords: chocolate cake, peanut butter, dessert, easy recipe, cake mix, fudgy cake, peanut butter cups, weeknight dessert


