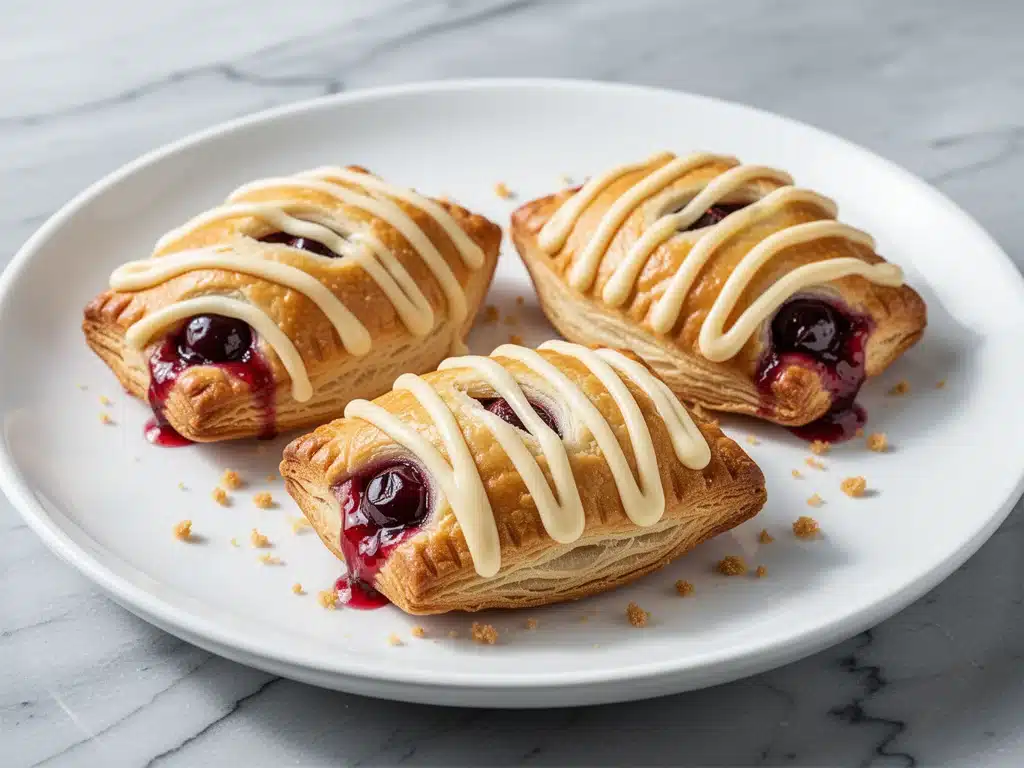
Last October, I was walking past that little corner bakery in my neighborhood—the one with the foggy windows and the smell of cinnamon that hits you three blocks away. I stopped. I always stop. But this time, something was different. There was a display case filled with these tiny, golden-brown pastries, each one crimped by hand, glistening with a white vanilla drizzle. I bought two. They were warm, flaky, and filled with cherries that tasted like summer.
I ate one on the walk home and immediately turned around. I went back in and bought five more. Yes, five. For one person. For dessert. I know. I’m not proud of the empty stomach I had for dinner that night, but those flaky cherry hand pies with vanilla icing were worth it. They were so good, so perfectly balanced between tart fruit and sweet dough, that I knew I had to recreate them at home.
So, I spent the next month testing. I tried store-bought crusts (too bland). I tried making puff pastry from scratch (too hard, took forever). I tried canning my own cherry filling (too much work for a Tuesday night). Finally, I found the sweet spot. A shortcut that actually tastes homemade. A cherry filling that’s thick enough to hold its shape but juicy enough to drip down your chin. And that vanilla icing that makes everything look like it came from a high-end patisserie.
These flaky cherry hand pies with vanilla icing are my new favorite thing to make. They’re easier than you think, they impress everyone who tastes them, and they’re perfect for gifting or just treating yourself. I’ve made them for book clubs, for neighbors, and for my own family’s Sunday morning treat. Every single time, people ask for the recipe. It’s become my secret weapon for looking like I have my life together, even when I don’t.
Why You’ll Love This Flaky Cherry Hand Pies Recipe
There are a lot of desserts out there, but few give you that specific combination of texture and flavor that these hand pies do. Here’s why they’ve earned a permanent spot in my recipe rotation:
- Actually Flaky — I use a simple trick with frozen puff pastry that creates hundreds of buttery layers. It’s not just “crispy”; it’s shatteringly flaky. I’ve tested this method with cheap butter and expensive butter, and the result is always incredible.
- Lightning Fast Prep — The “15-minute” claim isn’t just marketing fluff. If you have the pastry thawed, you can mix the filling, assemble, and bake in under an hour. It’s perfect for when you want a homemade dessert but don’t want to spend all day in the kitchen.
- Make-Ahead Friendly — These taste just as good cold the next day. In fact, I often make them on Sunday and eat them for breakfast with coffee. The flavors meld together overnight, making the cherries even more intense.
- Impressive but Simple — They look like you spent hours crimping each edge by hand (which you can do, or just use a fork). The vanilla icing adds that professional finish. People will think you’re a pastry chef.
- Perfectly Portioned — No giant pie to slice. These are individual, handheld, and mess-free (mostly). They’re great for potlucks because everyone can grab one without needing a plate or fork.
Real talk: I used to think making pastries from scratch was intimidating. But once I mastered this hand pie method, I realized it’s just assembly. You don’t need fancy skills. You just need good ingredients and a little patience.
Ingredients You’ll Need for Flaky Cherry Hand Pies
Here’s the best part: you probably have most of this already. I’m particular about three ingredients here, and I’ll tell you exactly why. This isn’t a complicated list, but quality matters.
For the Cherry Filling
Cherry jam or preserves (1 cup / 300g) — Don’t skimp on quality here. I use a high-quality cherry jam with no added pectin if possible. It should be thick and dark red. If you can’t find cherry, blackberry or raspberry works, but cherry is classic. Look for brands like Smucker’s or local honey/jam shops.
Cherry pie filling (1 can / 21oz / 600g) — Yes, you use both jam and pie filling. The jam gives intense flavor, and the pie filling gives volume and that glossy, juicy texture. If you want to be fancy, make your own cherry filling by simmering fresh cherries with sugar and cornstarch. But honestly? The can works perfectly.
Lemon juice (1 tablespoon / 15ml) — Brightens up the sweetness of the cherries. It’s subtle but necessary. Don’t skip it.
Vanilla extract (1 teaspoon / 5ml) — Adds depth to the fruit. Pure vanilla only, not imitation.
For the Pastry
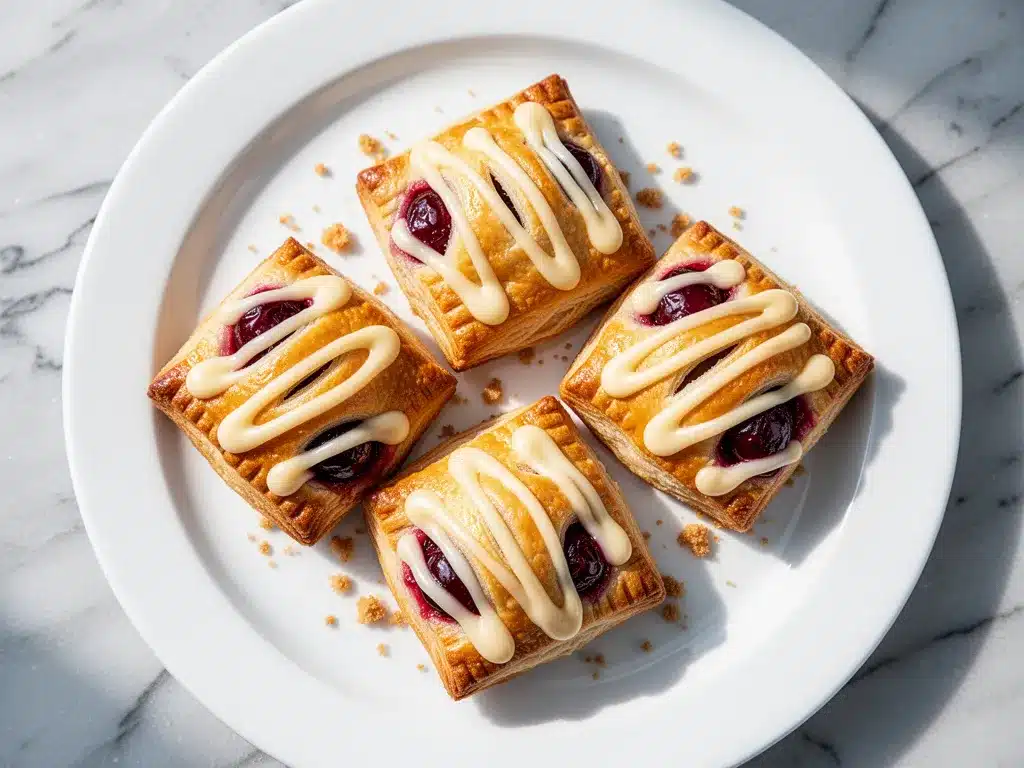
Frozen puff pastry sheets (2 sheets / 1 lb / 450g) — This is the secret. Do not make your own puff pastry unless you have a weekend to spare. Buy high-quality frozen sheets. I like Pepperidge Farm or Dufour. Keep them frozen until you’re ready to use them.
Egg wash (1 egg beaten with 1 tablespoon water) — For that golden, shiny finish. Essential for the bakery look.
Sugar for sprinkling (2 tablespoons / 30g) — Coarse sugar or regular granulated. It adds crunch and sparkle.
For the Vanilla Icing
Confectioners’ sugar (1 cup / 120g) — Sifted to remove lumps. This is non-negotiable for smooth icing.
Heavy cream or milk (2-3 tablespoons / 30-45ml) — Adjust for consistency. Heavy cream makes it richer; milk makes it lighter.
Vanilla extract (1 teaspoon / 5ml) — For that classic vanilla flavor.
Salt (pinch) — Balances the sweetness.
Pro Tips for Ingredients
- Thawing Pastry: Follow the package instructions. Usually, it needs to thaw on the counter for 30-40 minutes. If it’s still frozen, it’ll crack. If it’s too warm, it’ll melt.
- Jam vs. Pie Filling: If you use only jam, the pies might be too dense. If you use only pie filling, they might be too runny. The combo is perfect.
- Egg Wash: Don’t skip this. It’s what makes them look professional. If you’re vegan, use oat milk and a little maple syrup instead.
Equipment Needed
You don’t need fancy equipment for this. Here’s what I actually use:
Baking sheets — Two large ones. Line them with parchment paper. I hate cleanup, and parchment is my best friend.
Parchment paper — Essential for preventing sticking and making cleanup a breeze.
Pastry brush — For the egg wash. A silicone one is easy to clean.
Small bowl — For mixing the filling and the icing.
Fork — For crimping the edges. Or a knife to cut vents.
Sieve or sifter — For the confectioners’ sugar. Lumpy icing is sad.
Rolling pin — Optional, but helpful if your pastry sheets are too thick.
Small piping bag or ziplock bag — For drizzling the icing. I just cut the corner off a ziplock bag.
How to Make It: Step-by-Step
Alright, let’s make this! I’m walking you through exactly how I do it, including the little tricks I’ve picked up.
Step 1: Prep Your Oven and Pastry (10 minutes)
Preheat your oven to 400°F (200°C). Line two baking sheets with parchment paper. Take your puff pastry out of the freezer. If it’s rock hard, let it sit on the counter for 30-40 minutes until it’s pliable but still cold. If it’s too warm, put it back in the fridge for 10 minutes. You want it workable, not melted.
Step 2: Make the Cherry Filling (5 minutes)
In a small bowl, mix the cherry jam, cherry pie filling, lemon juice, and vanilla extract. Stir until well combined. It should be thick and glossy. Taste it. If you like it sweeter, add a teaspoon more jam. If you like it tart, add a squeeze more lemon juice. Set aside.
Step 3: Roll and Cut the Pastry (10 minutes)
Unfold one sheet of puff pastry onto a lightly floured surface. If it’s sticking, sprinkle a little more flour. Roll it out gently to smooth out any creases, but don’t roll it too thin—you want it to puff up. Cut the sheet into 6 equal squares. Repeat with the second sheet. You should have 12 squares total.
Step 4: Assemble the Hand Pies (15 minutes)
Place 1 tablespoon of the cherry filling in the center of each square. Don’t overfill! If you put too much, it’ll leak out and burn. Fold the pastry over the filling to form a triangle (or a rectangle, if you prefer). Press the edges firmly with your fingers to seal. Then, use a fork to crimp the edges. This not only looks pretty but ensures the filling stays inside. Cut two small slits in the top of each pie to let steam escape.
Step 5: Egg Wash and Bake (20-25 minutes)
Whisk the egg with water. Brush the tops of the hand pies generously with the egg wash. Sprinkle with sugar. Place them on the prepared baking sheets, leaving space between each one. Bake for 20-25 minutes, or until they are golden brown and puffed up. They should look shiny and flaky.
Step 6: Cool and Icing (10 minutes)
Remove from the oven and let them cool on the baking sheet for 5 minutes. Then transfer to a wire rack to cool completely. While they cool, make the icing. Whisk the confectioners’ sugar, vanilla, salt, and 2 tablespoons of cream. Add more cream, one teaspoon at a time, until you reach a drizzling consistency. Drizzle over the cooled hand pies.
Total Time: About 1 hour (15 minutes active, 45 minutes baking/cooling)
Built-in Troubleshooting
- Pies leaking: You overfilled them, or didn’t seal the edges well. Next time, use less filling and press the edges harder.
- Pies not puffing: The pastry was too warm when you baked it. Keep it cold until it goes in the oven.
- Bottom soggy: Make sure your baking sheet is preheated, or use a heavy-duty baking stone.
Expert Tips & Tricks
Here’s everything I’ve learned from making these dozens of times. These tips will save you from my mistakes.
The Cold Pastry Rule
Warm butter = flat pastry. Cold butter = flaky pastry. If your kitchen is hot, keep the pastry in the fridge until the last minute. If it starts to soften while you’re working, put it back in the fridge for 10 minutes. It’s worth the wait.
Don’t Skip the Vents
Those slits on top aren’t just for looks. Steam needs to escape, or your pies will burst open. Two slits per pie is perfect.
Egg Wash Technique
Brush the egg wash on the edges too, not just the top. This acts like glue to help the crust seal and gives you that even golden color.
Icing Consistency
The icing should be thick enough to stay on the pie but thin enough to drizzle. If it’s too thick, it’ll clump. If it’s too thin, it’ll run off. Adjust with tiny amounts of cream.
Variations & Substitutions
Once you’ve nailed the basic version, here’s how you can mix it up. I’ve tried all of these.
Apple Cinnamon
Swap the cherry filling for apple pie filling. Add a pinch of cinnamon and nutmeg. It’s like a mini apple pie.
Blueberry Lemon
Use blueberry jam and blueberry pie filling. Add lemon zest to the filling. Bright and tangy.
Chocolate Cherry
Add a teaspoon of Nutella to the center of each pie before adding the cherry filling. Rich and decadent.
Gluten-Free
Use gluten-free puff pastry. It’s getting better, but it can be trickier to work with. Handle gently.
Vegan
Use vegan puff pastry (check the label). Replace the egg wash with oat milk and maple syrup. Use a vegan icing with plant-based milk.
Serving & Storage
How to Serve
I serve these warm or at room temperature. They’re great with coffee, tea, or a glass of milk. For a fancy touch, serve them with a dollop of whipped cream or a scoop of vanilla ice cream. They’re perfect for brunch, afternoon tea, or dessert.
Storage
Room temperature: Store in an airtight container for up to 2 days. The icing might get sticky, but they’re still delicious.
Refrigerator: Store for up to 4 days. Let them come to room temperature before eating for the best texture.
Freezer: You can freeze the unbaked pies on the baking sheet, then transfer to a bag. Bake from frozen, adding 5-10 minutes to the baking time. The baked pies don’t freeze as well because the pastry can get soggy.
Make-Ahead
Assemble the pies and keep them in the fridge for up to 24 hours before baking. This is great for meal prep. Just bake them when you’re ready.
Nutrition Information
I’m not a nutritionist, but here’s the breakdown if you’re tracking. Keep in mind, these are estimates and can vary based on the brands you use.
| Per Serving (1 hand pie) | Amount |
|---|---|
| Calories | 280 |
| Protein | 4g |
| Carbs | 45g |
| Fat | 12g |
| Sugar | 22g |
| Fiber | 2g |
Look, these are pastries. They’re meant to be indulgent. But they’re also portion-controlled, which helps. If you want to lighten them up, use less jam and more fruit, or skip the icing. But honestly? The icing is the best part. Enjoy it.
Final Thoughts
So that’s my flaky cherry hand pies with vanilla icing! I’ve probably talked your ear off at this point, but when you make a recipe this often, you have a lot to say about it.
These hand pies have saved my social life. They’re the go-to when I need to bring something to a party, when I want to impress in-laws, or when I just need a little comfort food on a rainy day. They’re simple, delicious, and always a hit.
Make them yours! Try different fillings, play with the icing flavors, or add some nuts on top. The best recipes are the ones you adapt to your tastes.
If you make these, drop a comment and let me know what you think! I love hearing how recipes turn out in your kitchen. And if something doesn’t work, tell me that too—I’m here to help troubleshoot.
Happy baking! And I hope your kitchen smells half as good as mine does right now.
Frequently Asked Questions
Can I use fresh cherries instead of jam?
You can, but it’s trickier. Fresh cherries release a lot of water, which can make the pastry soggy. If you want to use fresh cherries, cook them down with sugar and cornstarch first to make a thick filling, then let it cool completely. The jam and pie filling combo is easier and more reliable for beginners.
Why did my hand pies leak filling?
Usually, this happens for two reasons: you overfilled them, or you didn’t seal the edges properly. Use only 1 tablespoon of filling per pie. Press the edges firmly with your fingers, then crimp with a fork. Make sure there are no gaps. Also, cut those steam vents on top!
Can I make these ahead of time?
Yes! You can assemble them and keep them in the fridge for up to 24 hours before baking. Just cover them loosely with plastic wrap. When you’re ready, bake them as directed. You can also freeze the unbaked pies for up to a month.
What if I don’t have puff pastry?
You can use pie crust, but it won’t be as flaky. It’ll be more tender and crumbly. If you want a shortcut, you can use phyllo dough, but you’ll need to layer it with butter. Puff pastry is the best option for that signature flaky texture.
How do I store the leftovers?
Store them in an airtight container at room temperature for up to 2 days. If your kitchen is hot, keep them in the fridge. Let them come to room temperature before eating for the best texture. Reheat in the oven for 5 minutes to crisp them up.
Can I make these vegan?
Absolutely! Use vegan puff pastry (check the label, as some contain butter). For the egg wash, use oat milk mixed with a little maple syrup. For the icing, use plant-based milk instead of cream. The flavor will be slightly different, but still delicious.
Can I use a different fruit filling?
Of course! Apple, blueberry, raspberry, and peach all work beautifully. Just adjust the sweetness if the fruit is tart. For apple filling, add cinnamon. For berry fillings, add a little lemon juice.
Pin This Recipe!
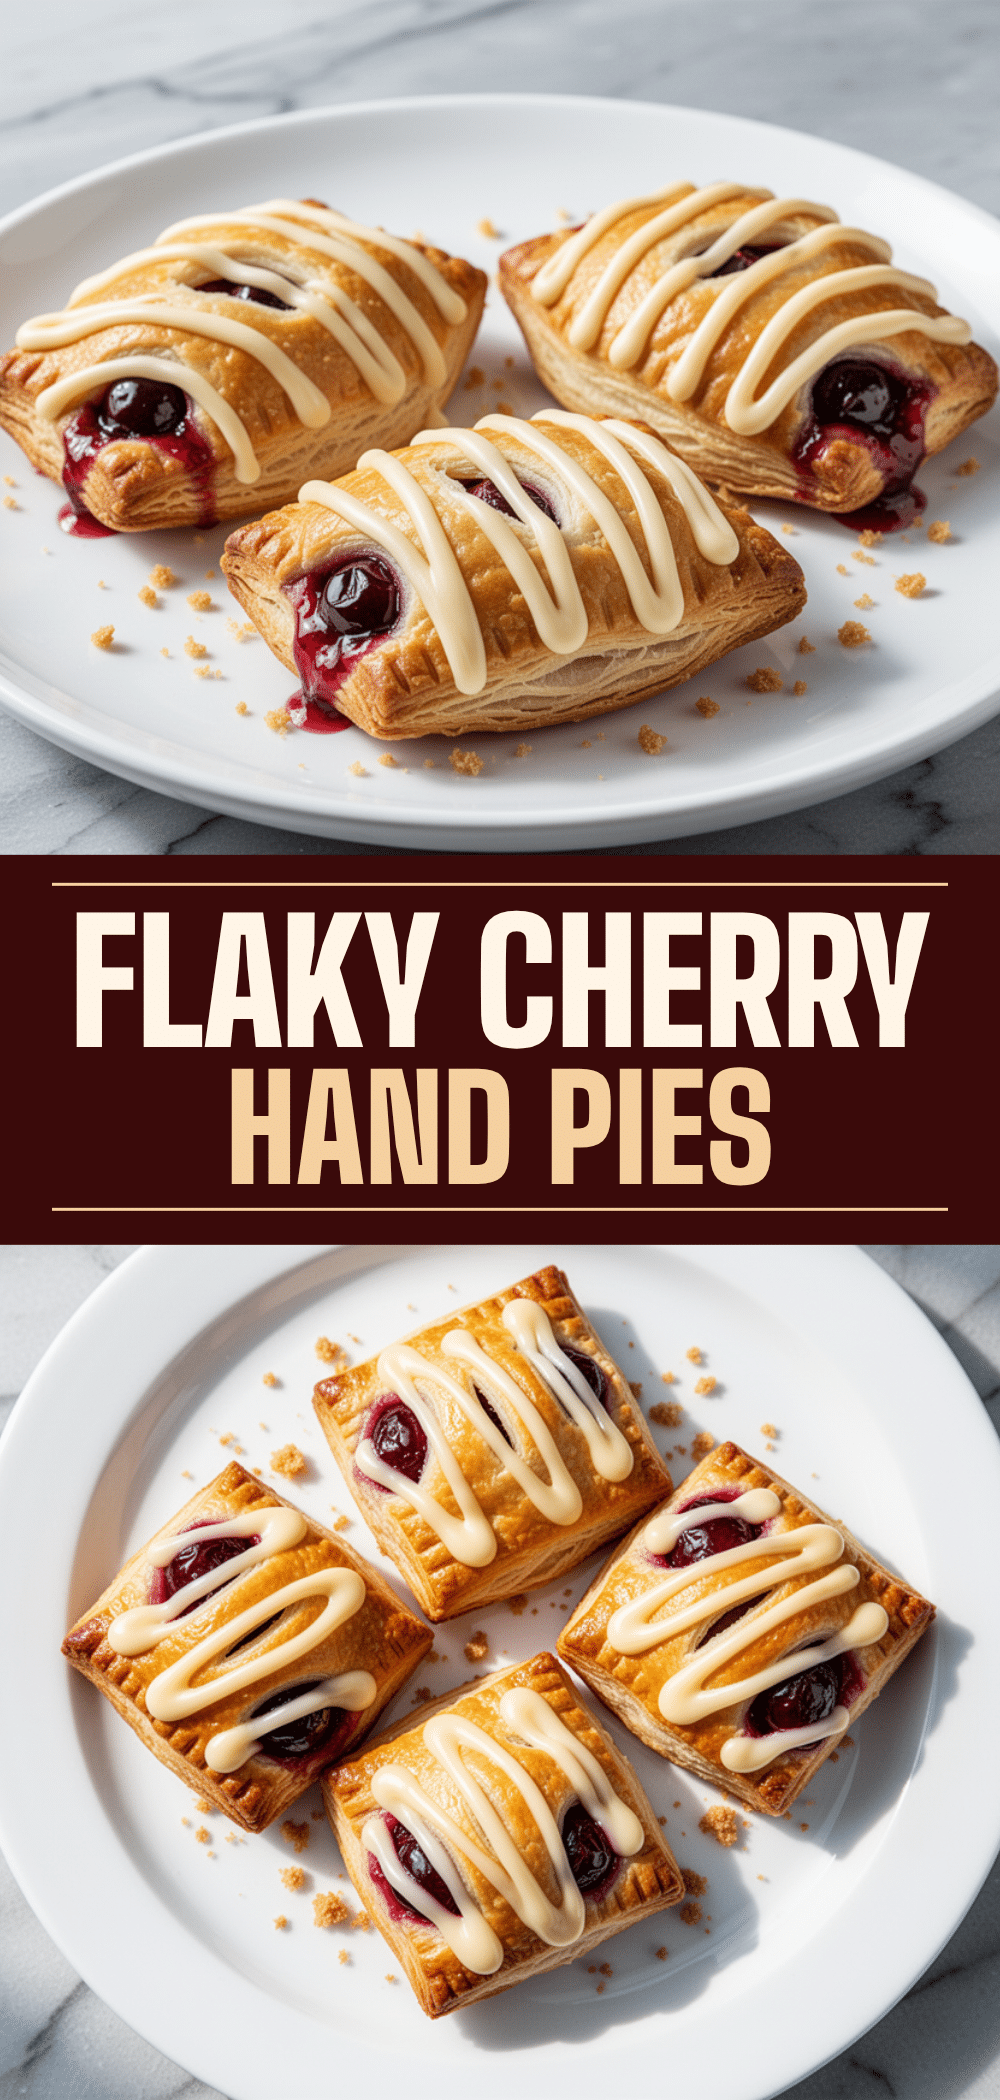

Flaky Cherry Hand Pies: Best 15-Min Easy Recipe
- Total Time: 1 hour
- Yield: 12 servings 1x
Description
These flaky cherry hand pies with vanilla icing are an easy, impressive dessert made with frozen puff pastry. They feature a thick, juicy cherry filling and a sweet vanilla drizzle, perfect for gifting or treating yourself.
Ingredients
- 1 cup (300g) cherry jam or preserves
- 1 can (21oz / 600g) cherry pie filling
- 1 tablespoon (15ml) lemon juice
- 1 teaspoon (5ml) vanilla extract
- 2 sheets (1 lb / 450g) frozen puff pastry sheets
- 1 egg beaten with 1 tablespoon water (for egg wash)
- 2 tablespoons (30g) sugar for sprinkling
- 1 cup (120g) confectioners’ sugar, sifted
- 2–3 tablespoons (30-45ml) heavy cream or milk
- 1 teaspoon (5ml) vanilla extract
- pinch of salt
Instructions
- Preheat oven to 400°F (200°C). Line two baking sheets with parchment paper.
- Thaw puff pastry sheets on the counter for 30-40 minutes until pliable but still cold.
- In a small bowl, mix cherry jam, cherry pie filling, lemon juice, and vanilla extract until well combined.
- Unfold one sheet of puff pastry onto a lightly floured surface. Roll gently to smooth creases.
- Cut each sheet into 6 equal squares (12 squares total).
- Place 1 tablespoon of cherry filling in the center of each square.
- Fold pastry over filling to form a triangle or rectangle. Press edges firmly to seal.
- Crimp edges with a fork and cut two small slits in the top of each pie for steam vents.
- Whisk egg with water and brush generously over the tops of the hand pies.
- Sprinkle with sugar.
- Bake for 20-25 minutes until golden brown and puffed up.
- Cool on baking sheet for 5 minutes, then transfer to a wire rack to cool completely.
- Whisk confectioners’ sugar, vanilla, salt, and 2 tablespoons of cream. Add more cream as needed for drizzling consistency.
- Drizzle icing over the cooled hand pies.
Notes
Keep pastry cold until baking to ensure flakiness. Do not overfill pies to prevent leaking. For vegan version, use vegan puff pastry, oat milk/maple syrup for egg wash, and plant-based milk for icing. Can be stored at room temperature for 2 days or frozen unbaked.
- Prep Time: 15 minutes
- Cook Time: 25 minutes
- Category: Dessert
- Cuisine: American
Nutrition
- Serving Size: 1 hand pie
- Calories: 280
- Sugar: 22
- Fat: 12
- Carbohydrates: 45
- Fiber: 2
- Protein: 4
Keywords: cherry hand pies, puff pastry recipe, easy dessert, cherry pie filling, vanilla icing, flaky pastries, make ahead dessert


