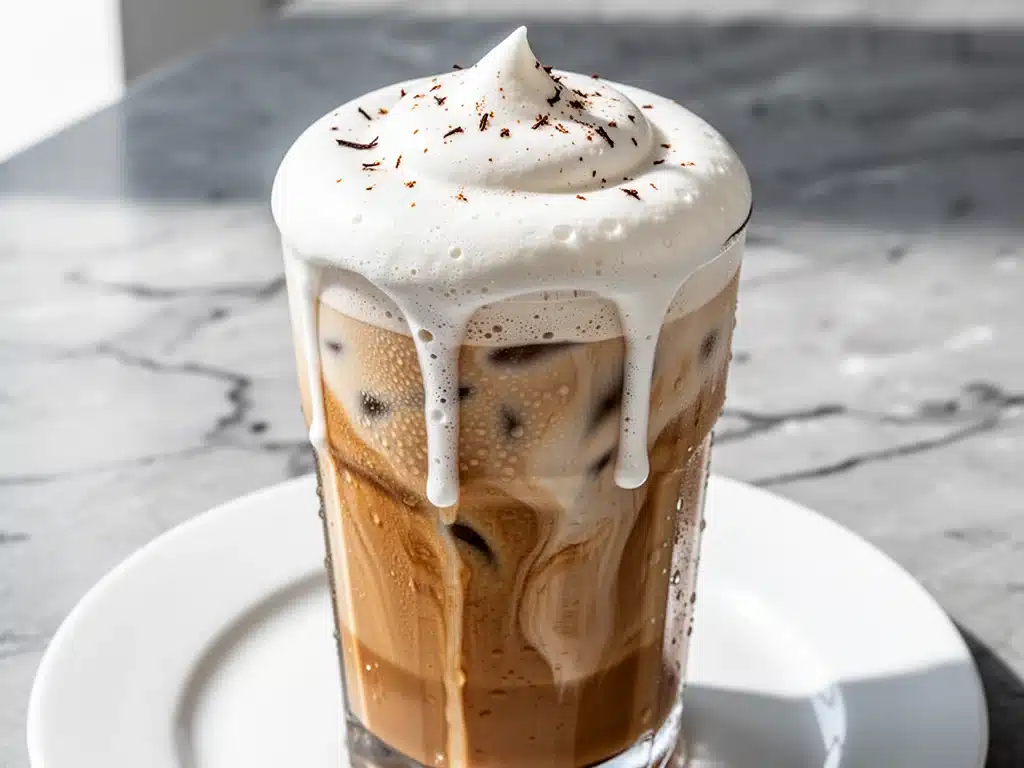
Last Tuesday morning, I was standing in line at the local coffee shop, watching the barista behind the counter move with the frantic energy of someone who had exactly forty seconds before the next customer asked where their drink was. I was holding a cup of iced vanilla latte that cost $7.50. Seven dollars and fifty cents. For milk, ice, and a splash of syrup.
It tasted good, sure. But it also tasted like I had paid a premium for someone else’s labor. As I walked home, sipping that lukewarm coffee, I made a promise to myself: I was going to figure out how to make the exact same drink at home, but cheaper, better, and without the wait.
That promise turned into an obsession. I spent the next month experimenting with different coffee-to-milk ratios, testing various vanilla syrups, and finally, cracking the code on the sweet cream cold foam that makes these drinks so addictive. I’ve made this creamy iced vanilla latte at least once a week for the last six months. It’s become my morning ritual, my afternoon pick-me-up, and honestly, my favorite way to start the day.
Here’s the thing about coffee shop drinks—they’re delicious, but they’re often inconsistent. One day it’s too sweet, the next it’s watery. When you make this sweet cream cold foam recipe at home, you control every single variable. You decide how strong the coffee is, how sweet the foam is, and exactly how much vanilla you want. Plus, you save enough money in a month to buy a really nice bag of beans. Win-win.
I’ve tested this recipe dozens of times. I’ve used whole milk, oat milk, almond milk. I’ve used vanilla extract, vanilla syrup, and vanilla bean paste. Through all the trials and errors (and the cups of coffee I drank along the way), I’ve landed on the perfect formula. This isn’t just a coffee recipe; it’s a lifestyle upgrade. And the best part? It takes less time than it takes to drive to the coffee shop.
Why You’ll Love This Recipe
I know what you’re thinking. “Can I really make something this good at home?” Yes. Absolutely. This creamy iced vanilla latte has completely changed my relationship with morning coffee. Here’s why I keep coming back to it:
- Coffee Shop Quality at Home — Seriously. The sweet cream cold foam is the game-changer. It’s not just whipped cream; it’s a light, airy, slightly savory-sweet cloud that floats on top. I’ve had this drink at some of the fanciest cafes in the city, and honestly, my homemade version is just as good, if not better.
- Lightning Fast — Once you have your coffee brewed (or your cold brew ready), the whole drink takes about 5 minutes. That’s it. I make this on weekdays when I’m rushing out the door, and it never fails to feel like a treat.
- Customizable Sweetness — At the coffee shop, you’re stuck with their pumps of syrup. Here, you control the sweetness. I like mine lightly sweetened, but if you have a sweet tooth, you can easily adjust the vanilla and sugar in the foam.
- Cost-Effective — Let’s do the math. A similar drink at a chain coffee shop is $6-$8. Making this at home costs about $1.50 per serving. That’s a huge difference over time. I’ve saved enough on coffee to buy a new French press.
- Perfect for Meal Prep — I often brew a big batch of cold brew on Sunday (check out my iced vanilla chai latte for another great cold brew idea) and keep it in the fridge. During the week, I just pull out a cup, add milk, and top with foam. It’s the ultimate lazy morning hack.
- Impress Your Guests — When friends come over for brunch, I serve these instead of just coffee. It feels fancy and thoughtful, but it’s incredibly easy. My guests always ask for the recipe for the foam.
This is my go-to when I want something indulgent but quick. No complicated techniques, no weird ingredients, just reliable, delicious coffee that makes everyone happy.
Ingredients You’ll Need
Here’s the best part: you probably have most of this already. This creamy iced vanilla latte uses simple, accessible ingredients. The magic is in the ratio and the technique.
For the Coffee Base
Strong Coffee or Cold Brew (2 cups / 480ml) — I use a dark roast for a bold flavor that stands up to the milk. If you’re using hot coffee, let it cool completely before adding ice. Cold brew is even better because it’s naturally smoother and less acidic. You can make a big batch of cold brew ahead of time, or use this iced vanilla chai latte method as a base if you want a spiced twist.
Milk (1 cup / 240ml) — Whole milk is traditional and creates the creamiest texture. But I also love oat milk for this—it froths beautifully and has a neutral, slightly sweet flavor that pairs well with vanilla. Almond milk works too, but it’s lighter. Choose your favorite, but stick to a consistent type.
Vanilla Syrup (2 tablespoons / 30ml) — I make my own simple syrup with vanilla bean paste, but store-bought vanilla syrup works perfectly. Avoid using pure vanilla extract here; it’s too potent and doesn’t sweeten the drink. You want the flavor, not just the aroma.
For the Sweet Cream Cold Foam
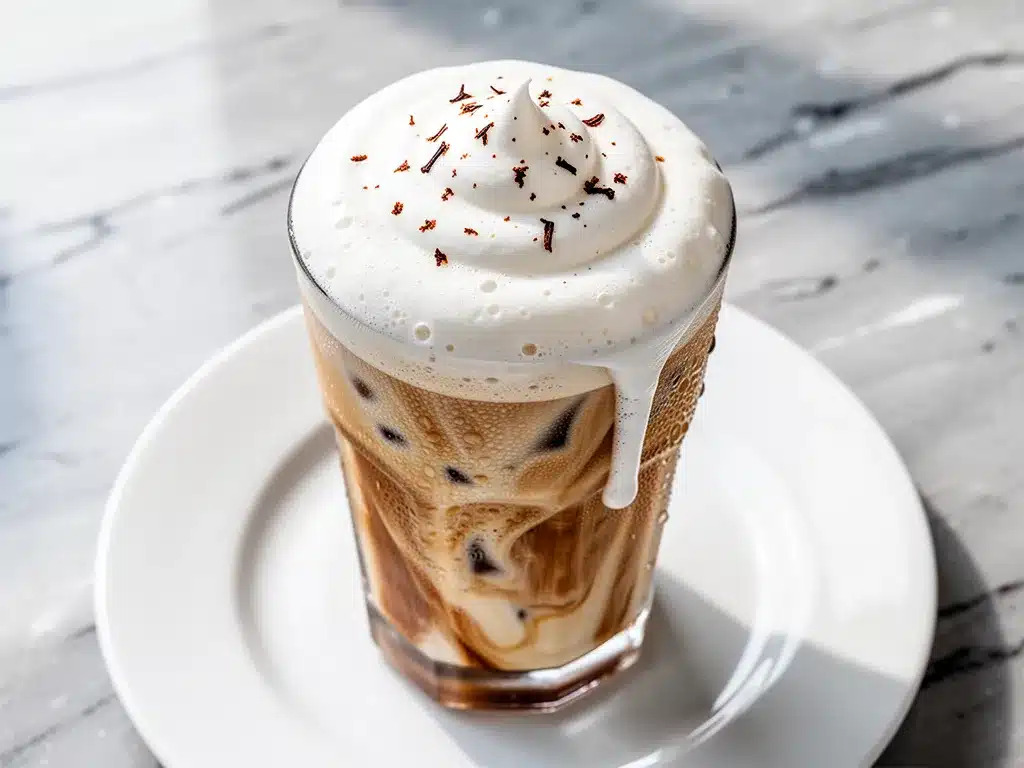
Heavy Cream (½ cup / 120ml) — This is the base of the foam. It needs to be cold and high-fat to whip properly. Don’t use light cream; it won’t hold its structure.
Whole Milk (¼ cup / 60ml) — This lightens the foam so it’s not too dense. It creates that airy, cloud-like texture.
Vanilla Syrup (1 tablespoon / 15ml) — For the foam, I use a bit less syrup than in the drink itself. You want a subtle sweetness that complements the coffee, not overpowers it.
Granulated Sugar (1 teaspoon / 5g) — Just a pinch to balance the tartness of the cream. If you’re using a very sweet syrup, you can skip this.
Optional Add-ins
Ice Cubes — Enough to fill your glass. I like to use large ice cubes because they melt slower and don’t water down the drink as quickly.
Cinnamon or Nutmeg — A light dusting on top of the foam adds a lovely aroma. I keep a small shaker of cinnamon next to my coffee station.
Personal Tip: I always keep my heavy cream in the fridge until the last minute. Cold cream whips faster and holds its shape better. If you forget to chill it, you can put it in the freezer for 10 minutes before whipping.
Equipment Needed
You don’t need fancy equipment for this. Here’s what I actually use:
- French Press or Coffee Maker — I use a French press for my cold brew because it’s easy to clean. But any brewing method works.
- Milk Frother — I use a handheld battery-operated frother. It’s cheap, portable, and works perfectly for the foam. You can also use a stand mixer with a whisk attachment, or even a mason jar (shake it vigorously for 30 seconds).
- Large Glass — I prefer a 16-ounce highball glass or a mason jar. It shows off the layers of the drink.
- Measuring Cups and Spoons — Precision matters, especially for the foam. I use a small set of stainless steel measures.
- Spoon — For stirring the coffee and milk together.
Tool Tip: If you don’t have a frother, a whisk and a bowl work fine. Just whip the cream mixture until soft peaks form. It takes a bit more elbow grease, but the result is the same.
How to Make It: Step-by-Step
Alright, let’s make this! I’m walking you through exactly how I do it, including the little tricks I’ve picked up.
Step 1: Brew and Cool Your Coffee (10 minutes active, plus cooling time)
If you’re using hot coffee, brew a strong pot. I use a 1:2 coffee-to-water ratio for a concentrate. Pour it into a pitcher and let it cool to room temperature. Then, add ice to chill it quickly. If you’re using cold brew, just pour it into a pitcher. The key is that the coffee needs to be cold before you add more ice, or your drink will be watered down.
Step 2: Prepare the Sweet Cream Cold Foam (5 minutes)
In a small bowl, combine the heavy cream, whole milk, vanilla syrup, and sugar. Using a handheld frother or a whisk, beat the mixture until it becomes thick and airy. You want soft peaks—think of the consistency of light whipped cream. It should hold its shape when you lift the frother, but still be pourable. Don’t over-whip it into stiff butter-like peaks; you want it light and fluffy.
Visual Cue: The foam should look glossy and smooth, with tiny, uniform bubbles. If it looks grainy, you’ve over-whipped it.
Step 3: Assemble the Latte (2 minutes)
Fill a tall glass with ice cubes. Pour in the cold coffee, leaving about an inch of space at the top. Add the milk and vanilla syrup. Stir gently to combine. The coffee and milk should swirl together beautifully.
Step 4: Top with Foam (1 minute)
Slowly pour the sweet cream cold foam over the back of a spoon onto the surface of the coffee. This helps it float on top instead of mixing in immediately. You want a distinct layer of foam. If you’re feeling fancy, dust a little cinnamon or nutmeg on top.
Step 5: Serve and Enjoy
Serve immediately with a straw. The first sip is the best—you get the cold foam, the sweet cream, and the strong coffee all at once. Stir it up for subsequent sips to enjoy the full flavor.
Total Time: About 15 minutes (mostly cooling time). Active time is just 10 minutes.
Expert Tips & Tricks
Here’s everything I’ve learned from making this dozens of times. These tips will save you from my mistakes.
The Foam is Everything
The sweet cream cold foam is what makes this drink special. It’s not just whipped cream; it’s a balance of fat, milk, and sugar. If your foam is too dense, add a bit more milk. If it’s too runny, add a bit more cream. Experiment until you find the perfect consistency for your taste.
Cold Coffee is Non-Negotiable
I can’t stress this enough. If your coffee is warm, it will melt the ice too quickly, and your drink will be watery. If you’re in a hurry, put your coffee in the freezer for 15 minutes before assembling. Or, make ice cubes out of coffee itself! Freeze brewed coffee in an ice cube tray, and use those instead of regular ice. No watering down.
Use Quality Vanilla
Don’t skimp on the vanilla. It’s the star flavor. I love using vanilla bean paste because you get those little black specks, which look beautiful in the foam. But a good quality vanilla syrup works too. Avoid artificial vanilla flavoring; it tastes chemical and harsh.
Don’t Skip the Salt
A tiny pinch of salt in the foam enhances the sweetness and balances the flavors. It’s a chef’s secret that makes a huge difference. I keep a small sea salt shaker next to my frother.
Common Mistakes (and how to avoid them)
Mistake: Foam sinks immediately.
Fix: Your cream wasn’t cold enough, or you over-whipped it. Make sure everything is chilled, and whip only until soft peaks form.
Mistake: Drink is too weak.
Fix: You used too much milk or not enough coffee. Stick to the 2:1 coffee-to-milk ratio for a strong latte.
Mistake: Foam is too sweet.
Fix: Reduce the sugar in the foam recipe, or use a less sweet syrup. You can always add more syrup to the coffee, but you can’t take it out of the foam.
Variations & Substitutions
Once you’ve nailed the basic version, here’s how you can mix it up. I’ve tried all of these.
Flavor Variations
Caramel Latte — Swap the vanilla syrup for caramel sauce in the foam and the coffee. Drizzle caramel on the inside of the glass before assembling.
Mocha Latte — Add a tablespoon of chocolate syrup to the coffee base. The foam stays the same, but the chocolate adds a rich, indulgent twist.
Matcha Latte — Use matcha powder instead of coffee. The sweet cream foam pairs beautifully with earthy matcha. Just whisk the matcha with a little hot water first, then cool it down.
Dietary Modifications
Dairy-Free — Use oat milk or coconut cream for the foam. Oat milk froths best for dairy-free options. For the coffee, use any plant-based milk.
Low-Sugar — Skip the sugar in the foam and use a sugar-free vanilla syrup. The foam will still be light and creamy, just less sweet.
Decaf — Use decaf coffee for the same delicious taste without the caffeine jolt. Perfect for afternoon drinks.
Pro Tricks I’ve Learned
For Extra Creaminess — Add a teaspoon of mascarpone cheese to the foam mixture. It makes it incredibly rich and stable.
For Better Layers — Pour the foam slowly over the back of a spoon. This helps it float on top without mixing.
For Make-Ahead — You can make the foam ahead of time and store it in the fridge for up to 24 hours. Just give it a quick whisk before using.
Serving & Storage
How to Serve:
I usually serve this straight from the pitcher at brunch gatherings. It looks elegant and stays cold. But here are other ways I’ve enjoyed it:
- With Pastries — Pair with fall maple pecan pie bars or pumpkin spice cinnamon rolls for a cozy autumn morning.
- With Breakfast — Serve alongside sourdough breakfast toast or spinach and feta egg muffins for a complete meal.
- With Dessert — A rich fudgy mint chocolate brownie is the perfect companion to this latte.
Storage Instructions:
Coffee: Store brewed coffee in an airtight container in the fridge for up to 3 days. Cold brew lasts up to 2 weeks.
Milk: Keep milk refrigerated until ready to use.
Foam: Best made fresh, but can be stored for up to 24 hours in the fridge. Whisk before using.
Reheating: This is an iced drink, so no reheating needed. But if you want a hot version, skip the ice and foam, and enjoy the latte hot.
Pro Tip: If you’re making this for a party, prep the coffee and milk in large pitchers, and make the foam in batches. It’s easy to scale up.
Nutrition Information
I’m not a nutritionist, but here’s the breakdown if you’re tracking. Note that this is an indulgent treat, so enjoy in moderation.
Per Serving (based on 1 latte):
- Calories: 250
- Protein: 6g
- Carbs: 22g
- Fiber: 0g
- Sugar: 18g
- Fat: 14g
- Saturated Fat: 8g
- Cholesterol: 40mg
- Sodium: 60mg
What’s Good:
– Decent protein from the milk and cream
– Can be made with plant-based milks for lower calories
– Provides a caffeine boost for energy
What to Know:
– Higher in sugar from the syrup and cream
– Contains dairy
– Moderate calories, but very satisfying
My Take:
“Look, this is a treat. It’s not a health food. But it’s way better than buying it out, and you control the ingredients. When I want to make it lighter, I use oat milk and less syrup. But usually? I just enjoy it as a special morning ritual.”
Final Thoughts
So that’s my creamy iced vanilla latte with sweet cream cold foam! I’ve probably talked your ear off at this point, but when you make a recipe this often, you have a lot to say about it.
This has saved my mornings more times than I can count. It’s my answer to “what’s for breakfast?” when I want something fancy but quick. My family is happy, I’m happy because I’m saving money, and I’m happy because I feel like a barista.
Make it yours! Try different syrups, swap in your favorite milk, adjust the sweetness. The best recipes are the ones you adapt to your tastes.
If you make this, drop a comment and let me know what you think! I love hearing how recipes turn out in your kitchen. And if something doesn’t work, tell me that too—I’m here to help troubleshoot.
Happy brewing! And I hope your kitchen smells half as good as mine does right now.
Frequently Asked Questions
Can I use almond milk instead of heavy cream?
You can, but the foam won’t be as thick or stable. Almond milk has less fat, so it won’t whip into stiff peaks. If you want a dairy-free foam, use full-fat coconut cream. It whips beautifully and has a rich, creamy texture. I’ve used coconut cream for this, and it’s delicious, just a bit lighter in flavor.
Why did my foam turn out runny?
Usually, this means the cream wasn’t cold enough, or you didn’t whip it long enough. Make sure your heavy cream is straight from the fridge. Also, don’t rush the whipping process. It takes about 30-60 seconds with a handheld frother. If it’s still runny, keep whipping until soft peaks form.
Can I make this ahead for a party?
Sort of. You can brew the coffee and chill it ahead of time. You can also mix the foam ingredients and store them in the fridge, but you’ll need to whip them fresh before serving. I recommend prepping everything except the foam, and whipping it right before guests arrive. It takes just 2 minutes.
Can I use vanilla extract instead of syrup?
You can, but it’s not ideal. Vanilla extract is very potent and doesn’t sweeten the drink. If you use it, start with ½ teaspoon and adjust to taste. But for the best flavor and sweetness, vanilla syrup is the way to go. It’s easier to control the sweetness level.
How long does the foam last?
Best fresh. If you store it in the fridge, it will hold its shape for up to 24 hours. But it might lose some of its airy texture. Give it a quick whisk before using. If it looks separated, just stir it back together.
Can I make this with hot coffee?
Yes! Just let the coffee cool to room temperature before adding ice. If you add hot coffee to ice, it will melt too quickly and water down the drink. Or, use coffee ice cubes for a stronger, less watery latte.
Can I double this recipe?
Absolutely! Double everything and use a larger pitcher. The whipping time for the foam might increase slightly. I do this when I’m meal-prepping for the week. Just store the coffee and milk separately, and whip the foam fresh each morning.
Pin This Recipe!
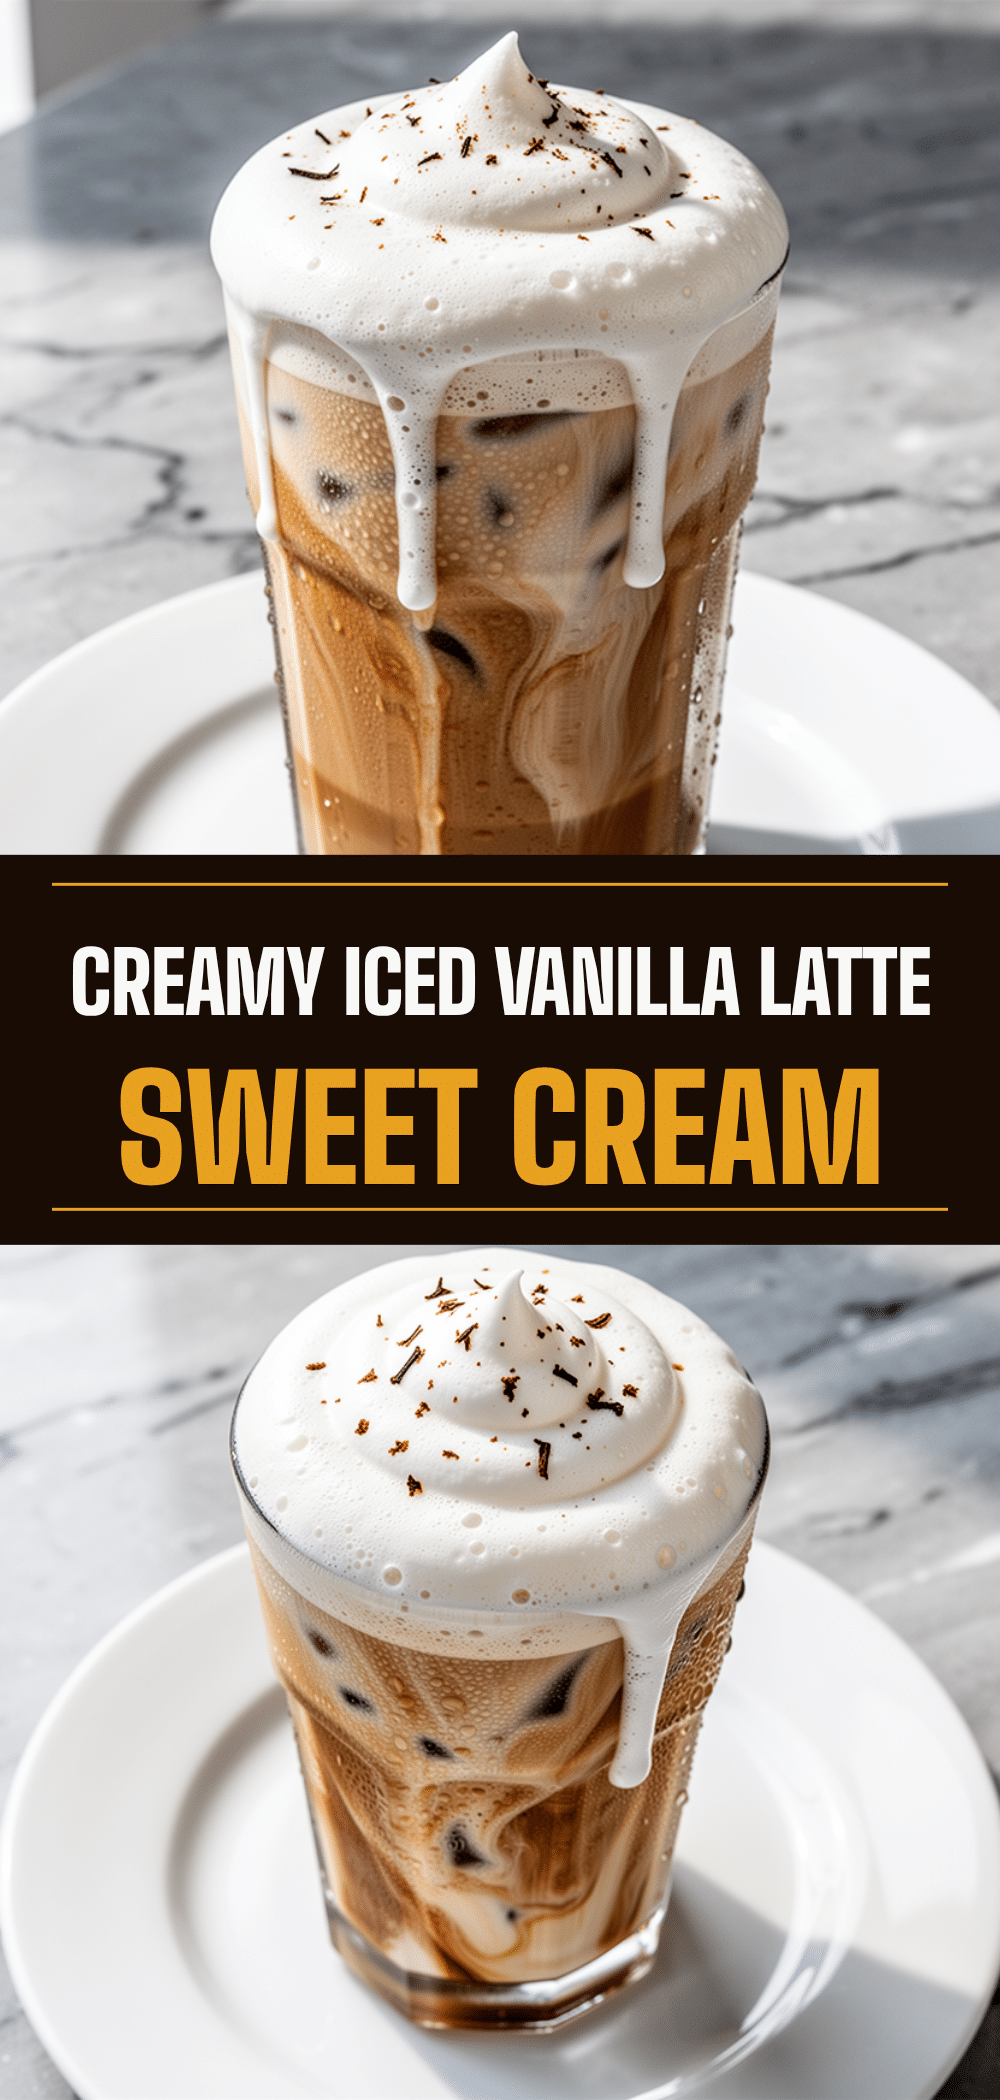

Creamy Iced Vanilla Latte: Best Sweet Cream Cold Foam Recipe
- Total Time: 15 minutes
- Yield: 1 serving 1x
Description
A homemade creamy iced vanilla latte featuring a light, airy sweet cream cold foam. This recipe offers coffee shop quality at home, is customizable, and costs significantly less than buying it out.
Ingredients
- 2 cups (480ml) strong coffee or cold brew, chilled
- 1 cup (240ml) milk (whole milk, oat milk, or almond milk)
- 2 tablespoons (30ml) vanilla syrup
- ½ cup (120ml) heavy cream, cold
- ¼ cup (60ml) whole milk
- 1 tablespoon (15ml) vanilla syrup
- 1 teaspoon (5g) granulated sugar
- Ice cubes
- Cinnamon or nutmeg (optional, for dusting)
Instructions
- Brew strong coffee using a 1:2 coffee-to-water ratio or prepare cold brew. Let hot coffee cool to room temperature, then chill with ice. Ensure coffee is completely cold before assembling.
- In a small bowl, combine heavy cream, whole milk, vanilla syrup, and granulated sugar.
- Using a handheld frother or whisk, beat the cream mixture until thick and airy with soft peaks. It should be glossy and smooth, holding its shape but remaining pourable.
- Fill a tall glass (approx. 16 oz) with ice cubes.
- Pour the chilled coffee into the glass, leaving about an inch of space at the top.
- Add the milk and 2 tablespoons of vanilla syrup to the coffee. Stir gently to combine.
- Slowly pour the sweet cream cold foam over the back of a spoon onto the surface of the coffee to create a distinct layer.
- Dust with cinnamon or nutmeg if desired. Serve immediately with a straw.
- Stir the drink before drinking to mix the foam with the coffee.
Notes
Ensure heavy cream is very cold for best whipping results. If using hot coffee, let it cool completely to prevent melting the ice too quickly. For a dairy-free version, use oat milk or coconut cream. The foam can be made ahead and stored in the fridge for up to 24 hours, but should be whisked before use.
- Prep Time: 10 minutes
- Cook Time: 0 minutes
- Category: Beverage
- Cuisine: American
Nutrition
- Serving Size: 1 latte
- Calories: 250
- Sugar: 18
- Sodium: 60
- Fat: 14
- Saturated Fat: 8
- Carbohydrates: 22
- Protein: 6
Keywords: iced vanilla latte, sweet cream cold foam, homemade coffee, cold foam recipe, iced coffee, dairy-free options, meal prep coffee


