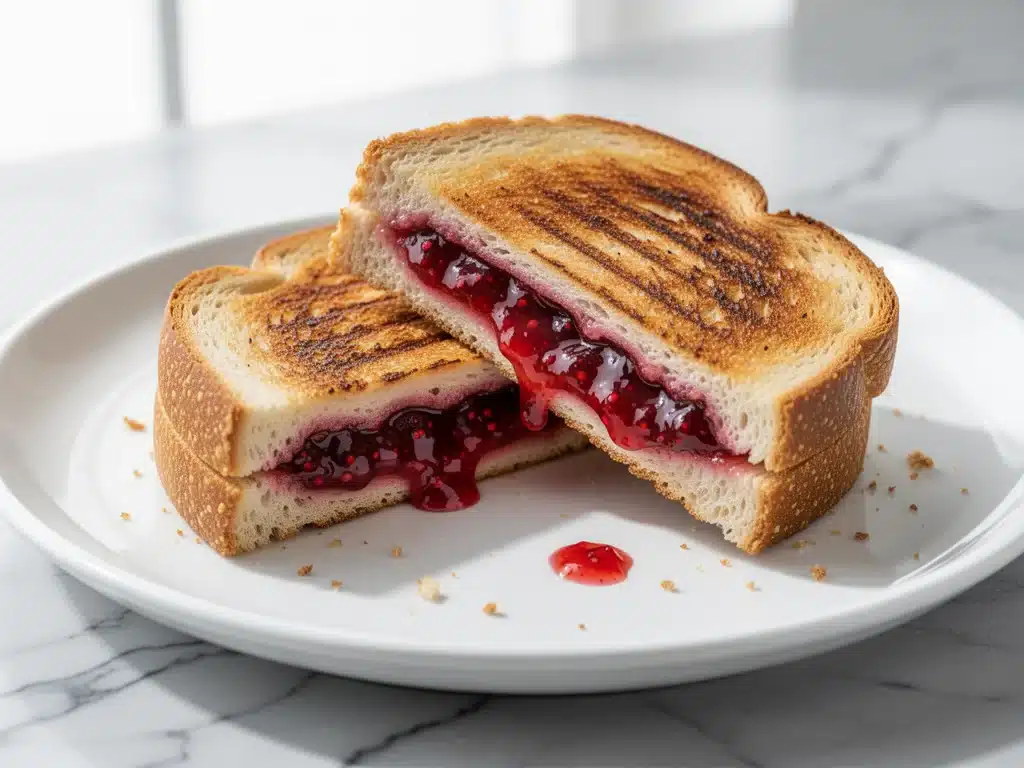
Last Tuesday, I was standing in the school pickup line, watching a sea of parents stress over crumpled permission slips and missing field trip fees, when I noticed the kid next to me digging into his lunchbox. He pulled out a sandwich that was still warm, perfectly sealed, and looked suspiciously like the frozen ones we used to buy by the carton. I asked him about it, and he just grinned, “My mom makes them. They don’t get soggy.”
I went home that day and bought eight packs of white bread. I wanted to know what the secret was. I wanted to replicate that magic for my own kids, who usually treat their school sandwiches like they’re radioactive, leaving them whole and untouched by 11 AM.
Here’s the thing about store-bought Uncrustables: they’re convenient, sure. But they’re also filled with preservatives that make the bread taste like cardboard, and the jam-to-bread ratio is always off. Sometimes it’s just wet jam. Sometimes it’s dry bread. And let’s be honest, they’re expensive for what they are.
So I started experimenting. I tried cookie cutters (too messy). I tried pressing the edges with a fork (they opened up in the lunchbox). I tried freezing them first, then sealing (still leaked). It took me about four failed attempts before I figured out the right sequence of events. Now? I make these homemade Uncrustables with strawberry jam every Sunday night. They take about 20 minutes total. They freeze beautifully. And my kids actually eat them.
It’s not just about saving money. It’s about knowing exactly what’s going into that lunch. It’s about avoiding the high-fructose corn syrup. It’s about having a lunch that doesn’t require a microwave at school, which most schools don’t have anyway. It’s about peace of mind. And honestly? It’s about those few minutes of silence in the morning while I’m packing lunches, knowing the hard part is already done.
If you’re tired of the soggy sandwich situation, you need to try this. Seriously. It’s the only way I survive the school year.
Why You’ll Love This Homemade Uncrustables Recipe
I’ve been making these little lunchbox heroes for two years now, and I’m not planning to stop anytime soon. There are about ten reasons I keep buying round cookie cutters, but here are the big ones that keep me coming back to the kitchen on Sunday nights.
Zero Sogginess Guaranteed — This is the holy grail. By sealing the edges properly, the moisture from the jam stays inside. I’ve left these in backpacks for three days, and when I open them on Thursday, the bread is still soft, not mushy. The seal is the key.
Lightning Fast Prep — You might think sealing 20 sandwiches takes forever. It doesn’t. Once you get into the rhythm, you can do a batch in 15 minutes. I make them while listening to a podcast. It’s not active cooking. It’s assembly line work, and it’s oddly satisfying.
Pantry-Friendly Ingredients — You don’t need specialty items. White bread, peanut butter, strawberry jam. If you have these in your house, you’re good to go. I keep a loaf of soft white bread in the freezer specifically for this.
Crowd-Pleaser — My picky eater son, who refuses to eat anything with texture, loves these. My daughter, who is obsessed with “fancy” foods, thinks they’re fun because they’re shaped like little circles. Even my husband steals them from the freezer stash before school starts.
Freezer-Friendly — I make a month’s worth in one afternoon. They stack perfectly in freezer bags. When it’s time for lunch, I just toss one in the lunchbox. It thaws by lunchtime, or if it’s a cold day, it’s still a pleasant, soft sandwich.
Budget-Smart — Store-bought frozen sandwiches cost about $1.50 each. Homemade? About 30 cents. That’s a massive difference over 180 school days. Plus, you can use sale bread and bulk jam.
This is my go-to when I need lunch to just work. No complicated techniques, no weird ingredients, just reliable, delicious food that makes everyone happy.
Ingredients You’ll Need
Here’s the best part: you probably have most of this already. I’m particular about two things here—the bread and the jam—and I’ll tell you exactly why.
Sandwich Bread (8 slices / 2 loaves, cut in half) — I use soft, white sandwich bread. Not artisan. Not sourdough. Not whole wheat. The softness is crucial for sealing. If the bread is too crusty or dense, it won’t crimp shut properly. Brands like Nature’s Own or any generic store brand work fine. Look for “thin sliced” if you can find it.
Peanut Butter (½ cup / 125g) — Creamy is non-negotiable. Chunky peanut butter will poke holes in the bread and leak. Natural peanut butter that separates is also risky because the oil can make the bread soggy. Standard brands like Jif or Skippy are perfect here. Or make your own creamy version with just peanuts and salt.
Strawberry Jam (½ cup / 150g) — This is where I get specific. Do not use jam with large fruit chunks. It won’t spread evenly. You want a smooth, glossy jam. Smucker’s or Bonne Maman (the smooth variety) work great. If you’re worried about sugar, look for a “no sugar added” smooth jam, but be aware it might be thinner. Regular jam holds its shape better.
Butter (Optional) (1 tablespoon / 15g) — I don’t always use this, but if you want that bakery-style flavor, lightly butter one side of the bread before adding the PB. It helps the seal too.
Optional Add-ins:
- Sliced Strawberries (½ cup) — Fresh slices add texture, but they can make the sandwich wet. If you use them, pat them dry thoroughly. I usually skip them for the pure “Uncrustable” vibe.
- Honey (1 teaspoon) — Drizzle a little on top of the peanut butter for extra sweetness. Great for kids who like it sweeter.
- Chocolate Chips (¼ cup mini) — Swap the jam for chocolate chips and peanut butter for a “Reese’s” style sandwich. Kids go crazy for these.
Personal Tips:
- Bread Freshness — Stale bread is your enemy. If your loaf is a few days old, microwave the slices for 10 seconds to soften them up before assembling.
- Jam Temperature — Keep the jam at room temperature. Cold jam is harder to spread and might crack the bread when you seal it.
- Substitutions — No peanut allergy? Use sunflower seed butter or almond butter. Just make sure it’s creamy. Nutella works too, but it’s sweeter and messier.
Equipment Needed
You don’t need fancy equipment for this. Here’s what I actually use.
Round Cookie Cutter (3-inch diameter) — This is the most important tool. You need a sharp, clean-edged cutter. I use a simple metal round cutter. Circle shapes are easier to seal than squares because there are no corners to leak. If you don’t have one, a drinking glass works, but the edges won’t be as clean.
Small Spatula or Butter Knife — For spreading the peanut butter and jam. You want something thin so you can spread close to the edge without getting sticky fingers.
Cutting Board — Any size works. I use a plastic one because it’s easy to wipe clean.
Freezer-Safe Bags — Ziploc bags or any resealable freezer bags. Get the quart size. You’ll fit about 8-10 sandwiches per bag.
Pastry Brush (Optional) — If you’re using the butter trick, a pastry brush helps you apply a thin, even layer without tearing the bread.
Water Spray Bottle (Optional) — Some people spray the edges with water to help them seal. I find that the moisture from the jam is enough, but if your bread is very dry, a light mist can help.
Tool Tips:
- Don’t have a cutter? You can use a knife to cut rounds, but it’s messy and the edges won’t seal as well. The cutter is worth the $5 investment.
- Freezer bags — Label them with the date. They last 3 months, but it’s nice to know when you made them.
How to Make It: Step-by-Step
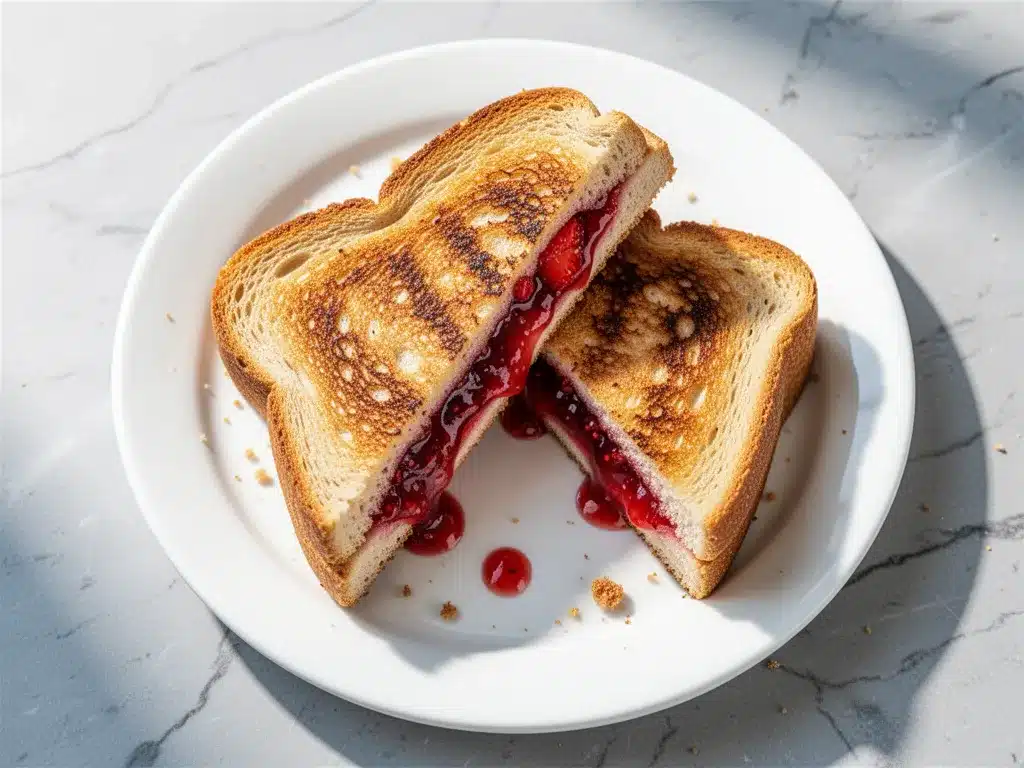
Alright, let’s make this! I’m walking you through exactly how I do it, including the little tricks I’ve picked up to prevent leaks.
Step 1: Prep Your Station (2 minutes)
Take your bread out of the bag. If it’s cold from the fridge, let it sit for 5 minutes. Cold bread is brittle. Lay out two slices of bread side by side on your cutting board. You’ll be working with pairs.
Step 2: Spread the Peanut Butter (3 minutes)
Take one slice of bread. Spread 1-2 tablespoons of creamy peanut butter over the entire surface. Go all the way to the edges. This is your “glue” layer. If you leave any dry spots, the jam might seep out. Make it even. Smooth is better than chunky here.
Step 3: Add the Jam (2 minutes)
Take the second slice of bread. Spread a thin layer of strawberry jam over it. Keep the layer thin—about 1 tablespoon. If you pile it on too high, the sandwich will be too thick to seal. Leave a small border of about ¼ inch around the edge. This border is critical for sealing.
Step 4: Stack and Press (1 minute)
Place the jam-covered slice on top of the peanut butter slice, jam-side down. So now the peanut butter is on the outside. Press down gently with your palm. This helps the two slices adhere to each other. You’re creating a single unit.
Step 5: Cut the Circles (3 minutes)
Take your round cookie cutter. Press it firmly into the sandwich. Don’t saw back and forth—just press straight down. Lift the cutter. You should have a perfect circle. Discard the excess bread around the edges. Save these scraps! You can toast them for snack time. Repeat with the next pair of slices.
Step 6: Seal the Edges (5 minutes)
This is the most important step. Take the round sandwich. Look at the edge. You should see a small ridge of bread where the two slices meet. Press this edge down firmly with your fingers. Then, take a fork and crimp the edges. Press the tines of the fork into the bread edge all the way around. This creates a mechanical seal that prevents leaks. If you’re feeling fancy, you can use a fork to make a decorative pattern, but function is more important than fashion here.
Step 7: Freeze (10 minutes)
Place the sealed sandwiches on a baking sheet in a single layer. Put them in the freezer for 10-15 minutes. This “flash freezes” them, making the edges firm and less likely to stick together in the bag. After 15 minutes, they’re firm enough to stack.
Step 8: Package and Store
Transfer the frozen sandwiches to freezer bags. Squeeze out as much air as possible. Label with the date. They’ll keep for up to 3 months.
Total Time: About 20 minutes for a batch of 8-10 sandwiches.
Built-in Troubleshooting:
- Edges won’t seal? Your bread might be too dry. Lightly mist the edges with water or brush with a tiny bit of butter.
- Jam leaking? You used too much jam or didn’t leave a border. Next time, use less jam and keep it ¼ inch from the edge.
- Bread tearing? Your cookie cutter wasn’t sharp enough, or you pressed too hard. Use a gentle, firm press.
Expert Tips & Tricks
Here’s everything I’ve learned from making this dozens of times. These tips will save you from my mistakes.
Use Soft Bread
I can’t stress this enough. If you use thick, artisanal bread, it will not work. The bread needs to be pliable. If you buy bread that’s been sitting out for a day, microwave it for 10 seconds. It’s like new.
Keep the Layers Thin
Thick sandwiches are hard to seal. Thin sandwiches seal easily. Aim for a total thickness of about ½ inch. If it’s thicker, the fork crimping won’t hold.
Don’t Skip the Flash Freeze
If you put warm or room-temperature sandwiches in a bag, they’ll stick together into one giant block of bread. The 15-minute freeze in the freezer prevents this. It’s a small step that makes a huge difference.
Double Bag for Long Storage
If you’re making a big batch for the whole school year, double bag them. This prevents freezer burn. Freezer burn makes the bread taste stale.
Common Mistakes (and how to avoid them):
- Mistake: Sandwiches are too sweet Fix: Reduce the jam to 1 teaspoon. The peanut butter is already sweet enough for many kids.
- Mistake: Bread is too salty Fix: Use unsalted butter if you’re adding butter. Most sandwich bread already has salt.
- Mistake: Jam is too runny Fix: Use a thicker jam. If your jam is runny, mix it with a teaspoon of cornstarch and let it sit for 5 minutes to thicken.
Pro Tricks I’ve Learned:
- For Extra Flavor Sprinkle a tiny pinch of cinnamon on the peanut butter before adding the jam. It adds a warm, cozy flavor.
- For Better Texture Toast the bread lightly before assembling? No, don’t do this. Toasted bread is too stiff to seal. Only toast the scraps.
- Make-Ahead Strategy Make the sandwiches on Sunday. Freeze them. On Monday, pack them. They’re ready to go all week.
Variations & Substitutions
Once you’ve nailed the basic version, here’s how you can mix it up. I’ve tried all of these.
Reese’s Style
Skip the jam. Use peanut butter on one side and chocolate chips on the other. The heat of the chocolate chips might melt slightly, creating a gooey center. Kids love this.
Banana Split
Use peanut butter and sliced bananas. Pat the bananas dry! This version is best eaten within 2 days, as bananas brown quickly. Add a drizzle of honey.
Apple Pie
Use apple butter (smooth) instead of jam. Add a pinch of cinnamon. This tastes like warm apple pie. Use firm bread to hold up to the moisture.
Nut-Free School Lunch
Use sunflower seed butter or soy nut butter. The texture is similar to peanut butter. Spread it thick. Use strawberry jam. It’s just as good.
Lower Sugar
Use unsweetened almond butter and a sugar-free strawberry spread. It’s less sweet, but still tasty. Add a few fresh blueberries for natural sweetness.
Different Shapes
Use heart-shaped cutters for Valentine’s Day. Star-shaped for the 4th of July. It’s fun to change the shape up. The sealing process is the same.
Serving & Storage
How to Serve:
I usually serve these straight from the lunchbox. They’re best when they’ve had time to thaw slightly. If it’s a hot day, they’ll be soft. If it’s cold, they’ll be firmer. Both are good.
Side Dishes:
- Apple slices
- Carrot sticks
- Crackers
- Yogurt pouch
Storage Instructions:
Refrigerator: Not recommended. The bread will stale faster in the fridge than in the freezer. Only store for 1-2 days if you’re eating them immediately.
Freezer: Best method. Store in freezer bags for up to 3 months. They freeze perfectly.
Reheating: You don’t need to reheat them. They’re designed to be eaten cold or room temperature. If you want them warm, microwave for 10-15 seconds. But be careful—they get hot inside!
Meal Prep: Make 20 sandwiches on Sunday. Freeze them. Pack 4 per day. You’re set for 5 days. Then make another batch.
Nutrition Information
I’m not a nutritionist, but here’s the breakdown if you’re tracking. This is for one sandwich (using white bread, standard PB, and standard jam).
Per Serving (1 sandwich):
- Calories: 280
- Protein: 10g
- Carbs: 32g
- Fiber: 2g
- Sugar: 14g
- Fat: 14g
- Sodium: 180mg
What’s Good:
- Decent protein from peanut butter
- Energy-dense for growing kids
- No artificial preservatives
What to Know:
- Higher in sugar from the jam
- Contains gluten and nuts
- Calorie count varies based on bread thickness and jam amount
My Take:
Look, this is a treat lunch. It’s not a salad. It’s sweet, salty, and satisfying. It’s way better than a granola bar, and it’s more filling than fruit snacks. When I want to make it lighter, I use whole wheat bread and natural peanut butter. But usually? I just pack it and let my kids enjoy it.
Final Thoughts
So that’s my go-to homemade Uncrustables! I’ve probably talked your ear off at this point, but when you make a recipe this often, you have a lot to say about it.
This has saved my mornings more times than I can count. It’s my answer to “what’s for lunch?” when I’m tired, don’t want to cook, and still want something that tastes really good. My kids are happy, my husband’s happy, and I’m happy because I’m not stressed about packing lunches.
Make it yours! Try different flavors, swap in your favorite nut butters, adjust the jam. The best recipes are the ones you adapt to your family’s tastes.
If you make this, drop a comment and let me know what you think! I love hearing how recipes turn out in your kitchen. And if something doesn’t work, tell me that too—I’m here to help troubleshoot.
Happy packing! And I hope your kids’ lunches smell half as good as mine do right now.
Frequently Asked Questions
Can I use whole wheat bread?
You can, but it’s harder to seal. Whole wheat bread is thicker and has more crust. If you use it, make sure it’s soft and fresh. I recommend using a thinner slice if possible. The flavor is nuttier, which some kids love.
Why did my sandwich leak?
Usually means you used too much jam, or you didn’t leave a border around the edge. The jam needs space to expand without pushing out. Also, make sure you crimped the edges well with a fork. If the seal isn’t tight, the pressure from the thawing jam will push it out.
Can I make these ahead for the whole month?
Absolutely! I make a month’s worth in one afternoon. They freeze perfectly. Just make sure to label them with the date. They’ll last up to 3 months. I rotate them so I use the oldest ones first.
How do I stop them from sticking together in the freezer?
The flash freeze step is key. Put them in the freezer for 15 minutes before bagging. Once they’re firm, they won’t stick. Also, make sure they’re completely cool before bagging.
Can I use jelly instead of jam?
Yes! Jelly is actually smoother and less likely to leak because it has no fruit chunks. It’s a great option if you want a cleaner seal. Strawberry jelly works perfectly.
What if my kid has a nut allergy?
Use sunflower seed butter, soy nut butter, or almond butter (if tree nuts are allowed). The process is exactly the same. Just make sure the alternative is creamy and spreadable.
Can I freeze these without jam?
Yes! You can make plain peanut butter sandwiches. They’re still good. Or you can use honey or chocolate spread. The sealing process works with any soft spread.
Pin This Recipe!

Homemade Uncrustables: Easy Strawberry Jam School Lunches
- Total Time: 20 minutes
- Yield: 8-10 servings 1x
Description
Make freezer-friendly, sealed peanut butter and jelly sandwiches at home that stay fresh and don’t get soggy in the lunchbox. A budget-friendly, preservative-free alternative to store-bought Uncrustables.
Ingredients
- 8 slices soft white sandwich bread (thin sliced)
- ½ cup creamy peanut butter
- ½ cup smooth strawberry jam
- 1 tablespoon butter (optional, for brushing edges)
- Water (for misting edges if bread is dry)
Instructions
- Prep your station by laying out two slices of bread side by side on a cutting board. If the bread is cold or stiff, let it sit for 5 minutes or microwave briefly to soften.
- Spread 1-2 tablespoons of creamy peanut butter over the entire surface of one slice of bread, going all the way to the edges.
- Spread a thin layer (about 1 tablespoon) of strawberry jam on the second slice of bread, leaving a ¼ inch border around the edge.
- Place the jam-covered slice on top of the peanut butter slice, jam-side down, and press gently with your palm to adhere.
- Press a 3-inch round cookie cutter firmly into the sandwich and lift to cut out a circle. Discard excess bread scraps.
- Crimp the edges of the round sandwich firmly with your fingers, then use a fork to press tines into the edge all the way around to create a seal.
- Place sealed sandwiches on a baking sheet and freeze for 10-15 minutes to flash freeze.
- Transfer frozen sandwiches to freezer-safe bags, squeeze out air, label with the date, and store for up to 3 months.
Notes
Use soft, thin-sliced bread for best results. Ensure the jam is smooth without chunks to prevent leaking. Leave a ¼ inch border of bread around the edge to ensure a proper seal. Flash freezing prevents sandwiches from sticking together in the bag.
- Prep Time: 15 minutes
- Cook Time: 0 minutes
- Category: Lunch
- Cuisine: American
Nutrition
- Serving Size: 1 sandwich
- Calories: 280
- Sugar: 14
- Sodium: 180
- Fat: 14
- Saturated Fat: 3
- Carbohydrates: 32
- Fiber: 2
- Protein: 10
Keywords: homemade uncrustables, school lunch ideas, peanut butter and jelly, freezer meals, kid friendly lunch, meal prep, no bake recipe


