It was 6:15 PM on a Tuesday, and I was staring into my open refrigerator like it held the secrets to the universe. Outside, my kids were arguing over who got the blue tablet. Inside, there was half a jar of hot sauce, a can of chickpeas that had been sitting there since Sunday, and a bag of tortillas that were slowly turning into cardboard. I needed lunchboxes ready for tomorrow, dinner on the table in twenty minutes, and a miracle.
Instead of ordering takeout (which I always regret because it’s expensive and bland), I threw together what I thought would be a sad, last-minute salad. I mashed up those chickpeas, dumped in the buffalo sauce, added some creamy ranch to balance the heat, and wrapped it all up in warm tortillas. I packed them into lunchboxes with zero expectations.
The next morning, my youngest came home and said, “Mom, can we have those spicy chickpea wraps again?” That was it. That was the moment.
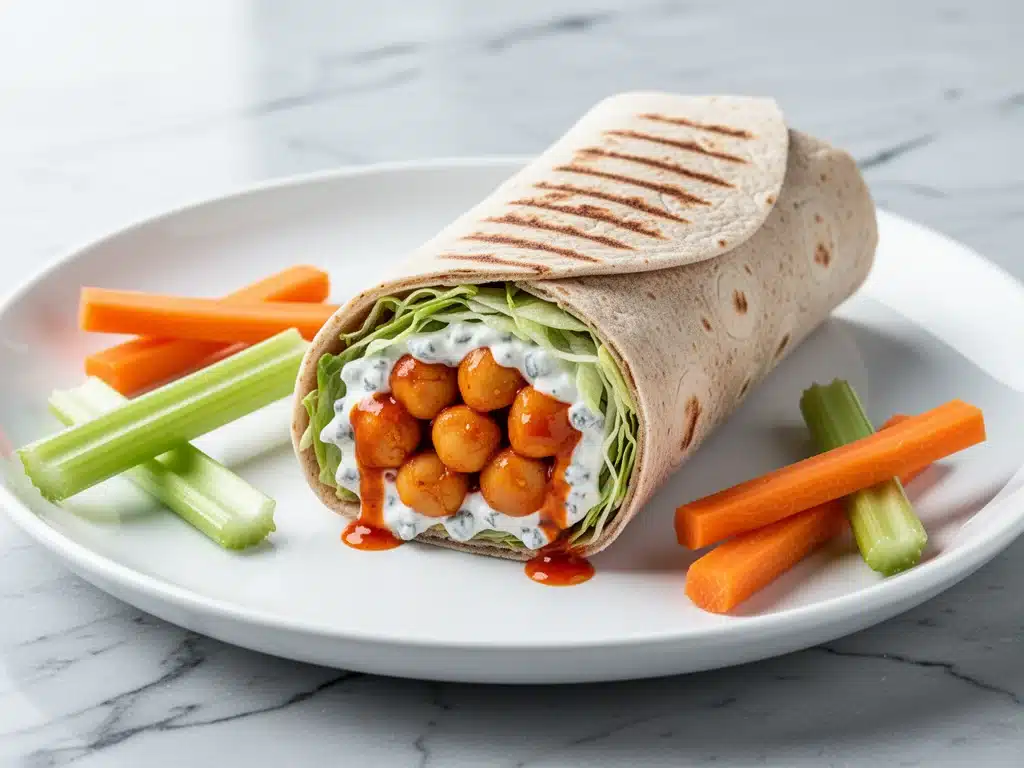
Those buffalo chickpea lunchbox wraps have become the unsung hero of our weeknight routine. They are tangy, creamy, slightly spicy, and hold up perfectly in a lunchbox without getting soggy (if you do one thing right, which I’ll tell you how to do). I’ve made them at least a dozen times since that chaotic Tuesday, tweaking the spice level and the veggie ratio until they were absolutely perfect. If you’re tired of the same old turkey sandwich rotation or dreading the “what’s for lunch?” question, you need to try this. It’s fast, it’s budget-friendly, and surprisingly, even the pickiest eaters think it’s a treat.
Why You’ll Love These Buffalo Chickpea Lunchbox Wraps
Look, I’m not going to lie to you. Some days, getting a balanced, tasty meal into a lunchbox feels like solving a complex math equation. But these wraps? They’re the cheat code. Here’s why they’ve completely taken over our meal prep game:
Zero Cooking Required — Seriously. You don’t even need to turn on the stove. This is a cold-assemble recipe. I mash the chickpeas with a fork, mix in the sauce, and wrap. If you can mash a banana, you can make this. I’ve made these on nights when I was too exhausted to stand up, and they turned out amazing.
They Actually Stay Fresh — The #1 enemy of lunchbox wraps is sogginess. Wet veggies + tortilla = sad lunch. By using a creamy binder (the ranch/mayo mix) and keeping the crunchy veggies separate or well-drained, these wraps stay crisp and delicious for hours. My kids’ lunches come home looking almost as good as when I packed them.
Packed with Protein (Without the Meat) — Chickpeas are a powerhouse. They’re filling, nutritious, and cost pennies compared to chicken or turkey. Plus, the buffalo flavor masks the “healthy” vibe so well that no one complains about eating vegetables or legumes. It tastes like game-day food, but it’s actually good for you.
Customizable Heat Levels — I love spicy food, but my husband prefers mild. With buffalo sauce, you have total control. I use a mild hot sauce for the kids and add extra Sriracha for myself. It’s a win-win. No one fights over the food.
Meal Prep Friendly — I make a big batch on Sunday night, and they last in the fridge for up to four days. I wrap them tightly in parchment paper (not plastic wrap, which traps steam and makes them soggy) and they’re grab-and-go ready. It’s saved me from the mid-week panic more times than I can count.
This is my go-to when I need lunch to just work. No fancy techniques, no weird ingredients, just reliable, delicious food that makes everyone happy and leaves me with more time to relax.
Ingredients You’ll Need
Here’s the best part: you probably have most of this already. This recipe relies on pantry staples and simple fresh items. I’m particular about two things here: the quality of the chickpeas and the balance of the sauce, and I’ll tell you exactly why.
Chickpeas (2 cans, 15 oz each / about 400g drained) — I always use low-sodium canned chickpeas so I can control the salt. Rinse them thoroughly until the water runs clear. This removes that canned metallic taste. If you have time, let them dry on a towel for 10 minutes; it makes them easier to mash into a cohesive filling rather than a chunky salad.
Buffalo Sauce (½ cup / 120ml) — Frank’s RedHot is the classic for a reason. It has that vinegar-forward tang that cuts through the creaminess. If you want a smokier flavor, try a chipotle buffalo blend. Avoid the super thick “wing sauces” meant for coating wings; they’re too heavy for a wrap. You want something pourable.
Creamy Binder (¼ cup mayonnaise or Greek yogurt / 60g) — This is crucial. The fat in the mayo (or the protein in the Greek yogurt) helps the filling stick together so it doesn’t fall out of the wrap. Greek yogurt makes it lighter and tangier, which I love. Mayonnaise makes it richer. I usually do half-and-half for the best of both worlds.
Celery (2 stalks, finely diced / about 100g) — Celery is non-negotiable for a buffalo flavor profile. It adds that essential crunch and fresh, bitter note that balances the heat. Dice it super fine so you get a bit of crunch in every bite without large chunks.
Carrots (1 medium, finely diced or grated / about 80g) — Adds a subtle sweetness and more crunch. I grate mine for a finer texture, but diced works too. It also makes the filling look vibrant and orange-y, which appeals to the kids.
Green Onions (3-4 stalks, sliced thin / about 30g) — Adds a mild onion bite without being overwhelming. I use both the white and green parts. If you’re sensitive to raw onion smell, you can skip this or use just the green tops.
Ranch Seasoning (1 teaspoon dried / 5g) — This is my secret weapon. A little dried ranch powder (or 2 tablespoons of actual ranch dressing) amplifies the “blue cheese” flavor that buffalo wings usually have. It ties the whole flavor profile together. Don’t skip it.
Tortillas (8 large flour tortillas / about 400g) — I prefer large (10-inch) burrito-sized tortillas. They’re sturdy enough to hold the filling without ripping. Whole wheat works too, but they can be a bit brittle. If using whole wheat, warm them slightly before wrapping.
Optional Add-ins:
Blue Cheese Crumbles (¼ cup / 30g) — For the purists. Adds that authentic wing shop flavor.
Cheddar Cheese (½ cup shredded / 60g) — Melts nicely if you warm the wrap. Adds comfort.
Cilantro (¼ cup chopped / 15g) — Fresh herb brightness. Good if you’re tired of the celery/carrot combo.
Shopping Shortcuts: I buy pre-diced celery and carrots in the produce section sometimes. It saves time, though fresh is always better. For the chickpeas, I keep a shelf of canned beans stocked just so I can make this on a whim.
Equipment Needed
You don’t need fancy equipment for this. Here’s what I actually use:
Large Mixing Bowl — I use a 3-quart stainless steel bowl. It needs to be big enough to mash the chickpeas without making a mess. Glass works too, but I prefer metal for durability.
Fork or Potato Masher — A fork gives you more control over the texture. I like to mash about 70% of the chickpeas and leave 30% chunky for texture. A potato masher is faster if you want a smoother paste.
Sharp Knife & Cutting Board — For dicing the celery, carrots, and green onions. A small paring knife is great for the celery. Keep your board clean to avoid cross-contamination.
Measuring Cups and Spoons — Standard stuff. Dollar store versions work fine. Accuracy matters here because the sauce-to-chickpea ratio affects the texture.
Parchment Paper or Wax Paper — For wrapping the finished wraps. This is critical for lunchboxes. Plastic wrap can trap moisture and make the tortilla soggy. Parchment allows the wrap to breathe and stay crisp.
Ziplock Bags or Container — For storing the prepped filling if you’re meal prepping. Or just wrap them individually.
Optional but nice:
Food Processor — If you want a completely smooth filling (like a dip), pulse the chickpeas and sauce in a processor. But I prefer the hand-mashed texture for wraps.
Tool Tips: Don’t have a large bowl? Use a big sheet of parchment paper on the counter to mash the chickpeas. It’s a trick I learned from my friend who does a lot of meal prep. Just fold the paper up and mix!
How to Make It: Step-by-Step
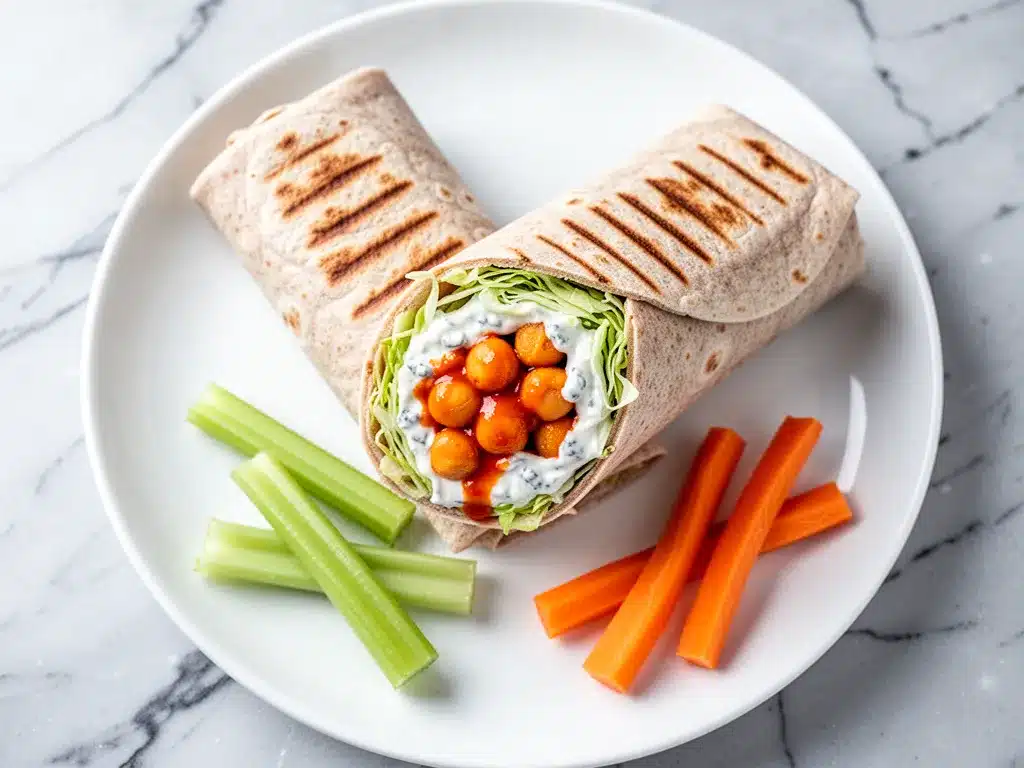
Alright, let’s make this! I’m walking you through exactly how I do it, including the little tricks I’ve picked up to ensure your wraps don’t fall apart.
Step 1: Prep the Chickpeas (5 minutes)
Open the cans of chickpeas and drain them thoroughly. Rinse them under cold water until the foam disappears. This step is important—it removes the excess sodium and the slimy liquid (aquafaba) that makes them mushy. Spread them out on a clean kitchen towel or paper towels and pat them dry. If they’re too wet, your filling will be soupy. Let them sit for 5-10 minutes to air dry. Trust me, this small step makes a huge difference in texture.
Step 2: Mash the Base (5 minutes)
Place the dried chickpeas in your large mixing bowl. Using a fork or potato masher, mash the chickpeas until they are mostly broken down but still have some small chunks. You want a cohesive mixture, not a smooth puree. If you mash them too much, the filling becomes sticky and gummy. Leave about 20-30% of the chickpeas slightly whole for better texture. This takes about 2-3 minutes of vigorous mashing.
Step 3: Mix the Flavor (3 minutes)
Add the buffalo sauce, mayonnaise (or Greek yogurt), ranch seasoning, and a pinch of black pepper to the mashed chickpeas. Mix everything together with a spatula or spoon until well combined. The mixture should look like a thick, orange-colored paste. Taste it at this stage. Is it spicy enough? Add more hot sauce if you like. Is it too dry? Add a teaspoon of water or more mayo. It should be moist but not runny.
Step 4: Add the Crunch (2 minutes)
Fold in the finely diced celery, carrots, and green onions. Stir gently until they are evenly distributed throughout the chickpea mixture. The veggies should be coated in the sauce. If you’re adding blue cheese or cheddar, fold those in now. The mixture should hold together when you pinch a bit of it. If it’s falling apart, add a bit more mayo. If it’s too stiff, add a splash of water or milk.
Step 5: Warm the Tortillas (2 minutes)
This is the secret to easy rolling. Lay a tortilla on a microwave-safe plate and microwave it for 10-15 seconds. Or, you can warm it in a dry skillet for 30 seconds per side. Warm tortillas are pliable and less likely to crack or tear when you roll them. Cold tortillas are brittle and will ruin your wrap. Do not skip this step!
Step 6: Assemble the Wrap (3 minutes per wrap)
Place the warm tortilla on a flat surface. Spoon about ½ cup of the chickpea mixture into the center, leaving a 2-inch border on all sides. Don’t overfill! If you pack it too tight, it will burst. Fold the bottom edge up over the filling, fold in the left and right sides, and then roll it up tightly from the bottom. Roll it snugly but gently. The goal is a tight cylinder that holds its shape.
Step 7: Wrap and Store (5 minutes)
Immediately wrap each assembled wrap in parchment paper or wax paper. Twist the ends like a candy wrapper to seal it. This keeps the moisture in and the tortilla crisp. Place the wrapped wraps in an airtight container or ziplock bag in the fridge. They can be eaten immediately or stored for up to 4 days. For lunchboxes, pack them cold.
Total Time: About 20 minutes (mostly hands-on, but very easy). You can make 8 wraps in one sitting.
Built-in Troubleshooting:
– Filling too wet? Add more chickpeas or a tablespoon of breadcrumbs to absorb moisture.
– Tortilla cracking? It wasn’t warm enough, or you overfilled it. Use smaller portions next time.
– Too spicy? Add more mayo or yogurt to balance the heat. A pinch of sugar can also help.
Expert Tips & Tricks
Here’s everything I’ve learned from making these wraps dozens of times. These tips will save you from my mistakes.
The Parchment Paper Rule
This is the #1 tip. Wrap them in parchment paper, not plastic wrap. Plastic wrap traps steam from the veggies, making the tortilla soggy and slimy. Parchment paper allows the wrap to breathe while keeping it contained. I learned this the hard way when my Tuesday lunch turned into a mushy mess. Now, I keep a roll of parchment right next to my mixing bowl.
Don’t Skip the Drying Step
Wet chickpeas = wet filling = soggy wrap. Patting them dry seems tedious, but it’s the difference between a crisp wrap and a sad one. If you’re in a rush, at least squeeze them in a clean towel. It takes 30 seconds and saves the whole recipe.
Balance the Heat
Buffalo sauce varies by brand. Some are vinegar-heavy, some are sweet. Taste your sauce before mixing it with the chickpeas. If it’s too spicy, add a bit of honey or sugar. If it’s too flat, add a splash of vinegar. The ranch seasoning helps, but the hot sauce is the star.
Roll It Tight
A loose wrap is a leaking wrap. Roll it snugly. If it’s too loose, it will unravel in the lunchbox. If it’s too tight, the tortilla might tear. Find the sweet spot—firm but not crushing the filling.
Make-Ahead Strategy
You can make the filling up to 2 days ahead and store it in the fridge. Assemble the wraps the morning of or the night before. Assembling the night before is fine as long as you wrap them properly in parchment. The flavors actually meld and get better overnight.
Pro Trick for Lunchboxes
If your lunchbox has ice packs, the wraps stay crisp for hours. If you’re packing them in a insulated bag without ice, they’re still fine for 3-4 hours, which is usually enough for school or work.
Variations & Substitutions
Once you’ve nailed the basic version, here’s how you can mix it up. I’ve tried all of these.
Vegan Version
This recipe is naturally vegan if you use vegan mayo or just skip the mayo and use extra buffalo sauce. The chickpeas are already plant-based. Just ensure your tortillas are vegan (some contain honey or milk, though rare).
Gluten-Free
Use gluten-free tortillas. I’ve tried several brands, and the brown rice flour ones work best—they’re pliable when warmed. Also, check your hot sauce and ranch seasoning to ensure they’re certified GF. Everything else is naturally GF.
Spicy Jalapeño Kick
Add 1 finely diced jalapeño (seeds removed for less heat) to the filling. It adds a fresh, green heat that complements the buffalo sauce. Great for those who want more depth.
Creamy Avocado Twist
Replace half the mayo with mashed avocado. It adds healthy fats and a rich, creamy texture. The lime juice from the avocado also brightens the flavor. This version is best eaten immediately, as avocado browns over time.
Protein Boost
Add ½ cup of shredded cooked chicken or turkey to the filling. This turns it into a hybrid wrap that’s even more filling. Great for post-workout lunches or growing teens.
No-Celery Version
If your kids hate celery, substitute it with finely diced cucumber or bell pepper. Cucumber adds crunch but more water, so pat it dry well. Bell pepper adds sweetness and crunch. It’s not traditional, but it works.
Low-Fat Option
Use non-fat Greek yogurt instead of mayo. It’s tangier and lighter. The texture will be slightly less rich, but the flavor is still great. I use this when I’m trying to watch my calories.
Serving & Storage
How to Serve:
I usually serve these cold or at room temperature. They’re perfect for lunchboxes, picnics, or a quick dinner with a side of carrot sticks and ranch. They also taste great warmed up in a skillet for 1-2 minutes per side if you want a crispy exterior.
Side Dishes:
– Apple slices with peanut butter
– Carrot and celery sticks with extra ranch
– A simple green salad
– Chips (obviously, because it’s buffalo flavor)
– Corn on the cob
Toppings Bar:
When I have guests, I put out: extra buffalo sauce, ranch dressing, blue cheese crumbles, and chopped green onions. Everyone customizes their wrap.
Storage Instructions:
Refrigerator: Store in an airtight container for up to 4 days. The wraps will stay crisp if wrapped in parchment paper. If they start to soften, eat them within 2 days.
Freezing: I don’t recommend freezing these. The tortillas become mushy when thawed, and the chickpea filling changes texture. It’s best enjoyed fresh.
Meal Prep: Make the filling on Sunday. Assemble wraps on Monday morning or Sunday night. They keep well for the whole week.
Pro tip: If leftovers are drying out, microwave the wrap for 10-15 seconds to soften the tortilla. But don’t overdo it, or it will get soggy.
Nutrition Information
I’m not a nutritionist, but here’s the breakdown if you’re tracking. These are estimates based on standard ingredients.
Per Wrap (based on 8 wraps):
– Calories: 280
– Protein: 10g
– Carbs: 38g
– Fiber: 6g
– Sugar: 4g
– Fat: 10g
– Saturated Fat: 1.5g
– Cholesterol: 0mg (if vegan) or 5mg (if using mayo)
– Sodium: 450mg (varies by hot sauce)
– Calcium: 60mg
What’s Good:
– High in fiber from chickpeas and veggies
– Good source of plant-based protein
– Low in saturated fat (if using Greek yogurt)
– No added sugar (unless you add honey)
What to Know:
– Sodium can be high depending on the hot sauce and tortilla brand. Use low-sodium options to reduce.
– Contains gluten (unless using GF tortillas)
– Contains dairy (if using mayo/yogurt/cheese)
My Take:
Look, this is a hearty, flavorful wrap. It’s not a diet food, but it’s way healthier than fast food. The chickpeas provide steady energy, and the veggies add volume. I eat one or two as a main meal, and it keeps me full for hours.
Final Thoughts
So that’s my go-to buffalo chickpea lunchbox wraps! I’ve probably talked your ear off at this point, but when you make a recipe this often, you have a lot to say about it.
This has saved my lunch routine more times than I can count. It’s my answer to “what’s for lunch?” when I’m tired, don’t want to cook, and still want something that tastes really good. My kids are happy, my husband’s happy, and I’m happy because I’m not stressed about packing food.
Make it yours! Try different add-ins, swap in your favorite vegetables, adjust the garlic (though more is always better in my opinion). The best recipes are the ones you adapt to your family’s tastes.
If you make this, drop a comment and let me know what you think! I love hearing how recipes turn out in your kitchen. And if something doesn’t work, tell me that too—I’m here to help troubleshoot.
Happy cooking! And I hope your lunchboxes smell half as good as my kitchen does right now.
Frequently Asked Questions
Q: Can I use dried chickpeas instead of canned?
A: Yes, but you’ll need to cook them first. Soak 1 cup of dried chickpeas overnight, then boil or pressure cook them until tender (about 45-60 minutes in a pressure cooker). Let them cool completely before mashing. Canned is much easier for busy weeknights, though.
Q: Why did my wraps fall apart?
A: Usually, this means the filling was too wet or you didn’t roll them tight enough. Make sure to pat the chickpeas dry, and use less filling if the tortilla is small. Also, warming the tortillas helps them roll without cracking.
Q: Can I make these ahead for the whole week?
A: Yes! I make the filling on Sunday and assemble them Monday-Friday mornings. They stay fresh in the fridge for up to 4 days. If you make them all on Sunday, wrap them tightly in parchment paper and store in an airtight container. They’ll be good for 3-4 days.
Q: Is this recipe spicy?
A: It depends on the hot sauce you use. Frank’s RedHot is medium heat. If you want it milder, use less sauce or mix it with more mayo/yogurt. For kids, I use ¼ cup of sauce and ¼ cup of ranch to balance it out. You can always add more heat later.
Q: Can I freeze these wraps?
A: I don’t recommend it. The tortillas become soft and mushy when thawed, and the texture of the chickpea filling changes. It’s best enjoyed fresh. If you must freeze, freeze the filling separately (without veggies) and wrap fresh tortillas when ready to eat.
Q: What’s the best hot sauce for this?
A: Frank’s RedHot is the classic choice for buffalo flavor. It’s vinegar-forward and pairs well with creamy binders. If you want a smokier taste, try a chipotle buffalo sauce. Avoid thick wing glazes, as they’re too heavy for a wrap.
Q: Can I add cheese to the filling?
A: Absolutely! Blue cheese is traditional for buffalo wings, but cheddar or pepper jack also work great. Add ¼-½ cup of shredded cheese to the filling. It adds richness and helps bind the mixture together.
Pin This Recipe!
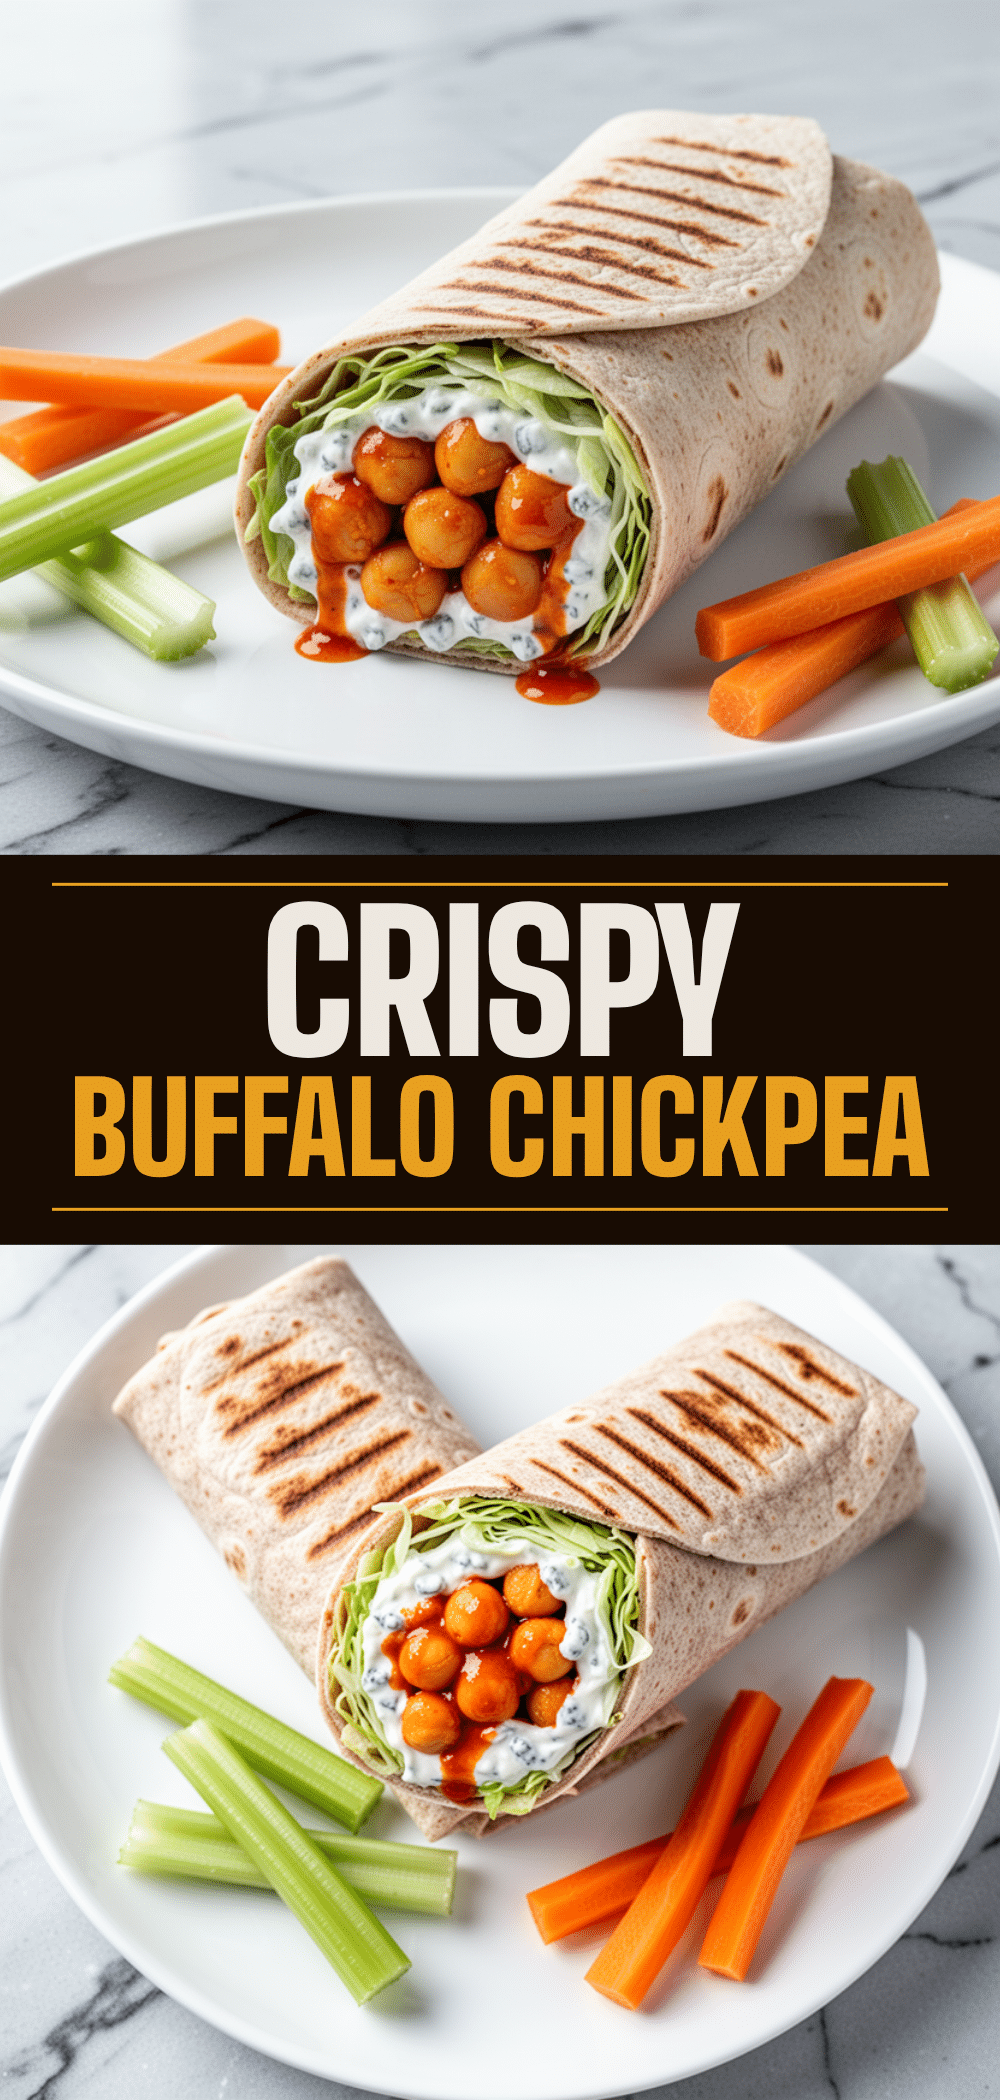
Buffalo Chickpea Lunchbox Wraps
- Total Time: 20 minutes
- Yield: 8 servings 1x
Description
A quick, no-cook weeknight meal featuring mashed chickpeas mixed with buffalo sauce, ranch seasoning, and crunchy vegetables, wrapped in warm tortillas. Perfect for lunchboxes and meal prep.
Ingredients
- 2 cans (15 oz each) chickpeas, drained, rinsed, and patted dry
- 1/2 cup buffalo sauce (e.g., Frank’s RedHot)
- 1/4 cup mayonnaise or Greek yogurt
- 2 stalks celery, finely diced
- 1 medium carrot, finely diced or grated
- 3–4 green onions, sliced thin
- 1 teaspoon dried ranch seasoning
- 8 large flour tortillas (10-inch)
- Optional: 1/4 cup blue cheese crumbles
- Optional: 1/2 cup shredded cheddar cheese
- Optional: 1/4 cup chopped cilantro
Instructions
- Drain and rinse the chickpeas thoroughly. Pat them dry with a towel and let them air dry for 5-10 minutes to remove excess moisture.
- Place the dried chickpeas in a large mixing bowl. Mash them with a fork or potato masher until mostly broken down but still retaining some chunks (about 70% mashed, 30% chunky).
- Add the buffalo sauce, mayonnaise (or Greek yogurt), ranch seasoning, and a pinch of black pepper to the mashed chickpeas. Mix until well combined into a thick paste.
- Fold in the finely diced celery, carrots, and green onions. If using cheese, fold it in now. Adjust consistency with a splash of water or more mayo if needed.
- Warm the tortillas in the microwave for 10-15 seconds or in a dry skillet for 30 seconds per side to make them pliable.
- Spoon about 1/2 cup of the chickpea mixture onto the center of each warm tortilla, leaving a 2-inch border. Fold the bottom up, fold in the sides, and roll tightly.
- Wrap each assembled wrap tightly in parchment paper or wax paper. Store in an airtight container in the refrigerator for up to 4 days.
Notes
Patting the chickpeas dry is crucial to prevent soggy wraps. Use parchment paper instead of plastic wrap to allow the wraps to breathe and stay crisp. The filling can be made up to 2 days ahead. Do not freeze the assembled wraps as the tortillas will become mushy.
- Prep Time: 15 minutes
- Cook Time: 5 minutes
- Category: Lunch
- Cuisine: American
Nutrition
- Serving Size: 1 wrap
- Calories: 280
- Sugar: 4
- Sodium: 450
- Fat: 10
- Saturated Fat: 1.5
- Carbohydrates: 38
- Fiber: 6
- Protein: 10
Keywords: buffalo chickpea wraps, lunchbox ideas, meal prep, vegetarian lunch, quick weeknight dinner, chickpea salad wrap, vegan lunch


