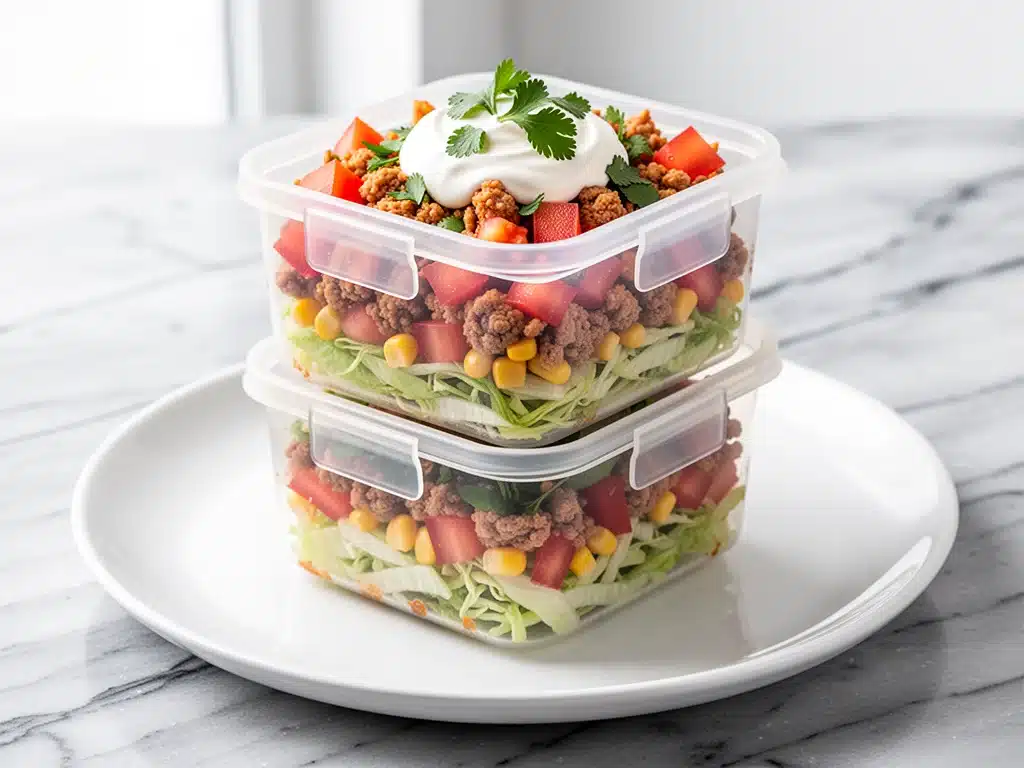
It was 6:45 AM on a Tuesday in September, and I was staring at a half-empty fridge like it owed me money. The clock was ticking. My son, Leo, was already in the car, complaining that his lunchbox felt “light.” My daughter, Maya, had somehow forgotten her lunchbox entirely, which meant I had exactly twelve minutes to assemble two functional, appealing, and edible meals before the school bus rolled up.
I had tried everything. Bento boxes with separate compartments for fruit, veggies, and protein. Wrap sandwiches that got soggy by noon. Hard-boiled eggs that smelled like a chemistry experiment by 2 PM. Nothing worked. Kids are weird about food temperature, texture, and presentation, and honestly? So am I. I just wanted something that didn’t require a degree in food science to put together.
That morning, I threw together what I thought would be a quick, lazy fix: seasoned ground turkey, black beans, corn, and a little cheese, all packed into muffin tins to set into little cups. I wasn’t expecting much. Maybe they’d be a decent snack. Maybe they’d get tossed in the trash.
Instead, Leo came home and said, “Mom, can I have more of those taco cups?”
That was the moment everything changed. Those Turkey Taco Lunchbox Cups became my secret weapon. They’re portable, they don’t get soggy, they hold their shape in a lunchbox (even if it gets tossed around a bit), and they taste like actual dinner rather than “sad school food.” I’ve made them at least thirty times since that chaotic Tuesday morning. Some weeks I make them for lunch; other times, I make a double batch for dinner because, let’s be real, some nights you just want tacos without the hassle of assembling individual shells for everyone.
Here’s the thing about back-to-school lunches: they don’t have to be complicated to be good. You don’t need fancy containers or expensive ingredients. You just need a method that works. These cups are that method. They’re savory, slightly cheesy, packed with protein, and easy enough to prep while your kid does homework. Once you try them, you’ll wonder why you ever bought those pre-packaged snack boxes from the grocery store.
Why You’ll Love These Turkey Taco Lunchbox Cups
I’ve been making school lunches for three years now, and I’ve learned one major truth: the best lunch is the one you actually make. If it takes forty minutes to assemble, you won’t do it on a busy Thursday. If it falls apart in the box, your kid won’t eat it. These Turkey Taco Lunchbox Cups solve both problems. Here’s why they’ve earned a permanent spot in our weekly rotation:
Zero Sogginess Guaranteed — The biggest killer of school lunches is moisture. Tortillas get wet, sandwiches get mushy, and lettuce wilts. By baking the turkey mixture into a cup shape, we create a structural barrier. The flavors meld, but nothing gets wet. I’ve left these in lunchboxes for four hours in the summer heat, and they come out perfectly intact.
Meal Prep Friendly — I make these on Sunday night. It takes about twenty minutes of active time. I bake them, let them cool, and stack them in containers in the fridge. Come Monday morning, I just grab two per kid and toss them in the box. It’s the easiest part of my morning routine. Seriously, if you can boil water, you can make these.
Picky-Eater Approved — Maya hates “lumpy” food. Leo is sensitive to spice. These cups strike the perfect balance. The turkey is seasoned mildly (but not blandly), the beans add creaminess, and the cheese binds it all together. I’ve served these to my friend’s gluten-free daughter, my neighbor’s dairy-sensitive son (with a swap), and my own kids. Everyone cleans their plate. Even the kid who usually only eats chicken nuggets asked for seconds.
Budget-Smart — Ground turkey is one of the cheapest proteins you can buy right now. Black beans and corn are pantry staples. Cheese is the only premium ingredient, and you only need a little. I can make a batch of twelve cups for under $10. That’s less than $1 per lunch. Compare that to the $4 sandwich at the cafeteria or the $6 grocery store snack box, and this is a no-brainer.
Customizable — One kid wants more cheese? No problem. The other wants it spicy? Add extra cumin and chili powder. You can tweak the recipe for each kid without making two separate meals. It’s like a DIY taco bar, but baked into a handheld format.
This recipe has saved our mornings. It’s my go-to when I’m tired, when I’m running late, and when I just want my kids to eat something nutritious without a fight. It’s reliable, delicious, and easy. That’s all you really need.
Ingredients You’ll Need
Here’s the best part: you probably have most of this already. These Turkey Taco Lunchbox Cups rely on simple, wholesome ingredients. No weird additives, no mystery powders. Just real food that tastes like home.
For the Turkey Filling:
Ground turkey (1 pound / 450g) — I use 93% lean. It’s juicy enough not to be dry, but lean enough to keep the calories reasonable. If you prefer a richer flavor, 85% lean works too, just drain the extra fat. I always buy the family pack from Costco and freeze half for later.
Yellow onion (1 medium, finely diced / about 150g) — Essential for sweetness and depth. If you’re short on time, you can use 1 teaspoon of onion powder, but fresh onion tastes so much better. I dice it small so it blends into the turkey rather than being a chunky surprise.
Garlic (3 cloves, minced / about 1 tablespoon) — Fresh garlic is non-negotiable here. Jarred garlic has a metallic aftertaste that really stands out in a simple recipe like this. Mince it yourself. It takes thirty seconds.
Taco Seasoning (2 tablespoons) — I make my own blend, but store-bought works fine. If you use store-bought, check the sodium content. Homemade is better because you control the salt. My blend is: 1 tsp cumin, 1 tsp chili powder, ½ tsp paprika, ½ tsp garlic powder, ½ tsp onion powder, and ¼ tsp salt. Mix it up in a small jar and keep it in your spice rack.
Black beans (1 can, 15 oz / 425g, drained and rinsed) — These add fiber and protein, plus they help bind the mixture together. Rinse them thoroughly in a colander until the water runs clear. This removes the excess sodium and the starchy liquid that can make the cups gummy.
Corn kernels (1 cup / 150g, frozen or canned) — Frozen corn is easier to drain than canned, but both work. I usually thaw frozen corn in the microwave for a minute before adding it. The corn adds little bursts of sweetness that balance the savory turkey.
Shredded Mexican blend cheese (1 cup / 100g) — I use a pre-shredded blend of cheddar, Monterey Jack, and queso Queso Fresco for convenience. But if you have time, buy a block of cheddar and Monterey Jack and shred it yourself. Pre-shredded cheese has cellulose (anti-caking agents) that can make the filling slightly crumbly. Freshly shredded melts smoother.
For the Cups:
Flour tortillas (12 medium / 8-inch diameter) — These are the mold. You press the filling into the muffin tin, then drape the tortillas over the top to create a cup. I use flour tortillas because they’re softer and more pliable than corn tortillas. Corn tortillas crack and break too easily when baked. If you need gluten-free, use gluten-free flour tortillas—they’re widely available now and work just as well.
Optional Toppings:
Sour cream or Greek yogurt — For serving. Greek yogurt is a healthier swap, but sour cream is the classic choice. I usually pack a small container of sour cream in the lunchbox for dipping.
Chopped cilantro — Fresh cilantro adds brightness. I sprinkle it on right before packing. If your kids hate cilantro (it’s a genetic thing for some people), skip it or use parsley. No one will miss it.
Hot sauce — Optional. I keep a small bottle of Cholula or Tapatio in my bag for the kids who like heat. Just a few drops adds a nice kick without overwhelming the flavor.
Pro Tip: I buy my tortillas in the largest pack available (usually 20-24 count). The extras freeze well. I wrap them tightly in plastic wrap and freeze them for up to three months. Thaw overnight in the fridge before using. Fresh tortillas work best, but frozen-thawed ones are perfectly fine.
Equipment Needed
You don’t need fancy gadgets for this. Here’s what I actually use:
12-Cup Muffin Tin — Standard size. I use a dark non-stick tin because it conducts heat better. If you’re using a light-colored tin, you might need to add 1-2 minutes to the baking time. My old tin from Target still works perfectly.
Large Skillet — 12-inch stainless steel or cast iron. I prefer stainless steel because it’s easy to clean and doesn’t react with the acidic tomato sauce (if you add any). Non-stick works too, but you need to be gentle with the utensils.
Wooden Spoon or Silicone Spatula — For stirring the turkey mixture. Metal utensils can scratch non-stick pans. I use a wooden spoon because it’s sturdy and doesn’t conduct heat.
Measuring Cups and Spoons — Standard stuff. I have a set from IKEA that’s been with me for years. Dollar store versions work fine too.
Colander — For rinsing the beans and corn. Or just use the sink and your hands—I do this when I’m being lazy.
Aluminum Foil or Parchment Paper — Optional, for lining the muffin tin. I don’t usually line mine because the tortillas prevent sticking, but if you’re worried about cleanup, a light spray of cooking oil works too.
Cooling Rack — For cooling the cups after baking. I use a wire rack because it allows air circulation. If you don’t have one, just leave them in the pan for 5 minutes, then transfer to a plate.
Storage Containers — Airtight plastic or glass containers for the fridge. I use BPA-free plastic containers from OXO. They stack well and don’t stain from the cheese.
Tool Tip: Don’t overthink the equipment. If you don’t have a muffin tin, you can use a mini-muffin tin and make smaller cups. Or even a loaf pan, though the shape will be different. The key is having a mold to hold the tortilla.
How to Make It: Step-by-Step
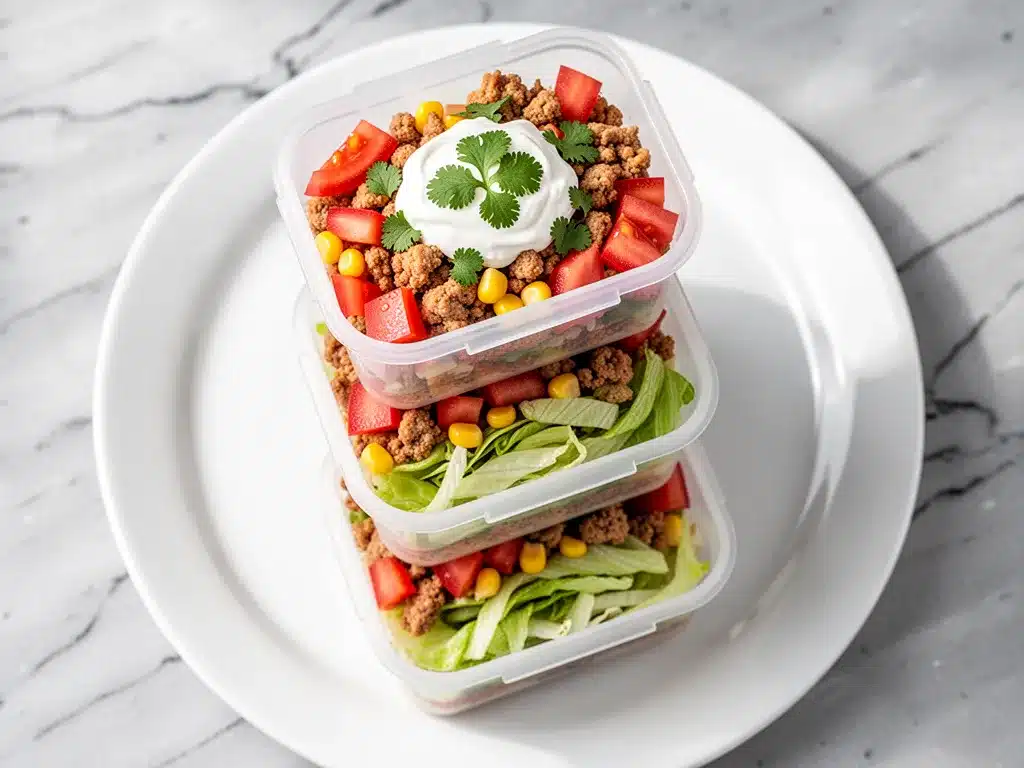
Alright, let’s make these! I’m walking you through exactly how I do it, including the little tricks I’ve picked up. This is straightforward, but there are a few details that matter.
Step 1: Prep Your Ingredients (5 minutes)
Before you start cooking, dice your onion, mince your garlic, and drain your beans. I know it seems fussy, but it makes the actual cooking way less stressful. Once the turkey is in the pan, things move fast. Have everything measured and ready to go. Grate your cheese if you’re doing it from scratch. Set out your muffin tin.
Step 2: Cook the Turkey Mixture (10 minutes)
Heat a large skillet over medium-high heat. Add a splash of olive oil (about 1 tablespoon). Add the diced onion and cook for 2-3 minutes until it starts to soften and become translucent. Add the minced garlic and cook for 30 seconds, stirring constantly. The garlic should smell fragrant, not brown. Brown garlic tastes bitter.
Add the ground turkey to the skillet. Break it up with your wooden spoon as it cooks. Cook for 5-6 minutes, stirring frequently, until the turkey is no longer pink. Drain any excess liquid if there’s a lot of it. You want the mixture to be moist but not soupy.
Stir in the taco seasoning, black beans, and corn. Mix well. Let it simmer for 2-3 minutes to let the flavors meld. Taste and adjust seasoning if needed. Add a pinch more salt or cumin if it tastes bland. The mixture should be well-seasoned but not overwhelmingly spicy.
Step 3: Assemble the Cups (5 minutes)
Preheat your oven to 375°F (190°C). Lightly grease your muffin tin with cooking spray or a little olive oil. This helps the tortillas brown and prevents sticking.
Take a flour tortilla and gently press it into one cup of the muffin tin. Use your fingers to press it down into the bottom and up the sides, creating a little cup shape. Don’t worry if it’s not perfect—it doesn’t have to be pretty. It just needs to hold the filling.
Spoon about 2-3 tablespoons of the turkey mixture into each tortilla cup. Don’t overfill them. Leave a little room at the top for the cheese. If you overfill, the tortilla might burst when it bakes.
Sprinkle a little shredded cheese on top of each cup. Just a pinch is enough. You want the cheese to melt and bind the filling, not drown it.
Step 4: Bake (12-15 minutes)
Place the muffin tin in the preheated oven. Bake for 12-15 minutes, or until the tortillas are golden brown and crispy at the edges, and the cheese is melted and bubbly. Keep an eye on them after 10 minutes. Ovens vary, and you don’t want the tortillas to burn.
When they’re done, remove the tin from the oven and let the cups cool in the pan for 5 minutes. This allows them to set and firm up. If you try to move them while they’re hot, they’ll fall apart. Patience is key here.
Step 5: Cool and Store (10 minutes)
After 5 minutes, use a small knife or spatula to gently loosen the edges of each cup. Transfer them to a cooling rack. Let them cool completely before packing them into lunchboxes. This prevents condensation, which can make the tortillas soggy.
Once cooled, store them in an airtight container in the fridge for up to 4 days. They reheat well in the microwave (30 seconds) or can be eaten cold.
Visual Cue: You’ll know they’re ready when the tortilla edges are slightly crisp and golden, and the cheese is fully melted. The cups should hold their shape when you lift them out of the tin.
Expert Tips & Tricks
Here’s everything I’ve learned from making these dozens of times. These tips will save you from my mistakes.
Don’t Skip the Rinsing
Rinsing the beans and corn is crucial. If you don’t rinse them, the excess starch can make the filling gummy and watery. I rinse them under cold water for 30 seconds. It’s a small step that makes a big difference.
Use Leftover Turkey
If you have leftover roasted turkey from Thanksgiving or Sunday dinner, use it! Shred it and mix it with the taco seasoning, beans, and corn. It saves time and reduces waste. Just make sure it’s fully cooked and cooled before mixing.
Freeze the Cups
These freeze beautifully. After baking and cooling, wrap each cup individually in plastic wrap, then place them in a freezer bag. They’ll last for up to 3 months. To reheat, thaw overnight in the fridge, then microwave for 1-2 minutes. Or bake from frozen at 350°F for 15 minutes.
Keep Them Crispy
If you’re packing them for lunch, make sure they’re completely cool before putting them in the container. Any warmth will create steam, which leads to sogginess. I usually let them cool on the counter while I pack the rest of the lunch.
Customize the Spice Level
For younger kids, use mild taco seasoning and skip the jalapeños. For older kids, add a diced jalapeño or a pinch of cayenne. I make a batch with mild seasoning and a batch with extra spice, so both kids are happy.
Pro Trick: The Cheese Seal
Press the cheese into the top of the filling before baking. This creates a “seal” that helps hold the filling in place. It’s a small trick, but it prevents the filling from spilling out when you take the cup out of the tin.
Variations & Substitutions
Once you’ve nailed the basic version, here’s how you can mix it up. I’ve tried all of these.
Chicken Version
Swap ground turkey for ground chicken. It’s slightly milder, so you might want to add a little extra seasoning. I use this version when I’m out of turkey.
Beef Version
Ground beef works great too. I use 90% lean beef. It’s richer and more flavorful, but also higher in calories. I alternate between turkey and beef depending on what’s on sale.
Veggie-Loaded
Add diced bell peppers, zucchini, or spinach to the turkey mixture. I toss in a cup of frozen spinach (thawed and squeezed dry) for extra nutrition. The kids don’t even notice it’s there.
Gluten-Free
Use gluten-free flour tortillas. They’re widely available and work just as well as regular tortillas. I’ve tested several brands, and the ones from Whole Foods or Trader Joe’s are the best.
Dairy-Free
Skip the cheese or use a dairy-free cheese alternative. I’ve tried Daiyo and Violife, and they melt reasonably well. It’s not quite the same, but it still tastes good.
Bean-Free
If your kids hate beans, just use turkey, corn, and seasoning. It’s still delicious, though you’ll miss the fiber and protein from the beans. I usually add a side of fruit to compensate.
Serving & Storage
How to Serve:
I usually serve these straight from the pan, topped with a dollop of sour cream and a sprinkle of cilantro. But they’re also great cold or reheated. I pack them in lunchboxes with a small container of salsa or sour cream for dipping.
Side Dishes:
These cups are filling on their own, but if you want to add sides, I recommend:
– Apple slices or orange segments
– Baby carrots with hummus
– A small handful of almonds or trail mix
– A granola bar (if the kids need extra carbs)
Storage Instructions:
Refrigerator: Store in an airtight container for up to 4 days. They stay moist and flavorful.
Freezer: Wrap individually and freeze for up to 3 months. Reheat in the microwave or oven.
Reheating: Microwave for 30-60 seconds, or bake at 350°F for 10 minutes. They reheat well, but don’t overheat them or the tortilla will get tough.
Pro Tip: If the cups seem dry after reheating, add a few drops of water to the container before microwaving. The steam will help keep them moist.
Nutrition Information
I’m not a nutritionist, but here’s the breakdown if you’re tracking. This is per cup, based on 12 servings.
Per Serving:
– Calories: 180
– Protein: 12g
– Carbs: 15g
– Fiber: 2g
– Sugar: 2g
– Fat: 8g
– Saturated Fat: 3g
– Cholesterol: 35mg
– Sodium: 350mg
What’s Good:
– High protein from turkey and beans
– Good source of fiber from black beans
– Moderate calories, making it a balanced snack or light lunch
What to Know:
– Contains dairy and gluten
– Sodium can be reduced by using low-sodium beans and homemade seasoning
My Take:
This is a nutritious, balanced option. It’s not a diet food, but it’s way better than processed snacks. I use it as a main lunch component, paired with fruit and veggies. When I want to make it lighter, I use less cheese and more veggies. But usually? I just enjoy it as is.
Final Thoughts
So that’s my go-to Turkey Taco Lunchbox Cups! I’ve probably talked your ear off at this point, but when you make a recipe this often, you have a lot to say about it.
This has saved our mornings more times than I can count. It’s my answer to “what’s for lunch?” when I’m tired, don’t want to cook, and still want something that tastes really good. My kids are happy, I’m happy, and I’m not stressed about cooking.
Make it yours! Try different add-ins, swap in your favorite vegetables, adjust the spice level. The best recipes are the ones you adapt to your family’s tastes.
If you make this, drop a comment and let me know what you think! I love hearing how recipes turn out in your kitchen. And if something doesn’t work, tell me that too—I’m here to help troubleshoot.
Happy cooking! And I hope your kitchen smells half as good as mine does right now.
Frequently Asked Questions
Can I use ground beef instead of turkey?
Yes! Ground beef works great. I use 90% lean beef. It’s richer and more flavorful, but also higher in calories. Just make sure to drain any excess fat after cooking. The seasoning and method stay the same.
Why did my cups fall apart?
This usually happens if they’re moved too soon after baking. Let them cool in the pan for at least 5 minutes. This allows the cheese and filling to set. If you try to move them while hot, they’ll fall apart. Also, don’t overfill them—leave a little room at the top.
Can I make these ahead and freeze them?
Absolutely! They freeze beautifully. After baking and cooling, wrap each cup individually in plastic wrap, then place them in a freezer bag. They’ll last for up to 3 months. Reheat in the microwave or oven.
Can I use corn tortillas instead of flour?
I don’t recommend it. Corn tortillas crack and break too easily when baked. Flour tortillas are softer and more pliable, making them perfect for creating cups. If you need gluten-free, use gluten-free flour tortillas.
How do I prevent the tortillas from getting soggy?
The key is to let them cool completely before packing them. Any warmth creates steam, which leads to sogginess. Also, make sure the filling isn’t too wet. Drain the beans and corn thoroughly, and don’t add extra liquid to the mixture.
Can I add vegetables to the filling?
Yes! Diced bell peppers, zucchini, or spinach work well. Just make sure to sauté them first if they’re raw, so they’re tender. I add a cup of frozen spinach (thawed and squeezed dry) for extra nutrition.
How long do these last in the lunchbox?
They last up to 4 hours in a lunchbox, even in warm weather. They don’t get soggy or fall apart. Just make sure they’re cool before packing, and keep the lunchbox in a cool place if possible.
Print
Turkey Taco Lunchbox Cups: Best Easy Back to School Lunch
- Total Time: 20 minutes
- Yield: 12 servings 1x
Description
Portable, non-soggy turkey taco cups baked in a muffin tin. Perfect for back-to-school lunches, these protein-packed cups are easy to prep, freeze well, and are customizable for picky eaters.
Ingredients
- 1 pound ground turkey (93% lean)
- 1 medium yellow onion, finely diced
- 3 cloves garlic, minced
- 2 tablespoons taco seasoning (homemade or store-bought)
- 1 can (15 oz) black beans, drained and rinsed
- 1 cup corn kernels (frozen or canned)
- 1 cup shredded Mexican blend cheese
- 12 medium flour tortillas (8-inch diameter)
- Optional toppings: Sour cream or Greek yogurt, chopped cilantro, hot sauce
Instructions
- Preheat oven to 375°F (190°C) and lightly grease a 12-cup muffin tin.
- Dice onion and mince garlic. Drain and rinse black beans and corn.
- Heat a large skillet over medium-high heat with a splash of olive oil. Cook onion for 2-3 minutes until translucent.
- Add garlic and cook for 30 seconds until fragrant.
- Add ground turkey, breaking it up with a spoon. Cook for 5-6 minutes until no longer pink. Drain excess liquid if necessary.
- Stir in taco seasoning, black beans, and corn. Simmer for 2-3 minutes to meld flavors.
- Press a flour tortilla into each cup of the muffin tin to form a cup shape.
- Spoon 2-3 tablespoons of the turkey mixture into each tortilla cup.
- Sprinkle a pinch of shredded cheese on top of each cup.
- Bake for 12-15 minutes until tortillas are golden brown and cheese is melted.
- Let cups cool in the pan for 5 minutes to set, then transfer to a cooling rack to cool completely.
- Store in an airtight container in the refrigerator for up to 4 days.
Notes
Ensure beans and corn are thoroughly rinsed to prevent gummy texture. Let cups cool completely before packing to prevent sogginess. Can be frozen for up to 3 months. For gluten-free, use gluten-free flour tortillas. For dairy-free, omit cheese or use dairy-free alternative.
- Prep Time: 5 minutes
- Cook Time: 15 minutes
- Category: Main Course
- Cuisine: Mexican
Nutrition
- Serving Size: 1 cup
- Calories: 180
- Sugar: 2
- Sodium: 350
- Fat: 8
- Saturated Fat: 3
- Carbohydrates: 15
- Fiber: 2
- Protein: 12
Keywords: turkey taco cups, school lunch ideas, back to school lunch, meal prep, easy lunchbox, kid-friendly recipes, portable lunch, gluten-free option


