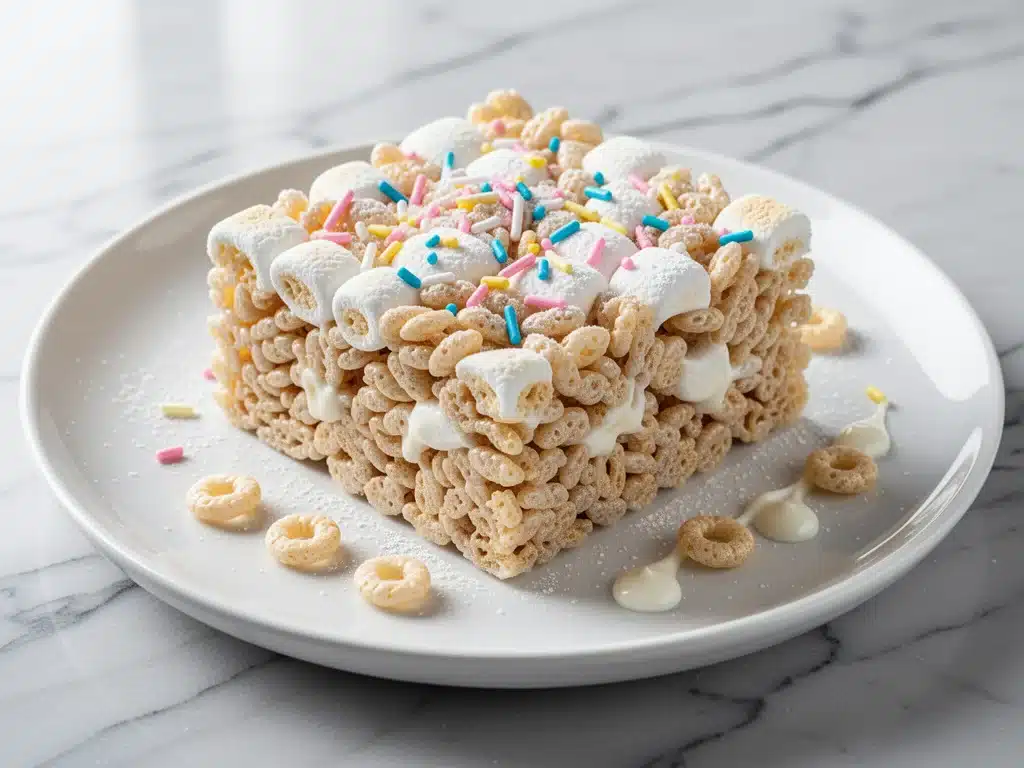
Last summer, I was standing in my kitchen at 11 PM, panic rising in my chest, staring at a half-empty pantry. My eight-year-old’s birthday party was the next day, and I had promised her a “super fun” dessert. The store was closed. The bakery was too expensive, and honestly, I didn’t trust their decorations to match the theme. I needed something colorful, sweet, and easy enough to make while calming down a toddler who wanted to help. That’s when I decided to upgrade the classic Rice Krispie treat. I didn’t just want plain marshmallow squares. I wanted Birthday Cake Rice Krispie Treats that tasted like the actual cake my kid loves. I added a pinch of salted butter, a splash of vanilla, and—this is the secret—some of the actual cake mix.
What came out of that pot wasn’t just a snack. It was a revelation. The texture was slightly denser and richer than the standard version, with pockets of vanilla flavor that hit you right away. I folded in rainbow sprinkles (because, well, it’s a birthday party) and cut them into squares that looked like they came from a fancy bakery. My daughter’s face when she saw them? Pure joy. And the best part? They were stable enough to transport to the party but soft enough to melt in your mouth. Since then, I’ve made this version for every school bake sale, sleepover, and holiday gathering. It’s become my go-to because it’s foolproof, customizable, and tastes way better than the generic box mix.
If you’ve ever struggled with Rice Krispie treats that are either too chewy or fall apart, you need to try this method. I’ve tested this Birthday Cake Rice Krispie Treats recipe dozens of times, tweaking the marshmallow-to-butter ratio and the sprinkle type, until it was perfect. It’s the kind of dessert that makes you look like a pro baker, even if you’re just melting marshmallows. Let’s get into why this is the only treat recipe you’ll need for kids’ parties.
Why You’ll Love This Recipe
There are about a dozen reasons I keep making this, but here are the big ones that will change your party game:
- Zero Baking Required — Seriously. No oven, no preheating, no waiting for cookies to cool. This is a stovetop recipe. If you can melt butter, you can make this. I’ve made these at 2 AM when I couldn’t sleep, and they came out perfect every time.
- Customizable Colors — Don’t like rainbow? Make it pink for a princess party, blue for a boy’s birthday, or green for St. Patrick’s Day. The base is vanilla, so it takes any color scheme you throw at it. I usually stick to pastel sprinkles for a more “cake-like” look, but neon ones are fun for chaotic energy.
- Sturdy Enough for Transport — One of the biggest complaints about traditional Rice Krispie treats is that they get sticky and messy in hot car seats. These are slightly denser because of the cake mix, so they hold their shape better. I’ve driven them across town in the summer heat, and they didn’t turn into a puddle. (Pro tip: Keep them chilled until the last minute.)
- Tastes Like Actual Cake — By adding a few tablespoons of vanilla cake mix to the dry ingredients, you get that distinct, nostalgic vanilla flavor without needing frosting. It’s subtle, but it makes the difference between “snack” and “dessert.”
- Kid-Approved Helper — This is the perfect recipe for getting kids involved in the kitchen. They can stir the marshmallows (under supervision, obviously), fold in the sprinkles, and press the mixture into the pan. It keeps them busy and makes them feel like part of the process.
This is my answer to “what can I make that’s fun but not too complicated?” It’s reliable, delicious, and always a crowd-pleaser.
Ingredients You’ll Need
Here’s the best part: you probably have most of this already. I’m particular about three ingredients here, and I’ll tell you exactly why.
For the Base
Unsalted Butter (3 tablespoons / 42g) — I use unsalted so I can control the saltiness. Salted butter works, but reduce any added salt. The butter adds richness and helps the marshmallows melt smoothly. Don’t skip it or use margarine; the flavor just isn’t the same.
Marshmallows (10 oz / 280g, about 4 cups) — Standard white marshmallows. Do not use “toasted” marshmallows for this; they have a different texture that doesn’t melt as evenly. I buy the big bags to save money. You want them to melt into a sticky, gooey mass.
Rice Krispies Cereal (6 cups / approx. 170g) — Yes, that’s a lot of cereal. It’s what gives the treats their structure. I use the original Kellogg’s Rice Krispies because they have that classic shape that holds up well. Corn Chex or other puffed cereals work, but the texture will be different. Stick to Rice Krispies for the authentic feel.
Vanilla Cake Mix (3 tablespoons / 25g) — This is the secret ingredient. Just a small amount of dry cake mix adds flavor and a tiny bit of density. I use the standard box mix (like Duncan Hines or Betty Crocker). Don’t use “super moist” versions if they have extra oil in them; regular is fine. You’re just using the powder.
For the Flavor & Fun
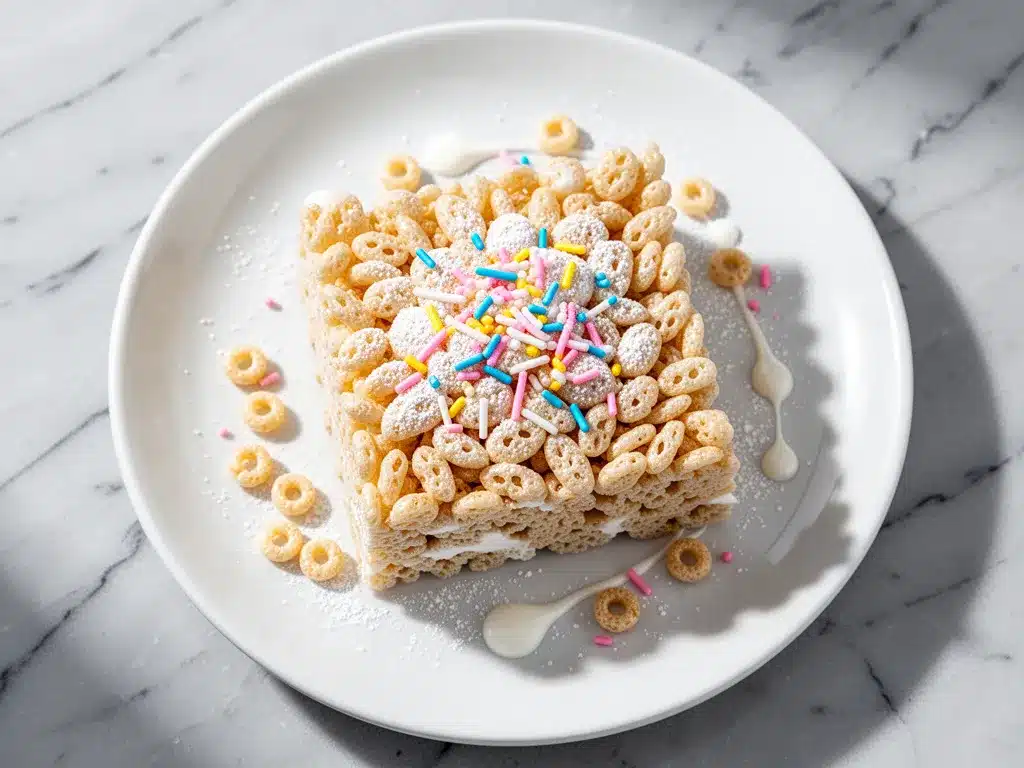
Vanilla Extract (1 teaspoon) — Boosts the vanilla flavor. Use real vanilla extract, not imitation. It makes a noticeable difference in the aroma.
Salt (1/4 teaspoon) — A pinch of salt cuts the sweetness. It’s crucial. Without it, the treats are just pure sugar. It balances everything out.
Rainbow Sprinkles (1/2 cup) — I use jimmies, not nonpareils. Jimmies hold up better and don’t bleed their color into the white treats as much. If you’re worried about color bleed, toss the sprinkles in a little flour before folding them in (trust me, it works).
Optional: Edible Glitter or Luster Dust — For a fancy touch, you can brush a tiny bit of edible glitter on top after cutting. It looks amazing in photos and adds a bit of sparkle.
Equipment Needed
You don’t need fancy equipment for this. Here’s what I actually use:
Large Pot (6-quart) — I use a heavy-bottomed pot. Thin pots burn the marshmallows easily. I’ve ruined batches before by using a small saucepan that got too hot too fast. A large pot gives you room to stir.
Silicone Spatula — Essential. You need something that can handle sticky, hot marshmallows without melting. I love my wide silicone spatula; it scrapes the sides of the pot perfectly.
9×13 Inch Baking Pan — Standard size. I line it with parchment paper or foil for easy removal. Grease the parchment lightly with butter or cooking spray.
Large Bowl — For mixing the cereal and cake mix before adding the marshmallows. A bowl with a spout helps when pouring.
Measuring Cups and Spoons — Standard stuff. Dollar store versions work fine.
Sharp Knife or Pizza Cutter — For cutting the treats. A pizza cutter is surprisingly effective for clean cuts without squishing the treats. Dip it in powdered sugar between cuts for cleaner edges.
How to Make It: Step-by-Step
Alright, let’s make this! I’m walking you through exactly how I do it, including the little tricks I’ve picked up.
Step 1: Prep Your Pan (2 minutes)
Line your 9×13 inch pan with parchment paper or foil, leaving an overhang on the sides. This is crucial for lifting the treats out later. Lightly grease the lining with butter or cooking spray. If you skip this, you’ll be fighting to get the treats out, and they’ll stick. I learned this the hard way with a pan that wasn’t lined. Now, I never skip it.
Step 2: Mix Dry Ingredients (1 minute)
In a large bowl, combine the Rice Krispies cereal, vanilla cake mix, and salt. Stir them together. This ensures the cake mix is evenly distributed so you don’t get pockets of dry powder. Set this aside.
Step 3: Melt the Butter and Marshmallows (5 minutes)
In your large pot, melt the butter over low heat. Once melted, add the marshmallows. Keep the heat low. This is the most important step. High heat will burn the marshmallows and make them taste bitter. Stir constantly. The marshmallows will start to melt and become sticky. Keep stirring until they are completely smooth and glossy. This takes about 3-5 minutes. Do not rush this. If you see brown bits, you went too fast. Low and slow wins.
Step 4: Add Flavor (1 minute)
Once the marshmallows are fully melted and smooth, remove the pot from the heat. Stir in the vanilla extract. The residual heat will mix it in perfectly. You’ll notice the mixture becomes even shinier and smells amazing.
Step 5: Combine Everything (3 minutes)
Immediately pour the marshmallow mixture over the cereal and cake mix. Use your silicone spatula to fold everything together. This works fast, so have your pan ready. You want to coat every single cereal piece. It will look like a sticky, marshmallow-y mess at first, but keep folding. Once it’s uniform, it’s done.
Step 6: Fold in Sprinkles (1 minute)
Gently fold in the rainbow sprinkles. Be gentle here; you don’t want to crush the cereal. Just enough to distribute them evenly. If you’re worried about color bleed, toss the sprinkles in a teaspoon of flour first (this is a pro tip from a friend). It helps absorb excess moisture.
Step 7: Press and Cool (30 minutes)
Transfer the mixture to your prepared pan. Grease your hands with a little butter or spray, then press the mixture down firmly. You want it even and compact. If it’s too loose, the treats will fall apart. Use the bottom of a greased measuring cup to press it down evenly. Let it cool at room temperature for at least 30 minutes, or until firm. You can speed this up by putting it in the fridge, but room temp is fine.
Step 8: Cut and Serve
Once firm, lift the treats out of the pan using the parchment overhang. Place on a cutting board. Use a sharp knife or pizza cutter to cut into squares. Dust with powdered sugar or edible glitter if desired. Serve and enjoy!
Expert Tips & Tricks
Here’s everything I’ve learned from making this dozens of times. These tips will save you from my mistakes.
Low Heat is Non-Negotiable
I cannot stress this enough. Marshmallows burn easily. If you use high heat, you’ll get a weird, caramelized flavor that ruins the “birthday cake” vibe. Keep the burner on low. It’s worth the extra 2 minutes of stirring.
Don’t Overmix the Cereal
When you’re folding the marshmallows into the cereal, stop as soon as everything is coated. Overmixing can crush the cereal pieces, leading to dense, hard treats. You want light and chewy, not brick-like.
Grease Your Hands
Marshmallows are sticky. Grease your hands with butter or cooking spray before pressing the mixture into the pan. It makes cleanup easier and helps you get an even layer.
Use Fresh Sprinkles
Old sprinkles can clump. Make sure your sprinkles are dry and free-flowing. If they’re stuck together, break them up before adding.
Storage is Key
Store in an airtight container at room temperature for up to 3 days. They can get sticky in humidity, so keep them in a cool, dry place. If it’s hot, refrigerate them, but let them come to room temp before serving for the best texture.
Variations & Substitutions
Once you’ve nailed the basic version, here’s how you can mix it up. I’ve tried all of these.
Chocolate Birthday Cake
Swap the vanilla cake mix for chocolate cake mix. Use chocolate chips instead of sprinkles. It’s like a chocolate brownie version. Amazing for chocolate lovers.
Strawberry Shortcake
Use strawberry cake mix and fold in freeze-dried strawberries. The color is beautiful, and the flavor is intense. Great for spring parties.
Gluten-Free Version
Use gluten-free rice cereal and gluten-free cake mix. Most major brands have GF options now. The texture is slightly different but still delicious. I’ve used Bob’s Red Mill GF cereal with success.
Lower Sugar
Use reduced-sugar marshmallows if available. Note: They don’t melt as easily, so you may need to add a splash of water to help them melt. The flavor is less sweet, which some people prefer.
No Cake Mix?
If you don’t have cake mix, just add 1 teaspoon of vanilla extract and 1/2 teaspoon of lemon zest. It won’t be the same, but it’ll still be good.
Serving & Storage
How to Serve: I usually cut these into small squares for parties. They’re sweet, so a little goes a long way. Arrange them on a platter with extra sprinkles on the side for decoration.
Side Dishes: Serve with cold milk or ice cream. They pair well with fruit skewers to balance the sweetness.
Refrigerator: Store in an airtight container for up to 4 days. They may get a bit hard in the fridge, so let them sit out for 10 minutes before eating.
Freezing: You can freeze these! Wrap individual pieces in plastic wrap, then place in a freezer bag. They’ll last for 2 months. Thaw at room temperature. The texture might be slightly chewier, but it’s still good.
Nutrition Information
I’m not a nutritionist, but here’s the breakdown if you’re tracking. This is a treat, so enjoy it in moderation.
Per Serving (based on 16 squares):
| Calories | 180 |
| Protein | 2g |
| Carbs | 32g |
| Fiber | 0g |
| Sugar | 22g |
| Fat | 5g |
| Saturated Fat | 3g |
| Cholesterol | 10mg |
| Sodium | 150mg |
What’s Good: Low in fat (if you’re watching butter), easy to make in bulk. What to Know: High in sugar from marshmallows and cake mix. It’s a dessert, not a health food. But it’s way better than store-bought candy bars.
Final Thoughts
So that’s my go-to Birthday Cake Rice Krispie Treats! I’ve probably talked your ear off at this point, but when you make a recipe this often, you have a lot to say about it. These treats have saved me more times than I can count. They’re my answer to “what’s for the party?” when I’m tired, don’t want takeout, and still want something that tastes really good. My kids are happy, my husband’s happy, and I’m happy because I’m not stressed about cooking.
Make it yours! Try different sprinkles, swap in your favorite cake mix flavor, or add in some crushed candy. The best recipes are the ones you adapt to your family’s tastes. If you make this, drop a comment and let me know what you think! I love hearing how recipes turn out in your kitchen. And if something doesn’t work, tell me that too—I’m here to help troubleshoot.
Happy cooking! And I hope your kitchen smells half as good as mine does right now.
Frequently Asked Questions
Can I use homemade marshmallows?
You can, but they don’t melt as evenly as store-bought ones. Homemade marshmallows have more moisture and air. If you use them, you may need to add a little more butter to help them melt. I stick to store-bought for consistency.
Why are my treats too sticky?
Usually means you didn’t press them down firmly enough, or they didn’t cool long enough. Make sure to press them down with greased hands, and let them cool for at least 30 minutes. If they’re still sticky, try refrigerating them for an hour.
Can I make these ahead of time?
Yes! Make them 1-2 days ahead. Store in an airtight container. They actually get slightly firmer after a day, which makes them easier to cut. Just bring them to room temp before serving.
Do I have to use rainbow sprinkles?
Not at all. Use any color you want. White sprinkles look elegant, gold for celebrations, or just leave them out for a plain treat. The cake mix gives the flavor, so the sprinkles are just for fun.
Can I double this recipe?
Absolutely! Double everything and use a larger pot. The cooking times stay the same. I do this when I’m feeding a crowd. Just make sure your pot is big enough to stir the marshmallows without spilling.
What if I don’t have cake mix?
You can skip it, but the flavor will be less “cake-like.” You can add 1 teaspoon of vanilla extract and 1/2 teaspoon of lemon zest for a flavor boost. It’ll still be delicious, just not exactly like birthday cake.
How do I store leftovers?
Store in an airtight container at room temperature for up to 3 days. If it’s humid, they may get sticky. Keep them in a cool, dry place. They don’t freeze well because the texture changes, but they’re best fresh.
Pin This Recipe!
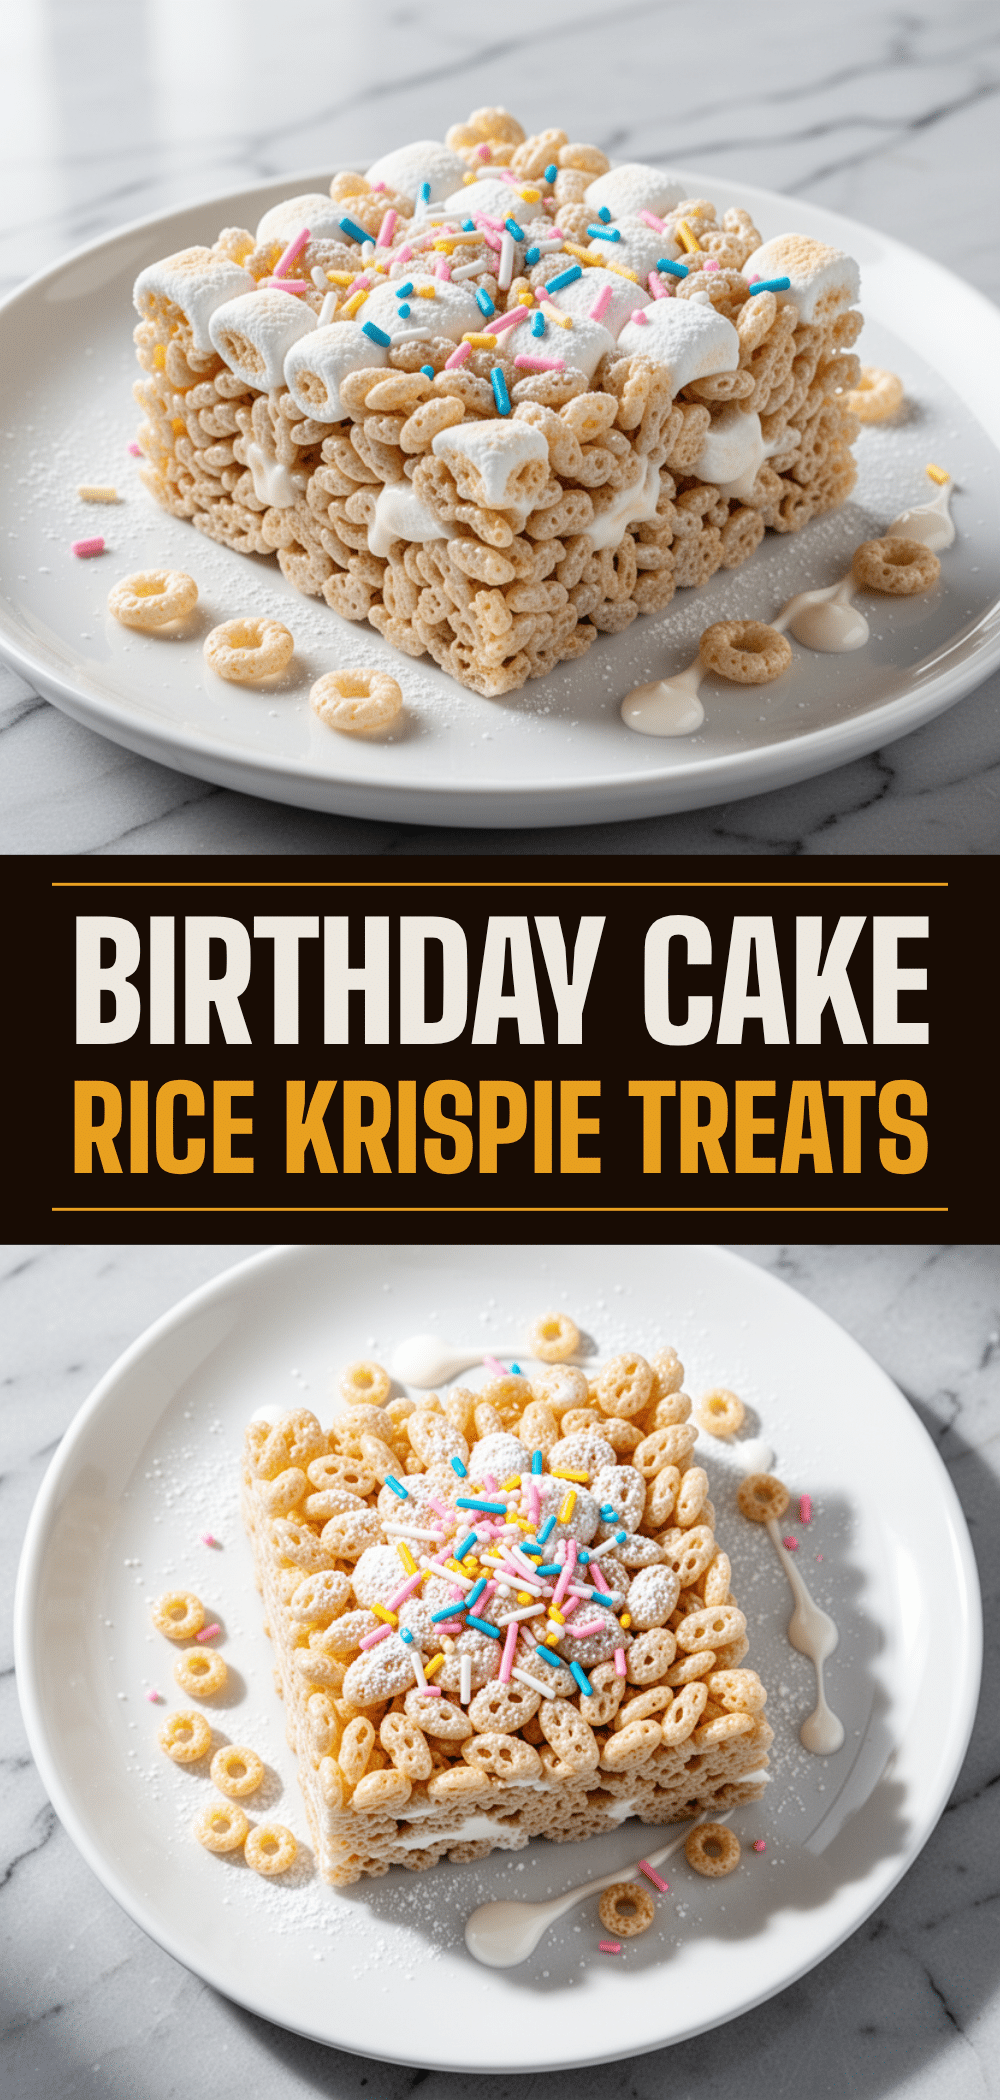
Birthday Cake Rice Krispie Treats
- Total Time: 45 minutes
- Yield: 16 servings 1x
Description
An upgraded, no-bake dessert that tastes like actual birthday cake. These treats are denser, richer, and more flavorful than standard Rice Krispie treats, making them perfect for kids’ parties and easy to transport.
Ingredients
- 3 tablespoons unsalted butter
- 10 oz (about 4 cups) standard white marshmallows
- 6 cups Rice Krispies cereal
- 3 tablespoons vanilla cake mix (dry)
- 1 teaspoon vanilla extract
- 1/4 teaspoon salt
- 1/2 cup rainbow sprinkles (jimmies)
- Optional: Edible glitter or luster dust
Instructions
- Line a 9×13 inch baking pan with parchment paper or foil, leaving an overhang on the sides. Lightly grease the lining with butter or cooking spray.
- In a large bowl, combine the Rice Krispies cereal, vanilla cake mix, and salt. Stir to distribute evenly and set aside.
- In a large heavy-bottomed pot, melt the butter over low heat. Add the marshmallows and stir constantly over low heat until completely smooth and glossy (about 3-5 minutes). Do not rush or use high heat.
- Remove the pot from the heat and stir in the vanilla extract.
- Immediately pour the marshmallow mixture over the cereal mixture. Use a silicone spatula to fold everything together until every cereal piece is coated.
- Gently fold in the rainbow sprinkles.
- Transfer the mixture to the prepared pan. Grease your hands with butter or spray and press the mixture down firmly and evenly.
- Let cool at room temperature for at least 30 minutes until firm.
- Lift the treats out of the pan using the parchment overhang. Cut into squares using a sharp knife or pizza cutter. Dust with powdered sugar or edible glitter if desired.
Notes
[‘Keep heat low when melting marshmallows to prevent burning.’, ‘Grease hands before pressing mixture into the pan to prevent sticking.’, ‘Toss sprinkles in a little flour before folding in to prevent color bleeding.’, ‘Store in an airtight container at room temperature for up to 3 days.’, ‘Can be frozen for up to 2 months; thaw at room temperature.’]
- Prep Time: 5 minutes
- Cook Time: 10 minutes
- Category: Dessert
- Cuisine: American
Nutrition
- Serving Size: 1 square
- Calories: 180
- Sugar: 22
- Sodium: 150
- Fat: 5
- Saturated Fat: 3
- Carbohydrates: 32
- Protein: 2
Keywords: birthday cake, rice krispie treats, no bake dessert, kids party food, easy dessert, vanilla cake mix, marshmallow treats


