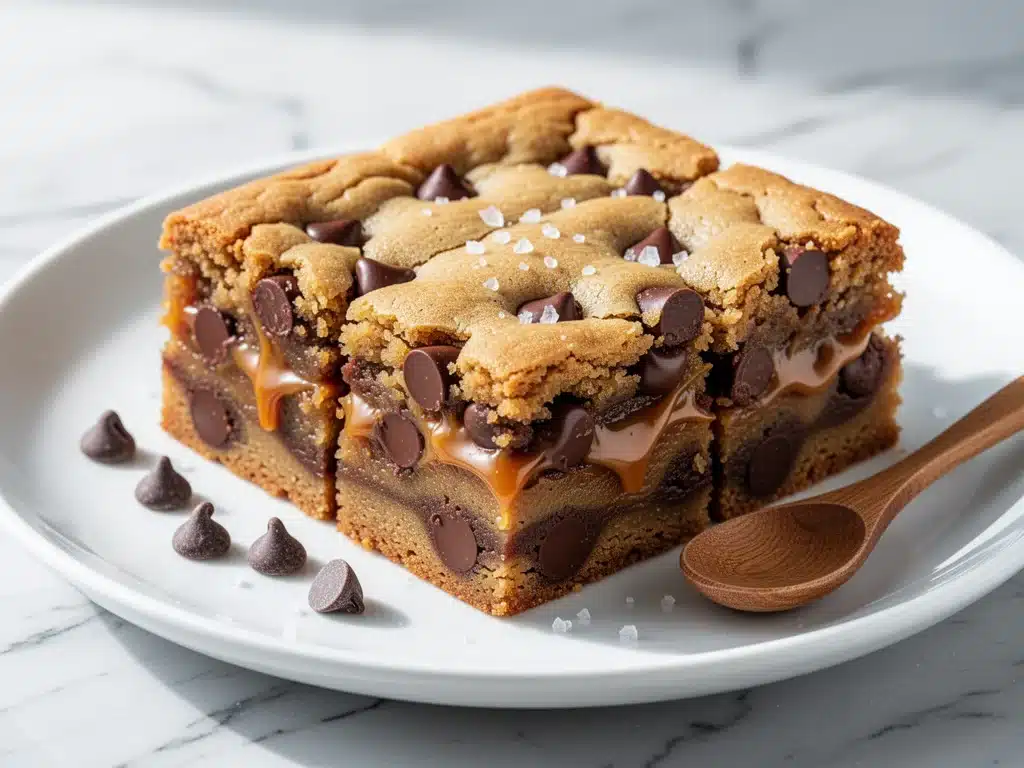
Last Tuesday, I was standing in my kitchen at 8 PM, staring into the open fridge like it held the secrets to the universe. I was exhausted. The kids were still bouncing off the walls, the dishwasher was making that ominous clicking sound, and I had absolutely zero energy for anything complicated. I didn’t want to bake cookies that required rolling and spacing. I didn’t want to make brownies that took an hour to cool. I wanted something sweet, something salty, something that could be thrown together in one pan and eaten with a spoon if I had to.
That’s when I decided to make these salted caramel chocolate chip cookie bars. I’d seen the recipe floating around my Pinterest feed for months, but I always scrolled past it. “Too much sugar,” I’d think. “Too messy.” “Who has time for homemade caramel?”
But desperate times call for desperate measures. I grabbed the butter, the brown sugar, the chocolate chips, and that jar of caramel sauce I’d been hoarding in the back of the pantry since last Christmas. I dumped it all into a 9×13 pan. I pressed it down. I baked it. And when I pulled that pan out of the oven, the smell alone stopped the chaos in its tracks. The house smelled like a fancy bakery, but it tasted like comfort.
I cut a square while it was still warm (risky move, I know), took one bite, and immediately texted my sister: “You need to make these. Now.” She replied three minutes later with just a heart-eyes emoji. That’s how you know it’s a keeper.
These aren’t just cookie bars. They’re a mood. They’re the answer to “what’s for dessert?” when you’re tired. They’re the treat you bring to a potluck and watch disappear in six minutes flat. And the best part? They’re incredibly forgiving. If you burn the caramel slightly? It adds a nice depth. If you use semi-sweet chocolate instead of milk? Still delicious. This recipe has become my go-to for everything from random Tuesday cravings to holiday gifts for neighbors.
I’ve made them at least a dozen times since that chaotic Tuesday. I’ve tweaked the caramel ratio. I’ve tried different chocolate chips. I’ve even made a gluten-free version for my friend who’s avoiding grains (spoiler: it works). But the core recipe stays the same because it’s perfect. If you’re looking for a dessert that feels indulgent but is actually easy to make, you’ve found it. These salted caramel chocolate chip cookie bars are the kind of treat you’ll make on repeat. Seriously. I’m already planning my third batch this week.
Why You’ll Love This Recipe
Look, I’m not a fan of fussy desserts. If a recipe requires three different bowls, a stand mixer, and a PhD in pastry science, I’m out. But these bars? They’re the holy grail of easy baking. Here’s why they’ve stolen my heart (and my pantry staples):
- One-Pan Wonder — No fancy molds. No cookie sheets to space out. Just one 9×13 pan. I’ve made these while the TV was on, while helping with homework, and even once while the phone was ringing. It’s that simple. If you can press dough into a pan, you can make this.
- The Salted Caramel Factor — This is the game-changer. Plain chocolate chip bars are good. Plain chocolate chip bars with gooey, salty-sweet caramel ribbons running through them? That’s addictive. The salt cuts through the sugar in a way that keeps you eating, not gorging. It’s sophisticated but not pretentious.
- Texture Perfection — I’ve tested a lot of bar recipes that turn out cakey or dry. Not these. These are chewy at the bottom, slightly crisp at the edges, and soft in the middle. The caramel creates these little pockets of goo that contrast with the sturdy cookie base. It’s the kind of texture that makes people close their eyes when they take a bite.
- Make-Ahead Friendly — These taste even better the next day. The flavors meld together overnight, and the caramel softens into the dough in the best way possible. I often make these on Sunday, wrap them up, and have dessert ready for the whole week. They travel well too—great for lunchboxes or office parties.
- Customizable Chaos — Hate chocolate chips? Use white chocolate chips. Love nuts? Add chopped pecans. Want to go nuts? Add a layer of peanut butter. I’ve made these with toffee bits, with crushed pretzels, and even with a drizzle of peanut butter on top. They’re a canvas for your cravings.
- Impressive but Lazy — When I serve these, people ask, “Did you buy these?” No. I made them in 20 minutes of active time. They look like something you’d buy at a high-end bakery for $5 a piece, but they cost about $2 to make and zero effort to stress over.
Real talk: I’ve tried other cookie bar recipes that promised “easy” but required chilling the dough for four hours. These don’t. You mix, you press, you bake, you eat. It’s that simple. And because they’re in a pan, you don’t have to worry about cookies spreading unevenly or burning at the edges. They’re uniform, reliable, and delicious every single time.
Ingredients You’ll Need
Here’s the thing about this recipe: you probably have most of these ingredients already. It’s not a crazy shopping list. It’s pantry staples plus a few treats. I’m particular about two things here: the quality of your chocolate and the type of caramel sauce you use. More on that in a moment.
For the Cookie Base
Unsalted butter (1 cup / 226g, softened) — This is your fat base. Room temperature butter creams better with sugar. If you’re in a rush, microwave it in 5-second bursts until it’s soft but not melted. Don’t melt it completely, or the texture changes.
Granulated sugar (1 cup / 200g) — Gives structure and a slight crispness to the edges. Don’t skip this for brown sugar only; you need both for the right chew.
Packed brown sugar (1 cup / 220g) — This is what makes them chewy. Use dark brown sugar if you want a deeper molasses flavor, but light works too. Pack it tight into the cup!
Large egg (1) — Room temperature is best. It helps emulsify the dough. If your egg is cold, let it sit in warm water for 5 minutes.
Vanilla extract (1 teaspoon) — Pure vanilla, please. Artificial stuff tastes medicinal in baked goods. I use McCormick or Nielsen-Massey.
All-purpose flour (2 cups / 250g) — Don’t over-measure! Spoon it into the cup and level it off. Packing flour makes dense bars. I like King Arthur or Gold Medal.
Baking powder (1 teaspoon) — Helps them rise slightly. Don’t use baking soda; it’s a different chemical reaction.
Salt (½ teaspoon) — Enhances all the other flavors. If you’re using salted butter, reduce this to ¼ teaspoon.
For the Filling & Topping
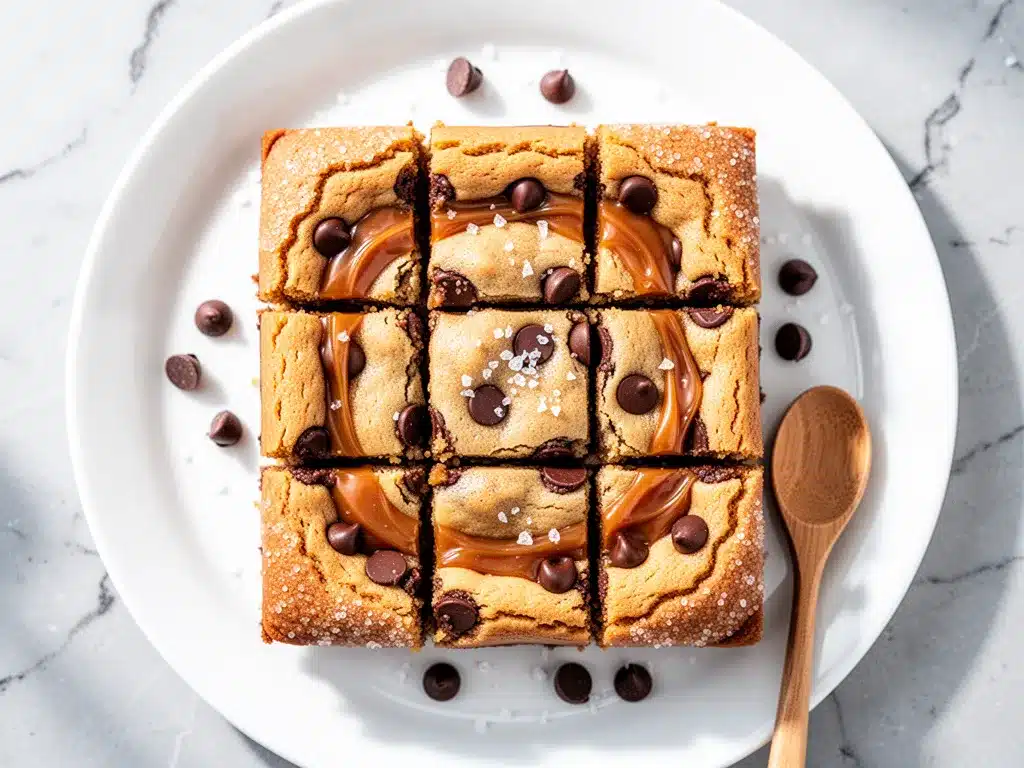
Chocolate chips (1½ cups / 270g) — I use semi-sweet (like Ghirardelli or Nestlé Toll House). Milk chocolate is sweeter; dark chocolate is more intense. Avoid “baking chips” that aren’t meant to melt—they don’t get gooey.
Caramel sauce (1 cup / 240ml) — This is crucial. Use a high-quality store-bought sauce like La Belle or Smucker’s. Do not use thin caramel dip; it’s too runny. You want thick, pourable caramel. Homemade caramel works but adds extra work.
Flaky sea salt (like Maldon) — For sprinkling on top after baking. This is non-negotiable. It’s the “salted” in salted caramel. If you can’t find it, kosher salt works, but flaky salt looks beautiful and adds a nice crunch.
Optional Add-Ins
Chopped pecans or walnuts (½ cup) — Toast them first for extra flavor. Adds a nice crunch that contrasts with the soft bars.
White chocolate chips (½ cup) — Mix with semi-sweet for a pretty marbled look.
Pretzels (¼ cup, crushed) — Add a salty crunch inside the bars. Great for savory-sweet lovers.
Equipment Needed
You don’t need fancy gear for this. Here’s what I actually use:
9×13 inch baking pan — Standard glass or metal pan. I prefer glass because it browns evenly, but metal works fine. Grease it well with butter or non-stick spray. Lining with parchment paper makes cleanup easier, but it’s not mandatory.
Large mixing bowl — Any size that fits your dough. I use a 4-quart bowl.
Electric hand mixer or stand mixer — You can use a wooden spoon, but it’s arm work. A mixer takes 2 minutes and ensures the butter and sugar are creamy.
Measuring cups and spoons — Standard stuff. Dollar store versions work fine.
Spatula — A sturdy silicone spatula for scraping the bowl and spreading the caramel.
Wire cooling rack — Let the bars cool in the pan for 10 minutes, then transfer to a rack. This prevents sogginess on the bottom.
Sharp knife or pizza cutter — For slicing. A pizza cutter makes clean cuts without squishing the bars. I use a serrated knife if I’m in a rush.
How to Make It: Step-by-Step
Alright, let’s make these! I’m walking you through exactly how I do it, including the little tricks I’ve picked up so your bars turn out perfect every time.
Step 1: Prep Your Pan and Oven (5 minutes)
Preheat your oven to 350°F (175°C). Grease your 9×13 pan generously with butter or non-stick spray. I like to line the pan with parchment paper, leaving an overhang on the sides. This makes lifting the bars out later super easy. If you don’t have parchment, just grease well.
Step 2: Cream the Butter and Sugars (2-3 minutes)
In your large bowl, beat the softened butter, granulated sugar, and brown sugar together until light and fluffy. This takes about 2 minutes with a hand mixer. You’re looking for a pale, creamy texture. This step incorporates air, which helps the bars rise slightly. If you’re using a wooden spoon, this will take about 5 minutes of arm work.
Step 3: Add Wet Ingredients (1 minute)
Beat in the egg and vanilla extract until just combined. Don’t overmix here. You want it smooth and glossy.
Step 4: Mix in Dry Ingredients (1-2 minutes)
Add the flour, baking powder, and salt. Mix on low speed until just combined. The dough will look thick and stiff. Stop mixing as soon as you no longer see streaks of flour. Overmixing develops gluten, which makes the bars tough.
Step 5: Press Half the Dough into the Pan (2 minutes)
Take about half of the dough and press it into the bottom of your prepared pan. Use your hands or the bottom of a measuring cup to create an even layer. This will be your bottom crust.
Step 6: Add the Caramel and Remaining Dough (3 minutes)
Pour the caramel sauce over the dough layer. Don’t worry about spreading it perfectly—it will spread itself as you add the next layer. Drop spoonfuls of the remaining dough over the caramel. You don’t need to cover it completely; the dough will spread as it bakes. Use your fingers to gently press the dough down so it sticks to the caramel.
Step 7: Add Chocolate Chips (1 minute)
Scatter the chocolate chips evenly over the top. They’ll sink in slightly as the bars bake, creating those gooey pockets.
Step 8: Bake (25-30 minutes)
Bake for 25-30 minutes. The edges should be golden brown, and the center should look set but slightly soft. It might look underdone in the middle, but that’s what you want for chewy bars. If the top browns too quickly, cover loosely with foil for the last 10 minutes.
Step 9: Cool and Sprinkle Salt (15-20 minutes)
Let the bars cool in the pan for at least 15 minutes. This is crucial—if you cut them hot, they’ll be a mess. Sprinkle flaky sea salt over the warm bars. The salt will stick to the surface and add that perfect salty crunch.
Step 10: Slice and Serve
Once completely cool, lift the bars out of the pan (if you used parchment) and slice into squares. Enjoy warm with a glass of milk, or save some for later.
Expert Tips & Tricks
Here’s everything I’ve learned from making these dozens of times. These tips will save you from my mistakes.
Don’t Skip the Cooling Time — I know it’s tempting to dig in hot. But the caramel is molten lava when it comes out of the oven. If you cut it hot, it’ll ooze out and make a sticky mess. Wait at least 15 minutes, ideally 30. The bars will set up nicely.
Use Thick Caramel — Thin caramel runs off the dough and pools at the bottom. Look for “caramel sauce” or “caramel topping” that’s thick enough to hold its shape. If your caramel is thin, heat it slightly to reduce it before using.
Room Temperature Ingredients — Cold butter doesn’t cream well. Cold eggs can cause the mixture to curdle. Let your butter and egg sit out for 30 minutes before starting.
Don’t Overbake — These bars continue to cook in the pan after you take them out. Pull them when the edges are golden but the center still looks slightly soft. They’ll firm up as they cool.
Flaky Salt on Top — This isn’t just for looks. The flaky salt dissolves slowly on your tongue, giving bursts of saltiness that balance the sweetness. It’s what makes these bars “special” instead of just “good.”
Storage is Key — Store in an airtight container at room temperature for up to 5 days. They actually get chewier after day 2. If you live in a humid climate, add a slice of bread to the container to keep them soft.
Variations & Substitutions
Once you’ve nailed the basic version, here’s how you can mix it up. I’ve tried all of these.
Peanut Butter Swirl — Add a dollop of peanut butter on top of the caramel before adding the dough. Swirl it with a knife for a pretty marble effect. My kids love this version.
White Chocolate & Macadamia — Swap semi-sweet chips for white chocolate and add ½ cup chopped macadamia nuts. It’s tropical and sweet.
Dark Chocolate & Sea Salt — Use 70% dark chocolate chips and increase the flaky salt. For adults who prefer less sweetness.
Gluten-Free — Use a 1:1 gluten-free flour blend (like Bob’s Red Mill). The texture is slightly more crumbly but still delicious. I’ve tested this with my GF friend, and she loved them.
Vegetarian — This recipe is already vegetarian. Just ensure your caramel sauce doesn’t contain gelatin (most don’t, but check the label).
Vegan — Use vegan butter, flax egg (1 tbsp ground flax + 3 tbsp water), vegan chocolate chips, and vegan caramel sauce. The texture will be slightly different but still tasty. My vegan sister tried this and said it was “surprisingly good.”
Serving & Storage
How to Serve: I usually serve these at room temperature. They’re best with a cold glass of milk or a cup of coffee. For parties, cut them into smaller squares (2×2 inches) so they look more elegant and last longer.
Side Dishes: These are sweet enough on their own, but if you want a contrast, serve with fresh berries or a dollop of whipped cream. The tartness of berries cuts through the richness.
Refrigerator: Store in an airtight container for up to 5 days. They’ll stay soft and chewy. If they start to harden, let them sit at room temperature for 30 minutes before eating.
Freezing: Yes, these freeze well! Wrap individual squares in plastic wrap, then put them in a freezer bag. They’ll last for 3 months. Thaw at room temperature for 30 minutes. Don’t freeze the whole pan; it’s hard to slice frozen bars.
Reheating: Want warm bars? Microwave a square for 10-15 seconds. The caramel will get gooey and perfect. Don’t overheat, or the chocolate chips will melt into a puddle.
Nutrition Information
I’m not a nutritionist, but here’s the breakdown if you’re tracking. Keep in mind that these are rich, dense bars, so portions matter.
Per serving (based on 16 bars):
- Calories: 380
- Protein: 4g
- Carbs: 52g
- Fiber: 1g
- Sugar: 36g
- Fat: 18g
- Saturated Fat: 10g
- Cholesterol: 35mg
- Sodium: 220mg
What’s Good: They provide a quick energy boost. The butter and nuts (if used) add some healthy fats. They’re satisfying, so you likely won’t eat more than one or two.
What to Know: These are high in sugar and calories. They’re a treat, not a health food. If you’re watching sugar, reduce the caramel amount or use sugar-free caramel.
My Take: Look, this is dessert. It’s supposed to be indulgent. It’s better than store-bought candy bars, and you control the ingredients. When I make these, I enjoy one square with my coffee and call it a day. Moderation is key, but so is joy.
Final Thoughts
So that’s my salted caramel chocolate chip cookie bars! I’ve probably talked your ear off at this point, but when you make a recipe this often, you have a lot to say about it.
These bars have saved my dessert game more times than I can count. They’re my answer to “what’s for dessert?” when I’m tired, don’t want takeout, and still want something that tastes really good. My kids are happy, my husband’s happy, and I’m happy because I’m not stressed about cooking.
Make it yours! Try different add-ins, swap in your favorite chocolate, adjust the caramel. The best recipes are the ones you adapt to your family’s tastes. And if you’re looking for other easy treats, check out my no-bake peanut butter granola bites for a quicker snack, or my soft-baked banana oatmeal breakfast cookies if you need something a bit lighter in the morning.
If you make this, drop a comment and let me know what you think! I love hearing how recipes turn out in your kitchen. And if something doesn’t work, tell me that too—I’m here to help troubleshoot.
Happy baking! And I hope your kitchen smells half as good as mine does right now.
Frequently Asked Questions
Can I use homemade caramel instead of store-bought?
Absolutely! Homemade caramel tastes amazing. Just let it cool slightly so it’s thick but still pourable. If it’s too thick, add a splash of cream. Homemade caramel can be thicker than store-bought, so you might need to spread it thinly to ensure it distributes evenly.
Why did my bars turn out cakey instead of chewy?
This usually happens if you overmix the dough or use too much flour. Spoon the flour into the measuring cup and level it off—don’t scoop directly from the bag. Also, don’t overbake. Pull them when the edges are golden but the center is still slightly soft.
Can I make these ahead for a party?
Yes! These taste even better the next day. Make them 1-2 days ahead, store in an airtight container, and bring to room temperature before serving. They travel well too. Just keep them in a cool place if it’s hot outside.
Can I freeze the dough before baking?
Yes, but it’s tricky. You can press the bottom layer into the pan, cover tightly with plastic wrap, and freeze. Thaw overnight in the fridge before adding the caramel and top layer. The top layer dough is harder to freeze separately because it’s drop-style.
What if I don’t have flaky sea salt?
You can use kosher salt or table salt, but flaky sea salt adds a nice crunch and looks beautiful. If you use regular salt, sprinkle it lightly—it’s more concentrated. Don’t skip the salt entirely; it balances the sweetness.
Can I use mini chocolate chips?
Yes! Mini chips distribute more evenly throughout the bars. You might need slightly more (1¾ cups) because they’re smaller. They melt faster, so you’ll get more chocolatey pockets.
How do I cut clean squares?
Use a sharp knife and wipe it clean between cuts. Or use a pizza cutter—it glides through without squishing the bars. Make sure the bars are completely cool before cutting, or the caramel will ooze out.
Pin This Recipe!
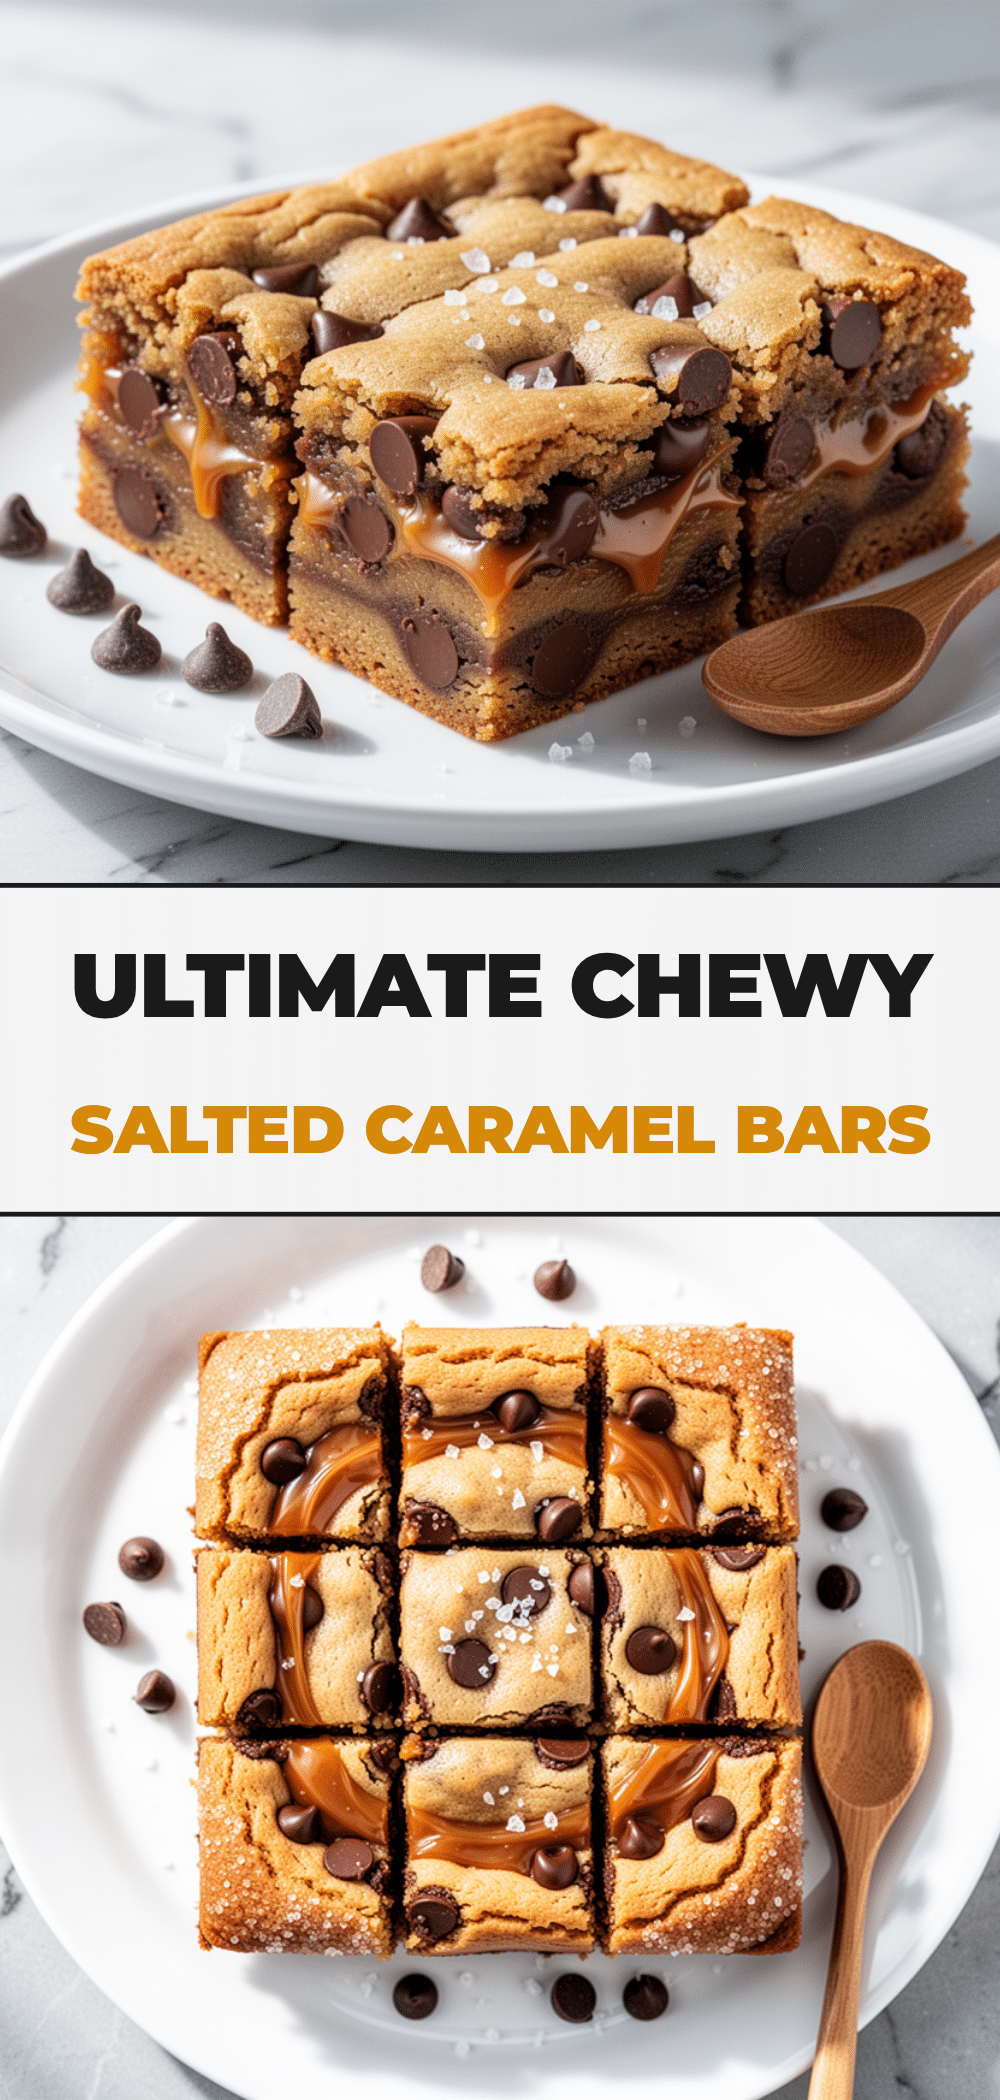
Salted Caramel Chocolate Chip Cookie Bars: Easy Homemade Treat
- Total Time: 45 minutes
- Yield: 16 servings 1x
Description
These easy one-pan salted caramel chocolate chip cookie bars are the perfect indulgent yet simple dessert. With a chewy cookie base, gooey caramel ribbons, and flaky sea salt, they are forgiving, customizable, and ready in under an hour.
Ingredients
- 1 cup (226g) unsalted butter, softened
- 1 cup (200g) granulated sugar
- 1 cup (220g) packed brown sugar
- 1 large egg, room temperature
- 1 teaspoon vanilla extract
- 2 cups (250g) all-purpose flour
- 1 teaspoon baking powder
- ½ teaspoon salt
- 1½ cups (270g) semi-sweet chocolate chips
- 1 cup (240ml) thick caramel sauce
- Flaky sea salt (like Maldon), for sprinkling
- Optional: ½ cup chopped pecans or walnuts
- Optional: ½ cup white chocolate chips
- Optional: ¼ cup crushed pretzels
Instructions
- Preheat oven to 350°F (175°C). Grease a 9×13 inch baking pan generously and line with parchment paper for easy removal.
- In a large mixing bowl, beat the softened butter, granulated sugar, and brown sugar together until light and fluffy (about 2-3 minutes with a mixer).
- Beat in the egg and vanilla extract until just combined and smooth.
- Add the flour, baking powder, and salt. Mix on low speed until just combined; do not overmix.
- Press half of the dough into the bottom of the prepared pan to create an even layer.
- Pour the caramel sauce over the dough layer. Drop spoonfuls of the remaining dough over the caramel, gently pressing down to adhere.
- Scatter the chocolate chips evenly over the top.
- Bake for 25-30 minutes, or until edges are golden brown and the center looks set but slightly soft.
- Let the bars cool in the pan for at least 15-20 minutes. Sprinkle flaky sea salt over the warm bars.
- Once completely cool, lift out of the pan and slice into squares.
Notes
Do not skip the cooling time; cutting hot bars will result in a messy caramel ooze. Use thick caramel sauce, not thin dip. For chewier bars, ensure you do not overbake or overmix the dough. Store in an airtight container at room temperature for up to 5 days.
- Prep Time: 15 minutes
- Cook Time: 30 minutes
- Category: Dessert
- Cuisine: American
Nutrition
- Serving Size: 1 square
- Calories: 380
- Sugar: 36
- Sodium: 220
- Fat: 18
- Saturated Fat: 10
- Carbohydrates: 52
- Fiber: 1
- Protein: 4
Keywords: salted caramel, chocolate chip cookie bars, easy dessert, one-pan baking, homemade caramel, chewy bars, holiday treats


