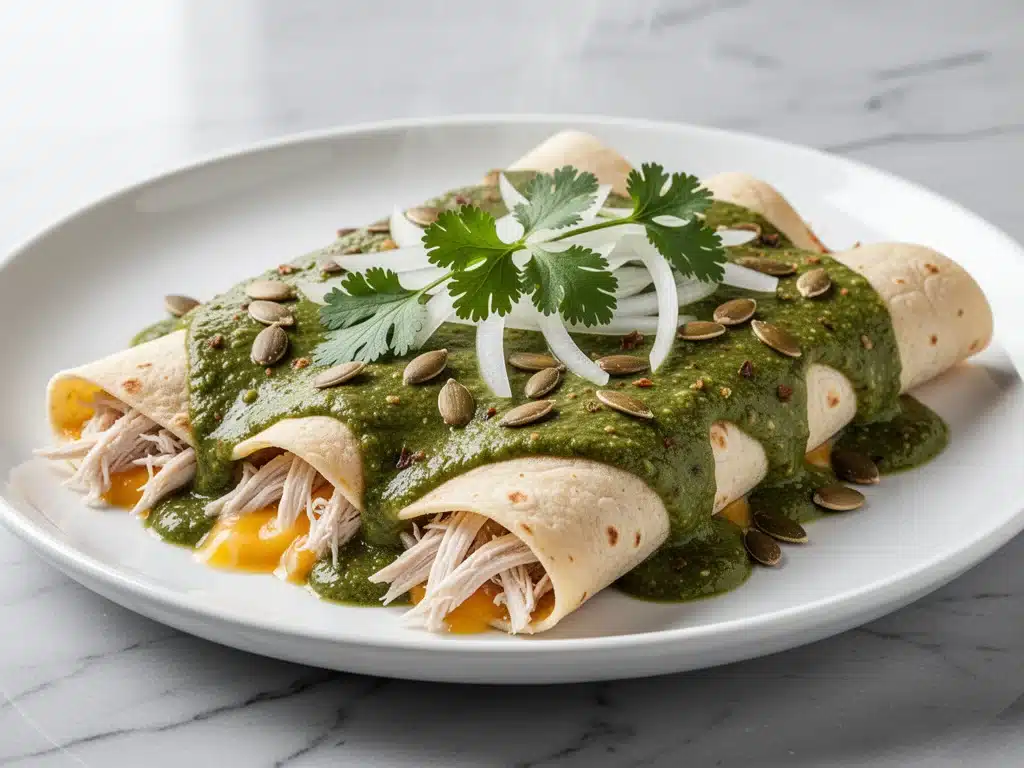
Last Tuesday, I came home from work feeling like my battery was at 1%. You know that feeling? Your brain is mush, you’re hungry, and the very idea of chopping onions or stirring a pot on the stove makes you want to order takeout. But takeout is expensive, and honestly, it never tastes quite right the next day. I opened the fridge, staring into the void, and found a half-rotisserie chicken, a bag of tortillas, and a can of green enchilada sauce. Then I saw them: two Hatch chiles in the crisper drawer, looking slightly shriveled but still promising.
I threw them together on a whim. I didn’t measure anything. I just roasted the chiles, shredded the chicken, rolled up the tortillas, and popped them in the oven. When I took them out, the kitchen smelled like a taqueria in Mexico City, and the first bite stopped my brain from completely shutting down. It was creamy, spicy, comforting, and took zero effort. That was the moment I realized I had found my holy grail for busy weeknights.
These Baked Hatch Chile Chicken Enchiladas have since become my go-to dinner when life gets chaotic. They’re not just “good” for a weeknight meal—they’re genuinely restaurant-quality. The key is using Hatch chiles (or a good substitute if you can’t find them) to create that distinct, smoky heat that elevates simple chicken and cheese into something special. I’ve made this recipe at least twenty times in the last three months, tweaking the spice level and cheese ratios until it was perfect for my family. If you’re tired of the same old chicken-and-rice routine, this is your sign to try something different. It’s easy, it’s flavorful, and it’s going to change your dinner game.
Why You’ll Love This Recipe
There are about a dozen reasons I keep making these Baked Hatch Chile Chicken Enchiladas, but here are the big ones that keep them in our weekly rotation:
- One-Pan Wonder — Seriously, this is the easiest cleanup I’ve ever done. You roast the chiles, shred the chicken, roll the tortillas, bake it all in one dish, and done. No washing five different bowls. My husband loves me for this.
- Ready in 30 Minutes — I know, enchiladas usually feel like a project. Not this one. With rotisserie chicken and jarred or quick-made sauce, you’re eating in half an hour. It’s faster than waiting for a delivery driver.
- Customizable Heat — Hatch chiles are unique because they offer flavor before they offer heat. You control the spice. Want it mild? Remove the seeds. Want it fiery? Leave them in. It’s perfect for picky eaters and spice lovers alike.
- Freezer-Friendly — I often make a double batch. Half goes in the fridge for tonight, half goes in the freezer for when I’m too tired to think. Reheats beautifully, too. No soggy mess.
- Uses Up Leftovers — Got leftover chicken? Got half a bag of spinach? Throw it in. These enchiladas are forgiving. They’re the culinary equivalent of a warm hug.
This isn’t just dinner; it’s a solution. It’s the meal that saves you when you’re overwhelmed. It’s the dish that makes your family ask, “What’s for dinner?” with excitement instead of dread. And the best part? It tastes like you spent hours in the kitchen, even though you barely broke a sweat.
Ingredients You’ll Need
Here’s the best part: you probably have most of this already. This recipe relies on simple, accessible ingredients, but a few specific choices make all the difference. I’m particular about the chiles and the cheese, so pay attention there.
For the Filling
Rotisserie Chicken (2 cups, shredded / about 300g) — I use store-bought rotisserie chicken because it’s fast and flavorful. If you’re meal prepping, you can use leftover grilled chicken. Just make sure it’s shredded, not chopped into chunks.
Hatch Chiles (4-6 medium, roasted and peeled / about 200g) — This is the star. If you’re in the Southwest in summer, fresh Hatch chiles are everywhere. If not, look for canned roasted Hatch chiles (brands like Hatch or El Paso) or substitute with roasted poblano peppers for a milder heat. Avoid generic green chiles from a can unless you’re desperate; they lack that smoky depth.
Monterey Jack Cheese (1 cup, shredded / 100g) — This cheese melts beautifully. I buy it in blocks and shred it myself because pre-shredded cheese has anti-caking agents that prevent smooth melting. If you can’t find Monterey Jack, mild Cheddar or a Mexican blend works too.
Cream Cheese (4 oz, softened / 115g) — This is my secret weapon. It adds a creamy, tangy richness that balances the heat of the chiles. It makes the filling lush and indulgent. Don’t skip it!
Green Enchilada Sauce (2 cups / 480ml) — I make my own when I have time (it’s just tomatillos, jalapeños, and spices), but for weeknights, I use a good quality jarred sauce like Herdez or La Costeña. Check the label for no preservatives if possible.
Flour Tortillas (8-10 medium / large) — Flour tortillas are softer and more pliable than corn, making them easier to roll without breaking. Look for fresh ones at the bakery counter if you can. If you use corn, be aware they’re more brittle and have a distinct flavor.
Optional Toppings — Sour cream, chopped cilantro, sliced black olives, diced white onion, and fresh lime wedges. These add freshness and contrast to the rich, warm enchiladas.
For the Sauce (If Making from Scratch)
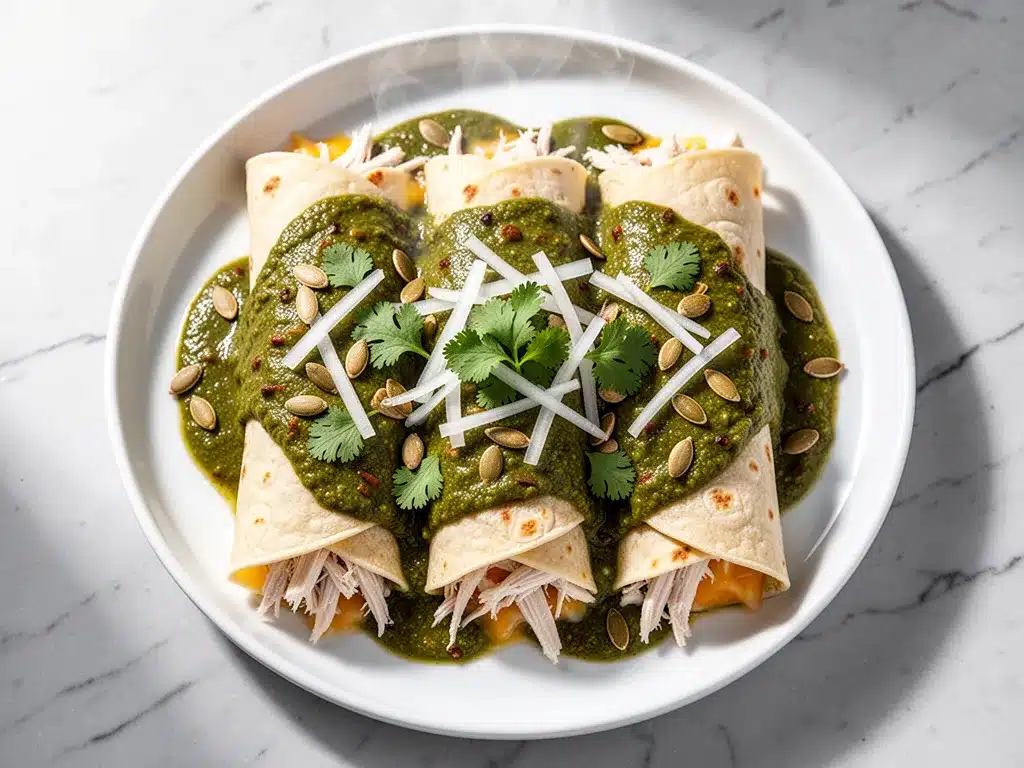
If you want to skip the jar, blend 1 cup tomatillos (husked and rinsed), 1 jalapeño (seeded or not, depending on heat preference), 1/2 onion, 2 cloves garlic, 1/2 cup chicken broth, and 1 teaspoon cumin. Roast the tomatillos and jalapeño first for best flavor.
Equipment Needed
You don’t need fancy gadgets for this. Here’s what I actually use:
9×13 Inch Baking Dish — Standard size. If you’re making a double batch, use two dishes or a larger pan. Don’t crowd the enchiladas; they need room to bake evenly.
Broiler or Grill — Essential for charring the chiles. If you don’t have a broiler, you can use a skillet or an air fryer, but the broiler gives that authentic smoky char fastest.
Sheet Pan — For roasting the chiles. Line it with foil for easy cleanup.
Blender or Food Processor — If you’re making sauce from scratch. For jarred sauce, you don’t need this.
Two Forks — The best tool for shredding chicken. Just pull the chicken apart over a bowl. It’s faster than a knife and gives you better texture.
Mixing Bowls — Two medium bowls. One for the filling, one for holding the rolled tortillas.
How to Make It: Step-by-Step
Alright, let’s make these Baked Hatch Chile Chicken Enchiladas! I’m walking you through exactly how I do it, including the little tricks I’ve picked up to avoid common pitfalls.
Step 1: Roast the Hatch Chiles (5-8 minutes)
Preheat your broiler to high. Line a sheet pan with foil. Place the whole Hatch chiles on the pan and broil for 2-3 minutes per side, turning occasionally, until the skins are blackened and blistered all over. Be careful—they’re hot! Once charred, transfer them to a bowl and cover with plastic wrap or a plate. Let them steam for 10 minutes. This loosens the skins. Then, peel off the charred skin, remove the stems and seeds (if you want less heat), and chop the chiles into small pieces. Set aside.
Step 2: Prepare the Filling (5 minutes)
In a large mixing bowl, combine the shredded chicken, chopped Hatch chiles, softened cream cheese, and half of the shredded Monterey Jack cheese. Mix well until the cream cheese is incorporated and the mixture is uniform. Taste it! If you want more heat, add a pinch of cayenne or more chile pieces. If you want more tang, add a squeeze of lime juice. Set aside.
Step 3: Warm the Tortillas (2 minutes)
This is a crucial step I learned the hard way. Cold tortillas crack when you roll them. To fix this, stack the flour tortillas and microwave them for 30-60 seconds wrapped in a damp paper towel. Or, heat them briefly in a dry skillet. They should be soft and pliable. Keep them covered with a clean kitchen towel to stay warm.
Step 4: Assemble the Enchiladas (10 minutes)
Preheat your oven to 375°F (190°C). Pour about 1/2 cup of green enchilada sauce into the bottom of your 9×13 baking dish. Spread it evenly. Take a warm tortilla, place about 1/4 cup of the chicken mixture in the center, roll it up tightly, and place it seam-side down in the dish. Repeat with remaining tortillas and filling. You should have 8-10 enchiladas snugly packed in the dish.
Step 5: Sauce and Bake (20-25 minutes)
Pour the remaining enchilada sauce over the top of the rolled enchiladas. Use a spoon to spread it evenly, making sure no tortilla is exposed (exposed tortillas get dry). Sprinkle the remaining Monterey Jack cheese on top. Bake for 20-25 minutes, or until the sauce is bubbly and the cheese is melted and slightly golden.
Step 6: Broil for Crispiness (Optional, 1-2 minutes)
If you like a bit of crispiness on the edges, switch the oven to broil for the last 1-2 minutes. Watch it closely! Cheese burns fast. You want golden spots, not black ones.
Step 7: Rest and Serve
Let the enchiladas rest for 5 minutes before serving. This helps them set so they don’t fall apart when you cut them. Top with sour cream, cilantro, and a squeeze of lime. Serve immediately.
Total Time: About 40 minutes (10 minutes active, 30 minutes cooking)
Expert Tips & Tricks
Here’s everything I’ve learned from making these dozens of times. These tips will save you from my mistakes.
Don’t Skip the Cheese Block
I cannot stress this enough. Pre-shredded cheese is coated in cellulose to prevent clumping. That stuff doesn’t melt right. It stays grainy. Buy a block of Monterey Jack and shred it yourself. It takes two minutes and makes a world of difference in texture.
Steam the Chiles Properly
If you don’t let the chiles steam after broiling, the skins will be a nightmare to remove. You’ll end up picking tiny black bits out of the flesh. Cover them tightly for 10 minutes. The steam does the work for you.
Warm Your Tortillas
Again, this is non-negotiable. Cold flour tortillas are brittle. Warm ones are flexible. If you skip this, you’ll end up with broken enchiladas and a messy kitchen. Microwave them with a damp towel—it’s the fastest way.
Control the Heat
Hatch chiles vary wildly in heat. Some are sweet, some are fiery. If you’re sensitive to spice, remove all the seeds and membranes. If you love heat, leave some seeds in. You can also add a diced jalapeño to the filling for extra kick.
Make Ahead Strategy
You can assemble these enchiladas up to 24 hours ahead. Cover tightly with plastic wrap and refrigerate. When ready to bake, add 5-10 minutes to the baking time since they’re starting cold. This is perfect for dinner parties.
Variations & Substitutions
Once you’ve nailed the basic version, here’s how you can mix it up. I’ve tried all of these.
Veggie Enchiladas
Swap the chicken for roasted cauliflower or black beans. Add sautéed spinach or zucchini to the filling. They’re just as satisfying and packed with fiber.
Spicy Jalapeño Version
Add diced jalapeños to the filling and use a spicy green enchilada sauce. Top with sliced jalapeños before baking. For the heat lovers.
Smoky Chipotle Version
Add 1 teaspoon of chipotle powder or 1 minced chipotle pepper in adobo sauce to the filling. Gives it a deeper, smokier flavor profile.
Gluten-Free
Use corn tortillas instead of flour. Note: Corn tortillas are more fragile, so handle gently. You may need to double-stack them for easier rolling. Also, check your enchilada sauce for gluten-free certification.
Dairy-Free
Use dairy-free cream cheese and shredded cheese. Coconut milk can substitute for cream cheese in a pinch, but the texture will be different. I’ve used Daiya or Violife melts—they work okay, but not as good as real cheese.
Protein Swaps
Shredded pork (carnitas) works beautifully here. Or use leftover turkey from Thanksgiving. Even ground beef seasoned with cumin and chili powder can work if you drain the fat well.
Serving & Storage
How to Serve:
I usually serve these straight from the baking dish at the dinner table—it looks rustic and stays warm. But here are other ways I’ve enjoyed them:
- Sides: Mexican rice, refried beans, or a simple cilantro-lime slaw. A side of roasted sweet potatoes also pairs well.
- Toppings: Sour cream, chopped cilantro, diced white onion, sliced black olives, and fresh lime wedges. Let everyone customize their bowl.
- Drinks: Horchata, Mexican soda, or a crisp Pinot Grigio. I also like a light lager.
Storage Instructions:
Refrigerator: Store leftovers in an airtight container for up to 4 days. The sauce will thicken in the fridge—totally normal.
Reheating: Best method: Cover with foil and bake at 350°F for 15-20 minutes until heated through. Add a splash of water or broth to the dish if it looks dry. Microwave method: Heat in 30-second intervals, stirring between, until warm. It’s quicker but can make the tortillas chewy.
Freezing: Yes, these freeze well! Assemble the enchiladas, cover tightly with plastic wrap and foil, and freeze for up to 3 months. Thaw overnight in the fridge before baking. You may need to add 10 extra minutes to the baking time.
Pro Tip: If you’re meal prepping, freeze individual portions in microwave-safe containers. Grab one on a busy night, zap it for 3 minutes, and you’re done. Life-saver.
Nutrition Information
I’m not a nutritionist, but here’s the breakdown if you’re tracking. This is per serving (based on 6 servings).
| Nutrient | Amount |
|---|---|
| Calories | 380 |
| Protein | 22g |
| Carbs | 35g |
| Fat | 18g |
| Fiber | 3g |
| Sodium | 650mg |
What’s Good: Decent protein from chicken and cheese. The vegetables add some fiber. It’s more balanced than most takeout options.
What to Know: Higher in calories due to cheese and cream cheese. Sodium can be high if you use canned sauce—opt for low-sodium sauce or make your own to control salt. Contains dairy and gluten.
My Take: Look, this is comfort food. It’s rich and savory. It’s not a diet recipe, but it’s better than fast food. When I want to make it lighter, I reduce the cheese and use Greek yogurt instead of sour cream. But usually? I just enjoy a reasonable portion and move on with my life.
Final Thoughts
So that’s my go-to Baked Hatch Chile Chicken Enchiladas! I’ve probably talked your ear off at this point, but when you find a recipe that works this well, you have a lot to say about it.
This dish has saved weeknight dinners more times than I can count. It’s my answer to “what’s for dinner” when I’m tired, don’t want takeout, and still want something that tastes really good. My kids are happy, my husband’s happy, and I’m happy because I’m not stressed about cooking.
Make it yours! Try different add-ins, swap in your favorite vegetables, adjust the garlic (though more is always better in my opinion). The best recipes are the ones you adapt to your family’s tastes. If you make this, drop a comment and let me know what you think! I love hearing how recipes turn out in your kitchen. And if something doesn’t work, tell me that too—I’m here to help troubleshoot.
Happy cooking! And I hope your kitchen smells half as good as mine does right now.
Frequently Asked Questions
Can I use canned green chiles instead of Hatch chiles?
You can, but the flavor won’t be the same. Hatch chiles have a unique smoky, sweet heat that canned green chiles (like those in a can of Ro*Tel) lack. If you must use canned, look for “roasted green chiles” specifically, not just “green chiles.” They’re closer in flavor. Fresh Hatch chiles are best when in season (late summer), but canned versions work year-round.
Why did my enchiladas fall apart?
Usually, this happens because the tortillas were cold and brittle, or you overfilled them. Always warm your tortillas before rolling. Also, don’t overfill—use about 1/4 cup of filling per tortilla. Roll them tightly and place them seam-side down. This helps them hold their shape during baking.
Can I make this ahead for a dinner party?
Absolutely! Assemble the enchiladas up to 24 hours ahead. Cover tightly and refrigerate. When ready to serve, bake as directed, adding 5-10 minutes to the cooking time. You can also freeze them unbaked for up to 3 months. Just thaw overnight in the fridge before baking.
How do I make this spicier?
Add more Hatch chiles, or include diced jalapeños in the filling. You can also add a pinch of cayenne pepper or a minced chipotle pepper in adobo sauce. Start with a little and taste the filling before rolling. Remember, the heat builds slightly as it bakes.
Can I use corn tortillas?
Yes, but they’re more fragile. Warm them in the microwave or a dry skillet to make them pliable. You may need to double-stack two small corn tortillas per enchilada for easier rolling. They’ll have a more authentic corn flavor but a different texture.
What’s the best way to reheat leftovers?
Reheating in the oven is best. Cover with foil and bake at 350°F for 15-20 minutes. This keeps the tortillas soft and the cheese creamy. Microwaving works in a pinch but can make the tortillas chewy. If you microwave, add a splash of water and cover with a damp paper towel.
Can I freeze these enchiladas?
Yes! Assemble them, wrap tightly in plastic wrap and foil, and freeze for up to 3 months. Thaw overnight in the fridge before baking. You can also freeze individual portions for quick weeknight meals. Just add 10 extra minutes to the baking time if baking from frozen.
Pin This Recipe!
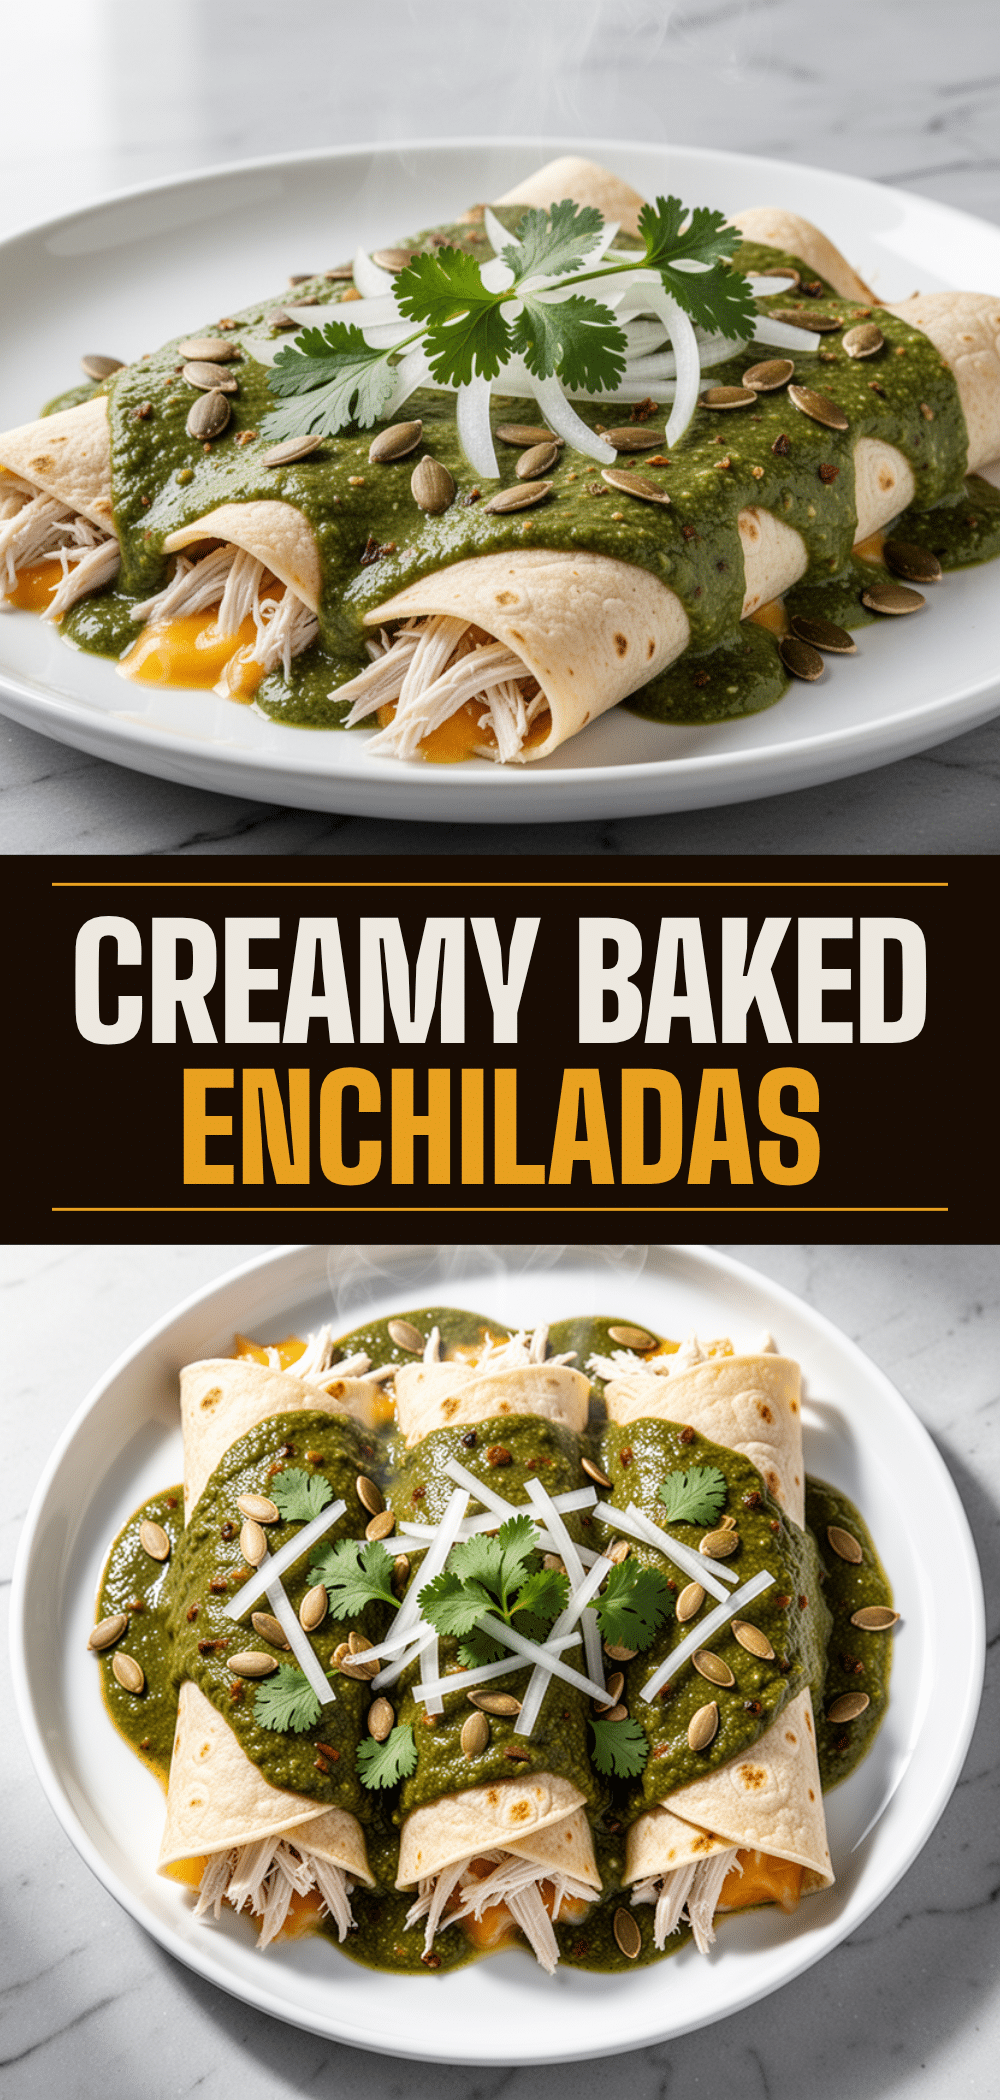
Baked Hatch Chile Chicken Enchiladas
- Total Time: 40 minutes
- Yield: 6 servings 1x
Description
A creamy, spicy, and comforting weeknight dinner featuring roasted Hatch chiles, shredded rotisserie chicken, and melted cheese in green enchilada sauce. Ready in about 40 minutes with minimal cleanup.
Ingredients
- 2 cups shredded rotisserie chicken (about 300g)
- 4–6 medium Hatch chiles, roasted, peeled, and chopped (about 200g)
- 1 cup shredded Monterey Jack cheese (100g)
- 4 oz cream cheese, softened (115g)
- 2 cups green enchilada sauce (480ml)
- 8–10 medium flour tortillas
- Optional toppings: sour cream, chopped cilantro, sliced black olives, diced white onion, fresh lime wedges
Instructions
- Preheat broiler to high. Line a sheet pan with foil. Broil whole Hatch chiles for 2-3 minutes per side until blackened and blistered.
- Transfer charred chiles to a bowl, cover with plastic wrap or a plate, and let steam for 10 minutes to loosen skins.
- Peel off charred skins, remove stems and seeds (if desired for less heat), and chop chiles into small pieces.
- In a large mixing bowl, combine shredded chicken, chopped Hatch chiles, softened cream cheese, and half of the shredded Monterey Jack cheese. Mix until uniform.
- Warm flour tortillas by microwaving them for 30-60 seconds wrapped in a damp paper towel or heating briefly in a dry skillet. Keep covered with a clean towel.
- Preheat oven to 375°F (190°C). Pour 1/2 cup of green enchilada sauce into the bottom of a 9×13 inch baking dish and spread evenly.
- Place about 1/4 cup of the chicken mixture in the center of each warm tortilla, roll tightly, and place seam-side down in the dish.
- Pour remaining enchilada sauce over the rolled enchiladas, ensuring no tortilla is exposed. Sprinkle remaining Monterey Jack cheese on top.
- Bake for 20-25 minutes until sauce is bubbly and cheese is melted and slightly golden.
- Optional: Broil for 1-2 minutes for crispiness, watching closely to prevent burning.
- Let rest for 5 minutes before serving. Top with optional toppings like sour cream, cilantro, and lime.
Notes
Pre-shredded cheese contains anti-caking agents that prevent smooth melting; shred cheese from a block for best results. Steam chiles properly to remove skins easily. Warm tortillas to prevent cracking. Can be assembled up to 24 hours ahead and refrigerated, or frozen for up to 3 months.
- Prep Time: 10 minutes
- Cook Time: 30 minutes
- Category: Main Course
- Cuisine: Mexican
Nutrition
- Serving Size: 1 enchilada
- Calories: 380
- Sodium: 650
- Fat: 18
- Carbohydrates: 35
- Fiber: 3
- Protein: 22
Keywords: Hatch chile, chicken enchiladas, weeknight dinner, easy recipe, Mexican food, baked enchiladas, rotisserie chicken


