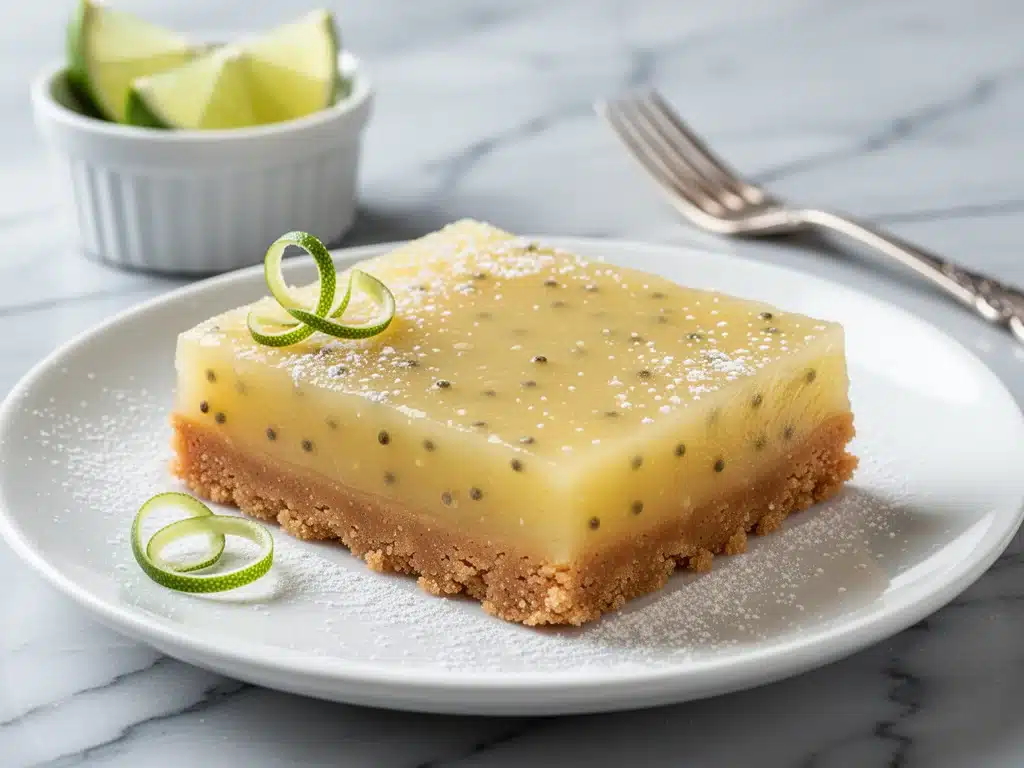
It was supposed to be a simple Tuesday night. I had just gotten home from work, my feet hurt, and the last thing I wanted to do was stand over a hot oven for forty-five minutes. But I had a craving. Not for chocolate, not for something heavy and rich, but for something bright. Something that tasted like sunshine and summer, even though it was the middle of November. I opened the fridge, stared at a bottle of lime juice and a package of graham crackers, and decided to stop overthinking it.
That decision led to the best dessert discovery of my year. I whipped up a batch of these key lime pie bars, expecting a mediocre no-bake treat to tide me over. Instead, I ended up with something that tasted like it came from a high-end bakery in Florida. The crust was buttery and crisp. The filling was tangy, sweet, and impossibly creamy. And the best part? I didn’t have to wait for it to bake. I just mixed it, chilled it, and ate it.
I’ve made these key lime pie bars with graham crust at least ten times since that night. I’ve served them to dinner guests who asked for the recipe. I’ve packed them in lunches (don’t judge me, I’m trying to have self-control). I’ve even made them for my kids, who usually prefer chocolate, and they actually asked for seconds. This isn’t just a recipe; it’s a lifesaver. It’s the dessert you make when you want to impress people but have zero energy left. It’s the treat that keeps you sane during the busy holiday season. And honestly? It’s the easiest thing you’ll make all week.
Why You’ll Love This Recipe
There are about a dozen reasons I keep making these bars, but here are the big ones that keep them in my regular rotation. If you’re skeptical about no-bake desserts, these will change your mind.
Zero Oven Required — Seriously. If you can mix ingredients in a bowl and press them into a pan, you can make this. I’ve made these on hot summer days when turning on the oven felt like torture, and on busy weeknights when I didn’t want to heat up the house. It’s a game-changer.
Make-Ahead Magic — This is the real secret weapon. You can make these two days in advance. In fact, they taste better the next day because the flavors have time to meld. I love making a batch on Sunday so I have ready-to-eat dessert all week. It’s the ultimate meal prep hack for sweets.
Perfect Balance of Tang and Sweet — A lot of lime desserts are too sour or too sugary. This one hits the sweet spot. The cream cheese adds richness that tames the sharpness of the lime, while the graham cracker crust adds a necessary crunch. It’s not cloying; it’s refreshing.
Stability for Travel — Unlike a traditional key lime pie, which can get messy and wobbly when sliced, these bars hold their shape. I’ve taken them to potlucks, picnics, and office parties without any spillage or disaster. They travel beautifully.
Five Ingredients or Fewer — I’m not exaggerating. You don’t need a pantry full of exotic spices. You need cream cheese, lime juice, sweetened condensed milk, graham crackers, and butter. That’s it. Simple, accessible, and effective.
This recipe has completely changed how I approach dessert hosting. I no longer stress about complicated techniques or last-minute baking failures. These bars just work. Every. Single. Time.
Ingredients You’ll Need
Here’s the best part: you probably have most of these ingredients already. I’m particular about three things here, and I’ll tell you exactly why, but otherwise, this is a straightforward pantry-and-fridge run.
Graham Crackers (1.5 cups / 150g, crushed) — I use standard honey graham crackers. They have the right amount of sweetness and texture. If you can’t find crackers, you can use digestive biscuits, but the flavor will be slightly different. You need them finely crushed—like sand, not chunks.
Unsalted Butter (½ cup / 115g, melted) — This binds the crust. Use real butter, not margarine. The flavor difference is huge in a no-bake crust where the butter isn’t cooked away. Room temperature butter melts more evenly, but I usually just microwave it in 10-second bursts.
Granulated Sugar (¼ cup / 50g) — Optional, depending on how sweet your condensed milk is. I usually skip it because sweetened condensed milk is very sweet, but taste your lime mixture first. If it’s too tart, add the sugar.
Cream Cheese (8 oz / 225g, softened) — This is non-negotiable. It needs to be softened to room temperature. If you try to mix cold cream cheese, you’ll get lumps, and no one wants lumpy pie bars. I leave it on the counter for an hour before starting.
Sweetened Condensed Milk (1 can / 14 oz / 397g) — Do not use evaporated milk. They are totally different. Sweetened condensed milk is thick, sugary, and essential for the texture. It provides the structure and sweetness that balances the lime.
Fresh Key Lime Juice (½ cup / 120ml) — Here’s where I get opinionated. Fresh key limes are best. They are smaller and more aromatic than regular Persian limes. If you can’t find key limes, regular limes work, but the flavor will be sharper and less floral. Bottled lime juice? Skip it. It tastes metallic and fake. Fresh is worth the effort.
Lime Zest (1 tablespoon) — This amplifies the lime flavor without adding more acid. It’s the secret to that “fresh” taste. Make sure you only get the green part, not the white pith, which is bitter.
Optional Topping — Whipped cream, extra lime zest, or crushed graham crackers for garnish. I usually keep it simple with just a sprinkle of zest, but whipped cream is nice if you want to feel fancy.
Equipment Needed
You don’t need fancy equipment for this. Here’s what I actually use, and what you can skip if you’re short on space.
9×13 Inch Baking Pan — I line it with parchment paper for easy removal. This is crucial. Without the overhang, you’ll struggle to get the bars out of the pan intact.
Food Processor — For crushing the graham crackers. It takes 10 seconds and gives you perfect, even crumbs. If you don’t have one, put the crackers in a zip-top bag and crush them with a rolling pin. It takes longer and requires arm strength, but it works.
Mixing Bowls — Two large bowls. One for the crust, one for the filling. I use glass bowls because they’re easy to clean and I can see what’s mixing.
Hand Mixer or Stand Mixer — For beating the cream cheese. I use a hand mixer because it’s quicker to grab and clean. A stand mixer works too, but you have to scrape down the sides carefully.
Whisk — For mixing the lime juice and condensed milk. A whisk ensures there are no lumps and the mixture is smooth.
Measuring Cups and Spoons — Standard stuff. Precision matters here because it’s a chemical balance between acid and sugar.
Parchment Paper — I can’t stress this enough. Line the pan with a cross-hatch of parchment paper, leaving extra overhang on the sides. It makes lifting the entire block out of the pan a breeze. I’ve tried making these without it once. Big mistake. I spent ten minutes digging out sticky crumbs.
How to Make It: Step-by-Step
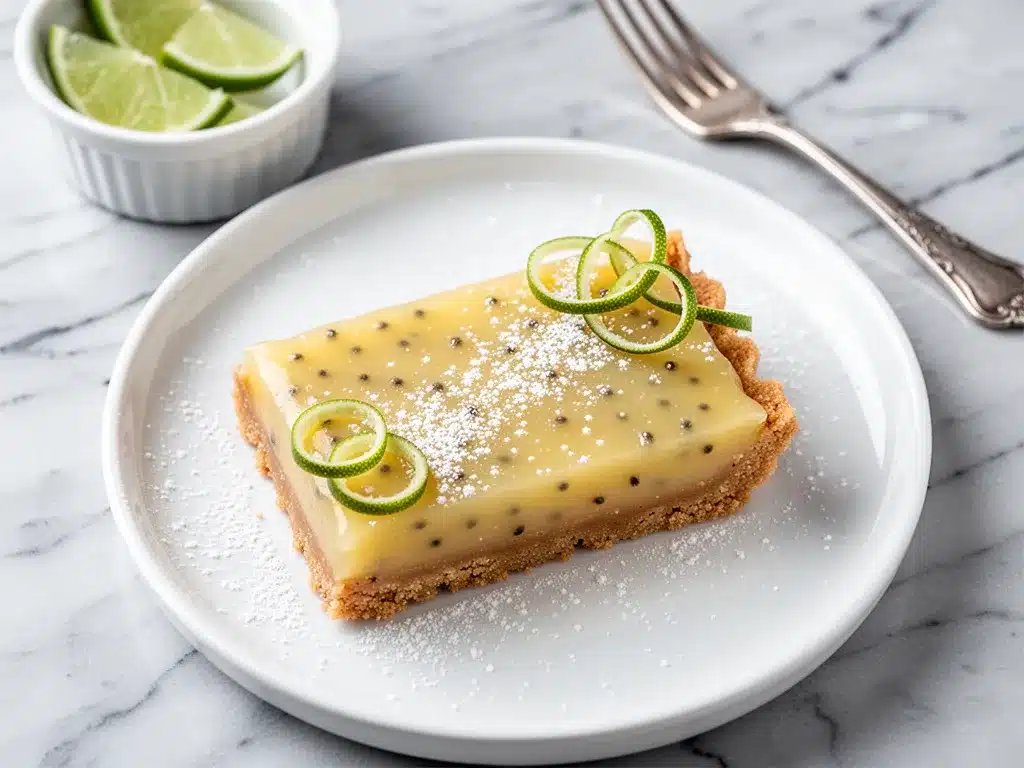
Alright, let’s make this! I’m walking you through exactly how I do it, including the little tricks I’ve picked up to ensure your bars are perfect.
Step 1: Prep Your Pan and Crust Ingredients (5 minutes)
Line your 9×13 inch pan with parchment paper. Leave a generous overhang on the long sides so you can lift the bars out later. In a food processor, pulse the graham crackers until they are fine crumbs. Pour them into a bowl and stir in the melted butter until the mixture looks like wet sand. It should hold together when you squeeze it.
Step 2: Press the Crust (3 minutes)
Transfer the crumb mixture to the prepared pan. Use the bottom of a measuring cup or a flat glass to press the crumbs down firmly. You want an even, compact layer. Don’t be shy with the pressure—if the crust is loose, the bars will fall apart. Smooth the top with a spatula. Place the pan in the refrigerator while you make the filling. This helps the crust set.
Step 3: Beat the Cream Cheese (2 minutes)
In a large mixing bowl, beat the softened cream cheese until it is completely smooth and creamy. This is critical. Any lumps will show up in the final bars. Scrape down the sides of the bowl. If you’re using a hand mixer, make sure you’re beating for a full minute or two.
Step 4: Mix the Filling (3 minutes)
Add the sweetened condensed milk to the cream cheese. Beat on low speed until combined. Then, add the fresh lime juice and lime zest. Mix until just incorporated. Don’t overmix once the lime juice is in, or you might curdle the mixture slightly (though it’s still edible, we want it smooth). The mixture will be thick and glossy.
Step 5: Assemble and Chill (4 hours minimum)
Pour the filling over the chilled crust. Use a spatula to spread it evenly to the edges. Tap the pan gently on the counter to remove any air bubbles. Cover the pan with plastic wrap or aluminum foil. Refrigerate for at least 4 hours, but overnight is best. The longer it chills, the firmer it becomes and the better the flavor develops.
Step 6: Slice and Serve
Once set, lift the entire block out of the pan using the parchment paper overhang. Place it on a cutting board. Use a sharp knife to cut into squares or rectangles. Wipe the knife clean between cuts for neat edges. Serve immediately, or store in the fridge until ready to eat.
Total Time: About 15 minutes active, plus 4 hours chilling.
Expert Tips & Tricks
Here’s everything I’ve learned from making these dozens of times. These tips will save you from my mistakes.
Softened Cream Cheese is Key
I cannot stress this enough. If your cream cheese is cold, you will have lumps. I usually cut it into cubes and let it sit on the counter for an hour. If I forget, I microwave it in 5-second bursts, checking frequently. It should be soft enough to press your finger into it easily.
Don’t Skimp on the Zest
The juice provides the sourness, but the zest provides the aroma. Without the zest, the bars taste like sweet lime pudding. With the zest, they taste like actual key lime pie. Use a microplane for the finest zest, which distributes better.
Chill the Knife
For clean cuts, dip your knife in hot water and wipe it dry before each cut. This prevents the creamy filling from sticking to the blade and smearing the crust. It’s a small trick that makes a huge difference in presentation.
Use Key Limes if Possible
Regular limes are more acidic and less aromatic. Key limes have a distinct floral note that defines the classic flavor. If you use regular limes, you might need a touch less juice, as they are punchier. Taste as you go.
Storage is Simple
These bars keep well in the fridge for up to 5 days. Store them in an airtight container. If you stack them, place parchment paper between layers to prevent sticking. They do not freeze well because the texture of the cream cheese changes when thawed.
Variations & Substitutions
Once you’ve nailed the basic version, here’s how you can mix it up. I’ve tried all of these.
Oreo Crust Version
Swap the graham crackers for crushed Oreo cookies. Remove the sugar from the crust mix because Oreos are already sweet. This creates a “Lime Oreo Bar” that tastes like a dessert sandwich. My kids love this version.
Coconut Lime
Add ½ cup of shredded coconut to the crust mixture. It adds a nice texture and tropical vibe. You can also fold some coconut into the filling. It pairs beautifully with the lime.
Blueberry Lime Swirl
Top the bars with a blueberry compote before chilling. Or, swirl a little blueberry jam into the filling before pouring it over the crust. The tartness of the lime and the sweetness of the blueberry are a classic combination.
Dairy-Free Option
Use vegan cream cheese and coconut cream instead of sweetened condensed milk (or use a vegan condensed milk alternative). The crust is naturally dairy-free if you use butter or coconut oil. It’s not quite the same texture, but it’s still delicious.
Gluten-Free
Use gluten-free graham crackers. Most brands work well, but check the texture—some are crumblier than others. You might need a bit more butter to bind the crust.
Serving & Storage
I usually serve these straight from the fridge, chilled. They taste best cold, when the texture is firm and the flavor is bright. Here are some ways I’ve enjoyed them:
How to Serve:
I often serve them with a dollop of whipped cream and a sprinkle of extra lime zest. It looks elegant and adds a bit of lightness. They go great with coffee or tea, but also with a light white wine if you’re hosting a dinner party.
Side Dishes:
These bars are rich, so pair them with something light. A simple green salad or some fresh berries works well. They are also great as a standalone dessert after a light meal.
Storage Instructions:
Store in an airtight container in the refrigerator for up to 5 days. They do not freeze well. If you need to make them ahead, I recommend making them 2 days in advance. They will hold their shape and flavor perfectly.
Pro Tip:
If you’re transporting them, keep them in the pan and wrap the whole pan tightly in plastic wrap. This prevents them from drying out and keeps them safe from bumps.
Nutrition Information
I’m not a nutritionist, but here’s the breakdown if you’re tracking. Keep in mind that these are rich bars, so portion control is key.
Per Serving (based on 16 bars):
- Calories: 220
- Protein: 3g
- Carbs: 32g
- Fiber: 0g
- Sugar: 24g
- Fat: 10g
- Saturated Fat: 6g
- Cholesterol: 30mg
- Sodium: 120mg
What’s Good:
– Quick and easy to make
– No baking required
– Uses simple ingredients
What to Know:
– High in sugar due to condensed milk
– Contains dairy and gluten
– Moderate calories per bar
My Take:
Look, this is a dessert. It’s sweet, rich, and indulgent. It’s not a health food. But it’s way better than store-bought bars, and you know exactly what’s in it. When I make these, I enjoy a small square and savor it. It’s a treat, not a snack.
Final Thoughts
So that’s my go-to key lime pie bars! I’ve probably talked your ear off at this point, but when you make a recipe this often, you have a lot to say about it. These bars have saved my dessert game more times than I can count. They’re my answer to “what’s for dessert?” when I’m tired, don’t want to bake, and still want something that tastes amazing. My family is happy, my guests are impressed, and I’m happy because I’m not stressed about cooking.
Make it yours! Try different crusts, add different toppings, or adjust the lime to your taste. The best recipes are the ones you adapt to your preferences. If you make this, drop a comment and let me know what you think! I love hearing how recipes turn out in your kitchen. And if something doesn’t work, tell me that too—I’m here to help troubleshoot.
Happy baking! Well, no-baking! And I hope your kitchen smells half as good as mine does right now.
Frequently Asked Questions
Can I use bottled lime juice?
You can, but I really don’t recommend it. Bottled lime juice has a preservative taste that can be metallic and overpowering. Fresh lime juice is bright and aromatic. If you absolutely must use bottled, use half the amount and taste carefully. But fresh is always better.
Why did my filling turn out runny?
This usually happens if the cream cheese wasn’t softened enough, leading to lumps that didn’t incorporate properly. It can also happen if you didn’t chill the bars long enough. Make sure you chill for at least 4 hours, preferably overnight. If it’s still runny, you can try putting it in the freezer for 30 minutes to set it up.
Can I make these ahead of time?
Yes! These bars are actually better the next day. You can make them up to 2 days in advance. Just store them in an airtight container in the fridge. They hold their shape well and don’t get soggy.
Can I freeze these bars?
I don’t recommend freezing them. The cream cheese filling can become grainy or watery when thawed. It’s best to enjoy them fresh from the fridge. If you need to make them ahead, refrigeration is the way to go.
Can I use regular limes instead of key limes?
Yes, you can. Regular limes are larger and more acidic. You might need slightly less juice, so add it gradually and taste. The flavor will be slightly different—less floral, more tart—but still delicious.
How do I get clean cuts?
Use a sharp knife. Dip it in hot water and wipe it dry before each cut. This prevents the filling from sticking and smearing. Also, make sure the bars are fully chilled before cutting. Warm bars are messy.
Can I add chocolate to these bars?
Absolutely! You can drizzle melted chocolate over the top before serving, or add a layer of chocolate chips in the middle. Chocolate and lime is a classic combination. Just let the chocolate set in the fridge before cutting.
Pin This Recipe!
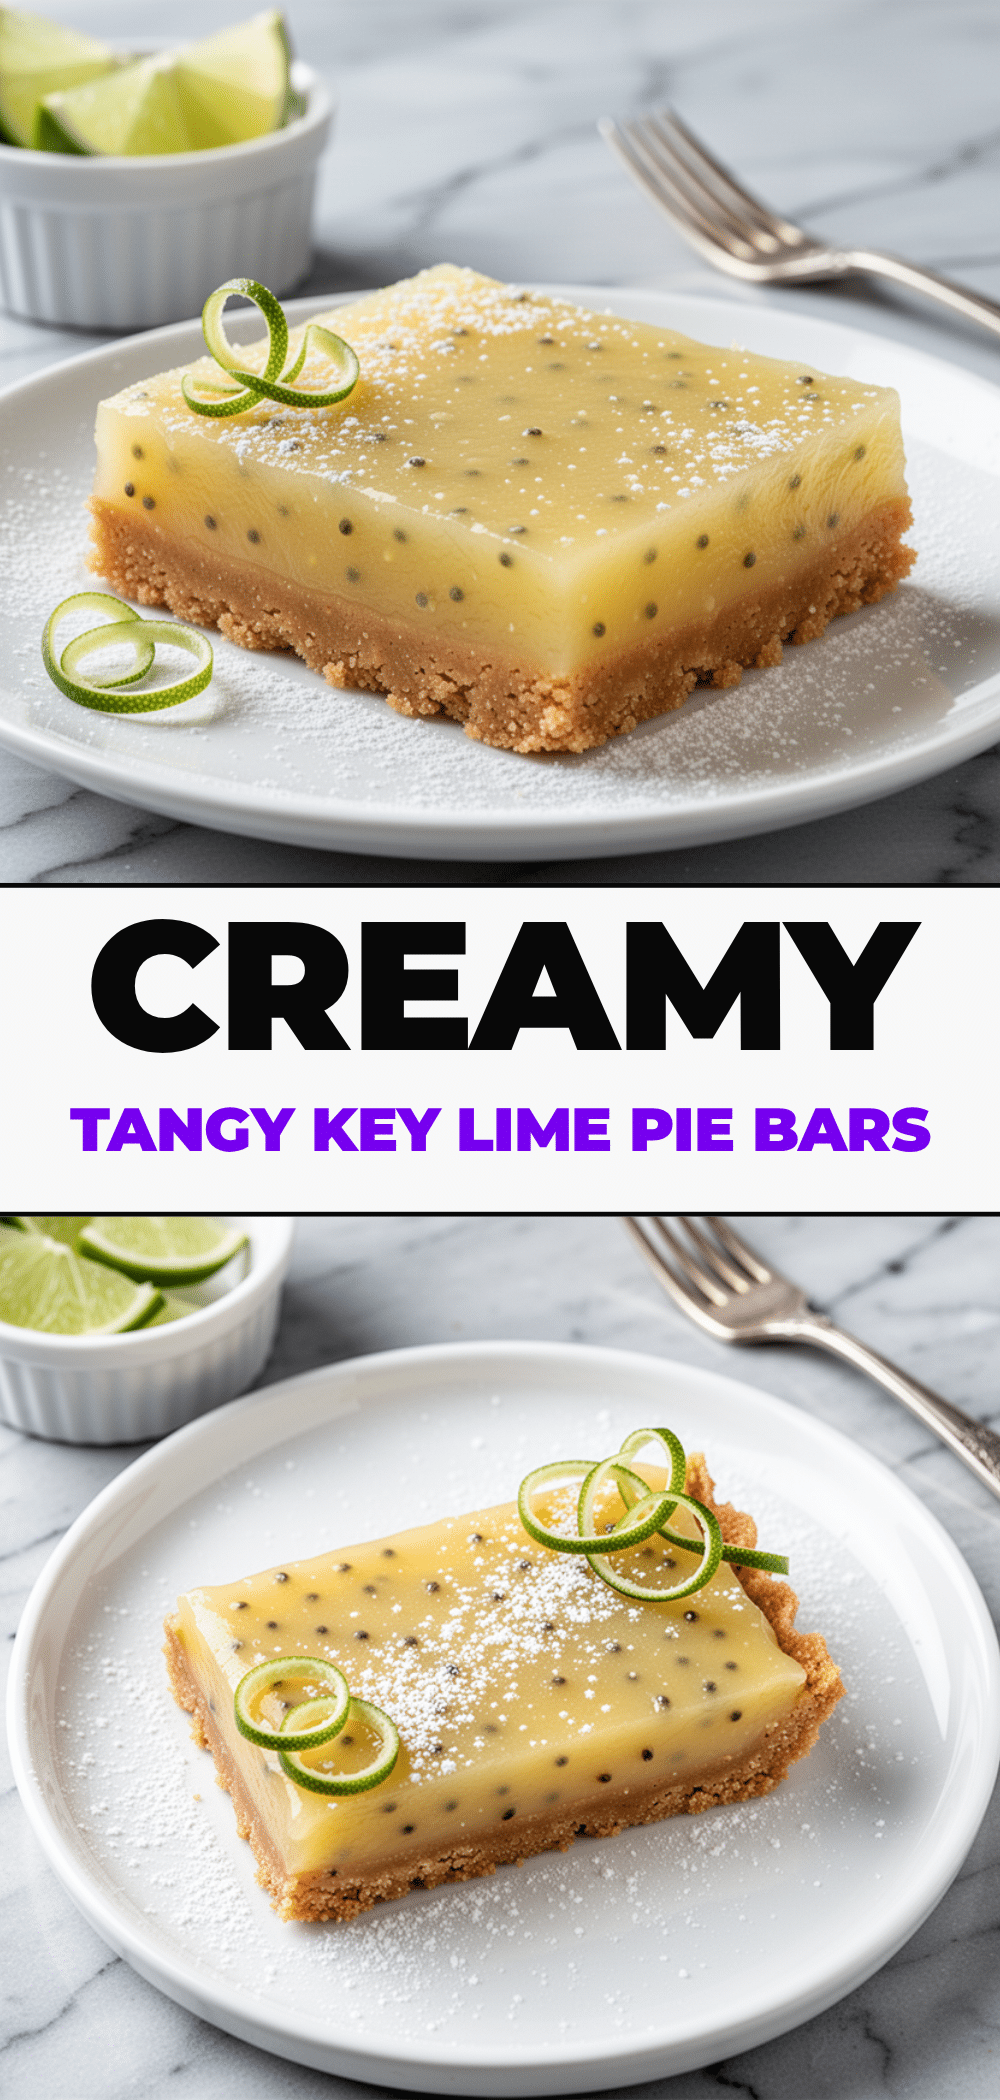
Key Lime Pie Bars: 5 Easy No-Bake Treats
- Total Time: 4 hours 15 minutes
- Yield: 16 servings 1x
Description
These no-bake key lime pie bars offer a tangy, sweet, and creamy dessert with a buttery graham cracker crust. They are easy to make, require zero oven time, and are perfect for make-ahead meal prep.
Ingredients
- 1.5 cups (150g) honey graham crackers, finely crushed
- ½ cup (115g) unsalted butter, melted
- ¼ cup (50g) granulated sugar (optional)
- 8 oz (225g) cream cheese, softened to room temperature
- 1 can (14 oz / 397g) sweetened condensed milk
- ½ cup (120ml) fresh key lime juice
- 1 tablespoon lime zest
- Optional: Whipped cream or extra lime zest for garnish
Instructions
- Line a 9×13 inch baking pan with parchment paper, leaving an overhang on the long sides for easy removal.
- Pulse graham crackers in a food processor until fine crumbs form. Pour into a bowl and stir in melted butter until the mixture resembles wet sand.
- Press the crumb mixture firmly and evenly into the bottom of the prepared pan. Refrigerate while making the filling.
- In a large mixing bowl, beat the softened cream cheese until completely smooth and creamy.
- Add sweetened condensed milk to the cream cheese and beat on low speed until combined.
- Add fresh lime juice and lime zest, mixing just until incorporated to avoid curdling.
- Pour the filling over the chilled crust and spread evenly. Tap the pan to remove air bubbles.
- Cover and refrigerate for at least 4 hours, preferably overnight, until firm.
- Lift the bars out of the pan using the parchment overhang. Slice into squares using a sharp knife dipped in hot water and wiped dry between cuts.
- Serve chilled.
Notes
Ensure cream cheese is fully softened to avoid lumps. Fresh key lime juice is preferred over bottled for better flavor. The bars do not freeze well due to texture changes in the cream cheese. Store in an airtight container in the refrigerator for up to 5 days. For clean cuts, dip the knife in hot water and wipe dry before each slice.
- Prep Time: 15 minutes
- Cook Time: 0 minutes
- Category: Dessert
- Cuisine: American
Nutrition
- Serving Size: 1 bar
- Calories: 220
- Sugar: 24
- Sodium: 120
- Fat: 10
- Saturated Fat: 6
- Carbohydrates: 32
- Protein: 3
Keywords: key lime pie bars, no-bake dessert, graham cracker crust, lime dessert, easy dessert, make-ahead dessert, summer dessert, cream cheese filling


