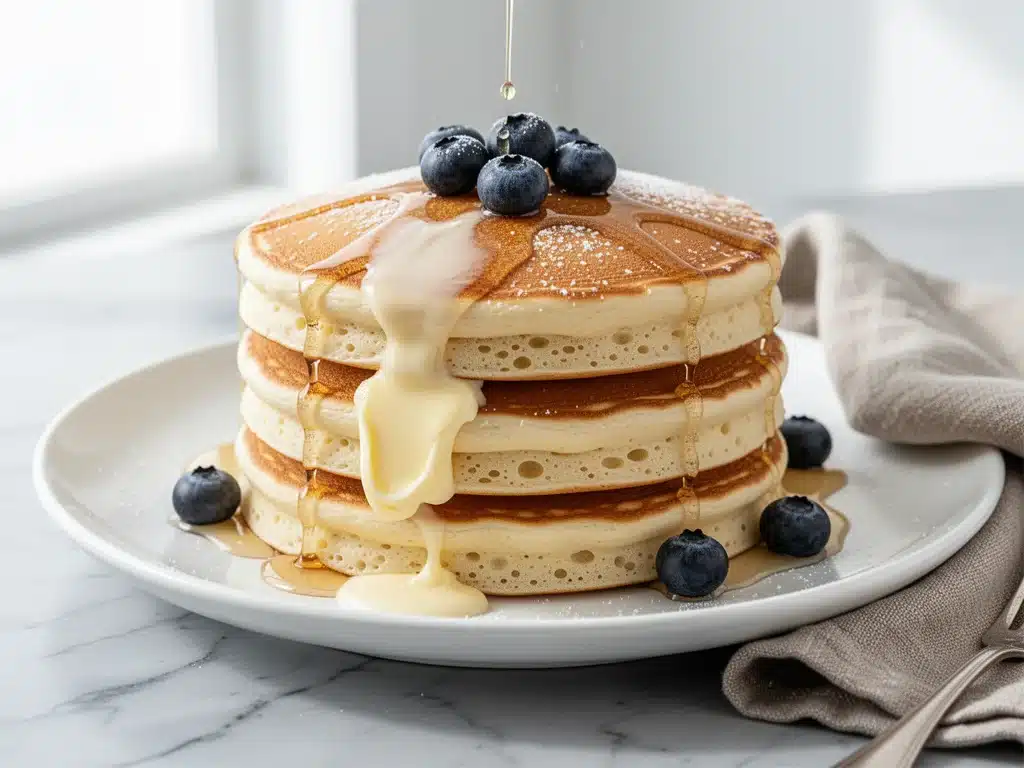
There is a specific kind of guilt that comes with opening a box of pancake mix on a Sunday morning. It’s the guilt of knowing you’re paying for starch, preservatives, and artificial flavor in exchange for five minutes of your time. I’ve been there. For years, my lazy weekend mornings were defined by the sound of a whisk hitting the side of a plastic box, followed by the disappointing sight of flat, rubbery discs that tasted vaguely of cardboard and regret.
That changed last spring. I was hosting a small brunch for some friends, and I decided to finally attempt from-scratch pancakes. I was terrified they’d turn out dense. Instead, they were clouds. My friends ate three each. One of them asked for the recipe, then asked if I had a secret ingredient. I didn’t. I just used real buttermilk and a little bit of vanilla extract.
That batch of Fluffy Buttermilk Vanilla Pancakes started a revolution in my house. Now, Sunday mornings aren’t just about surviving the week ahead; they’re about slow cooking, pouring syrup, and actually enjoying the food. These aren’t just pancakes. They’re the reason I wake up early on weekends.
After testing this recipe at least fifteen times—adjusting the ratio of flour to liquid, experimenting with baking powder freshness, and fighting the urge to overmix—I’ve landed on the perfect formula. It’s tender, it’s lightly sweet, and it smells like a bakery when they’re cooking. If you’ve been stuck in a rut of boxed mixes or sad, flat homemade versions, this is the one that will change your morning routine. It’s easier than you think, and the payoff is absolutely worth it.
Why You’ll Love This Recipe
I know what you’re thinking: “I can make pancakes.” And you can. But can you make pancakes that stay fluffy for twenty minutes after they come off the griddle? Can you make a batch that even the pickiest eater in your family asks for seconds? This recipe does exactly that. Here’s why this Fluffy Buttermilk Vanilla Pancakes recipe has earned a permanent spot in my weekend rotation.
- Actually Fluffy, Not Flat — Most homemade pancake recipes fail because the batter gets overmixed or the leavening is old. This recipe uses a specific ratio of baking powder and baking soda to ensure they puff up like clouds. I’ve had people tell me they look like soufflés.
- Buttermilk Tanginess — You don’t taste the sourness, but it’s there. It cuts through the sweetness of the syrup and adds a depth of flavor that milk just can’t provide. It’s the secret to that “bakery” taste.
- Vanilla Bean Magic — Adding vanilla extract (or paste) transforms these from generic breakfast food to something special. It makes them taste like dessert for breakfast, which is exactly what a lazy weekend should feel like.
- Forgiving Texture — I’m not a perfectionist, and neither is this recipe. Lumpy batter is actually good! This recipe tells you exactly when to stop stirring so you don’t end up with rubbery pancakes. It’s hard to mess up.
- Quick Prep — From bowl to griddle in about 15 minutes. Yes, 15. That’s faster than waiting for a delivery app to find a driver. It’s perfect for when you want to sleep in but still eat a hot meal.
- Family Approved — My kids, who usually turn their noses up at anything with “real” ingredients, devour these. They don’t know the difference between this and the boxed stuff, except they ask for more.
This isn’t just breakfast. It’s a hug on a plate. It’s the kind of meal that makes you want to stay in bed a little longer because you’re just enjoying the smell of cooking batter. Once you try this, you’ll never go back to the box again.
Ingredients You’ll Need
Here’s the best part: you probably have most of these ingredients already. This isn’t a recipe that requires a special trip to the grocery store for obscure items. It’s simple, pantry-friendly comfort food. I’m particular about three things here, and I’ll tell you exactly why.
For the Batter
All-purpose flour (2 cups / 250g) — The foundation. Don’t use self-rising flour unless you adjust the baking powder and salt, but stick to all-purpose for the best texture. Spoon it into the measuring cup and level it off. Don’t scoop and pack, or you’ll end up with dense pancakes.
Baking powder (2 teaspoons) — This is your lift. Make sure it’s fresh! If your baking powder has been sitting in the back of the cabinet since last Christmas, it’s probably dead. Test it by dropping a teaspoon into hot water—if it doesn’t fizz, toss it.
Baking soda (½ teaspoon) — This reacts with the buttermilk to create those air bubbles. It’s essential for the rise.
Salt (1 teaspoon) — Yes, a full teaspoon. It balances the sweetness and enhances the vanilla flavor. Don’t skip it.
Granulated sugar (2 tablespoons) — Just enough to give a hint of sweetness and help with browning. You can reduce this if you prefer less sweet pancakes, but I recommend keeping it.
Eggs (2 large, room temperature) — Room temperature eggs incorporate into the batter better than cold ones. If you forget, just crack them into a small bowl of warm water for a minute.
Buttermilk (1 ¾ cups / 420ml) — This is the star. Buttermilk tenderizes the gluten in the flour, keeping pancakes soft. If you don’t have buttermilk, see the variations below. Don’t substitute with regular milk; the texture will be wrong.
Unsalted butter (3 tablespoons, melted) — Adds richness and flavor. Let it cool slightly before adding so you don’t cook the eggs.
Vanilla extract (2 teaspoons) — Use real vanilla, not imitation. It makes a noticeable difference in the aroma and taste. I use a good-quality pure vanilla extract.
For Cooking
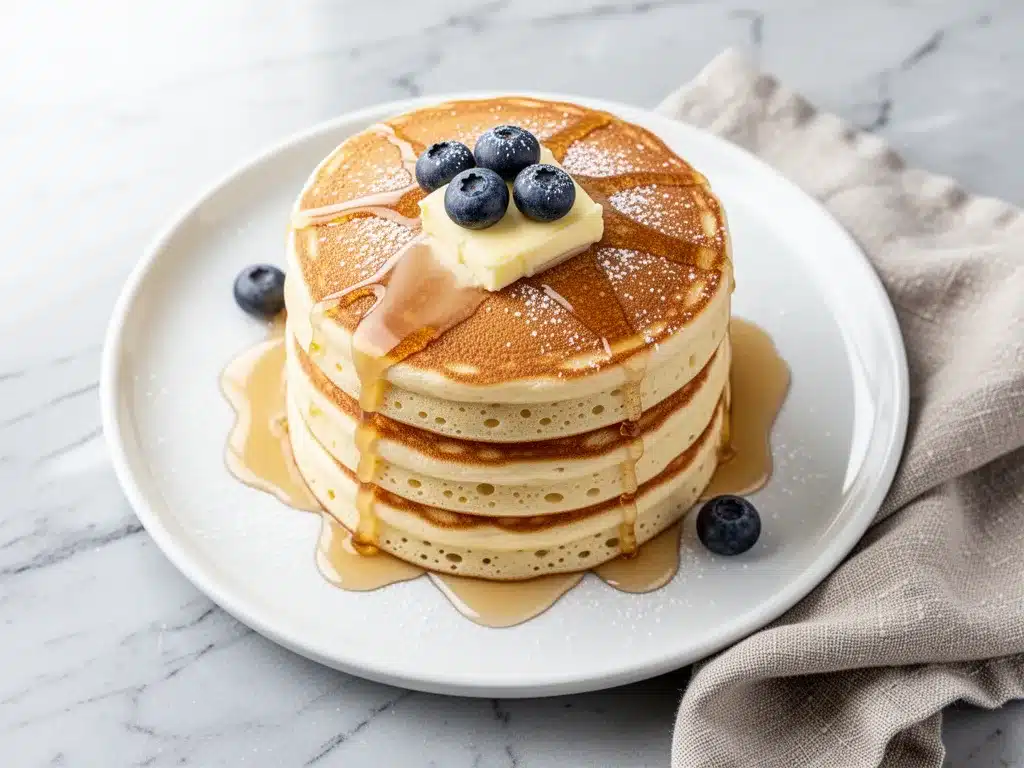
Butter or oil — For greasing the pan. I prefer butter for flavor, but oil works if you’re dairy-free.
Syrup — Maple syrup is traditional, but this recipe is good enough to eat plain. However, a drizzle of syrup is non-negotiable for me.
Equipment Needed
You don’t need fancy gadgets for this. Here’s what I actually use, and what works.
Large mixing bowls — Two bowls. One for dry ingredients, one for wet. I use ceramic or glass bowls because they’re easy to see into. A medium-sized bowl for dry, a large one for wet.
Whisk — A standard balloon whisk works perfectly. You need it to break up lumps in the flour and blend the wet ingredients smoothly.
Measuring cups and spoons — For accuracy. Cup measurements for flour and buttermilk, spoons for baking powder and vanilla.
Non-stick skillet or griddle — A 10-12 inch non-stick skillet is ideal. If you have a flat electric griddle, even better because you can cook more at once. I use a Lodge cast iron skillet when I want that perfect crispy edge, but non-stick is easier for beginners.
Spatula — A thin, flexible spatula is best for flipping without tearing the pancake. I have a silicone one that doesn’t scratch my pan.
Ladle or ¼ cup measuring cup — For pouring consistent batter. Consistency helps them cook evenly.
Wire rack — Optional, but I put cooked pancakes on a wire rack in a 200°F oven to keep them warm while I cook the rest. This prevents them from getting soggy from steam.
How to Make It: Step-by-Step
Alright, let’s make this! I’m walking you through exactly how I do it, including the little tricks I’ve picked up over the years. This process is straightforward, but attention to detail makes the difference between good and great.
Step 1: Mix the Dry Ingredients (3 minutes)
In your large bowl, whisk together the flour, baking powder, baking soda, salt, and sugar. Make sure you whisk them well to distribute the leavening agents evenly. If you don’t, you might get a pancake with a bitter bite of baking soda. Set this bowl aside.
Step 2: Whisk the Wet Ingredients (2 minutes)
In a separate large bowl or a large measuring jug, whisk the eggs until they are lightly beaten. Then add the buttermilk, melted butter, and vanilla extract. Whisk until everything is combined and the butter is incorporated. The mixture should look smooth and slightly frothy.
Step 3: Combine Wet and Dry (1 minute)
This is the most critical step. Pour the wet ingredients into the dry ingredients. Use your whisk or a spatula to gently stir them together. Stop as soon as the last streak of flour disappears. The batter will be lumpy. This is good. Do not overmix. Overmixing develops gluten, and gluten makes pancakes tough and rubbery. If you stir until it’s smooth, you’ve gone too far. Lumpy batter = fluffy pancakes.
Step 4: Rest the Batter (5 minutes)
Let the batter sit for about 5 minutes while you heat your pan. This allows the flour to hydrate and the baking powder to start working. You’ll see small bubbles form on the surface. Don’t skip this step; it makes a huge difference in texture.
Step 5: Heat the Pan (2 minutes)
Place your non-stick skillet or griddle over medium heat. Let it heat up for 2-3 minutes. To test if it’s ready, flick a few drops of water onto the surface. If they sizzle and evaporate immediately, it’s ready. If they just sit there, wait. If they dance around and evaporate quickly, it’s perfect. Lightly grease the pan with butter or oil.
Step 6: Cook the Pancakes (3-4 minutes per batch)
Pour about ¼ cup of batter for each pancake onto the hot pan. Don’t crowd the pan; leave space between them. Cook for 2-3 minutes. Watch for bubbles. When you see bubbles forming on the surface and popping, leaving small holes that don’t fill back in, it’s time to flip. The edges should look set and cooked.
Step 7: Flip and Finish (1-2 minutes)
Flip the pancake gently. Cook for another 1-2 minutes on the second side. They should be golden brown. If they’re browning too fast, your heat is too high. Lower it slightly. If they’re pale and taking forever, turn the heat up a notch.
Step 8: Serve and Enjoy
Serve immediately with warm butter and maple syrup. If you’re serving a crowd, keep the cooked pancakes warm on a wire rack in a 200°F oven while you finish the batter.
Total Time: About 20 minutes (5 minutes prep, 15 minutes cooking)
Expert Tips & Tricks
Here’s everything I’ve learned from making these dozens of times. These tips will save you from my mistakes.
- Don’t Overmix — I can’t stress this enough. Lumpy batter is the goal. If you stir until it’s smooth, you’re making rubber. Trust me on this.
- Check Your Leavening — If your pancakes are flat, your baking powder or soda is likely old. Replace them. It’s cheap insurance for fluffy results.
- Medium Heat is Key — Too hot, and the outside burns before the inside cooks. Too cool, and they spread out and become dense. Medium is the sweet spot. Adjust as needed.
- Use a Ladle — Pouring from a cup can be inconsistent. A ladle or ¼ cup measure ensures each pancake is the same size, so they cook evenly.
- Wipe the Pan — Between batches, wipe your pan with a paper towel to remove burnt bits and excess butter. This keeps the next pancake from tasting bitter.
- Keep Them Warm — Use a wire rack in a low oven. Stacking them on a plate traps steam and makes them soggy. A rack lets air circulate.
Variations & Substitutions
Once you’ve nailed the basic version, here’s how you can mix it up. I’ve tried all of these.
No Buttermilk?
Make your own: Add 1 tablespoon of white vinegar or lemon juice to a measuring cup, then fill the rest with regular milk. Let it sit for 5-10 minutes until it curdles. It works perfectly in this recipe.
Blueberry Pancakes
Stir in ½ cup of fresh or frozen blueberries into the batter just before cooking. If using frozen, don’t thaw them first, or they’ll bleed into the batter.
Chocolate Chip Pancakes
Add ½ cup of chocolate chips to the batter. I like to sprinkle them on top of the pancake right after pouring the batter onto the pan, so they melt nicely on the surface.
Gluten-Free
Use a 1:1 gluten-free flour blend. The texture might be slightly different, but it still works well. Add a pinch of xanthan gum if your blend doesn’t include it.
Healthier Version
Substitute half the all-purpose flour with whole wheat flour. It adds nuttiness and fiber, but the pancakes will be slightly denser. You can also use applesauce instead of half the butter for a lower-fat option, though it changes the flavor.
Protein Boost
Add a scoop of vanilla protein powder. You may need to add a little more buttermilk, as protein powder absorbs liquid. The texture will be chewier, but it’s a great post-workout breakfast.
Serving & Storage
How to serve these fluffy beauties for maximum impact.
Serving Suggestions
I usually serve these straight from the griddle with a pat of butter melting on top. Classic maple syrup is the way to go. But here are other ways I’ve enjoyed them:
- Whipped Cream — For a brunch feel, top with homemade whipped cream and fresh berries.
- Bacon — Sweet and salty is the best combo. Crispy bacon on the side is non-negotiable for my husband.
- Fresh Fruit — Sliced bananas, strawberries, or blueberries add freshness and cut the richness.
- Maple Butter — Mix softened butter with a little maple syrup and cinnamon. Spread it on warm pancakes. It’s addictive.
Storage Instructions
Refrigerator: Store leftover pancakes in an airtight container for up to 3 days. They’re best reheated, as they can get soft in the fridge.
Reheating: The best way is a toaster. Pop them in a toaster on medium setting. It restores the crisp edges and fluffy interior. You can also reheat them in a skillet over low heat for a minute on each side. Microwave them only if you’re in a rush, but they’ll be soft.
Freezing: These freeze surprisingly well. Cool them completely, then stack them with parchment paper in between. Place in a freezer bag for up to 2 months. Toast from frozen. They taste almost as good as fresh.
Nutrition Information
I’m not a nutritionist, but here’s the breakdown if you’re tracking. This is per serving (based on 6 servings of 2 pancakes each).
- Calories: 320
- Protein: 8g
- Carbs: 45g
- Fiber: 2g
- Sugar: 8g
- Fat: 12g
- Saturated Fat: 7g
- Cholesterol: 65mg
- Sodium: 450mg
Look, this is comfort food. It’s not a diet recipe. But it’s way better than takeout, costs less, and I know exactly what’s in it. When I want to make it lighter, I use the whole wheat variation and load up on berries. But usually? I just eat a reasonable portion and enjoy it. Life is too short to skip the syrup.
Final Thoughts
So that’s my go-to Fluffy Buttermilk Vanilla Pancakes! I’ve probably talked your ear off at this point, but when you make a recipe this often, you have a lot to say about it.
This has saved lazy weekend mornings more times than I can count. It’s my answer to “what’s for breakfast” when I don’t want to stress but still want something that tastes really good. My kids are happy, my husband’s happy, and I’m happy because I’m not stressed about cooking.
Make it yours! Try different add-ins, swap in your favorite fruits, adjust the vanilla. The best recipes are the ones you adapt to your family’s tastes. If you make this, drop a comment and let me know what you think! I love hearing how recipes turn out in your kitchen. And if something doesn’t work, tell me that too—I’m here to help troubleshoot.
Happy cooking! And I hope your kitchen smells half as good as mine does right now.
Frequently Asked Questions
Why are my pancakes dense?
Usually, this means you overmixed the batter. Stir until the flour is just incorporated, even if it looks lumpy. Also, check your baking powder. If it’s old, it won’t lift the pancakes. Another common mistake is pressing down on the pancakes with the spatula after flipping. Let them cook naturally.
Can I use milk instead of buttermilk?
You can, but the texture won’t be as tender. The acidity in buttermilk breaks down gluten, making pancakes soft. If you must use milk, add 1 tablespoon of vinegar or lemon juice per cup of milk and let it sit for 5 minutes. This creates a buttermilk substitute that works well in this recipe.
How do I keep pancakes warm while cooking the rest?
Preheat your oven to 200°F. Place a wire rack on a baking sheet and put the cooked pancakes on the rack. This allows air to circulate and keeps them warm without steaming them, which makes them soggy. They’ll stay warm for up to 30 minutes.
Can I make the batter ahead of time?
I don’t recommend it. Pancake batter loses its leavening power over time. If you let it sit overnight, the pancakes will be flat and dense. It’s best to mix and cook immediately. If you’re short on time, you can mix the dry ingredients the night before and store them in an airtight container, then add the wet ingredients in the morning.
Why do my pancakes stick to the pan?
Your pan might not be hot enough, or you didn’t grease it properly. Make sure to test the pan with water drops before pouring batter. Also, use enough butter or oil. A thin layer is usually enough, but don’t be shy. If you’re using cast iron, make sure it’s well-seasoned.
Can I freeze leftover pancakes?
Yes! Cool them completely, then stack them with parchment paper in between. Place them in a freezer-safe bag or container. They’ll last for up to 2 months. Reheat them in a toaster for the best texture.
If you’re looking for more easy breakfast ideas, you might also enjoy these soft baked banana oatmeal breakfast cookies for a grab-and-go option, or these no-bake peanut butter granola bites for a quick energy boost on busy mornings.
Pin This Recipe!
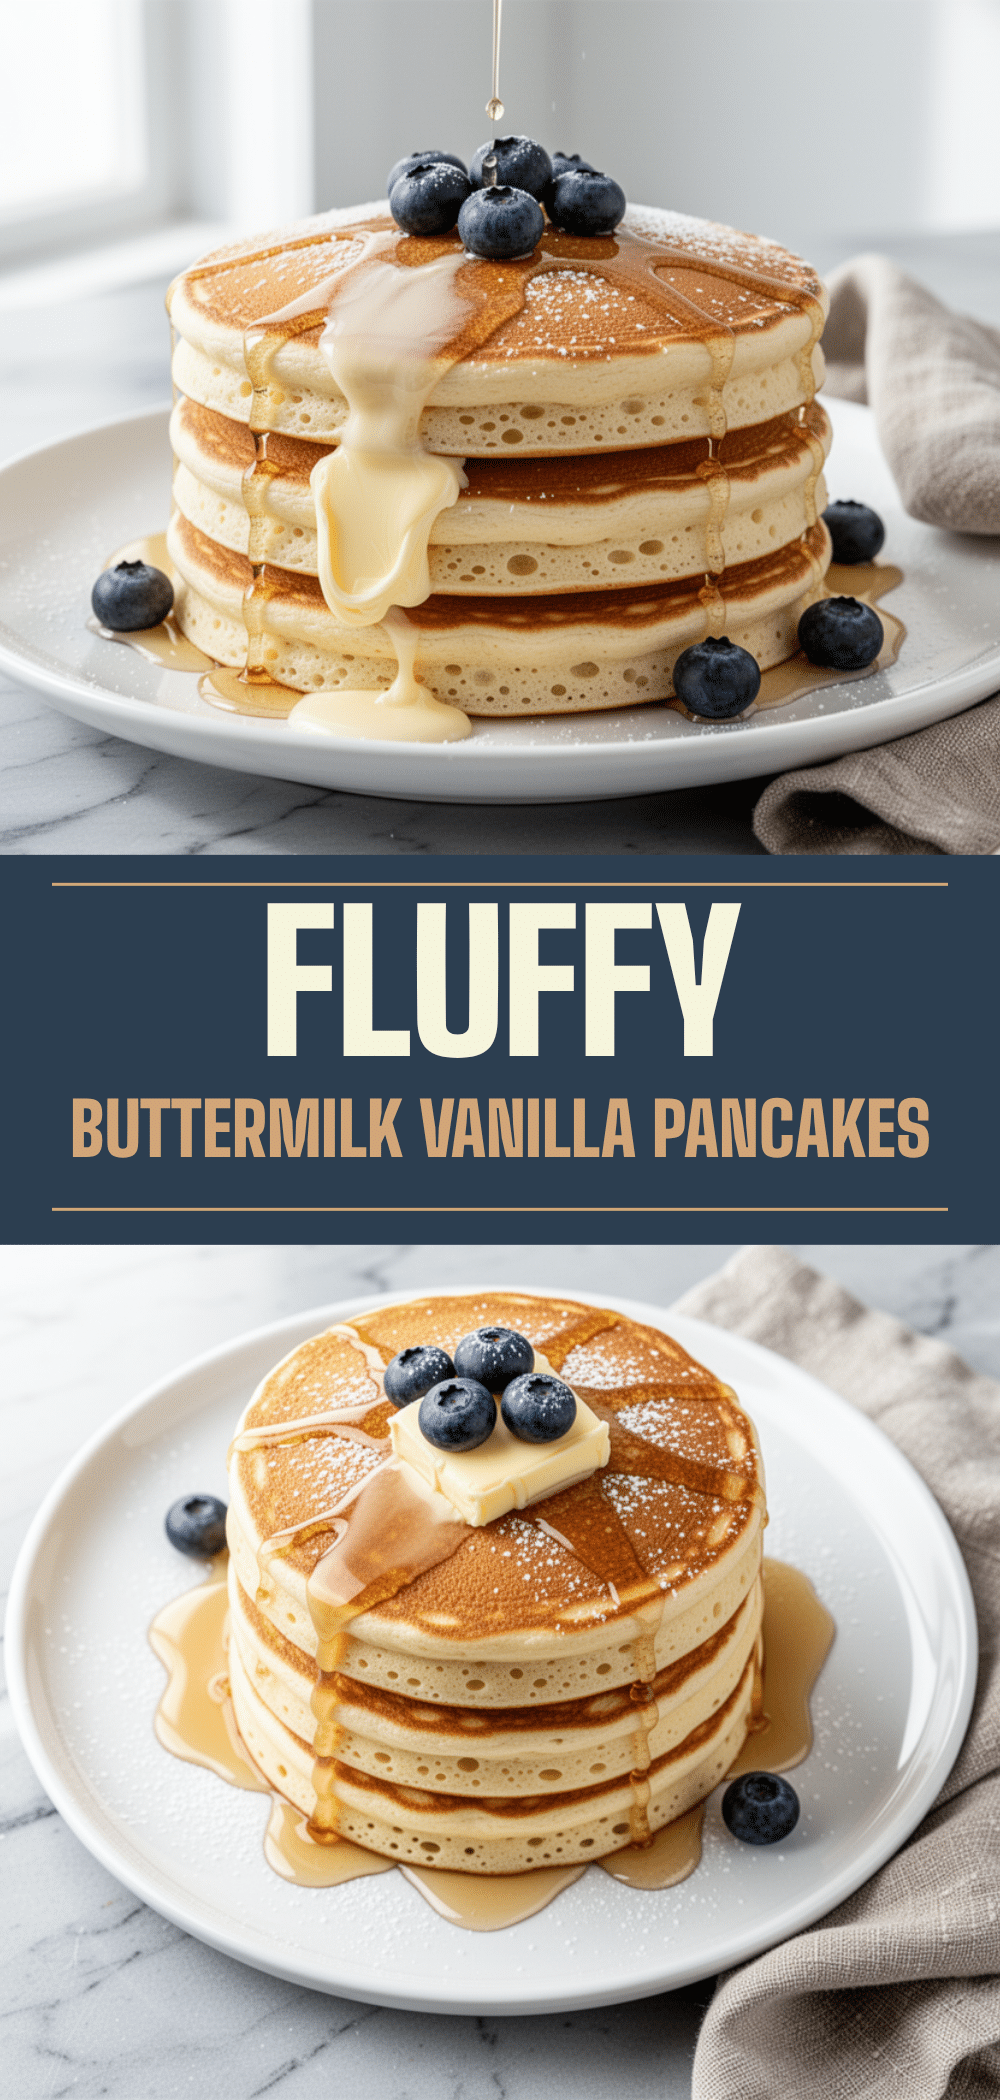
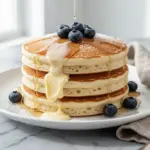
Fluffy Buttermilk Vanilla Pancakes
- Total Time: 20 minutes
- Yield: 6 servings (2 pancakes each) 1x
Description
These homemade buttermilk vanilla pancakes are incredibly fluffy, tender, and easy to make from scratch. Perfect for a lazy weekend breakfast that tastes better than boxed mixes.
Ingredients
- 2 cups all-purpose flour
- 2 teaspoons baking powder
- 1/2 teaspoon baking soda
- 1 teaspoon salt
- 2 tablespoons granulated sugar
- 2 large eggs, room temperature
- 1 3/4 cups buttermilk
- 3 tablespoons unsalted butter, melted
- 2 teaspoons vanilla extract
- Butter or oil for greasing the pan
- Maple syrup for serving
Instructions
- In a large bowl, whisk together the flour, baking powder, baking soda, salt, and sugar until well combined.
- In a separate large bowl or measuring jug, whisk the eggs until lightly beaten. Add the buttermilk, melted butter, and vanilla extract, whisking until smooth and slightly frothy.
- Pour the wet ingredients into the dry ingredients. Gently stir with a whisk or spatula until just combined. Stop as soon as the last streak of flour disappears; the batter should remain lumpy. Do not overmix.
- Let the batter rest for 5 minutes while you heat the pan.
- Heat a non-stick skillet or griddle over medium heat. Test readiness by flicking water drops onto the surface; they should sizzle and evaporate. Lightly grease with butter or oil.
- Pour about 1/4 cup of batter onto the hot pan for each pancake, leaving space between them. Cook for 2-3 minutes until bubbles form on the surface and pop, leaving holes that don’t fill back in.
- Flip the pancakes gently and cook for another 1-2 minutes until golden brown on the second side.
- Serve immediately with warm butter and maple syrup. Keep cooked pancakes warm on a wire rack in a 200°F oven if serving a crowd.
Notes
Do not overmix the batter; lumps are good and ensure fluffy pancakes. Ensure baking powder is fresh for proper rising. Use room temperature eggs for better incorporation. If you don’t have buttermilk, substitute with milk plus 1 tablespoon of vinegar or lemon juice per cup, let sit for 5-10 minutes.
- Prep Time: 5 minutes
- Cook Time: 15 minutes
- Category: Breakfast
- Cuisine: American
Nutrition
- Serving Size: 2 pancakes
- Calories: 320
- Sugar: 8
- Sodium: 450
- Fat: 12
- Saturated Fat: 7
- Carbohydrates: 45
- Fiber: 2
- Protein: 8
Keywords: pancakes, buttermilk pancakes, vanilla pancakes, fluffy pancakes, weekend breakfast, easy breakfast recipe, from scratch pancakes