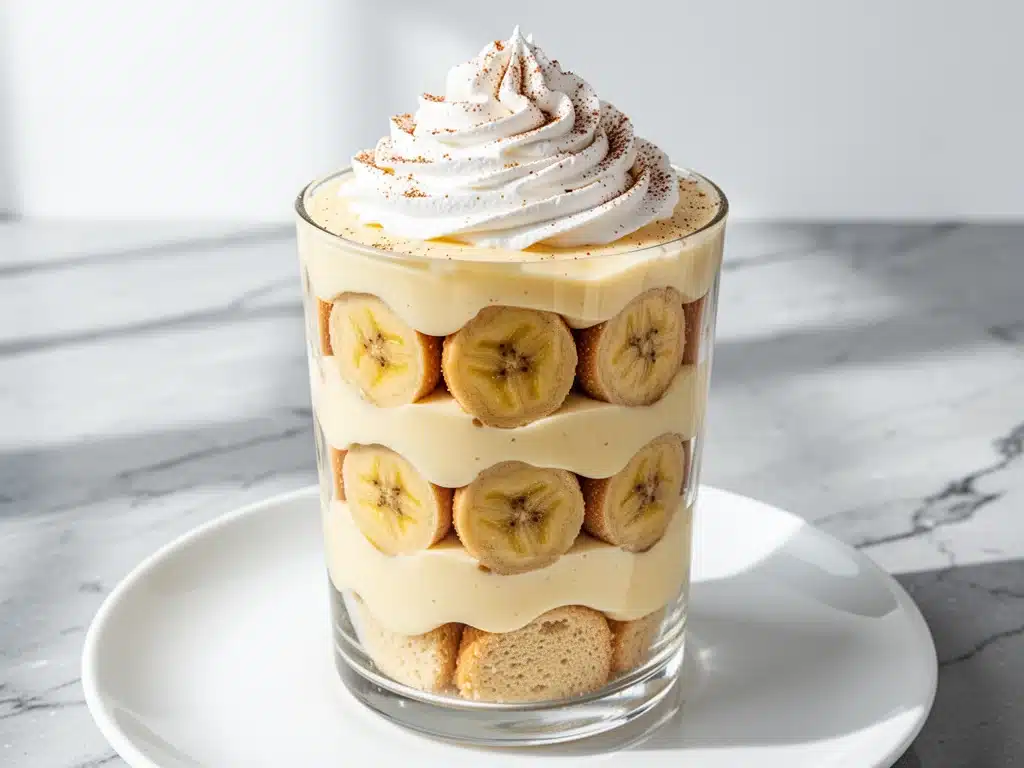
There is a specific kind of silence that falls over a room when you pull a perfectly layered banana pudding out of the fridge. It’s not just any silence—it’s the sound of people realizing they’re about to be disappointed if they don’t get their share immediately. I’ve seen grown men fight over the last scoop. I’ve seen toddlers negotiate for “just one more bite” with the intensity of a seasoned diplomat. And I’ve seen friends promise they’ll stop asking for the recipe, only to show up at my door three days later with an empty serving dish and an apologetic smile.
That’s the power of classic Southern banana pudding. It’s not just dessert; it’s a cultural event. It’s the dish that gets requested at family reunions, potlucks, and Sunday dinners. It’s the comfort food that tastes like a hug from your grandmother, even if your grandmother never actually taught you how to make it right (she just threw it together and hoped for the best).
For years, I bought the instant kind from the box. You know the one—the one that comes with a packet of instant pudding mix and a tub of whipped topping. It’s fine. It’s easy. It’s convenient. But it’s not good. It lacks soul. It lacks the creamy, custard-like richness that makes your heart skip a beat. The first time I made banana pudding from scratch—using real vanilla custard, fresh bananas, and those crunchy Nilla wafers—I realized I had been eating a shadow of the real thing my entire life.
This recipe is the result of years of trial, error, and serious banana consumption. I’ve tweaked the custard thickness, experimented with different wafer brands, and debated the merits of meringue vs. whipped cream (spoiler: whipped cream wins for stability and ease). What I’ve landed on is the definitive version. It’s creamy, it’s sweet but not cloying, and it has that perfect balance of soft bananas and crisp cookies. If you want to be the hero of your next gathering, this is the recipe you need. It’s classic Southern banana pudding that everyone always asks for, and now, it’s going to be yours too.
Why You’ll Love This Recipe
Let’s be honest: making pudding from scratch sounds intimidating. It sounds like a lot of work, a lot of dishes, and a lot of potential for disaster. But here’s the thing—this recipe is actually easier than you think. And the payoff? Incredible.
It’s Better Than Store-Bought (Obviously) — Instant pudding is like watching a movie trailer; this pudding is the full feature film. The custard is rich, velvety, and deeply vanilla-forward. It coats your spoon in a way that instant mix just can’t replicate. Once you taste the real thing, you’ll never go back.
It’s Make-Ahead Friendly — This is crucial. Banana pudding needs time to set. The flavors meld together overnight, the bananas soften just enough, and the wafers absorb the custard without turning into mush. I make this on Sunday for a Wednesday dinner party. It’s less work on the day of because it practically assembles itself.
It’s Versatile — Sure, the classic version is king. But once you have the base recipe down, you can add toasted pecans, a splash of bourbon, or even a layer of cheesecake filling. It’s a blank canvas for your creativity. I’ve made this with chocolate pudding mix for a twist, and it’s amazing. But we’re starting with the classic.
It’s a Crowd-Pleaser — I’ve served this to picky eaters, health-conscious friends, and dessert lovers who swear they don’t have room for sweets. They all come back for seconds. It’s universally loved because it hits all the right notes: sweet, creamy, fruity, and crunchy.
It’s Budget-Friendly — Bananas are cheap. Vanilla wafers are cheap. Milk and eggs are staples. You can make a huge, impressive dessert for under $10. That’s a steal for something that looks and tastes like it came from a high-end bakery.
This is my go-to when I want to impress without stressing. It’s reliable, delicious, and always a hit. If you’re looking for a dessert that feels special but doesn’t require a degree in pastry arts, this is it.
Ingredients You’ll Need
Before we dive in, let’s talk about what you need. This recipe uses simple, accessible ingredients. You don’t need anything fancy or hard to find. Here’s the breakdown:
For the Vanilla Custard
Whole milk (4 cups / 960ml) — Use full-fat milk. Low-fat or skim milk will result in a thin, watery custard. You want richness. I buy the gallon jugs from the store; no need for artisanal milk here.
Granulated sugar (¾ cup / 150g) — This provides sweetness and helps thicken the custard. Don’t reduce the sugar too much, or you’ll lose the texture. If you’re watching sugar, you can try reducing by 2 tablespoons, but it might affect the set.
All-purpose flour (½ cup / 65g) — This is the thickener. Unlike cornstarch, flour gives the custard a more traditional, slightly denser texture that holds up well against the bananas. I use Gold Medal all-purpose flour.
Salt (½ teaspoon) — Essential for balancing the sweetness. Don’t skip it.
Unsalted butter (2 tablespoons / 30g) — Adds richness and a silky mouthfeel. Stir it in at the end, off the heat.
Vanilla extract (2 teaspoons) — Use pure vanilla extract, not imitation. The vanilla is the star flavor here. I love Nielsen-Massey vanilla; it’s pricey but worth it for desserts like this.
Egg yolks (4 large / about 80g) — These provide structure and richness. We’re using yolks only for that custard-like texture. Save the whites for banana oatmeal cookies or meringues if you want to be zero-waste.
For the Assembly
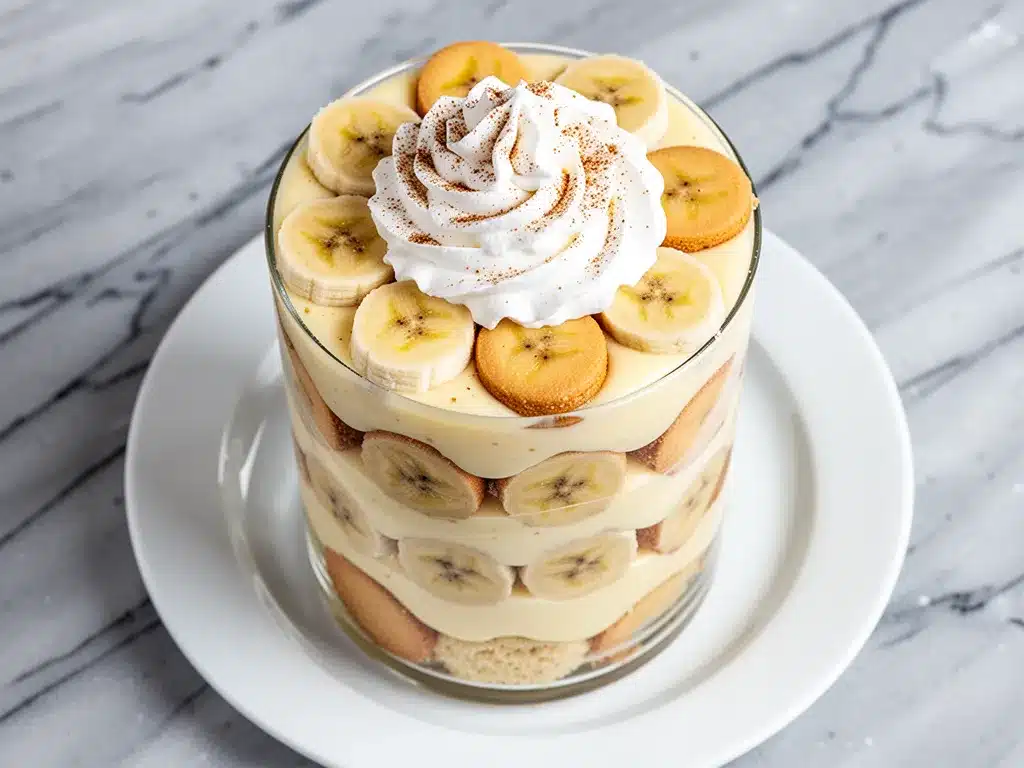
Ripe bananas (4-5 medium / about 600g) — This is critical. The bananas must be ripe but not brown. They should yield slightly to pressure but still hold their shape. Overripe bananas will turn mushy and black in the pudding. I buy bananas that are mostly yellow with just a few brown spots.
Nilla Wafers (1 package / 250g) — The classic choice. I know some people argue for other wafers, but Nilla Wafers have the perfect sweetness and texture for this. Don’t substitute with vanilla ice cream wafers or sugar cookies; the texture will be wrong.
For the Topping (Optional but Recommended)
Heavy whipping cream (1 cup / 240ml) — For the whipped cream topping. Use cold cream and a cold bowl for best results.
Confectioners’ sugar (2 tablespoons / 15g) — Sweetens the whipped cream.
Vanilla extract (1 teaspoon) — For flavor.
Quick Tip: If you’re in a hurry, you can skip the homemade whipped cream and use Cool Whip. It’s not as good, but it’s easier. But I urge you to try homemade at least once. It’s just as easy and tastes 100x better.
Equipment Needed
You don’t need a lot of fancy gear for this. Here’s what I use:
Medium saucepan — I use a 3-quart stainless steel saucepan. It needs to be heavy-bottomed to prevent scorching. Thin pans will burn the custard.
Whisk — A good wire whisk is essential. You need to whisk constantly to avoid lumps. I have a French wire whisk that’s perfect for this.
Mixing bowl — A medium bowl for tempering the eggs. Glass or metal works best.
Spatula — A silicone spatula for scraping the custard from the pan. You want every bit of that creamy goodness.
9×13 inch baking dish or trifle bowl — A glass trifle bowl looks beautiful and lets you see the layers. But a 9×13 dish works just as well for serving. I use a Pyrex 9×13 dish because it’s sturdy and easy to store.
Knife — For slicing bananas. A serrated knife works well for softer bananas.
Mixer — Hand mixer or stand mixer for the whipped cream. If you’re doing it by hand, you’ll need strong arms.
Measuring cups and spoons — Standard stuff. Accuracy matters here, especially with the flour and sugar.
How to Make It: Step-by-Step
Alright, let’s make this! I’m walking you through exactly how I do it. It’s methodical, but not difficult.
Step 1: Make the Custard Base (15 minutes)
In your medium saucepan, whisk together the sugar, flour, and salt. This ensures the flour is evenly distributed and prevents lumps. Gradually whisk in the milk, a little at a time, until the mixture is smooth. Place the saucepan over medium heat and whisk constantly. This is the most important step. Do not walk away. Do not check your phone. Whisk constantly.
The mixture will start to thicken after about 5 minutes. It will look like thick pudding. Keep whisking for another 3-4 minutes until it’s very thick and starts to bubble gently at the edges. This cooking time is crucial to get rid of the raw flour taste.
Step 2: Temper the Eggs (2 minutes)
While the custard is cooking, whisk the egg yolks in a separate bowl. Once the custard is thick, remove the saucepan from the heat. Slowly pour about 1 cup of the hot custard into the egg yolks while whisking rapidly. This is called tempering. It raises the temperature of the eggs gradually so they don’t scramble when added back to the pot. If you rush this, you’ll have egg drop soup.
Step 3: Finish the Custard (2 minutes)
Pour the tempered egg mixture back into the saucepan with the rest of the custard. Return the pan to medium-low heat and whisk constantly for another 1-2 minutes. The custard will thicken even more. Remove from heat immediately.
Stir in the butter and vanilla extract. The butter will melt into the custard, making it glossy and rich. Pour the custard into a clean bowl and cover it directly with plastic wrap (touching the surface of the custard) to prevent a skin from forming. Let it cool to room temperature, then refrigerate for at least 1 hour. This step is non-negotiable. Cold custard is easier to spread and doesn’t melt the bananas.
Step 4: Prep the Bananas and Whipped Cream (10 minutes)
Peel and slice the bananas into ¼-inch rounds. Toss them with a teaspoon of lemon juice if you’re worried about browning (though if you assemble quickly, it’s usually fine). Set aside.
If you’re making whipped cream, pour the cold heavy cream into a chilled bowl. Add the confectioners’ sugar and vanilla. Beat with a hand mixer or stand mixer on medium-high speed until stiff peaks form. Be careful not to overbeat, or you’ll get butter. Set aside.
Step 5: Assemble the Pudding (10 minutes)
Now for the fun part. Take your 9×13 dish or trifle bowl. Start with a layer of Nilla Wafers. You’ll need about 1/3 of the package for the bottom layer. Don’t worry if they break; it’s part of the charm.
Spread half of the cooled custard over the wafers. Then, arrange half of the banana slices over the custard. Repeat the layers: another layer of wafers (1/3 of the package), the rest of the custard, and the rest of the bananas. Top with the final layer of wafers.
If you’re using whipped cream, spread it evenly over the top. If you’re skipping it, you can sprinkle a few extra wafers or crushed Nilla Wafers on top for crunch.
Step 6: Chill and Serve (Overnight)
Cover the dish tightly with plastic wrap or a lid. Refrigerate for at least 4 hours, but ideally overnight. This allows the flavors to meld and the wafers to soften to the perfect texture. When you’re ready to serve, slice with a sharp knife or scoop with a spoon. Enjoy!
Expert Tips & Tricks
Here’s everything I’ve learned from making this dozens of times. These tips will save you from my mistakes.
Don’t Skip the Temper — I’ve made scrambled egg pudding before. It’s not pretty. Always temper your eggs. Slowly add the hot custard to the eggs while whisking like your life depends on it.
Cool the Custard Completely — If you assemble the pudding with warm custard, the bananas will brown and the wafers will disintegrate. Patience is key. Let it cool in the fridge.
Use Ripe (But Not Rotten) Bananas — I’ve used bananas that were too green, and the pudding lacked flavor. I’ve used bananas that were too brown, and the pudding turned gray. Aim for yellow with a few brown spots. Perfect sweetness and texture.
Layer Generously — Don’t be stingy with the custard or bananas. This is a rich dessert. You want every bite to have all three components: wafer, custard, banana.
Toast the Wafers (Optional) — For extra crunch, you can briefly toast the Nilla Wafers in the oven at 350°F for 3-5 minutes before assembling. Let them cool completely, then use. It adds a nice depth of flavor.
Store Properly — Banana pudding must be stored in the fridge. It doesn’t freeze well because the texture changes. Keep it covered tightly to absorb odors from the fridge.
Variations & Substitutions
Once you’ve nailed the basic version, here’s how you can mix it up. I’ve tried all of these.
Bourbon Banana Pudding — Add 2 tablespoons of bourbon to the custard while it’s cooling. The alcohol cooks out slightly, leaving a warm, complex flavor. My husband loves this version.
Pecan Banana Pudding — Sprinkle a layer of toasted, chopped pecans between the layers. Adds crunch and nuttiness. Great for fall.
Chocolate Banana Pudding — Replace the vanilla custard with chocolate pudding. Yes, you can make chocolate custard from scratch, or use a high-quality instant pudding mix. It’s decadent and different.
Lighter Version — Use half-and-half instead of whole milk, and reduce the sugar by ¼ cup. The texture will be slightly lighter, but still delicious. I make this when I’m trying to be “healthy.”
No-Bake Alternative — If you don’t want to cook custard, you can use instant vanilla pudding mix mixed with cold milk and folded into whipped topping. It’s easier but less authentic. I recommend the custard method for the best results.
Dairy-Free — Use coconut milk instead of dairy milk, and dairy-free butter. The custard will be thinner, so you may need to use more flour. Top with coconut whipped cream.
Serving & Storage
How to Serve: I usually serve this straight from the dish at the dinner table. It looks rustic and inviting. But here are other ways I’ve enjoyed it:
- In Glasses: For individual servings, layer the ingredients in mason jars or dessert glasses. Looks fancy and portion-controlled.
- With Coffee: This pairs beautifully with a hot cup of coffee. The sweetness balances the bitterness.
- With Fruit Salad: If you want a lighter dessert, serve a small portion alongside a fresh fruit salad.
Storage Instructions:
Refrigerator: Store in an airtight container or covered tightly with plastic wrap for up to 3 days. The wafers will continue to soften, so it’s best eaten within 2 days for optimal texture.
Freezing: I don’t recommend freezing banana pudding. The bananas become mushy, and the custard separates upon thawing. It’s just not worth it. Make it fresh.
Pro Tip: If you’re making this for a party, assemble it the night before. It saves stress and tastes better. Just bring it to the party in the dish you made it in.
Nutrition Information
I’m not a nutritionist, but here’s the breakdown if you’re tracking. This is a rich dessert, so enjoy in moderation.
Per Serving (based on 12 servings):
| Nutrient | Amount |
|---|---|
| Calories | 320 |
| Protein | 5g |
| Carbs | 45g |
| Fiber | 2g |
| Sugar | 28g |
| Fat | 14g |
| Saturated Fat | 7g |
| Cholesterol | 85mg |
| Sodium | 180mg |
What’s Good: It provides some calcium from the milk and cheese (if used). Bananas add potassium. It’s a comforting treat.
What to Know: Higher in sugar and calories due to the custard, sugar, and whipped cream. Contains dairy and gluten. If you’re watching your intake, stick to one small serving.
My Take: Look, this is classic Southern banana pudding. It’s sweet, rich, and indulgent. It’s not a diet food. But it’s homemade, which means you control the ingredients. When I want to make it lighter, I skip the whipped cream and use less sugar. But usually? I just enjoy a small slice and savor it.
Final Thoughts
So that’s my classic Southern banana pudding! I’ve probably talked your ear off at this point, but when you make a recipe this often, you have a lot to say about it.
This has saved family gatherings more times than I can count. It’s my answer to “what’s for dessert” when I want something that feels special but doesn’t require a lot of effort. My kids are happy, my husband’s happy, and I’m happy because I’m not stressed about cooking.
Make it yours! Try different add-ins, swap in your favorite cookies, or adjust the sweetness to your liking. The best recipes are the ones you adapt to your family’s tastes. If you want to try other easy desserts, check out my no-bake peanut butter granola bites for a quicker snack.
If you make this, drop a comment and let me know what you think! I love hearing how recipes turn out in your kitchen. And if something doesn’t work, tell me that too—I’m here to help troubleshoot.
Happy cooking! And I hope your kitchen smells half as good as mine does right now.
Frequently Asked Questions
Can I use instant pudding mix instead of making custard?
You can, but the texture and flavor won’t be the same. Instant pudding is lighter and less rich. If you’re in a pinch, you can use instant pudding mixed with cold milk, folded into whipped topping. But for the authentic Southern experience, the cooked custard is worth the extra 20 minutes.
Why did my bananas turn brown in the pudding?
Bananas oxidize when exposed to air. To prevent this, toss the sliced bananas with a little lemon juice or pineapple juice before layering. Also, make sure you assemble the pudding right before refrigerating. Don’t let the exposed bananas sit out for long.
Can I make this ahead of time?
Yes! This is actually best made ahead. Assemble it the night before and refrigerate overnight. The flavors meld together, and the wafers soften to the perfect texture. It will keep in the fridge for up to 3 days.
What kind of bananas should I use?
Use ripe but firm bananas. They should be yellow with a few brown spots. Avoid bananas that are too green (not sweet enough) or too brown/mushy (will disintegrate). Cavendish bananas are the standard, but any ripe banana will work.
Can I freeze banana pudding?
I don’t recommend it. The bananas become mushy, and the custard can separate. It’s best enjoyed fresh from the fridge. If you have leftovers, store them in the fridge for up to 3 days.
Do I have to use Nilla Wafers?
Nilla Wafers are the traditional choice, but you can use other vanilla wafers or even vanilla ice cream wafers. Just be aware that the sweetness and texture may vary. I stick with Nilla Wafers because they’re consistent and widely available.
How do I serve individual portions?
You can assemble the pudding in individual mason jars or dessert glasses. Layer the ingredients in the same way, starting with wafers, then custard, then bananas. This looks beautiful for parties and makes portion control easier.
Pin This Recipe!
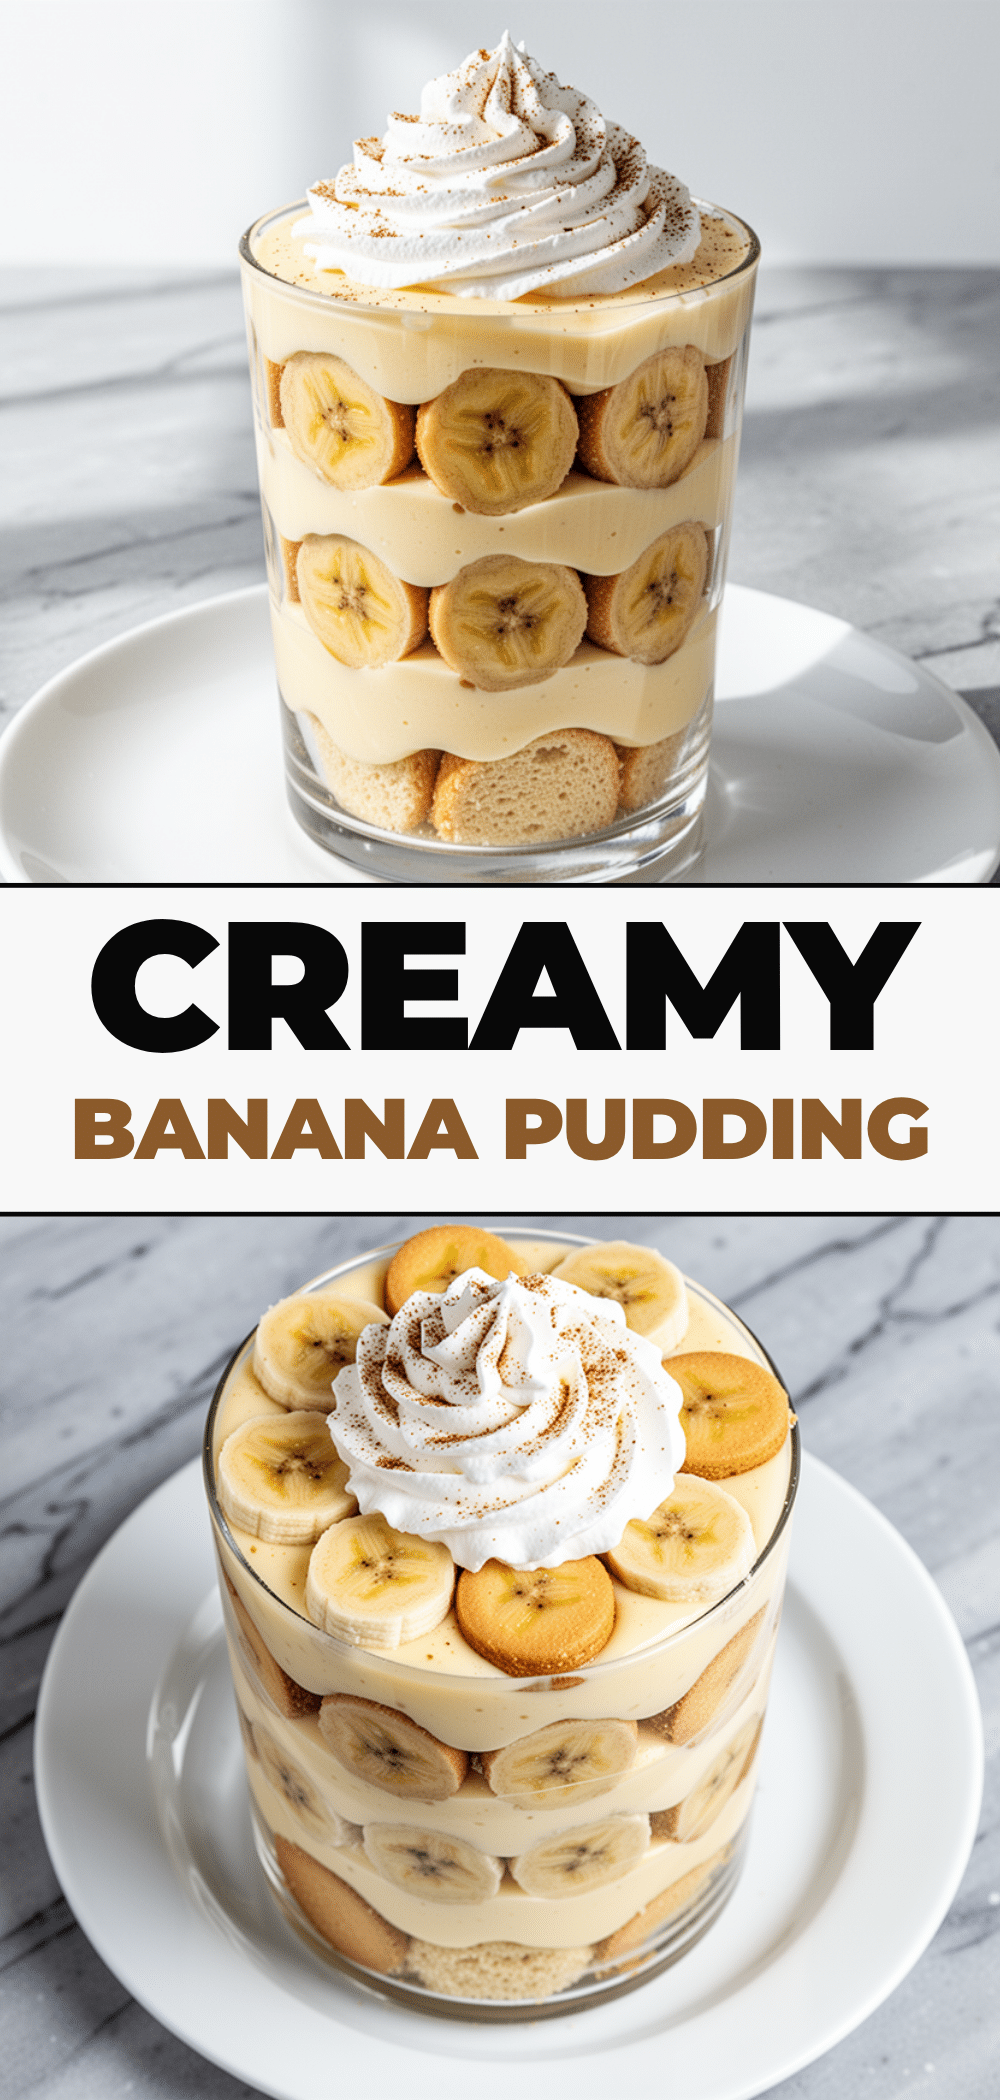
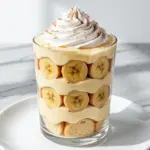
Classic Southern Banana Pudding: The Best Easy Recipe
- Total Time: 4 hours 45 minutes
- Yield: 12 servings 1x
Description
A rich, creamy, and authentic Southern banana pudding made from scratch with a homemade vanilla custard, ripe bananas, and Nilla Wafers. This make-ahead dessert is a crowd-pleaser that combines velvety custard with crunchy cookies and fresh fruit.
Ingredients
- 4 cups whole milk
- 3/4 cup granulated sugar
- 1/2 cup all-purpose flour
- 1/2 teaspoon salt
- 2 tablespoons unsalted butter
- 2 teaspoons pure vanilla extract
- 4 large egg yolks
- 4–5 medium ripe bananas
- 1 teaspoon lemon juice (optional)
- 1 package (250g) Nilla Wafers
- 1 cup heavy whipping cream
- 2 tablespoons confectioners’ sugar
- 1 teaspoon vanilla extract
Instructions
- In a medium saucepan, whisk together sugar, flour, and salt. Gradually whisk in milk until smooth.
- Place saucepan over medium heat and whisk constantly for 5-7 minutes until the mixture thickens and begins to bubble gently at the edges.
- In a separate bowl, whisk egg yolks. Slowly temper the eggs by whisking in about 1 cup of the hot custard.
- Pour the tempered egg mixture back into the saucepan. Return to medium-low heat and whisk constantly for 1-2 minutes until thickened. Remove from heat.
- Stir in butter and 2 teaspoons vanilla extract. Pour custard into a bowl, cover directly with plastic wrap, and refrigerate for at least 1 hour until completely cool.
- Slice bananas into 1/4-inch rounds. Toss with lemon juice if desired to prevent browning.
- If making whipped cream, beat cold heavy cream, confectioners’ sugar, and 1 teaspoon vanilla until stiff peaks form.
- To assemble, place a layer of Nilla Wafers in a 9×13 inch dish or trifle bowl. Spread half the cooled custard, then half the bananas. Repeat layers. Top with remaining wafers.
- Spread whipped cream over the top if using. Cover tightly and refrigerate for at least 4 hours, ideally overnight, to allow flavors to meld and wafers to soften.
- Serve chilled.
Notes
Use ripe but firm bananas (yellow with a few brown spots) to avoid mushiness. Ensure the custard is completely cooled before assembling to prevent the bananas from browning and the wafers from disintegrating. This pudding is best made ahead and refrigerated overnight. It does not freeze well.
- Prep Time: 30 minutes
- Cook Time: 15 minutes
- Category: Dessert
- Cuisine: Southern
Nutrition
- Serving Size: 1 slice or scoop
- Calories: 320
- Sugar: 28
- Sodium: 180
- Fat: 14
- Saturated Fat: 7
- Carbohydrates: 45
- Fiber: 2
- Protein: 5
Keywords: banana pudding, southern dessert, vanilla custard, Nilla wafers, homemade pudding, make-ahead dessert, comfort food