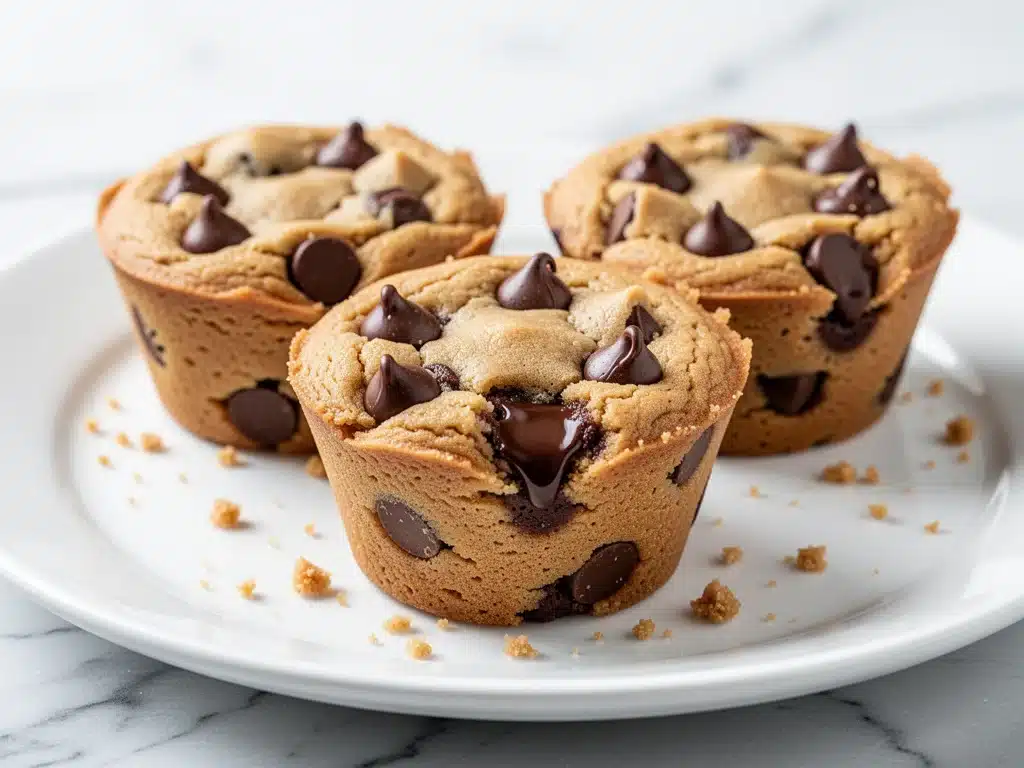
Last Tuesday night, I was staring into the fridge like it owed me money. It was 8:30 PM, my kids were arguing over who got the last slice of pizza (spoiler: nobody won), and I had exactly zero energy for anything that required chopping, sautéing, or actually thinking. I needed dessert. But not just any dessert. I needed something sweet, something that tasted like a cheat day, but ideally something that didn’t involve pulling out every mixing bowl in the kitchen or waiting forty minutes for the oven to preheat.
I spotted a jar of peanut butter, a bag of chocolate chips, and a box of oats. Three things. Three things that, combined, should have been a disaster. But I threw them together, pressed them into a muffin tin, and popped them in the oven for ten minutes. When they came out, golden and gooey, my kids stopped fighting long enough to ask for another. That was the moment I knew I had found the holy grail of lazy desserts.
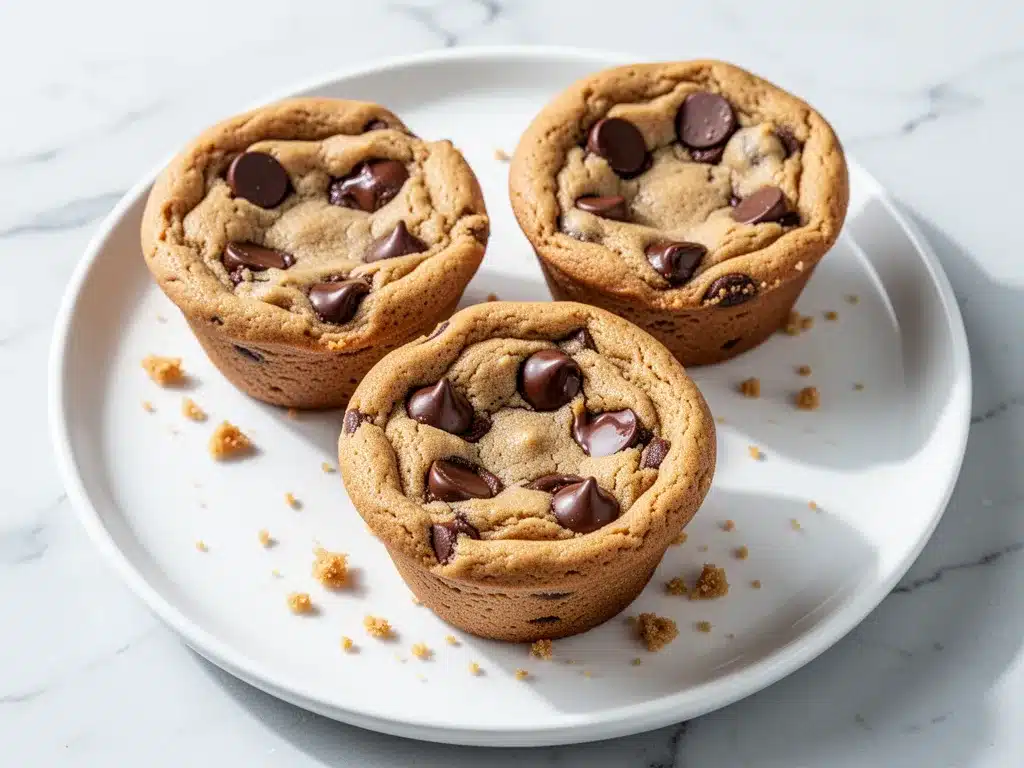
These peanut butter chocolate chip cookie cups are not just easy; they are a lifesaver. I’ve made them for school bake sales, last-minute dinner party appetizers (yes, savory-sweet works!), and quiet nights where I just needed a hug in edible form. They’re crispy on the edges, chewy in the middle, and packed with that salty-sweet combo that keeps us all coming back for more. If you’re tired of complicated recipes that promise “easy” but deliver “stress,” this is your new best friend. It’s the kind of recipe you’ll make on repeat because it just works. Every. Single. Time.
Why You’ll Love This Recipe
Look, I’m a huge fan of baking. I really am. But sometimes, I just want sugar without the 45-minute cleanup. These cookie cups check every box. Here’s why they’ve officially replaced my standard chocolate chip cookies in our rotation:
- Stupid Simple Ingredients — Seriously, you probably have all three in your pantry right now. Peanut butter, oats, chocolate chips. No flour? No problem. No eggs? No drama. I’ve made these when I was too tired to drive to the store for one weird ingredient.
- Lightning Fast — From fridge to finished in about 15 minutes (10 minutes active, 5 minutes baking). That’s faster than ordering takeout, and honestly, these taste better than most delivery cookies.
- No Mixer Required — You don’t need a stand mixer, a hand mixer, or even a whisk. A fork or your hands will do. I’ve mixed this dough with a spoon while holding my baby. It’s that easy.
- Texture Perfection — They aren’t cakey. They aren’t dry. They hit that sweet spot between a granola bar and a soft-baked cookie. The peanut butter keeps them moist, and the oats give them that satisfying chew.
- Perfectly Portable — Because they’re baked in muffin tins, they hold their shape. No crumbling on the way to school, no mess in the lunchbox. My kids call them “cookie bombs,” and they’re right.
- Dietary Friendly-ish — They’re naturally gluten-free (if you use certified GF oats) and grain-free if you swap oats for crushed nuts. I use them for my gluten-sensitive neighbor’s kids, and nobody can tell the difference.
This is my go-to when I need to impress someone with minimal effort. Or when I need to distract my kids for five minutes so I can finish a work email. It’s reliable, delicious, and genuinely good for you (well, mostly). Just don’t blame me when you eat the whole batch in one sitting.
Ingredients You’ll Need
Here’s the best part: this recipe is so simple that the quality of your ingredients actually matters. You can’t hide bad peanut butter behind vanilla extract and flour here. So let’s talk about what makes these peanut butter chocolate chip cookie cups sing.
The Base
Smooth Peanut Butter (1 cup / 250g) — This is non-negotiable. I use natural creamy peanut butter where the oil rises to the top, and I stir it in until it’s uniform. Natural peanut butter gives the best flavor, but if you’re in a rush, regular Jif or Skippy works fine. Just avoid “no-stir” varieties with hydrogenated oils if you can help it—they can make the texture a bit waxy. You want that rich, nutty punch.
Old-Fashioned Rolled Oats (1 cup / 80g) — Do not use instant oats. Instant oats are too fine and will turn these into mush. You need the chew. If you’re in a pinch, you can pulse quick oats in a blender, but old-fashioned is best. I buy the big canister because I use them for everything from banana oatmeal cookies to smoothie bowls.
Dark Chocolate Chips (½ cup / 85g) — I’m partial to semi-sweet or dark chocolate chips because they cut through the richness of the peanut butter. Milk chocolate is too sweet for my taste, but if you have kids, go for milk chocolate. It’s your call. I also throw in a few chopped walnuts sometimes for crunch, but chips are classic.
The Binders & Flavor
Vanilla Extract (1 teaspoon) — It’s a tiny amount, but it adds that “bakery” smell. Don’t skip it. If you’re out, almond extract works too, but vanilla is safer.
Salt (½ teaspoon) — Even though peanut butter is salty, you need a pinch of salt to balance the sugar in the chocolate. It wakes up the flavor. I use fine sea salt.
Honey or Maple Syrup (2 tablespoons) — This is the secret weapon. It adds moisture and helps bind the oats to the peanut butter. It also gives a deeper sweetness than just sugar. I use honey because it’s what I always have, but maple syrup adds a nice rustic flavor.
Optional Add-ins — I love sprinkling a few extra chocolate chips on top before baking. It makes them look fancy. You can also add a pinch of cinnamon if you’re feeling cozy, or a dash of espresso powder to intensify the chocolate. But honestly? The three main ingredients are enough.
Substitutions
Almond Butter? Yes! Swap peanut butter for almond butter 1:1. It’s slightly sweeter and less salty, so you might want to add an extra pinch of salt.
Sunflower Butter? Works for nut-free schools, but the flavor is more earthy. Still delicious, just different.
Coconut Oil? If your peanut butter is super firm, microwave it for 10 seconds to soften it. You want it spreadable, not a solid block.
Equipment Needed
You don’t need fancy gadgets for this. Here’s what I actually use in my chaotic kitchen:
Muffin Tin — A standard 12-cup muffin tin. I prefer the metal ones because they bake evenly. Silicone tins work too, but they can be floppy when you’re trying to press the dough in.
Parchment Paper Cups or Liners — This is optional but highly recommended. It makes cleanup instant. If you’re lazy like me, you can just grease the tin well with coconut oil or cooking spray, but the liners save you from scrubbing sticky peanut butter residue later.
Mixing Bowl — Any medium bowl. I usually just use the same bowl I’ll eat out of if I’m being extra lazy.
Measuring Cups — Standard 1-cup and ½-cup measures. A tablespoon works for the honey.
Fork or Hands — To mix and press. I use my hands because it’s faster and I don’t want to wash another utensil.
Oven — Preheated to 350°F (175°C). That’s it.
How to Make It: Step-by-Step
Alright, let’s make these peanut butter chocolate chip cookie cups! I’m walking you through exactly how I do it, including the little tricks I’ve picked up so you don’t end up with dry rocks or liquid batter.
Step 1: Prep Your Oven and Pan (2 minutes)
Preheat your oven to 350°F (175°C). Line a standard 12-cup muffin tin with parchment paper liners. If you don’t have liners, lightly grease the cups with non-stick spray or butter. Trust me, peanut butter sticks. Do not skip this step.
Step 2: Mix the Wet Ingredients (1 minute)
In your mixing bowl, combine the peanut butter and honey. If the peanut butter is stiff, microwave it for 15-20 seconds to soften it. Stir them together until smooth. This creates a sticky, gooey base. Add the vanilla extract and salt, and stir again.
Step 3: Add the Oats and Chocolate (2 minutes)
Pour in the rolled oats and chocolate chips. Mix until everything is evenly coated. The dough should be thick and sticky. If it feels too dry and crumbly, add another teaspoon of honey or a splash of milk. If it’s too wet, add a sprinkle more oats. You want a consistency that holds together when squeezed.
Step 4: Press Into the Muffin Tin (3 minutes)
This is the fun part. Take a tablespoon of dough (about 1.5 tablespoons per cup) and drop it into each lined muffin cup. Use your fingers or the back of a spoon to press the dough down, creating a little cup shape. Make sure the edges go up the sides a bit. You want a thick base and slightly thinner walls so they bake evenly.
Pro Tip: Don’t overfill them. They don’t rise much, so if you pack them too tight, they’ll overflow. Leave a little space at the top.
Step 5: Bake (10-12 minutes)
Place the muffin tin in the preheated oven. Bake for 10-12 minutes. You want the edges to be golden brown and the centers to look set but still slightly soft. They will firm up as they cool. If you overbake them, they’ll be dry. Pull them out when they just look done.
Step 6: Cool and Enjoy (5 minutes)
Let them cool in the pan for 5 minutes. They are very fragile when hot. Then transfer them to a wire rack to cool completely. This is the hardest part—waiting. But once they’re cool, they’re perfectly chewy and ready to devour.
Total Time: About 15 minutes (5 prep, 10 bake).
Expert Tips & Tricks
Here’s everything I’ve learned from making these dozens of times. These tips will save you from my mistakes.
Stir Your Natural Peanut Butter Well
If you use natural peanut butter, the oil separates. If you don’t stir it in thoroughly, your cookie cups will have oily patches and dry spots. Stir it until it’s one uniform color and texture. It takes 30 seconds, but it changes everything.
Don’t Skimp on the Salt
Peanut butter is salty, but chocolate is sweet. The salt in the dough balances the sweetness. I’ve made these without salt once, and they tasted cloying. A little salt goes a long way.
Cool Completely
I know, I know. You want to eat them now. But they are gummy when hot. Letting them cool allows the peanut butter and oats to set. If you eat them hot, you’re eating a hot, sticky mess. Wait the 5 minutes.
Customize the Chocolate
I love using a mix of chocolate chips and chopped chocolate bars. It gives you those gooey chocolate pools. Or try white chocolate chips for a different flavor profile. My kids go crazy for the white chocolate version.
Storage is Key
These keep best in an airtight container at room temperature for up to 5 days. They actually get chewier after a day or two. Don’t refrigerate them unless you live in a hot climate—they’ll get hard in the fridge.
Variations & Substitutions
Once you’ve nailed the basic version, here’s how you can mix it up. I’ve tried all of these.
Double Chocolate
Use dark chocolate chips and add 2 tablespoons of cocoa powder to the dry mix. It’s intense and rich. Perfect for chocolate lovers.
Coconut Lover’s
Add ½ cup of shredded coconut to the mix. It adds a nice tropical flavor and chew. Great with white chocolate chips.
PB & Jelly
After pressing the dough into the cups, add a teaspoon of raspberry or strawberry jam on top, then sprinkle with chocolate chips. The jam bakes into a sweet layer. It’s like a peanut butter and jelly sandwich in cup form.
Protein Boost
Add a scoop of vanilla protein powder. It will make the dough drier, so you may need to add an extra tablespoon of honey or milk. It’s great for a post-workout snack.
Nut-Free
Swap peanut butter for sunflower seed butter or soy nut butter. Use oat-based chocolate chips to ensure they’re nut-free. Perfect for school-safe environments.
Gluten-Free
Simply use certified gluten-free rolled oats. The rest of the ingredients are naturally gluten-free. These are a safe bet for celiac friends.
Serving & Storage
How to Serve
I usually serve these straight from the tin at movie nights or packed in lunchboxes. They’re sturdy enough to handle being tossed around. I also love serving them with a cold glass of milk or a scoop of vanilla ice cream. The contrast of the warm cookie and cold ice cream is chef’s kiss.
Side Dishes:
These are standalone desserts, but they pair well with coffee or tea. If you’re serving them at a party, put them on a platter with some fresh fruit to balance the sweetness.
Storage Instructions
Room Temperature:
Store in an airtight container for up to 5 days. They stay soft and chewy. If your kitchen is humid, keep them in the fridge.
Refrigerator:
If it’s hot outside, store them in the fridge for up to 2 weeks. Let them come to room temperature before eating for the best texture.
Freezer:
Yes, you can freeze these! Place them in a freezer-safe bag for up to 3 months. Thaw at room temperature for 15 minutes. They freeze surprisingly well because of the peanut butter content.
Pro Tip:
If you’re meal prepping, make a double batch. They keep so well that I usually have a stash in the freezer for unexpected guests or late-night cravings.
Nutrition Information
I’m not a nutritionist, but here’s the breakdown if you’re tracking. Keep in mind that these are treats, so enjoy them in moderation.
Per Serving (based on 12 cookie cups):
– Calories: 180
– Protein: 6g
– Carbs: 18g
– Fiber: 2g
– Sugar: 10g
– Fat: 10g
– Saturated Fat: 2g
– Sodium: 120mg
What’s Good:
– Good source of healthy fats from peanut butter
– Protein from oats and nuts
– No refined sugar (if using natural honey)
– Gluten-free option available
What to Know:
– Calorie-dense due to nuts and chocolate
– High in fat (mostly healthy fats)
– Check labels for allergens if using processed ingredients
My Take:
“Look, these are cookies. They’re peanut butter and chocolate. They’re not kale salad. But they’re made with whole food ingredients, no flour, and no refined sugar. Compared to a store-bought cookie, they’re way better. When I make these, I feel good about feeding them to my kids. It’s a guilt-free indulgence.”
Final Thoughts
So that’s my go-to peanut butter chocolate chip cookie cups! I’ve probably talked your ear off at this point, but when you make a recipe this often, you have a lot to say about it.
This has saved dinner time more times than I can count. It’s my answer to “what’s for dessert” when I’m tired, don’t want to bake a cake, and still want something that tastes really good. My kids are happy, my husband’s happy, and I’m happy because I’m not stressed about cooking.
Make it yours! Try different add-ins, swap in your favorite nuts, adjust the sweetness. The best recipes are the ones you adapt to your family’s tastes. If you make these, drop a comment and let me know what you think! I love hearing how recipes turn out in your kitchen. And if something doesn’t work, tell me that too—I’m here to help troubleshoot.
Happy cooking! And I hope your kitchen smells half as good as mine does right now.
Frequently Asked Questions
Can I use crunchy peanut butter?
Absolutely! Crunchy peanut butter adds a nice texture contrast. Just make sure the chunks aren’t too big, or they’ll poke through the bottom of the cup. I usually use smooth for a uniform texture, but crunchy is delicious too.
Why did my cookie cups fall apart?
This usually means the dough was too dry. Peanut butter varies in moisture content. If your dough is crumbly, add more honey or a splash of milk. Also, make sure you’re pressing the dough firmly into the cups. If they’re too loose, they’ll break when you move them.
Can I make these ahead of time?
Yes! I make these on Sundays for the week. They keep well in the fridge for up to 2 weeks. Just store them in an airtight container. They actually taste better after a day or two as the flavors meld.
Are these gluten-free?
Yes, as long as you use certified gluten-free oats. Most oats are processed in facilities that handle wheat, so check the label if you have celiac disease. The rest of the ingredients are naturally gluten-free.
Can I freeze the dough?
I haven’t tried freezing the raw dough, but I imagine it would work. However, I prefer to bake them fresh and freeze the finished cookies. They thaw beautifully.
What if I don’t have a muffin tin?
You can make them as drop cookies on a baking sheet, but they’ll spread out more. You’ll need to adjust the baking time slightly, and they won’t have the “cup” shape. A muffin tin is really the best way to get that perfect texture.
How do I reheat leftovers?
These are best eaten at room temperature. If you want them warm, microwave one for 10-15 seconds. Don’t overdo it, or they’ll get hard. A quick zap brings back that gooey center.
Pin This Recipe!
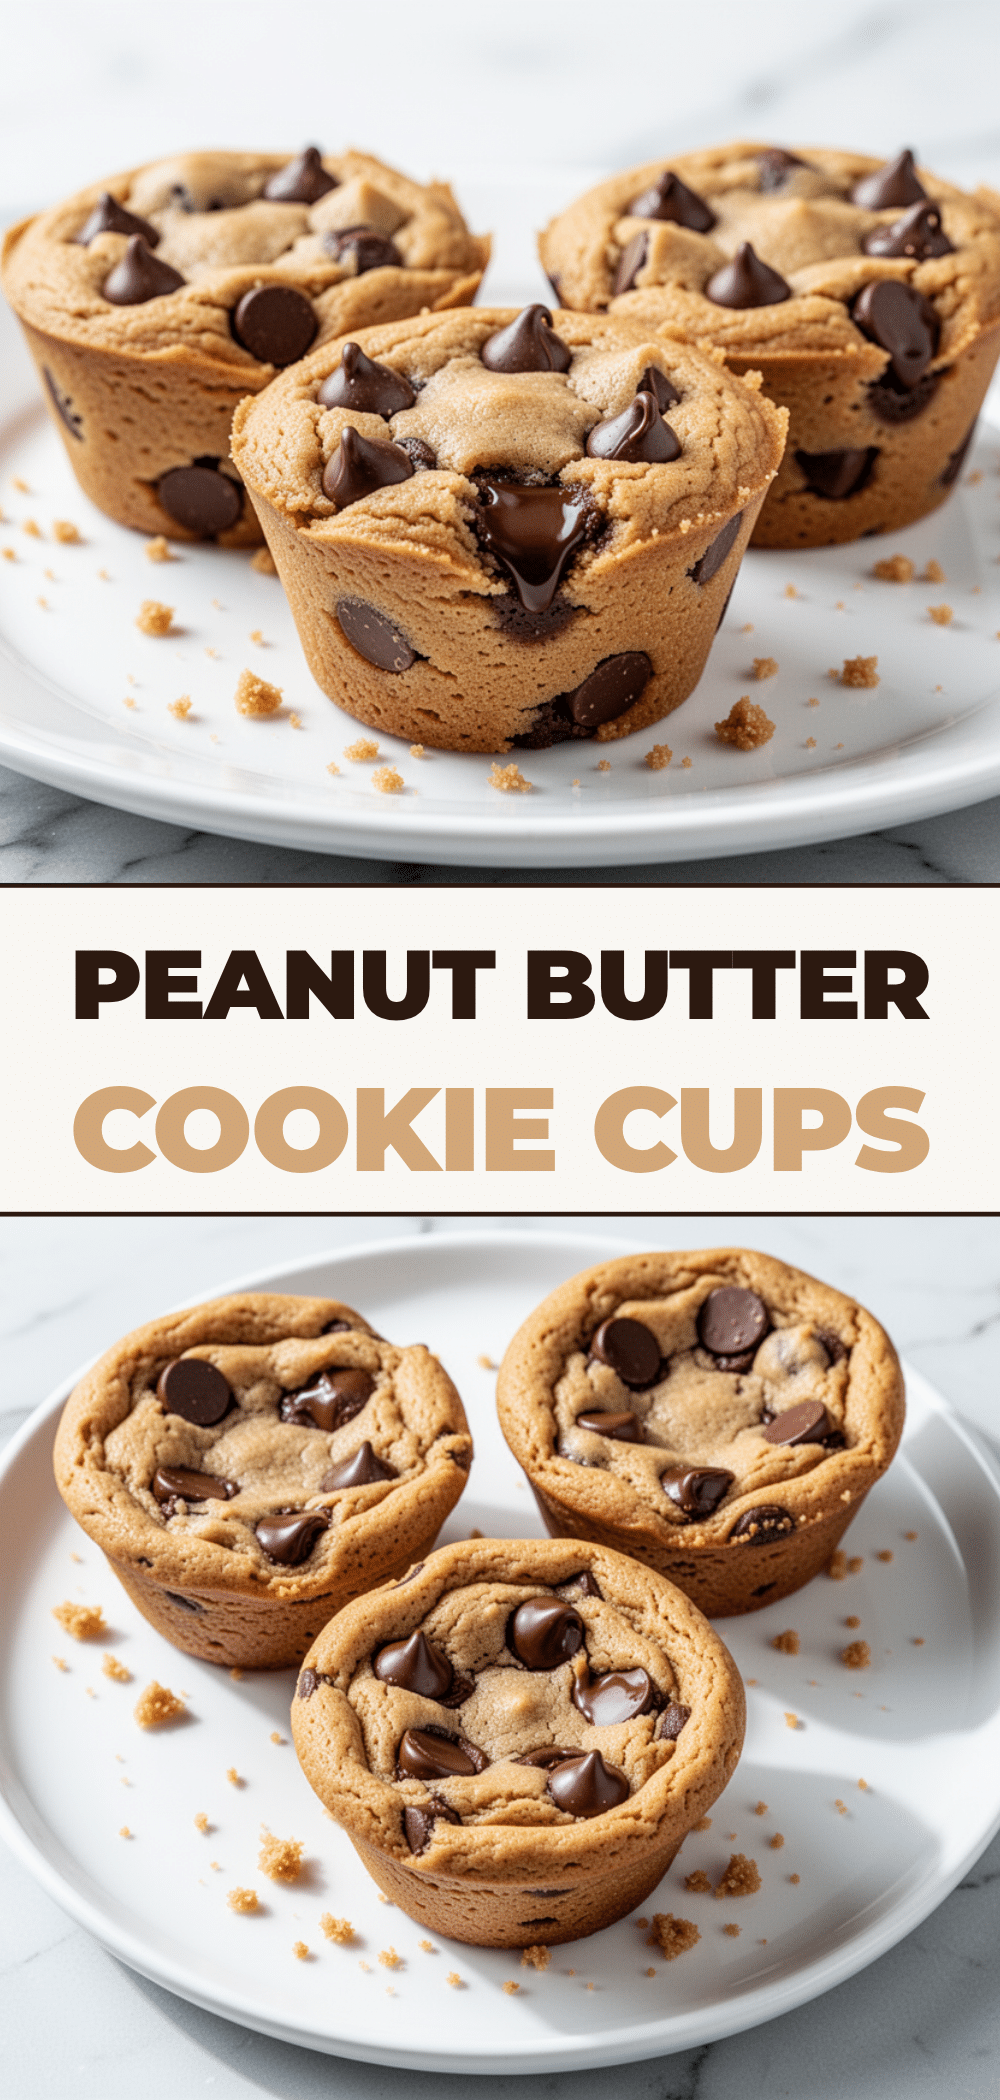
Peanut Butter Chocolate Chip Cookie Cups
- Total Time: 15 minutes
- Yield: 12 servings 1x
Description
A lazy, 3-ingredient dessert that is crispy on the edges, chewy in the middle, and ready in just 15 minutes. These gluten-free friendly cookie cups require no mixer and are perfect for last-minute cravings.
Ingredients
- 1 cup (250g) smooth peanut butter
- 1 cup (80g) old-fashioned rolled oats
- ½ cup (85g) dark or semi-sweet chocolate chips
- 1 teaspoon vanilla extract
- ½ teaspoon fine sea salt
- 2 tablespoons honey or maple syrup
Instructions
- Preheat oven to 350°F (175°C). Line a standard 12-cup muffin tin with parchment paper liners or grease lightly.
- In a mixing bowl, combine peanut butter and honey. If the peanut butter is stiff, microwave for 15-20 seconds to soften. Stir until smooth.
- Add vanilla extract and salt to the peanut butter mixture and stir to combine.
- Pour in the rolled oats and chocolate chips. Mix until everything is evenly coated and the dough is thick and sticky.
- Divide the dough into 12 portions (about 1.5 tablespoons each). Press each portion into the prepared muffin cups, creating a cup shape with a thick base and slightly thinner walls.
- Bake for 10-12 minutes, or until the edges are golden brown and the centers look set but still slightly soft.
- Let the cookie cups cool in the pan for 5 minutes to firm up, then transfer to a wire rack to cool completely before eating.
Notes
Ensure natural peanut butter is stirred well before use to avoid oily patches. Do not overbake as they will firm up while cooling. Store in an airtight container at room temperature for up to 5 days or freeze for up to 3 months.
- Prep Time: 5 minutes
- Cook Time: 10 minutes
- Category: Dessert
- Cuisine: American
Nutrition
- Serving Size: 1 cookie cup
- Calories: 180
- Sugar: 10
- Sodium: 120
- Fat: 10
- Saturated Fat: 2
- Carbohydrates: 18
- Fiber: 2
- Protein: 6
Keywords: peanut butter, chocolate chip, cookie cups, 3-ingredient dessert, gluten-free, easy baking, no mixer, quick dessert, healthy cookies


