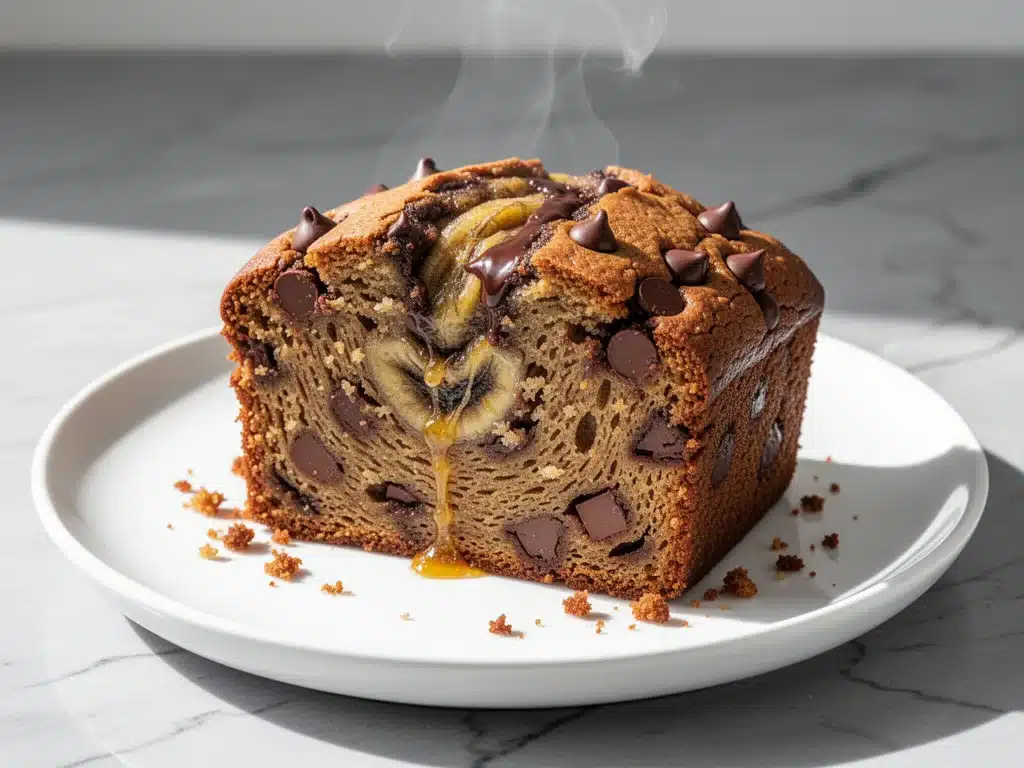
Last Tuesday, I was standing in my kitchen at 9:15 PM, staring into the abyss of my fruit bowl. There, sitting in the back corner, were three bananas. They weren’t just ripe. They were past the point of “good baking bananas” and into the “they’re turning into liquid” category. Black spots everywhere. Soft to the touch. If I didn’t use them by morning, they were going into the compost bin, and I was not having it.
I was exhausted. My brain was fried from a day of back-to-back meetings, and the idea of chopping vegetables or managing three different pans for dinner felt impossible. I wanted comfort. I wanted something sweet but substantial. I wanted to eat it while still wearing my work clothes because changing felt like too much effort.
That’s when I remembered the brown butter trick. I’d seen it on a food blog months ago and thought, “That sounds fancy and complicated.” But honestly? It’s just butter cooked until it smells like nuts. It’s easy. It’s fast. And it changes everything.
I grabbed a stick of butter, a bag of chocolate chips, and those sad, overripe bananas. I threw it together in about 15 minutes of active time. While it baked, I finally changed into sweatpants and poured a glass of wine. When it came out of the oven, the whole house smelled like a high-end bakery. My kids, who usually ignore banana bread because it’s “too healthy,” devoured it. Even my husband asked for the last slice before bed.
That night, I realized I’d stumbled onto the perfect weeknight rescue. This Brown Butter Chocolate Chip Banana Bread isn’t just a dessert. It’s a lifeline for busy evenings when you need something homemade, delicious, and ridiculously easy. I’ve made it at least a dozen times since then, usually when I’m too tired to think but too hungry to order takeout.
Why You’ll Love This Recipe
There are a lot of banana bread recipes out there. But this one? This one is different. It’s richer, deeper in flavor, and honestly, it’s the only one I make anymore. Here’s why it has taken over my kitchen:
Flavor That Actually Does Something — Regular banana bread is good. Brown butter banana bread is addictive. The nutty, toasted flavor of the butter cuts through the sweetness of the bananas and chocolate, making it taste sophisticated without any extra effort. You’ll notice the difference in the first bite.
Stupid Simple — Seriously, if you can mash a banana and melt butter, you can make this. There’s no creaming butter and sugar. No complex mixing techniques. Just dump, stir, and bake. I’ve made this while holding my toddler and answering work emails. It’s that forgiving.
Uses Up “Ugly” Fruit — This is the ultimate trash-to-treasure recipe. The riper the bananas, the better it tastes. Those mushy, black bananas you’ve been ignoring? They’re your best friend here. They add natural sweetness and moisture, meaning you don’t need as much added sugar.
Perfect for Leftovers (or Not) — This bread keeps well for 4-5 days in an airtight container. I usually slice it up and freeze it for quick breakfasts or afternoon snacks. But let’s be real… if it lasts more than one day in my house, I’m surprised. It’s that good.
Budget-Friendly — Bananas are cheap. Butter is cheap. Chocolate chips are cheap. You can make this entire loaf for under $5. That’s cheaper than buying a slice of cake at a café, and it’s way more satisfying.
This recipe has completely changed my weeknight routine. It’s my go-to when I need dinner to just work, or when I want to feel like a good baker without the stress. No complicated techniques, no weird ingredients, just reliable, delicious food that makes everyone happy.
Ingredients You’ll Need
Here’s the best part: you probably have most of this already. This isn’t a recipe that requires a special trip to the store. It’s pantry-friendly and simple.
Unsalted Butter (½ cup / 113g) — This is the star. You need real butter, not margarine. Unsalted gives you control over the saltiness. I use regular salted butter sometimes, but just reduce the added salt in the recipe. The key is browning it properly.
Ripe Bananas (3 medium / about 1 ½ cups mashed) — Look for bananas with lots of brown spots, even black ones. The darker they are, the sweeter and more flavorful the bread will be. If they’re yellow, they’ll work, but the banana flavor will be milder.
Granulated Sugar (¾ cup / 150g) — I like a mix of brown and white sugar sometimes, but straight granulated sugar gives a nice crisp edge. Don’t reduce the sugar too much, or it won’t bake right.
Brown Sugar (¼ cup / 45g, packed) — This adds moisture and a hint of caramel flavor. If you don’t have it, just use more granulated sugar. It’s fine.
Large Egg (1 large) — Room temperature eggs mix better. If you’re in a rush, just drop the egg in warm water for 5 minutes. It helps everything emulsify smoothly.
Vanilla Extract (1 teaspoon) — Use real vanilla, not imitation. It makes a huge difference in flavor depth. I keep a bottle of Nielsen-Massey on hand, but any good brand works.
All-Purpose Flour (1 ½ cups / 190g) — Standard flour is perfect here. No need for fancy pastry flour. Just spoon it into the cup and level it off. Don’t scoop and pack, or your bread will be dense.
Baking Soda (1 teaspoon) — This reacts with the acidic bananas to make the bread rise. Make sure it’s fresh! If your baking soda is old, it won’t work, and you’ll get a brick.
Salt (½ teaspoon) — Essential for balancing the sweetness. Never skip the salt.
Chocolate Chips (½ to 1 cup / 85-170g) — Semi-sweet or dark chocolate chips are my preference. They balance the sweetness of the bananas. You can use milk chocolate if you like it sweeter, or even white chocolate for a fun twist. I usually use about ¾ cup.
Optional: Walnuts or Pecans (½ cup, chopped) — I skip nuts because my kids hate them, but if you like crunch, toss them in. They pair beautifully with the brown butter.
Equipment Needed
You don’t need fancy equipment for this. Here’s what I actually use.
Small Saucepan — For browning the butter. A light-colored pan is best so you can see the color change. Stainless steel or non-stick both work. I use a small 2-quart saucepan.
Mixing Bowl — A medium-sized bowl for whisking the wet ingredients. Glass or ceramic is nice because you can see what’s happening.
Fork or Potato Masher — For mashing the bananas. A fork works fine, but a masher is faster if you have mushy bananas.
Loaf Pan — A standard 9×5 inch loaf pan. I use metal, but glass and ceramic work too. If you use glass, you might need to lower the oven temperature by 25°F because glass retains heat differently.
Parchment Paper — This is my secret weapon. Line the loaf pan with parchment paper, leaving an overhang on the sides. It makes removing the bread so much easier and cleanup is a breeze.
Whisk — For mixing the batter. A simple balloon whisk works perfectly.
Wooden Spoon or Spatula — For folding in the chocolate chips. Be gentle so you don’t overmix.
How to Make It: Step-by-Step
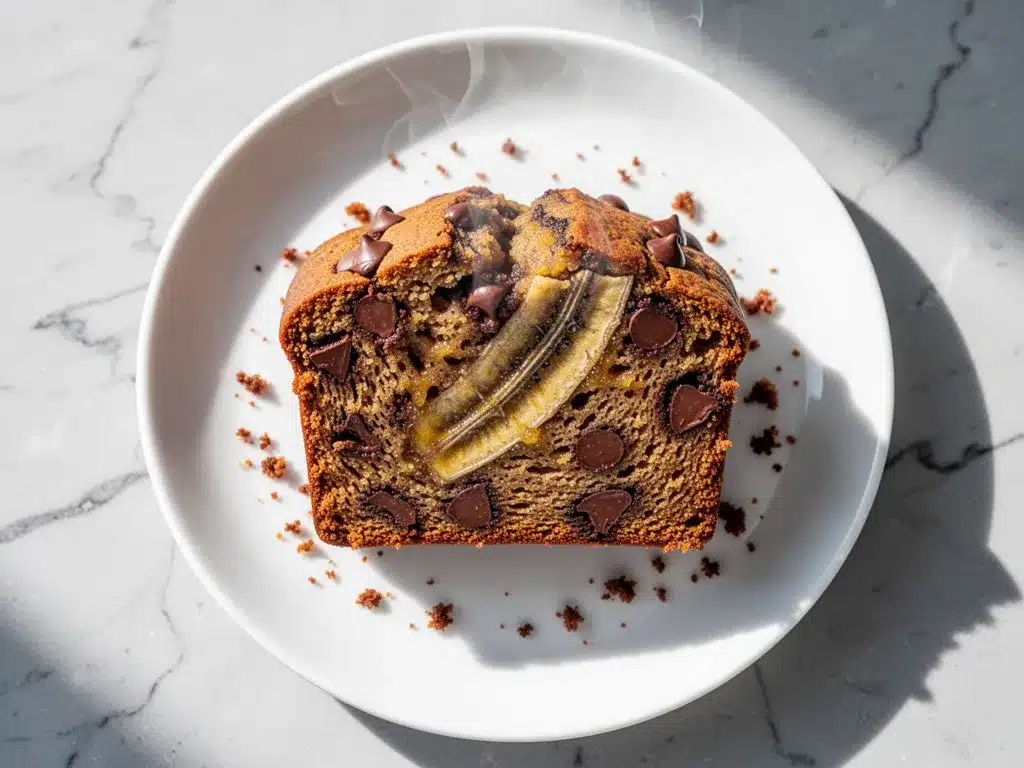
Alright, let’s make this! I’m walking you through exactly how I do it, including the little tricks I’ve picked up.
Step 1: Brown the Butter (5 minutes)
Start by melting the butter in a small saucepan over medium heat. Stir it constantly. It will foam up, then settle down. Keep watching! You’ll see little brown bits form at the bottom and smell a nutty, toasted aroma. As soon as it smells like hazelnuts and turns a golden amber color, remove it from the heat immediately. Pour it into a heat-proof bowl to stop the cooking. Let it cool for 5 minutes. If you pour hot butter into the eggs, you’ll scramble them. Trust me on this one.
Step 2: Mash the Bananas (2 minutes)
In a medium mixing bowl, peel the bananas and mash them with a fork until they’re mostly smooth with a few small lumps. You want about 1 ½ cups. If they’re very wet, you might have a bit more. That’s fine.
Step 3: Mix the Wet Ingredients (2 minutes)
To the mashed bananas, add the cooled brown butter, granulated sugar, brown sugar, egg, and vanilla extract. Whisk everything together until it’s well combined and smooth. The mixture should look glossy and slightly separated—that’s normal.
Step 4: Add the Dry Ingredients (1 minute)
Add the flour, baking soda, and salt to the wet mixture. Switch to a wooden spoon or spatula. Gently fold the ingredients together until just combined. Do not overmix! A few lumps are okay. If you mix too much, you’ll develop gluten, and the bread will be tough instead of tender.
Step 5: Fold in Chocolate Chips (1 minute)
Stir in the chocolate chips. If you’re adding nuts, do it now. Spread the batter into your prepared loaf pan. It should fill about ¾ of the way up.
Step 6: Bake (50-60 minutes)
Preheat your oven to 350°F (175°C). Place the loaf pan in the center of the oven and bake for 50-60 minutes. The top should be golden brown, and a toothpick inserted into the center should come out clean or with a few moist crumbs (not wet batter). If the top is browning too fast, tent it with foil after 30 minutes.
Step 7: Cool and Serve (15 minutes)
Let the bread cool in the pan for 10 minutes, then lift it out using the parchment paper overhang. Transfer it to a wire rack to cool completely. This is the hardest part—waiting. But slicing it hot makes it mushy. Wait at least 15 minutes before slicing.
Total Time: About 70 minutes (10 minutes active, 60 minutes baking)
Expert Tips & Tricks
Here’s everything I’ve learned from making this dozens of times. These tips will save you from my mistakes.
Don’t Skip the Browning
I know it’s tempting to just melt the butter. But brown butter adds a depth of flavor that regular melted butter just can’t match. It’s the difference between “good” and “amazing.” The nutty flavor complements the bananas perfectly.
Cool the Butter First
This is crucial. If you add hot brown butter to the egg, you’ll get scrambled eggs in your banana bread. Let it cool for at least 5 minutes, or until it’s warm but not hot to the touch.
Use Ripe Bananas
The riper, the better. Black-skinned bananas are sweetest and mash easiest. If you have unripe bananas, you can bake them at 300°F for 15-20 minutes until the skins turn black. It’s a great trick if you’re in a pinch.
Don’t Overmix
When you add the flour, mix just until you don’t see dry streaks. Overmixing makes the bread dense and tough. Lumpy batter is your friend here.
Check for Doneness Early
Ovens vary. Start checking at 45 minutes. If the toothpick comes out clean, it’s done. If it’s wet, give it 5 more minutes. Overbaking dries out the bread.
Common Mistakes (and how to avoid them):
Mistake: Bread is dense and gummy
Fix: You probably overmixed the batter. Also, make sure your baking soda is fresh. Old baking soda won’t leaven the bread properly.
Mistake: Top is burning but center is raw
Fix: Your oven might be too hot, or the loaf pan is dark metal. Tent the top with foil after 30 minutes of baking. Also, try placing the pan on a lower rack.
Mistake: Bread is dry
Fix: You overbaked it. Check it a few minutes earlier next time. Also, make sure you’re using ripe bananas, which add moisture.
Pro Tricks I’ve Learned:
For Extra Crunch
Sprinkle a little coarse sugar on top before baking. It creates a crunchy, caramelized crust that’s irresistible.
For Better Slicing
Use a serrated knife to slice the bread. It cuts cleanly without squishing the loaf.
Make-Ahead Strategy
You can make the batter the night before and refrigerate it in the loaf pan. Let it sit at room temperature for 15 minutes before baking. This saves time in the morning.
Variations & Substitutions
Once you’ve nailed the basic version, here’s how you can mix it up. I’ve tried all of these.
Blueberry Banana Bread
Swap chocolate chips for 1 cup of fresh or frozen blueberries. Toss them in a little flour first so they don’t sink. Delicious!
Peanut Butter Banana Bread
Swirl 2 tablespoons of peanut butter into the batter before baking. Or add ½ cup of crunchy peanut butter to the mix. My kids love this version.
Gluten-Free Version
Use a 1:1 gluten-free flour blend. Make sure it contains xanthan gum, or add ½ teaspoon. The texture will be slightly different but still delicious. I’ve used Bob’s Red Mill and it works great.
Dairy-Free
Replace butter with coconut oil (melted) or a dairy-free butter alternative. Use dark chocolate chips that are dairy-free. It’s surprisingly good.
Lower Sugar
Reduce both sugars to ½ cup each. It will be less sweet, but the bananas provide plenty of flavor. Good for those watching sugar intake.
Spiced Version
Add 1 teaspoon of cinnamon and ½ teaspoon of nutmeg to the dry ingredients. Warm spices go beautifully with bananas.
Protein Boost
Add 2 tablespoons of protein powder (vanilla or unflavored) to the dry ingredients. You might need to add a splash of milk if the batter looks too thick.
Serving & Storage
I usually serve this straight from the cooling rack at the dinner table—it looks rustic and stays warm. But here are other ways I’ve enjoyed it:
How to Serve:
- Warm with Butter: Slice a piece and microwave it for 15 seconds. Top with a pat of butter. Pure comfort.
- With Coffee or Tea: This is the perfect afternoon snack. Pair it with a black coffee or Earl Grey tea.
- For Breakfast: Slice it up and pack it for school lunches. It’s more satisfying than a muffin.
- With Ice Cream: Serve a slice warm with a scoop of vanilla ice cream for a dessert version.
Toppings Bar:
When I have guests, I put out: extra chocolate chips, walnuts, a drizzle of caramel sauce, and whipped cream. Everyone customizes their slice.
Storage Instructions:
Refrigerator:
Store in an airtight container at room temperature for up to 3 days. If your kitchen is very hot, refrigerate it. It will last up to 5 days in the fridge.
Freezing:
This freezes beautifully! Wrap individual slices in plastic wrap, then put them in a freezer bag. They’ll last for 3 months. Thaw at room temperature or microwave for 20 seconds.
Reheating:
Best method: Microwave for 15-20 seconds to warm it up. Or toast a slice in the toaster oven for a crisp edge. It tastes best fresh or slightly warmed.
Pro tip: If the bread seems dry after a few days, wrap it in a damp paper towel and microwave for 10 seconds. It’ll be moist again.
Nutrition Information
I’m not a nutritionist, but here’s the breakdown if you’re tracking.
Per Slice (based on 10 slices):
- Calories: 280
- Protein: 4g
- Carbs: 42g
- Fiber: 2g
- Sugar: 24g
- Fat: 12g
- Saturated Fat: 7g
- Cholesterol: 35mg
- Sodium: 180mg
What’s Good:
- Contains potassium from bananas
- Provides some energy from carbs
- More filling than it looks
What to Know:
- Higher in sugar from bananas and chocolate chips
- Contains dairy and gluten
- Moderate calories
My Take:
Look, this is banana bread with chocolate chips and brown butter. It’s not a diet recipe. It’s a treat. But it’s way better than store-bought, costs less, and I know exactly what’s in it. When I want to make it lighter, I reduce the sugar and add nuts for protein. But usually? I just eat one slice and enjoy it.
Final Thoughts
So that’s my go-to Brown Butter Chocolate Chip Banana Bread! I’ve probably talked your ear off at this point, but when you make a recipe this often, you have a lot to say about it.
This has saved weeknight dinners more times than I can count. It’s my answer to “what’s for dessert” or “what’s for breakfast” when I’m tired, don’t want takeout, and still want something that tastes really good. My kids are happy, my husband’s happy, and I’m happy because I’m not stressed about cooking.
Make it yours! Try different add-ins, swap in your favorite chocolate, adjust the spices. The best recipes are the ones you adapt to your family’s tastes. If you’re looking for other easy, kid-friendly recipes, check out our soft baked banana oatmeal breakfast cookies or these no-bake peanut butter granola bites for quick snacks.
If you make this, drop a comment and let me know what you think! I love hearing how recipes turn out in your kitchen. And if something doesn’t work, tell me that too—I’m here to help troubleshoot.
Happy baking! And I hope your kitchen smells half as good as mine does right now.
Frequently Asked Questions
Can I use frozen bananas?
Yes! Frozen bananas are actually great for banana bread. Just thaw them completely, drain any excess liquid, and mash them. They tend to be softer, which makes mashing easier. The flavor is the same.
Why did my bread turn out dense?
This usually happens for two reasons: overmixing the batter or using old baking soda. Make sure your baking soda is fresh (test it with vinegar—it should fizz). Also, mix the flour just until combined. Lumps are okay!
Can I make this ahead for a dinner party?
Absolutely. You can bake the bread 1-2 days ahead and store it in an airtight container. It actually tastes better the next day as the flavors meld. Just bring it to room temperature before serving.
Can I use whole wheat flour?
You can, but the texture will be denser and heavier. I recommend substituting only half the all-purpose flour with whole wheat flour for a lighter result. If you use all whole wheat, add a little extra liquid (like a tablespoon of milk).
Why did the top crack?
A cracked top is normal for banana bread! It doesn’t affect the taste or texture. It usually happens because the oven was a bit hot or the batter rose quickly. Don’t worry about it.
Can I double this recipe?
Yes, but you’ll need two loaf pans. The baking time will be the same. Just make sure to rotate the pans halfway through baking if your oven has hot spots.
How do I know when the bread is done?
Insert a toothpick into the center. If it comes out clean or with a few moist crumbs, it’s done. If it has wet batter on it, bake for 5 more minutes. The top should also be golden brown and spring back when lightly pressed.
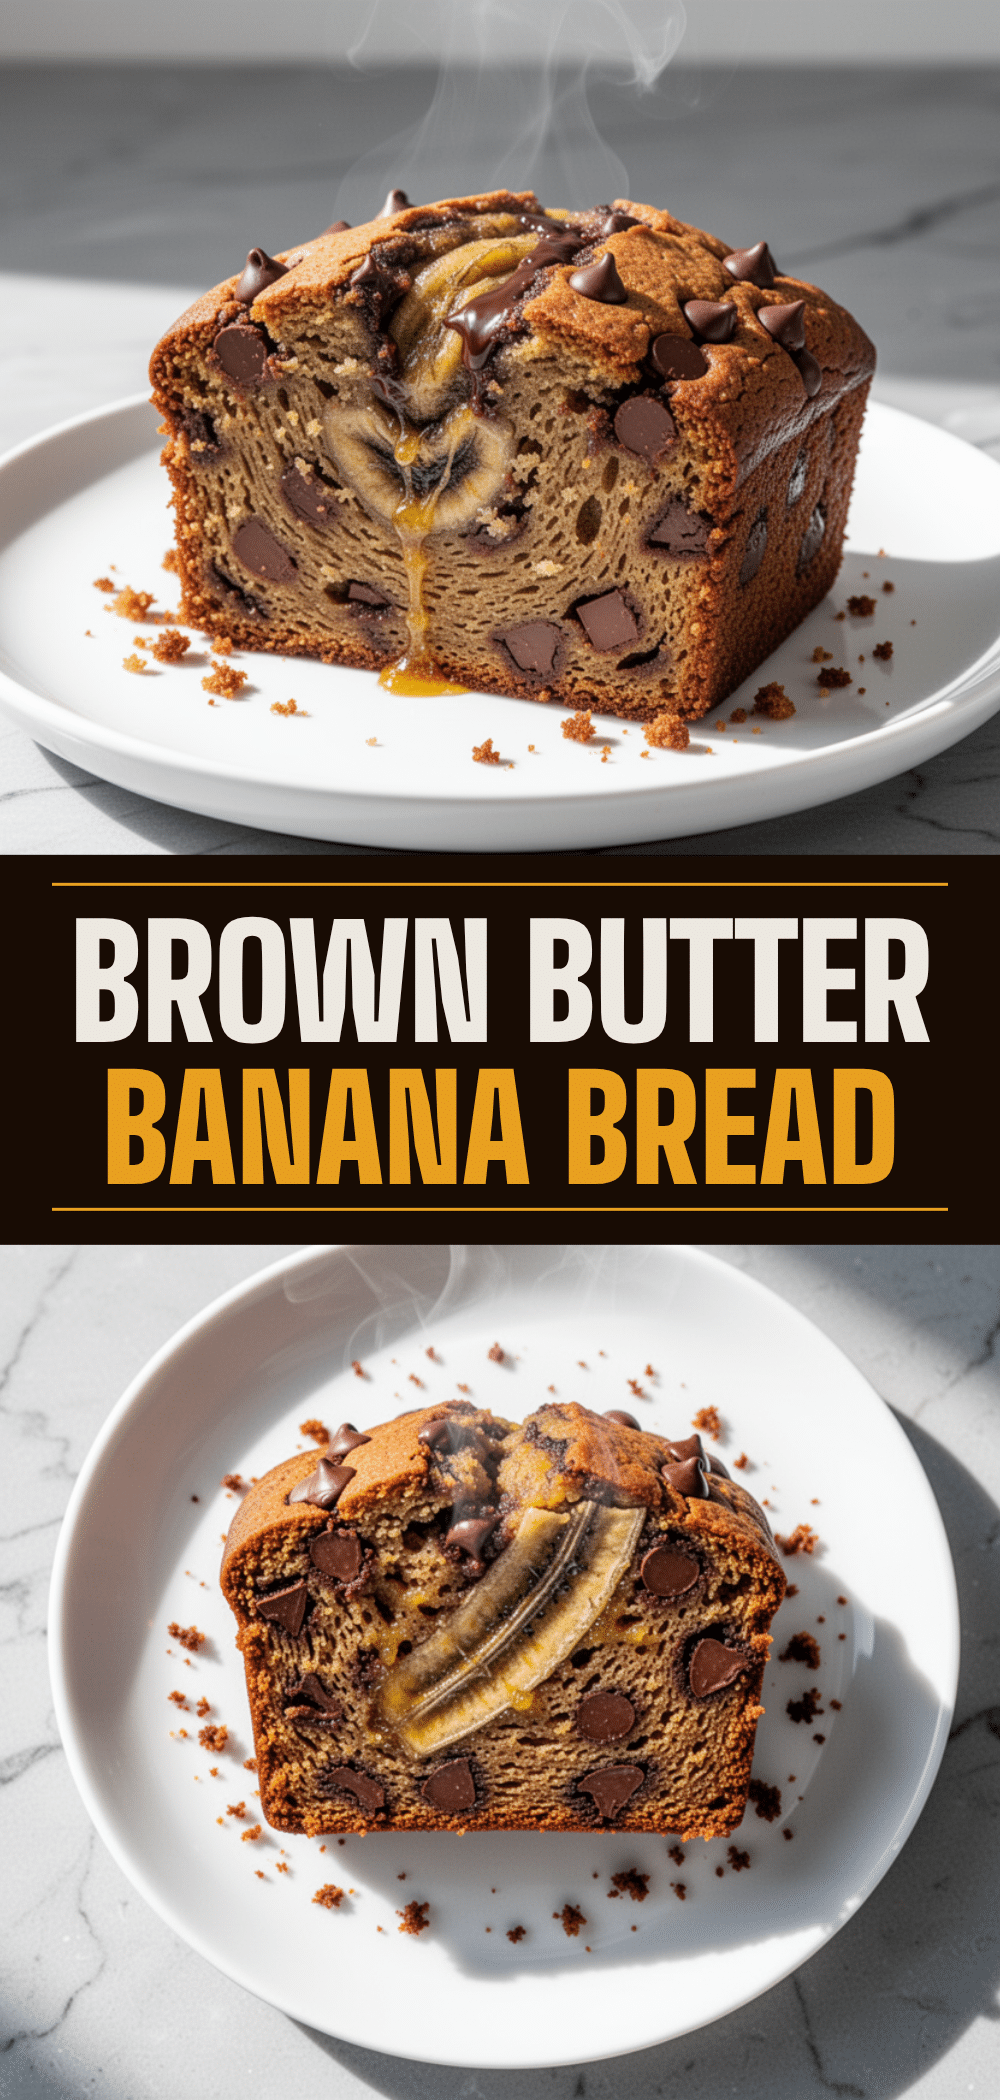
Pin This Recipe!
Brown Butter Chocolate Chip Banana Bread
- Total Time: 70 minutes
- Yield: 10 servings 1x
Description
A rich, flavorful banana bread made with nutty brown butter and chocolate chips. This easy, weeknight-friendly recipe uses overripe bananas for natural sweetness and requires minimal active time.
Ingredients
- 1/2 cup (113g) unsalted butter
- 3 medium ripe bananas (about 1 1/2 cups mashed)
- 3/4 cup (150g) granulated sugar
- 1/4 cup (45g) packed brown sugar
- 1 large egg, room temperature
- 1 teaspoon vanilla extract
- 1 1/2 cups (190g) all-purpose flour
- 1 teaspoon baking soda
- 1/2 teaspoon salt
- 3/4 cup (approx. 127g) semi-sweet or dark chocolate chips
- 1/2 cup chopped walnuts or pecans (optional)
Instructions
- Preheat oven to 350°F (175°C). Line a 9×5 inch loaf pan with parchment paper.
- Melt the butter in a small saucepan over medium heat. Stir constantly until it foams, settles, and turns golden amber with a nutty aroma (about 5 minutes). Remove from heat and pour into a heat-proof bowl to cool for 5 minutes.
- In a medium mixing bowl, mash the bananas with a fork until mostly smooth.
- Add the cooled brown butter, granulated sugar, brown sugar, egg, and vanilla extract to the bananas. Whisk until well combined and glossy.
- Add the flour, baking soda, and salt. Gently fold with a wooden spoon or spatula until just combined. Do not overmix.
- Fold in the chocolate chips (and nuts if using). Spread batter into the prepared loaf pan.
- Bake for 50-60 minutes, or until a toothpick inserted into the center comes out clean or with moist crumbs. Tent with foil after 30 minutes if the top is browning too quickly.
- Cool in the pan for 10 minutes, then lift out using the parchment overhang. Transfer to a wire rack to cool completely before slicing.
Notes
Ensure the brown butter is cooled before adding to the egg to prevent scrambling. Use very ripe, black-spotted bananas for maximum sweetness and moisture. Do not overmix the batter to avoid a dense texture. For extra crunch, sprinkle coarse sugar on top before baking.
- Prep Time: 10 minutes
- Cook Time: 60 minutes
- Category: Dessert
- Cuisine: American
Nutrition
- Serving Size: 1 slice
- Calories: 280
- Sugar: 24
- Sodium: 180
- Fat: 12
- Saturated Fat: 7
- Carbohydrates: 42
- Fiber: 2
- Protein: 4
Keywords: banana bread, brown butter, chocolate chip, easy recipe, weeknight dinner, baking, gluten-free option, dairy-free option


