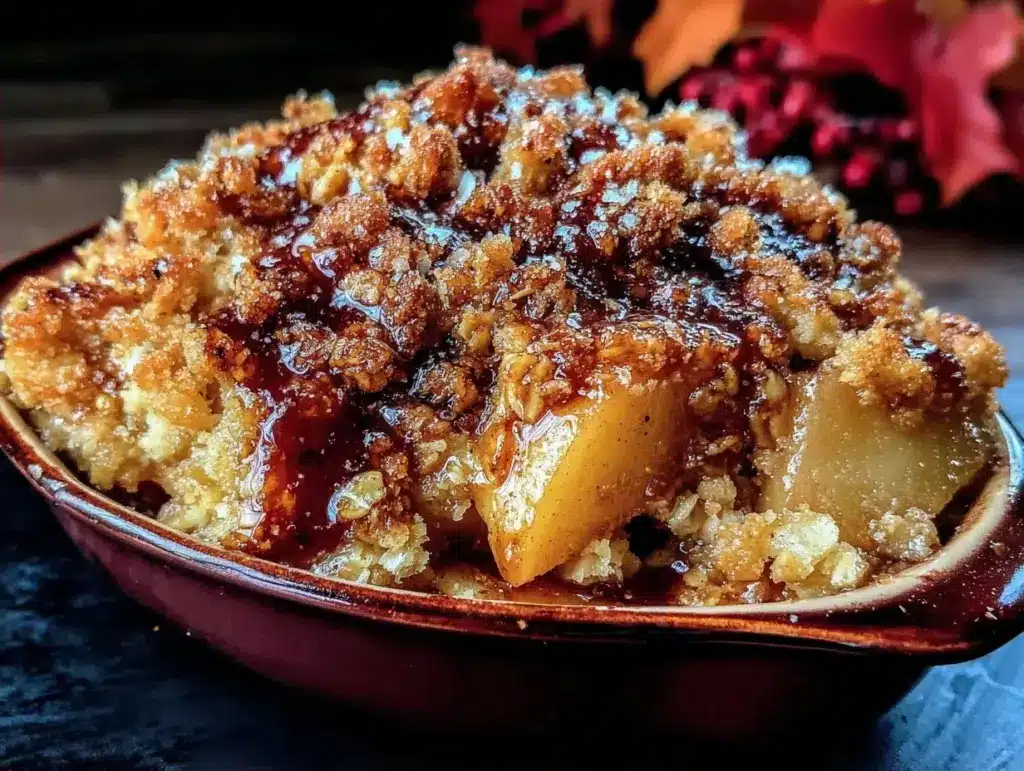
There is a specific kind of magic that happens when the air turns crisp and the leaves start to drift across the driveway. It’s that time of year when your kitchen should smell like cinnamon and warm sugar, not just coffee and toast. Last weekend, I was staring at a bushel of apples my neighbor dropped off on the porch, wondering what to do with them. I didn’t want to bake a pie. I don’t have the patience for pie crusts. I’ve tried. I’ve failed. I’ve ended up with soggy bottoms and lumpy dough more times than I care to admit.
So I threw together what I thought would be a simple apple crisp. I didn’t have a fancy recipe. I just had apples, oats, butter, and brown sugar. I expected it to be okay. Maybe even good. What I got was something that made my husband stop mid-sentence, grab a fork, and say, “Okay, that’s it. You’re making this every week now.”
This Easy Fall Dessert Apple Crisp with Buttery Oat Crumble isn’t just a recipe. It’s a mood. It’s the culinary equivalent of wrapping yourself in a soft blanket. It’s forgiving, it’s simple, and it tastes like autumn in a bowl. I’ve made this at least eight times since that first weekend, tweaking the spice ratios and testing different oat types, and I can confidently say: this is the one. It’s the one you’ll make on repeat. It’s the one your friends will beg you for. And best of all? You really can’t mess it up.
If you’re looking for a dessert that feels fancy but takes less effort than making a sandwich, this is it. It’s the kind of recipe that turns strangers into fans. It’s the kind of dessert that makes people ask, “Did you buy this from a bakery?” No. You made it. And it only took twenty minutes of hands-on work.
Why You’ll Love This Recipe
I’ve tried a lot of apple crisp recipes over the years. Some are too sweet. Some are too mushy. Some have crumbles that turn into hard rocks. This version hits that sweet spot. It’s balanced, textured, and deeply comforting. Here’s why this Easy Fall Dessert Apple Crisp with Buttery Oat Crumble has earned a permanent spot in your rotation:
- Zero Pie Crust Stress — Seriously, if you hate rolling dough, this is your salvation. No blind baking, no fitting crust into a pan, no cracking. Just slice, dump, and bake. It’s foolproof.
- Five Core Ingredients — I’m not exaggerating. The main components are apples, oats, flour, butter, and brown sugar. You probably have all of these in your kitchen right now. It’s pantry-friendly perfection.
- Texture Heaven — The magic is in the crumble. We get crisp, buttery oats on top and tender, spiced apples underneath. It’s the contrast that makes you keep eating. It’s not just soft; it’s crunchy too.
- Smells Like a Hug — The aroma that fills your house while this bakes is addictive. It smells like comfort. It smells like home. My kids actually run to the kitchen when they smell it.
- Perfect for Beginners — You don’t need fancy tools. You don’t need to know how to julienne. You just need a bowl, a fork, and an oven. It’s designed for people who want to bake without the fuss.
- Leftovers Are Better — I know, I know. Most desserts are best fresh. Not this one. The flavors meld overnight, and the crumble stays crisp if you reheat it properly. It’s great for breakfast, too.
This is my go-to when I need to impress without trying. It’s the dessert that says, “I care,” without saying a word. And it pairs beautifully with a scoop of vanilla ice cream or a dollop of whipped cream. But honestly? It’s good plain too.
Ingredients You’ll Need
Here’s the best part: this recipe is incredibly simple. You don’t need a grocery list that’s longer than your arm. I’m particular about three things here, but mostly, you just need good basics.
For the Filling
Apples (6-7 medium, peeled and sliced) — I love using a mix. Granny Smith for tartness and structure, and Honeycrisp or Fuji for sweetness. If you use only tart apples, add an extra tablespoon of sugar. If you use only sweet, maybe cut the sugar slightly. A mix is best for balance.
Granulated Sugar (2 tablespoons) — Just a little bit to help the apples release their juices. Don’t skip it, but don’t overdo it. The brown sugar in the topping does the heavy lifting for sweetness.
Lemon Juice (1 tablespoon) — This keeps the apples from turning brown while you prep. It also adds a bright note that cuts through the richness of the butter. Fresh lemon is best.
Cinnamon (1 teaspoon) — The star of the show. Use ground cinnamon. If you want it spicier, add a pinch of nutmeg or allspice, but keep it simple. This is about apples, not spice overload.
Cornstarch (1 tablespoon) — This thickens the apple juices so you get a syrupy, luscious bottom layer instead of watery apples. It’s the secret to a proper crisp.
For the Buttery Oat Crumble
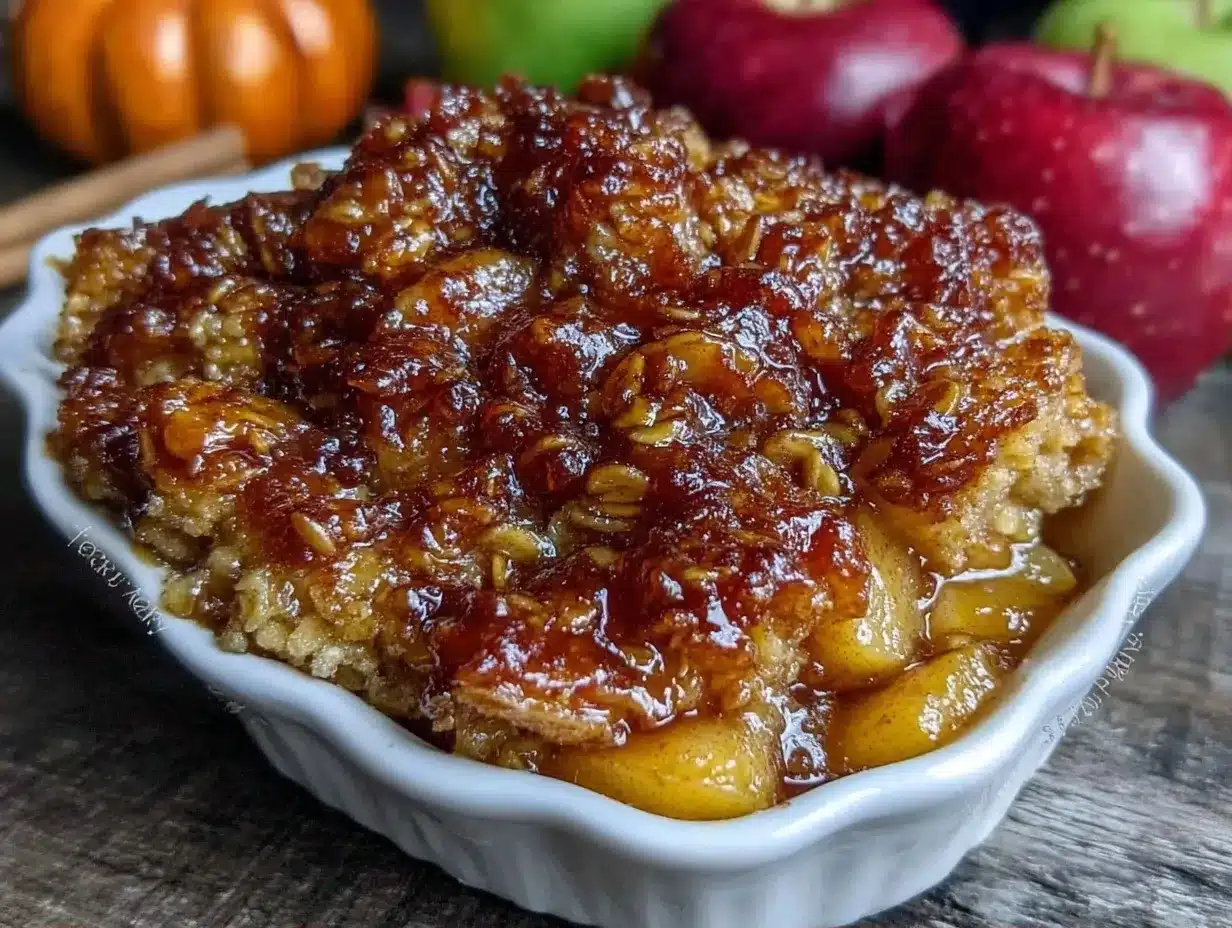
Old-Fashioned Rolled Oats (1 cup) — Do not use instant oats. They turn to mush. Do not use steel-cut oats. They won’t cook in time. Old-fashioned rolled oats give you that perfect chewy-crisp texture.
All-Purpose Flour (1 cup) — Just a cup. It binds the oats and butter together. You can use gluten-free flour blend if needed, but regular flour works best for texture.
Brown Sugar (1 cup, packed) — This is non-negotiable. Brown sugar gives that caramel, molasses depth. Light or dark brown sugar both work, but dark is richer. Don’t use white sugar here; it lacks the flavor complexity.
Unsalted Butter (½ cup, cold and cubed) — Cold butter is key. It creates those flaky, crispy bits in the crumble. If you use melted butter, the topping will be more cake-like. We want crumble, not cake.
Salt (½ teaspoon) — Enhances all the flavors. Essential.
Optional Add-ins — I sometimes add ½ cup of chopped walnuts or pecans to the crumble for extra crunch. Or a pinch of cardamom for a festive twist. But the base recipe is perfect as is.
Equipment Needed
You don’t need fancy equipment for this. Here’s what I actually use:
- 9×9 Inch Baking Dish — This is the standard size. You can use a 9-inch pie dish, but a square dish gives you more surface area for the crumble to get crispy. I prefer the square.
- Large Mixing Bowl — For tossing the apples. Any big bowl works.
- Medium Mixing Bowl — For the crumble topping.
- Pastry Cutter or Fork — To cut the butter into the flour/oat mixture. A fork works fine if you don’t have a pastry cutter. I just use my fingers sometimes, but be quick so the butter doesn’t melt.
- Chef’s Knife — For slicing apples. A sharp knife makes this much easier.
- Peeler — I peel my apples. Some people leave the skin on for fiber, but I prefer the texture of peeled apples in a crisp. It’s smoother.
You don’t need a stand mixer. You don’t need a food processor. Just bowls and hands. That’s it.
How to Make It: Step-by-Step
Alright, let’s make this! I’m walking you through exactly how I do it. It’s simple, but there are a few tricks to get that perfect texture.
Step 1: Prep the Oven and Dish (5 minutes)
Preheat your oven to 375°F (190°C). Grease your 9×9 baking dish with a little butter or non-stick spray. This prevents sticking and helps the edges get crispy. While the oven heats, peel and slice your apples. Aim for ¼-inch thick slices. Not too thin, or they’ll disintegrate. Not too thick, or they’ll stay crunchy. Uniform slices cook evenly.
Step 2: Toss the Apples (5 minutes)
In your large bowl, combine the sliced apples, granulated sugar, cinnamon, lemon juice, and cornstarch. Toss everything together until the apples are evenly coated. The cornstarch will look dusty at first, but that’s normal. Let them sit for a few minutes while you make the topping. This helps them start releasing juices.
Step 3: Make the Crumble Topping (5 minutes)
In the medium bowl, whisk together the rolled oats, flour, brown sugar, and salt. Add the cold, cubed butter. Now, here’s the important part: mix this with your fingers or a pastry cutter until the mixture resembles coarse crumbs. You want some larger clumps and some finer bits. Don’t overmix. If it looks like wet sand, you’re good. If it looks like a paste, you’ve worked it too much.
Step 4: Assemble (2 minutes)
Spread the apple mixture evenly into the prepared baking dish. Sprinkle the crumble topping over the apples. Don’t press it down. Let it sit loosely on top. This allows air to circulate and keeps the topping crispy. If you have nuts, sprinkle them on now.
Step 5: Bake (45-50 minutes)
Place the dish in the preheated oven. Bake for 45-50 minutes. You’ll know it’s done when the topping is golden brown and the apple juices are bubbling up through the crumble. If the topping is browning too fast, cover the edges with a piece of foil. But usually, it’s fine.
Step 6: Cool (15 minutes)
Let it cool for at least 15 minutes before serving. This allows the juices to thicken slightly. If you cut into it hot, it’ll be soupy. Cool it down, and you get that perfect syrupy consistency.
Total time: About 1 hour (15 minutes active, 50 minutes baking).
Expert Tips & Tricks
Here’s everything I’ve learned from making this dozens of times. These tips will save you from my mistakes.
Choose the Right Apples
This is the most common mistake. Don’t use Red Delicious. They turn to mush and taste bland. Stick to firm apples: Granny Smith, Honeycrisp, Braeburn, or Pink Lady. A mix of tart and sweet is ideal. If you use only tart apples, add a bit more sugar to the filling.
Cold Butter is Key
For the crumble, your butter must be cold. Straight from the fridge. If it’s warm, it will melt into the flour before it hits the oven, resulting in a dense, cake-like topping instead of a crisp, crumbly one. Cube it small so it distributes evenly.
Don’t Skip the Cornstarch
Apples release a lot of water. Without cornstarch, you’ll have a puddle of syrup at the bottom. The cornstarch thickens it into a luscious sauce that coats the apples. It’s essential for texture.
Let It Cool
I know, it’s hard to wait. But cooling is crucial. The filling sets as it cools. If you serve it immediately, it’s runny. Wait 15 minutes. Trust me.
Reheating Leftovers
If you have leftovers (unlikely, but possible), reheat in the oven at 350°F for 10-15 minutes. The microwave will make the topping soggy. Oven reheating brings back the crispiness.
Variations & Substitutions
Once you’ve nailed the basic version, here’s how you can mix it up. I’ve tried all of these.
Spice It Up
Add a pinch of nutmeg, allspice, or cardamom to the filling. Or swap half the cinnamon for pumpkin pie spice. It adds warmth and complexity.
Add Nuts
Chopped pecans or walnuts in the crumble add great texture and flavor. Toast them first for extra nuttiness.
Gluten-Free
Use a 1:1 gluten-free flour blend in the topping. The oats must be certified gluten-free if you’re sensitive. Everything else is naturally gluten-free.
Dairy-Free
Replace butter with cold coconut oil or a vegan butter stick. The texture might be slightly different, but it still works. Use maple syrup instead of brown sugar if you want vegan-friendly sweetness.
Fruit Swaps
You can use pears instead of apples. Or a mix of apples and pears. Even berries work, though they release more liquid, so you might need more cornstarch. I’ve done apple and pear crisps, and they’re delicious.
Serving & Storage
How to Serve
I usually serve this warm, straight from the oven. It’s best with a scoop of vanilla ice cream or a dollop of whipped cream. The contrast of hot crisp and cold ice cream is heaven. I also like it with a slice of sharp cheddar cheese on the side—a classic pairing.
Storage
Store leftovers in an airtight container in the fridge for up to 4 days. The topping will soften in the fridge, but reheating in the oven restores the crunch. Do not freeze the assembled crisp; the apples will become mushy upon thawing. Freeze only if you make the topping separately and the apple filling separately, but that’s more trouble than it’s worth.
Reheating
Oven is best: 350°F for 10-15 minutes. Microwave: 30-second intervals, but expect a softer topping. Skip the microwave if you care about texture.
Nutrition Information
I’m not a nutritionist, but here’s the breakdown if you’re tracking. This is a rich dessert, so portion control is key.
Per Serving (based on 8 servings):
- Calories: 320
- Protein: 3g
- Carbs: 52g
- Fiber: 4g
- Sugar: 35g
- Fat: 12g
- Saturated Fat: 7g
- Sodium: 180mg
It’s not a health food, but it’s made with real ingredients. The oats provide some fiber, and the apples offer vitamins. Just enjoy it in moderation. It’s a treat, not a salad.
Final Thoughts
So that’s my go-to Easy Fall Dessert Apple Crisp with Buttery Oat Crumble. I’ve probably talked your ear off at this point, but when you make a recipe this often, you have a lot to say about it. This has saved my dessert routine more times than I can count. It’s my answer to “what’s for dessert” when I want something homemade but don’t want to spend hours in the kitchen. My family is happy, my friends are happy, and I’m happy because I’m not stressed about baking.
Make it yours! Try different apples, add nuts, change the spices. The best recipes are the ones you adapt to your tastes. If you make this, drop a comment and let me know what you think! I love hearing how recipes turn out in your kitchen. And if something doesn’t work, tell me that too—I’m here to help troubleshoot.
Happy baking! And I hope your kitchen smells half as good as mine does right now.
Frequently Asked Questions
Can I use frozen apples?
You can, but thaw them first and drain the excess liquid. Frozen apples release more water, so you might need an extra teaspoon of cornstarch. Fresh apples are best for texture, but frozen works in a pinch.
Why did my crumble turn out soggy?
This usually happens if the topping was pressed down too much or if the apples released too much liquid. Make sure your butter is cold, don’t press the topping, and let the crisp cool completely before serving. The cooling step is crucial for setting the juices.
Can I make this ahead of time?
You can prep the apples and topping ahead and store them separately in the fridge. Assemble and bake just before serving. This is great for dinner parties. You can also bake it ahead and reheat it, but the topping will lose some crispiness.
What’s the best apple for crisp?
A mix of Granny Smith (tart, firm) and Honeycrisp or Fuji (sweet, juicy) is ideal. Avoid Red Delicious or McIntosh, as they turn to mush. You want apples that hold their shape but soften nicely.
Can I use steel-cut oats?
No. Steel-cut oats are too hard and won’t cook in the baking time. Use old-fashioned rolled oats or quick oats. Quick oats will make a softer topping, but they work. Rolled oats are best.
How do I store leftovers?
Store in an airtight container in the fridge for up to 4 days. Reheat in the oven to restore crispiness. Do not freeze the assembled crisp.
Pin This Recipe!
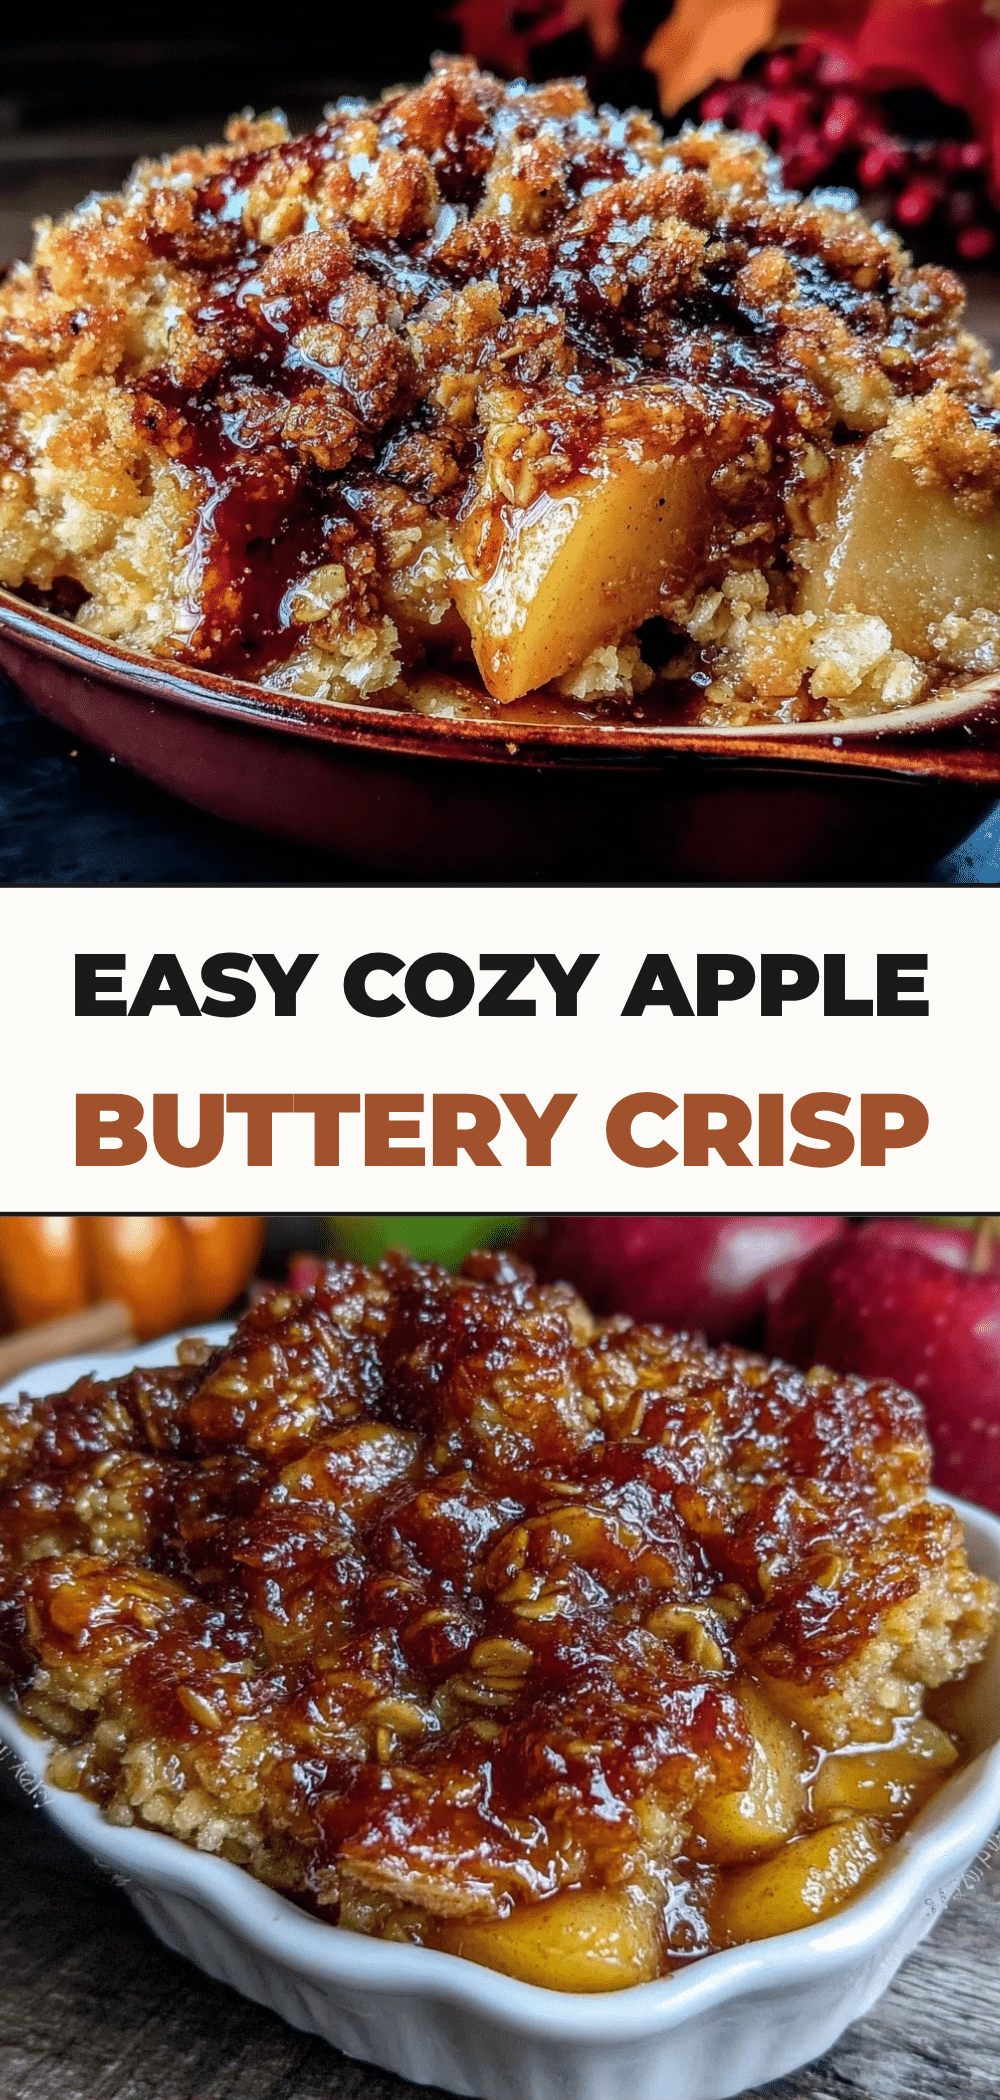

Easy Apple Crisp: The Best Beginner-Friendly Fall Dessert
- Total Time: 1 hour
- Yield: 8 servings 1x
Description
A forgiving, simple, and delicious fall dessert featuring tender spiced apples topped with a buttery, crunchy oat crumble. This recipe requires no pie crust and is perfect for beginners.
Ingredients
- 6–7 medium apples (peeled and sliced, mix of Granny Smith and Honeycrisp/Fuji)
- 2 tablespoons granulated sugar
- 1 tablespoon lemon juice
- 1 teaspoon ground cinnamon
- 1 tablespoon cornstarch
- 1 cup old-fashioned rolled oats
- 1 cup all-purpose flour
- 1 cup packed brown sugar
- 1/2 cup unsalted butter (cold and cubed)
- 1/2 teaspoon salt
- Optional: 1/2 cup chopped walnuts or pecans
Instructions
- Preheat oven to 375°F (190°C) and grease a 9×9 inch baking dish.
- In a large bowl, toss sliced apples with granulated sugar, cinnamon, lemon juice, and cornstarch until evenly coated. Let sit for a few minutes.
- In a medium bowl, whisk together oats, flour, brown sugar, and salt.
- Add cold cubed butter to the dry ingredients and mix with fingers or a pastry cutter until the mixture resembles coarse crumbs.
- Spread the apple mixture into the prepared baking dish.
- Sprinkle the crumble topping loosely over the apples. Do not press down.
- Bake for 45-50 minutes, or until the topping is golden brown and juices are bubbling.
- Let cool for at least 15 minutes before serving to allow juices to thicken.
Notes
Use cold butter for the crumble to ensure a crispy texture. Do not use instant or steel-cut oats. Let the crisp cool for 15 minutes before serving to prevent a soupy consistency. Reheat leftovers in the oven to restore crispiness.
- Prep Time: 15 minutes
- Cook Time: 50 minutes
- Category: Dessert
- Cuisine: American
Nutrition
- Serving Size: 1 slice
- Calories: 320
- Sugar: 35
- Sodium: 180
- Fat: 12
- Saturated Fat: 7
- Carbohydrates: 52
- Fiber: 4
- Protein: 3
Keywords: apple crisp, fall dessert, easy baking, oat crumble, beginner recipe, gluten-free option, dairy-free option


