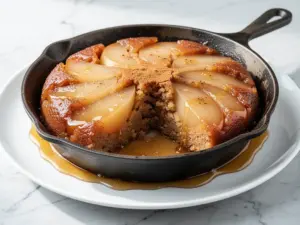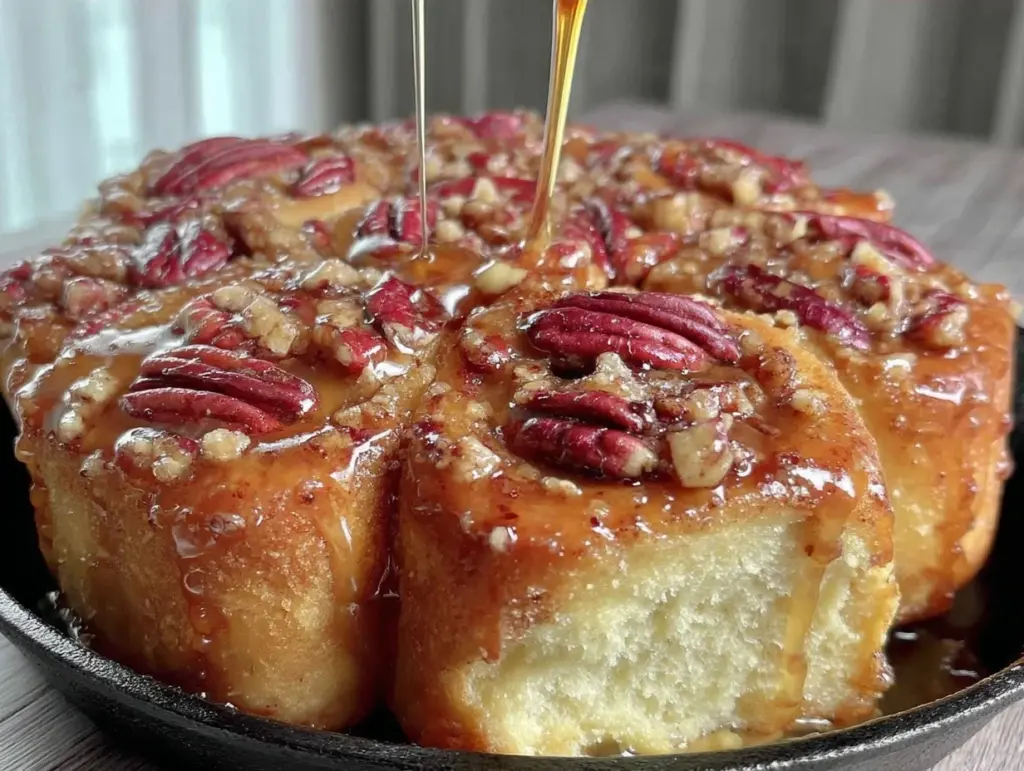
I still remember the first time I tried to make sticky buns on my own. I was twenty-two, living in a tiny apartment with a kitchen that barely fit a two-burner stove, and I thought I needed twenty different ingredients and a mixer to make something that tasted like a fancy bakery. I spent nearly $40 on specialty flour, expensive butter, and pre-chopped pecans. The result? Dry, dense bricks that stuck to the pan so hard I had to pry them out with a butter knife. I ate one. Then I threw the rest away. I was broke, and I was defeated.
Fast forward to last weekend. It was raining—that crisp, gray fall rain that makes you want to stay in bed until noon. I woke up craving something sweet, warm, and sticky. But my bank account was tight, and I didn’t want to run to the store. So I raided my pantry. I looked at what I actually had: flour, sugar, butter, milk, yeast, and a jar of cheap pecans I’d been hoarding. I decided to try a new approach. No fancy techniques. No expensive ingredients. Just simple, honest baking.
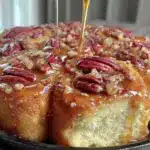
When I pulled that pan out of the oven, the smell filled the entire apartment. It smelled like comfort. It smelled like fall. And when I flipped the pan over, those buns slid out perfectly, glossy with maple syrup and studded with toasted pecans. I ate three. Just me. One person. And the total cost? About $1.50 per bun. That’s it. That’s less than a single coffee at a cafe.
This recipe for fall maple pecan sticky buns is my answer to those expensive bakery treats. It’s designed for one person who wants to treat themselves without feeling guilty about the price tag. It’s an ingredient list that won’t wreck your grocery budget because it relies on staples you probably already have. If you don’t, they’re cheap enough that you won’t miss them. Let me show you how to make these without breaking the bank.
Why You’ll Love This Budget-Friendly Recipe
There are a few reasons I keep coming back to this version of sticky buns, especially when I’m trying to save money. It’s not just about the cost, though that’s a huge part of it. It’s about the flexibility and the simplicity.
Stupid Simple Ingredients — Seriously, if you can boil water, you can make this dough. I don’t mean that as an insult; I mean it as a compliment to your intelligence. You need flour, yeast, sugar, salt, milk, butter, eggs, and pecans. That’s it. No xanthan gum, no vital wheat gluten, no weird flours from a health food store. Just real food.
Uses Cheap Store-Bought Pecans — Pecans can be expensive. But here’s the trick: you don’t need fancy, pre-toasted, or individually wrapped nuts. The cheapest bag of pecans from the discount aisle works perfectly. In fact, I find that the slightly smaller pieces toast better and distribute more evenly in the syrup. I buy the biggest bag I can find on sale, and it lasts me months.
One-Pan Wonder — You only need one 9×13-inch baking dish (or two 8x8s if you’re splitting it). No extra bowls for mixing dough, no separate pans for syrup. Cleanup is a breeze. I hate doing dishes, so this is a major win for my sanity.
Freezes Like a Dream — I make these on a Sunday morning when I have time. I freeze half the dough before baking, and I freeze the baked buns too. When I want breakfast on a random Tuesday, I just thaw and reheat. It’s like having fresh bakery buns for pennies. I pair these with a simple bakery-style blueberry streusel muffin for a weekend brunch that looks way more impressive than it actually was.
Cost Per Serving is Insane — Let’s talk numbers. A batch of twelve buns costs me about $12-$15 total, depending on where I shop. That’s $1.00 to $1.25 per bun. Compare that to $4.50 at a coffee shop, and you’re saving enough to buy a dozen eggs. That’s smart cooking.
Ingredients You’ll Need (And How to Buy Them Smart)
Here’s the best part: you probably have most of this already. I’m not asking you to buy anything fancy. In fact, the cheaper you buy these, the better it works. Here’s what you need and where to save money.
For the Dough
All-purpose flour (3 ½ cups / 440g) — Don’t bother with bread flour unless you have it. All-purpose gives a softer, more tender bun that I prefer for breakfast. I buy the 5-pound bag. It’s the cheapest per ounce and lasts forever. Just keep it in an airtight container.
Active dry yeast (2 ¼ teaspoons / 1 packet) — One packet is all you need. I keep a box of these in my pantry. They’re dirt cheap. If you have instant yeast, use it, but active dry is standard and inexpensive.
Granulated sugar (¼ cup / 50g) — For the dough. You’re not trying to make them sweet here; the sugar feeds the yeast. Use whatever sugar you have. Brown sugar isn’t necessary in the dough.
Salt (1 teaspoon) — Essential for flavor. Table salt or kosher salt both work. I use table salt because it’s what I already have.
Warm milk (1 cup / 240ml) — Whole milk is best for richness, but 2% works fine. If you’re on a tight budget, skim milk will work in a pinch, though the buns will be slightly less tender. The key is warming it to about 110°F. If you don’t have a thermometer, warm it in the microwave for 45 seconds. It should feel like a warm bath, not hot.
Unsalted butter (4 tablespoons / 60g, melted) — For the dough. I use the cheap tub butter or the block from the discount aisle. It doesn’t matter. The butter adds moisture, not flavor, in the dough.
Large egg (1) — Room temperature is best, but cold works if you let it sit for 10 minutes. I usually just grab one from the fridge. Don’t buy a dozen if you only need one. Buy a small carton or borrow from a neighbor.
For the Sticky Topping
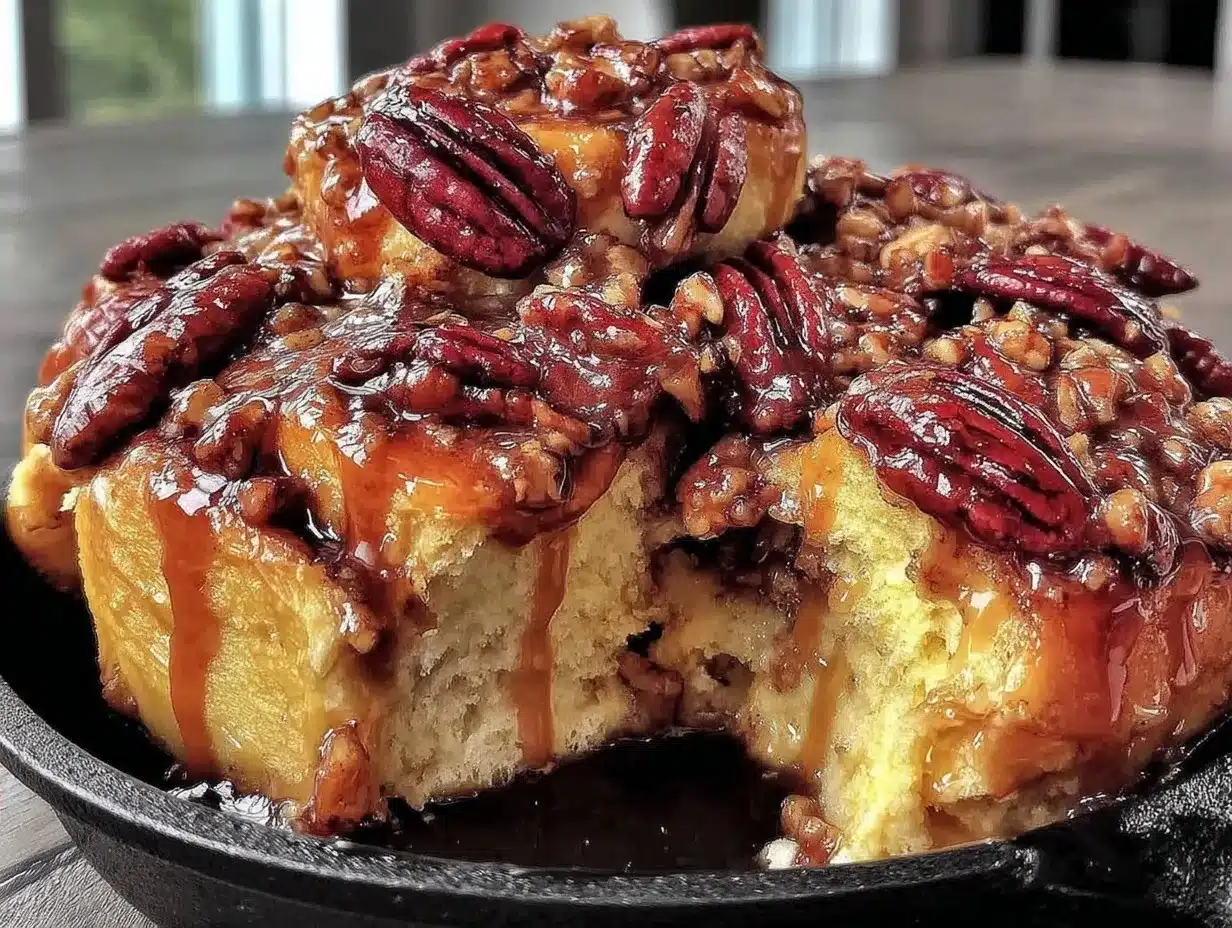
Unsalted butter (6 tablespoons / 85g) — This goes in the pan. I use the same cheap butter. Melt it directly in the baking dish in the microwave or on the stove.
Brown sugar (1 cup / 200g, packed) — This is the main flavor component of the glaze. Dark brown sugar is richer, but light brown is cheaper and works fine. If you don’t have brown sugar, mix ¾ cup white sugar with 1 tablespoon molasses. But honestly, brown sugar is cheap enough to just buy a small bag.
Maple syrup (½ cup / 120ml) — Here’s the budget secret: you don’t need expensive, pure Vermont maple syrup. I use “pancake syrup” that’s made with real maple flavoring (check the label for at least 10% maple syrup). It tastes 95% the same for half the price. If you have pure maple syrup, use it, but don’t stress if you don’t.
Pecan halves or pieces (1 cup / 100g) — The cheapest bag you can find. I buy the store brand. They’re often slightly smaller, but that’s actually better for distribution. If pecans are too expensive, you can skip them, but they add that nice crunch that makes sticky buns special.
Equipment Needed
You don’t need fancy tools for this. Here’s what I actually use:
9×13-inch baking dish — I use a glass Pyrex dish. It’s cheap, durable, and I can see the bottom browning. Metal works too, but glass is easier to clean. If you don’t have a 9×13, use two 8×8 pans. It will make about 24 smaller buns instead of 12 big ones.
Mixing bowl — Any large bowl will do. I use a plastic one because it’s lightweight and doesn’t break if I drop it.
Whisk — For mixing the wet ingredients. A fork works in a pinch.
Spatula — For scraping the bowl and stirring the topping.
Pastry brush — Optional, but nice for brushing melted butter on the buns after they bake. I usually just use a spoon.
Aluminum foil — For covering the dough while it rises. I cut a sheet from the roll. No need to buy a special cover.
How to Make It: Step-by-Step
Alright, let’s make these. I’m walking you through exactly how I do it, including the little tricks I’ve picked up over years of making this on a budget.
Step 1: Activate the Yeast (5 minutes)
Warm your milk until it’s about 110°F. If you don’t have a thermometer, heat it in the microwave for 45-60 seconds. It should feel warm to the touch, not hot. If it’s too hot, you’ll kill the yeast. If it’s too cold, it won’t rise. Pour the warm milk into a large mixing bowl. Add the yeast and 1 teaspoon of sugar. Stir gently and let it sit for 5-10 minutes. You’ll know it’s ready when it gets foamy and bubbly on top. If it stays flat, your yeast is dead. Buy new yeast. It happens.
Step 2: Mix the Dough (5 minutes)
To the yeast mixture, add the melted butter, the egg, and the remaining sugar. Stir well. Now, add the flour and salt. Start with 3 cups. Mix with a wooden spoon or your hands. The dough will be shaggy and sticky. That’s normal. Add the last ½ cup of flour gradually. You want a dough that is soft and slightly tacky but pulls away from the sides of the bowl. Don’t over-flour it. Sticky dough makes soft buns. Dry dough makes hard buns.
Step 3: Knead the Dough (8-10 minutes)
Turn the dough out onto a lightly floured surface. Knead it for 8-10 minutes. I know, kneading by hand is work. But it’s free. If you have a stand mixer with a dough hook, use it on low speed for 5-6 minutes. The goal is to develop gluten. The dough should become smooth and elastic. If you press it with your finger, it should spring back. If it stays indented, knead a bit more.
Step 4: First Rise (1 hour)
Lightly grease your mixing bowl with a bit of oil or butter. Place the dough in the bowl and turn it once to coat. Cover with plastic wrap or a damp towel. Let it rise in a warm spot for 1 hour, or until doubled in size. I usually put it in the oven with the light on. The warmth from the bulb speeds things up. If it’s cold outside, it might take 1.5 hours. Be patient. Don’t rush it.
Step 5: Make the Topping (5 minutes)
While the dough rises, make the sticky topping. Melt the 6 tablespoons of butter in your 9×13 baking dish. You can do this in the microwave (30 seconds) or on the stove. Once melted, sprinkle the brown sugar evenly over the butter. Then, drizzle the maple syrup over the sugar. Finally, scatter the pecans over the top. It will look like a messy, sweet mess. That’s exactly what you want. Set aside.
Step 6: Shape the Buns (10 minutes)
Punch down the risen dough. Turn it out onto a floured surface. Roll it into a rectangle, about 12×16 inches. It doesn’t need to be perfect. Brush the surface with a little melted butter (optional, but adds flavor). Roll the dough up tightly from the long side, like a jelly roll. Pinch the seam to seal. Cut the roll into 12 equal pieces. I use a serrated knife or dental floss for clean cuts. Place each piece, cut-side up, into the prepared baking dish. They should be snug but not squished.
Step 7: Second Rise (30-45 minutes)
Cover the pan loosely with foil or plastic wrap. Let the buns rise again for 30-45 minutes. They should look puffy and fill the pan. If they’re touching, that’s good. They’ll expand more in the oven. Preheat your oven to 350°F (175°C) during the last 15 minutes of rising.
Step 8: Bake (25-30 minutes)
Place the pan in the preheated oven. Bake for 25-30 minutes. The buns should be golden brown on top. If they’re browning too fast, cover them loosely with foil. The internal temperature should reach 190°F if you have a thermometer, but visual cues work too. They should look set and shiny.
Step 9: The Flip (5 minutes)
This is the moment of truth. Remove the pan from the oven. Let it cool for 5 minutes. Then, take a large plate and place it over the pan. Hold them together firmly and flip. The buns should slide out, coated in the sticky syrup. If one or two stick, just use a knife to loosen them. They’re still delicious, even if they’re not perfect. Drizzle any extra syrup from the pan over the tops. Serve warm.
Expert Tips & Tricks
Here’s everything I’ve learned from making this dozens of times. These tips will save you from my mistakes.
Don’t Skimp on the Rise — I know you’re hungry. But if you rush the rise, your buns will be dense. Let them double in size. It’s the most important step for soft, fluffy buns.
Use Cheap Butter — Seriously. The flavor in the dough is subtle. The butter is mostly for texture. Use whatever butter is on sale. It won’t hurt the recipe.
Pecans are Optional — If pecans are too expensive this week, skip them. The syrup is sweet enough on its own. But if you have them, use them. They add texture.
Freeze the Dough — After shaping the buns in Step 6, you can freeze them. Place the pan in the freezer until solid, then wrap it tightly. When you’re ready, thaw overnight in the fridge, let rise, and bake. This is great for meal prep.
Leftovers Store Well — Store leftovers in an airtight container at room temperature for 2 days. Reheat in the microwave for 20 seconds. They’re best fresh, but they’re still good the next day.
Variations & Substitutions
Once you’ve nailed the basic version, here’s how you can mix it up. I’ve tried all of these.
Cinnamon Roll Style — Skip the pecans. Roll the dough with cinnamon and sugar instead of just butter. It’s basically a giant sticky cinnamon roll. My kids prefer this version.
Maple Walnut — Swap pecans for walnuts. Walnuts are often cheaper. The flavor is slightly more bitter, which balances the sweet syrup nicely.
Gluten-Free — Use a 1:1 gluten-free flour blend. The texture will be slightly different, but it still works. Add an extra tablespoon of liquid if the dough is too dry.
Dairy-Free — Use coconut milk instead of dairy milk, and coconut oil instead of butter. The flavor will be slightly coconutty, but it’s still delicious. I’ve made this for friends with allergies, and they loved it.
Serving & Storage
I usually serve these straight from the pan, right side up, with a fork. They’re messy, and that’s part of the fun. I pair them with a simple sourdough breakfast toast for a complete, cheap, and filling weekend breakfast.
Reheating — Microwave for 20-30 seconds. They’ll be soft and gooey. If you have an air fryer, heat at 300°F for 3 minutes. They’ll be slightly crispier on the edges.
Freezing — You can freeze baked buns for up to 3 months. Wrap them tightly in plastic and foil. Thaw at room temperature or reheat from frozen in the oven at 300°F for 15 minutes.
Nutrition Information
I’m not a nutritionist, but here’s the breakdown if you’re tracking. This is a treat, so enjoy it mindfully.
Per Serving (based on 12 buns):
Calories: 320
Protein: 5g
Carbs: 45g
Sugar: 25g
Fat: 14g
Fiber: 2g
Look, this is comfort food with sugar and butter. It’s not a diet recipe. But it’s way better than store-bought, costs less, and I know exactly what’s in it. When I want to make it lighter, I use less sugar in the topping and add more pecans for protein. But usually? I just eat one or two and enjoy it.
Final Thoughts
So that’s my go-to fall maple pecan sticky buns! I’ve probably talked your ear off at this point, but when you make a recipe this often, you have a lot to say about it. This has saved my weekends more times than I can count. It’s my answer to “what’s for breakfast” when I want something special but don’t want to spend a fortune. My husband is happy, my kids are happy, and I’m happy because I’m not stressed about cooking or my wallet.
Make it yours! Try different nuts, swap the syrup for molasses, or add a pinch of cardamom. The best recipes are the ones you adapt to your tastes. If you make this, drop a comment and let me know what you think! I love hearing how recipes turn out in your kitchen. And if something doesn’t work, tell me that too—I’m here to help troubleshoot.
Happy cooking! And I hope your kitchen smells half as good as mine does right now.
Frequently Asked Questions
Q: Can I use instant yeast instead of active dry?
A: Yes! Instant yeast doesn’t need to be activated in milk first. Just mix it directly with the flour. The results are very similar. I use instant yeast most of the time because it’s faster. Just make sure your milk isn’t too hot, or it’ll kill the yeast.
Q: Why did my buns turn out dense?
A: This usually happens if the yeast was dead or if you didn’t let them rise enough. Check your yeast expiration date. Also, make sure your milk was warm enough (110°F) but not hot. If you’re in a cold kitchen, give them extra time to rise. Patience is key.
Q: Can I make these ahead of time?
A: Yes! After shaping the buns in Step 6, cover the pan tightly with plastic wrap and refrigerate overnight. In the morning, let them come to room temperature and rise for 1-2 hours before baking. This is great for lazy Sunday mornings.
Q: What if I don’t have a 9×13 pan?
A: You can use two 8×8 pans. Cut the dough in half and make 12 smaller buns per pan. The baking time will be slightly less, so check at 20 minutes. Or, make a smaller batch using half the ingredients in an 8×8 pan.
Q: Can I use maple-flavored syrup instead of pure maple syrup?
A: Absolutely. In fact, I prefer it for this recipe because it’s sweeter and more consistent. Pure maple syrup is expensive and has a more complex flavor that can get lost in the brown sugar. Use whatever you have on hand.
Q: How do I store leftovers?
A: Store in an airtight container at room temperature for up to 2 days. They’ll stay soft and sticky. If they start to dry out, microwave them for 10-15 seconds to restore moisture. Don’t refrigerate them—they’ll get hard.
Q: Can I freeze the dough before baking?
A: Yes! After shaping the buns, freeze them on the pan until solid. Then wrap the pan tightly in plastic and foil. When ready to bake, thaw overnight in the fridge, let rise, and bake as directed. This is perfect for meal prep.
Pin This Recipe!
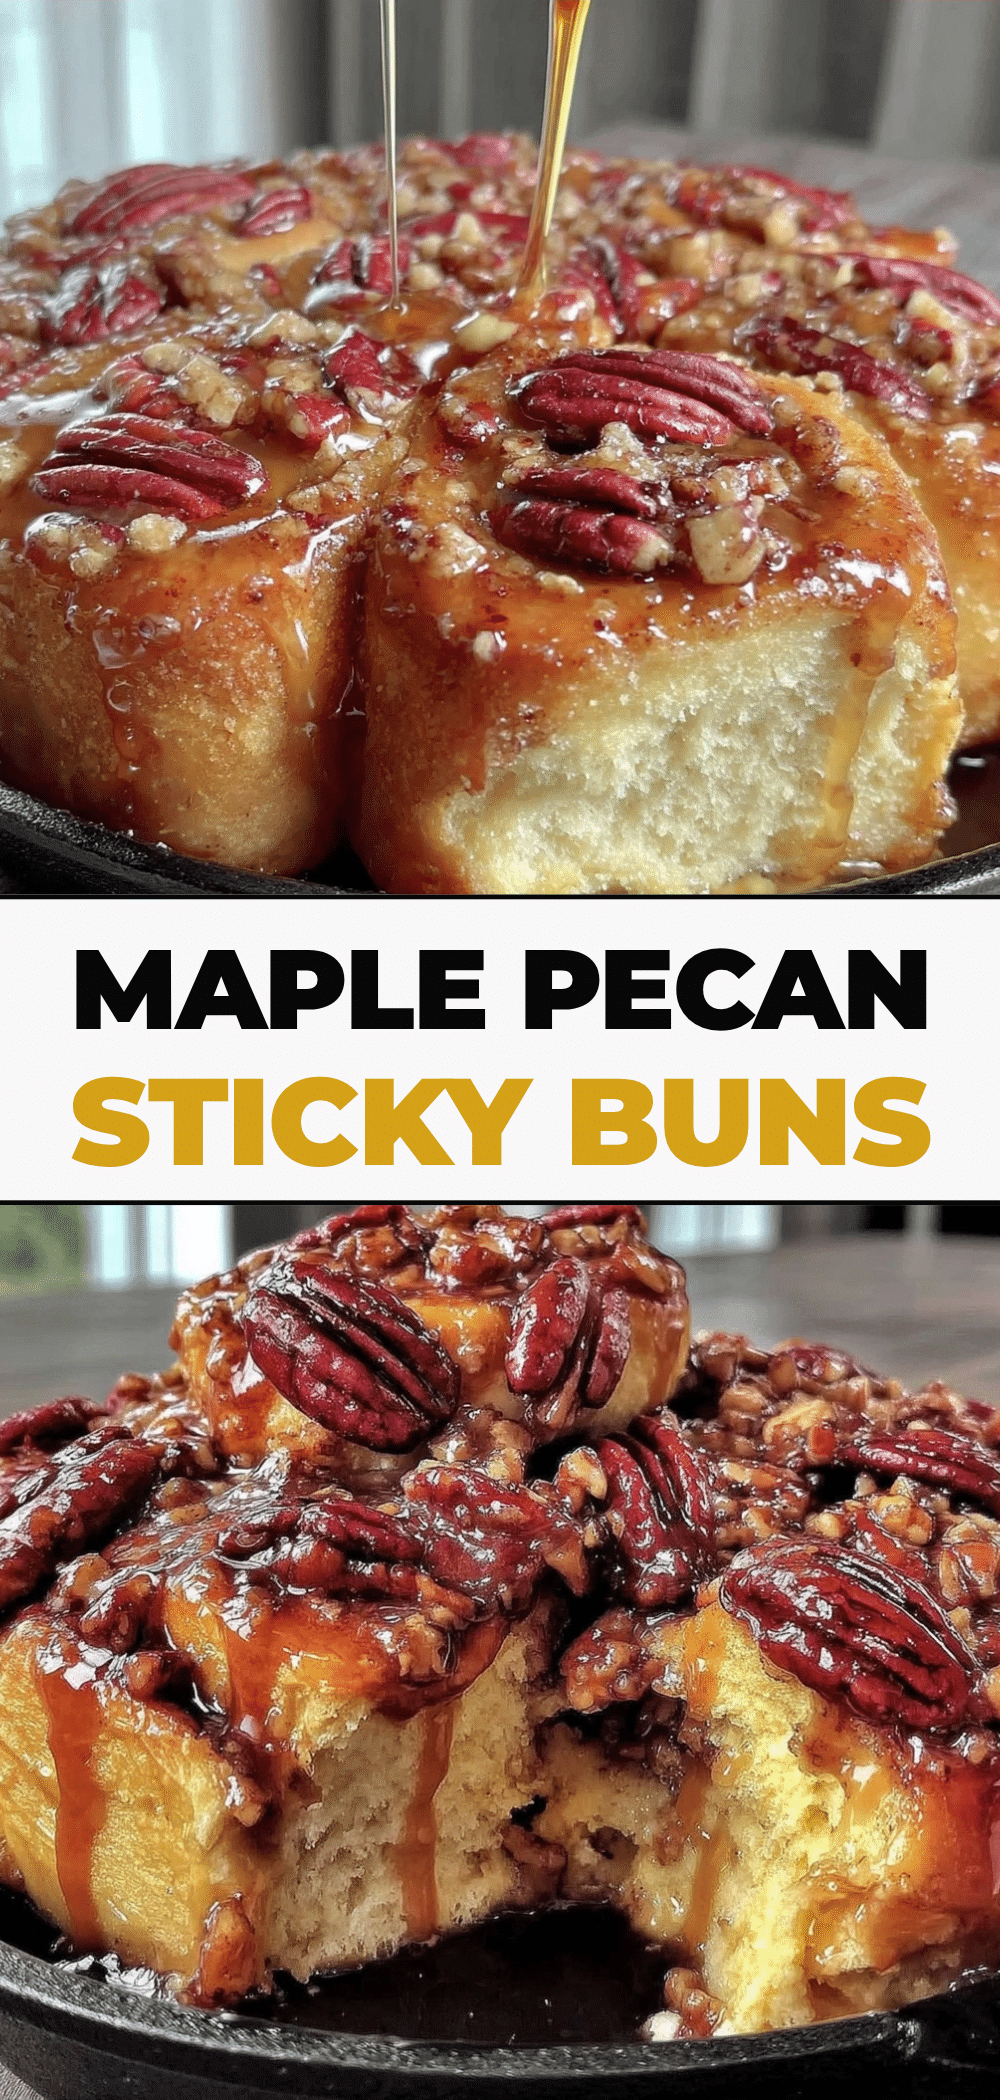
Fall Maple Pecan Sticky Buns: Budget-Friendly Recipe
- Total Time: 1 hour 45 minutes
- Yield: 12 servings 1x
Description
A budget-friendly, simple recipe for fall maple pecan sticky buns that uses pantry staples to create soft, sweet, and sticky breakfast treats for a fraction of the cost of bakery versions.
Ingredients
- 3 ½ cups (440g) all-purpose flour
- 2 ¼ teaspoons (1 packet) active dry yeast
- ¼ cup (50g) granulated sugar
- 1 teaspoon salt
- 1 cup (240ml) warm milk (about 110°F)
- 4 tablespoons (60g) unsalted butter, melted (for dough)
- 1 large egg, room temperature
- 6 tablespoons (85g) unsalted butter (for topping)
- 1 cup (200g) packed brown sugar
- ½ cup (120ml) maple syrup
- 1 cup (100g) pecan halves or pieces
Instructions
- Activate the yeast: Warm milk to 110°F. In a large bowl, combine warm milk, yeast, and 1 teaspoon of sugar. Let sit for 5-10 minutes until foamy.
- Mix the dough: Add melted butter, egg, and remaining sugar to the yeast mixture. Stir well. Add flour and salt, starting with 3 cups. Mix until shaggy, then gradually add the remaining ½ cup flour until the dough is soft, slightly tacky, and pulls away from the sides.
- Knead the dough: Turn dough onto a lightly floured surface and knead for 8-10 minutes until smooth and elastic. Alternatively, use a stand mixer with a dough hook on low speed for 5-6 minutes.
- First rise: Place dough in a greased bowl, cover, and let rise in a warm spot for 1 hour or until doubled in size.
- Make the topping: While dough rises, melt 6 tablespoons of butter in a 9×13-inch baking dish. Sprinkle brown sugar evenly over the butter, drizzle with maple syrup, and scatter pecans on top.
- Shape the buns: Punch down the risen dough. Roll into a 12×16 inch rectangle. Brush with melted butter (optional), roll tightly into a jelly roll, and pinch seam to seal. Cut into 12 equal pieces and place cut-side up in the prepared baking dish.
- Second rise: Cover the pan loosely and let rise for 30-45 minutes until puffy. Preheat oven to 350°F (175°C) during the last 15 minutes of rising.
- Bake: Bake for 25-30 minutes until golden brown. If browning too fast, cover loosely with foil.
- The flip: Let cool for 5 minutes. Place a large plate over the pan, hold firmly, and flip. The buns should slide out coated in syrup. Drizzle any extra syrup from the pan over the tops and serve warm.
Notes
For best results, do not rush the rising process. Cheap butter works fine in the dough as it provides texture rather than flavor. Pecans are optional but add nice crunch. Dough can be frozen after shaping for later use. Leftovers store at room temperature for 2 days.
- Prep Time: 30 minutes
- Cook Time: 30 minutes
- Category: Breakfast
- Cuisine: American
Nutrition
- Serving Size: 1 bun
- Calories: 320
- Sugar: 25
- Sodium: 350
- Fat: 14
- Saturated Fat: 7
- Carbohydrates: 45
- Fiber: 2
- Protein: 5
Keywords: sticky buns, maple pecan buns, budget breakfast, fall baking, easy sticky buns, homemade bakery style, cheap breakfast recipe