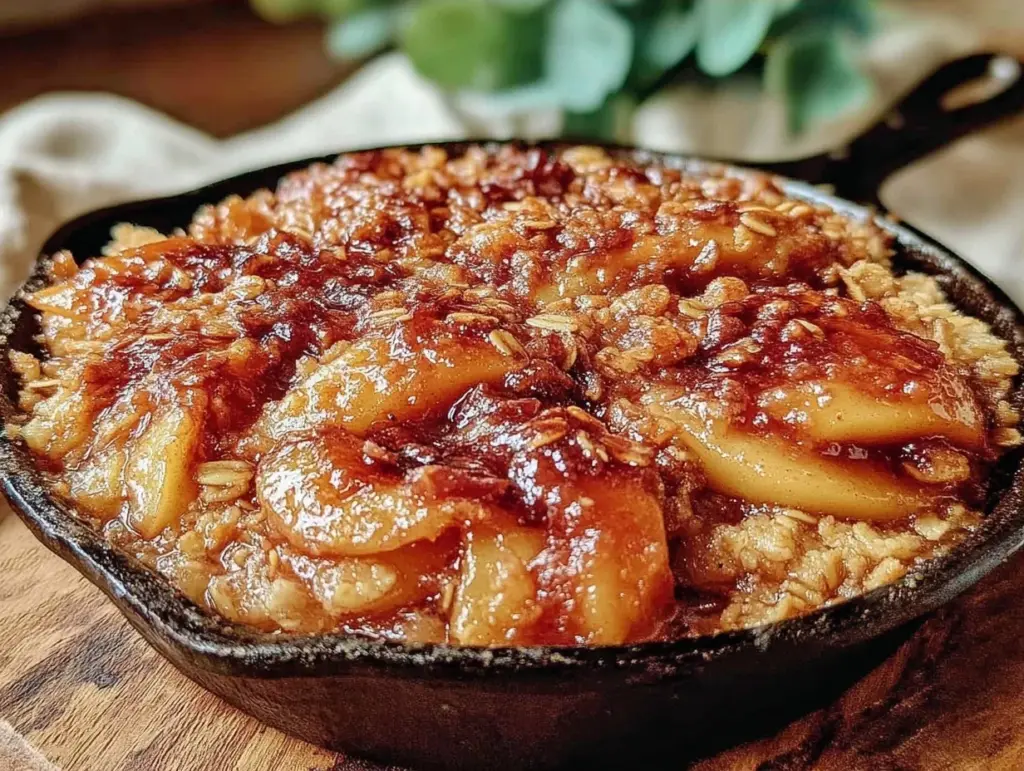
I used to think dessert had to be complicated to be impressive. You know the kind—layers of delicate pastry, precise temperatures, and a frantic clock ticking while you wait for it to cool so you don’t burn your tongue. Then last Saturday, I pulled this cast iron skillet apple crisp out of the oven, dusted it with powdered sugar, and watched my family stare at it like I’d just performed magic.
It wasn’t magic. It was brown butter.
Here’s the thing about apple crisp: most recipes are just sweetened apples with a sad, soggy oat topping. But when you take the time to brown that butter before mixing it into the streusel, everything changes. The nuts get toasted. The oats get caramelized. The whole thing tastes like a hug from your favorite bakery, but with half the effort and way more flavor.
I’ve tested this cast iron skillet apple crisp at least eight times over the last two months. I’ve used Granny Smiths, Honeycrisps, and those weird organic apples I buy when I’m trying to be healthy (which are actually the best for baking because they hold their shape). I’ve tried making it in a regular baking dish, but the cast iron? It creates this crispy, golden edge that you just can’t get anywhere else. It’s the kind of dessert that makes people ask for the recipe before they’ve even finished their second slice.
This isn’t one of those “I tried this once and it was okay” recipes. This is the one. The one you make when you want to feel like a pro chef but only want to do the dishes for five minutes. Seriously, if you can only make one dessert this season, make this. You really can’t mess it up.
Why You’ll Love This Cast Iron Skillet Apple Crisp
There are a million reasons to make this, but let’s be real about the big ones. This recipe strips away the fuss and focuses on what actually matters: taste and texture.
The Brown Butter Factor — This is the game-changer. Regular melted butter is fine, but browned butter adds a nutty, toasty depth that makes the topping taste gourmet. It’s the same technique I use in my brown butter chocolate chip banana bread for that same rich, complex flavor profile. It elevates the whole dish without adding any extra work.
One Pan Wonder — You slice the apples, mix the topping, bake it all in one skillet, and serve it right from the pan. No transferring to a serving dish. No extra bowls. The cast iron keeps it warm at the table, which is crucial because apple crisp is best eaten hot.
Foolproof Simplicity — I’m a big believer in minimalism. This recipe uses ingredients you already have in your pantry. Flour, oats, brown sugar, butter, cinnamon, apples. That’s it. No weird spices you won’t use again. No fancy flours. If you can chop an apple and stir a bowl, you can make this perfectly every single time.
Texture Perfection — The secret is in the ratio. Too much flour and it’s cakey. Too many oats and it’s dry. I’ve dialed in the exact proportions to get that crumbly, crunchy streusel that shatters when you dig in, contrasting with the soft, juicy apples underneath. It’s the kind of texture that makes people close their eyes and sigh.
Better Than Takeout — Seriously. Ordering dessert is expensive and usually disappointing. Making this costs about $8 for apples and pantry staples, and it tastes like something from a high-end restaurant. Plus, you get to brag that you made it from scratch.
This is my go-to when I want to impress guests without stressing. It’s warm, comforting, and incredibly satisfying. No complicated techniques, no weird ingredients, just reliable, delicious food that makes everyone happy.
Ingredients You’ll Need
Here’s the best part: you probably have most of this already. I’m particular about three ingredients here, and I’ll tell you exactly why.
For the Apples
Apples (6 large, peeled and sliced / about 2.5 kg) — Use a mix of tart and sweet apples. I love using 3 Granny Smiths and 3 Honeycrisps. Granny Smiths hold their shape and provide tartness, while Honeycrisps get soft and sweet. Avoid Red Delicious—they turn to mush. You want slices that are about ¼ inch thick, not too thin or they’ll disintegrate.
Lemon juice (2 tablespoons) — Squeezed over the apples to prevent browning and add a bright pop of acidity. It balances the sweetness so it’s not cloying. If you don’t have lemon, a teaspoon of apple cider vinegar works too.
Granulated sugar (¼ cup / 50g) — Just a little bit to help the apples release their juices and caramelize slightly. Don’t skip this; it helps create that syrupy base.
Cinnamon (1 teaspoon) — Ground cinnamon is key. It’s the classic apple flavor. If you want it spicier, add a pinch of nutmeg or allspice, but keep it simple.
Vanilla extract (1 teaspoon) — Adds warmth and depth. Pure vanilla only—no imitation stuff. It makes a noticeable difference in a simple dessert like this.
For the Brown Butter Oat Streusel
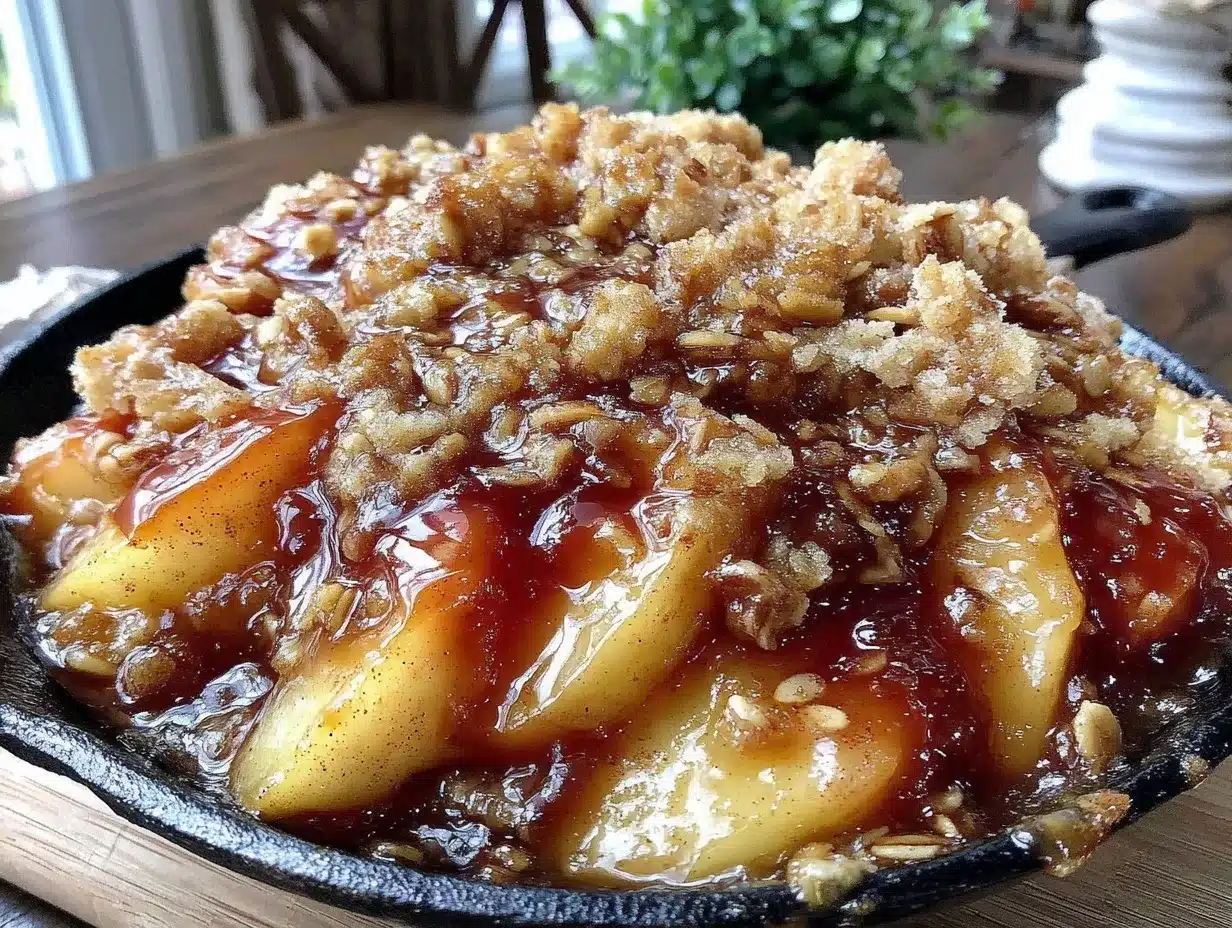
Unsalted butter (½ cup / 113g) — This is where the magic happens. You’ll brown this butter. Use good quality butter if you can afford it; it makes a difference in flavor. I use unsalted so I can control the salt level.
All-purpose flour (1 cup / 125g) — The base of the streusel. It binds the oats and sugar together. Don’t use self-rising flour; it’ll change the texture.
Old-fashioned oats (1 cup / 90g) — Not instant oats. Old-fashioned or rolled oats give that chewy, hearty texture. Instant oats will turn to mush. I like to pulse them in the food processor for 10 seconds to make them slightly finer—it creates a nicer crumble.
Brown sugar (¾ cup / 150g) — Packed. This adds moisture and a deep molasses flavor that pairs perfectly with the brown butter. Light or dark brown sugar both work; I usually use light.
Kosher salt (½ teaspoon) — Essential. Salt makes the sweetness pop. Don’t skip it. If you use table salt, reduce to ¼ teaspoon.
Chopped pecans or walnuts (½ cup / 60g) — Optional but highly recommended. Toasted nuts add crunch and richness. I always use pecans for this recipe—they taste like fall. If you’re allergic or don’t like nuts, just skip them; the crisp still works.
Pinch of nutmeg (optional) — Just a tiny pinch. It adds complexity without being obvious.
For Serving
Vanilla ice cream or whipped cream — Non-negotiable. This crisp is dry enough that it needs something cold and creamy to balance it out. I usually serve it with a big scoop of vanilla bean ice cream. If you’re feeling fancy, add a drizzle of salted caramel sauce.
Equipment Needed
You don’t need fancy equipment for this. Here’s what I actually use.
10-inch cast iron skillet — This is crucial. The skillet needs to be oven-safe. I use a Lodge skillet that’s been seasoned for years. It distributes heat evenly and creates that crispy edge. If you don’t have cast iron, use a 9×13 inch baking dish, but you won’t get the same crusty edges.
Medium saucepan — For browning the butter. A light-colored pan is better so you can see the color change. I use a small stainless steel saucepan.
Large mixing bowl — For tossing the apples and for mixing the streusel. Any large bowl works.
Peeler and knife — For peeling and slicing the apples. A Y-peeler is easiest. For slicing, a sharp chef’s knife works best. I slice apples into wedges, then cut the wedges into ¼ inch strips.
Measuring cups and spoons — Standard stuff. Dollar store versions work fine.
Wooden spoon or spatula — For stirring the butter and mixing the streusel.
Cooling rack — Optional, but good to have if you want to let it cool slightly before serving.
Whisk — For mixing the streusel until it’s crumbly.
How to Make It: Step-by-Step
Alright, let’s make this! I’m walking you through exactly how I do it, including the little tricks I’ve picked up. This cast iron skillet apple crisp is easier than it looks, and the steps flow naturally.
Step 1: Prep the Apples (10 minutes)
Preheat your oven to 375°F (190°C). While it heats, peel and slice your apples. I peel them first, then cut them into wedges, then slice those wedges into about ¼ inch thick pieces. Toss the apple slices in a large bowl with the lemon juice, granulated sugar, cinnamon, and vanilla extract. Make sure every slice is coated. Set aside.
Step 2: Brown the Butter (5 minutes)
This is the most important step. Melt the butter in a medium saucepan over medium heat. Stir it occasionally. As it melts, it’ll start to foam and crackle. Keep watching. The foam will turn from white to golden, and you’ll see little brown bits form at the bottom. The smell will change from milky to nutty and toasty. This takes about 3-5 minutes. Once it smells like browned butter and looks amber-colored with brown specks, immediately remove it from the heat. Pour it into a heatproof bowl to stop the cooking. Don’t burn it—if it smells acrid, start over.
Step 3: Make the Streusel (5 minutes)
In your large mixing bowl, combine the flour, oats, brown sugar, salt, nutmeg, and chopped nuts. Pour the warm brown butter over the dry ingredients. Use a fork or your fingers to mix it until it forms coarse crumbs. Some pieces will be larger, some smaller—that’s perfect. It should look like wet sand. Set aside.
Step 4: Assemble in the Skillet (2 minutes)
Transfer the apple mixture into your cast iron skillet. Spread it out evenly. You don’t need to press it down; just let it sit naturally. Then, sprinkle the brown butter oat streusel evenly over the top. Don’t worry about covering every single apple; the oats will melt down and spread as they bake. It doesn’t need to be perfect.
Step 5: Bake (45-50 minutes)
Place the skillet in the preheated oven. Bake for 45-50 minutes. You’ll know it’s done when the topping is deep golden brown and the apples are bubbling vigorously around the edges. The juices should be thick and syrupy, not watery. If the topping is browning too fast, you can loosely tent it with aluminum foil for the last 10 minutes.
Step 6: Cool and Serve (15 minutes)
Remove the skillet from the oven and let it cool on a wire rack for at least 15 minutes. This is hard, but necessary. If you cut into it immediately, the filling will be runny. Letting it rest allows the juices to thicken slightly. Serve warm with vanilla ice cream. Dig in.
Expert Tips & Tricks
Here’s everything I’ve learned from making this dozens of times. These tips will save you from my mistakes.
Don’t Skip the Browning — I know it’s an extra step, but it’s worth it. Melted butter tastes flat. Browned butter tastes like caramel and nuts. It transforms the topping from “okay” to “wow.” If you’re nervous, watch it closely. The smell is your best indicator.
Use a Mix of Apples — Single-variety apples can be one-dimensional. A mix of tart and sweet apples creates a more complex flavor profile. And definitely avoid apples that turn to mush. Stick to firm baking apples.
Don’t Overmix the Streusel — When you add the brown butter, mix until it’s crumbly. If you overwork it, it’ll become a dough. You want distinct crumbs, not a solid cake layer.
Let It Rest — I cannot stress this enough. I’ve tried to serve it straight out of the oven, and it’s soupy. Give it 15 minutes. The residual heat will finish cooking the apples, and the juices will set. Patience pays off.
Toast the Nuts — If you’re using pecans or walnuts, toast them in a dry skillet for 2-3 minutes before adding them to the streusel. It brings out their flavor and adds extra crunch.
Common Mistakes:
- Soggy bottom: Make sure your apples aren’t too wet before adding sugar. If they’re very juicy, you can drain off some excess liquid before baking.
- Burnt topping: Your oven might run hot. Tent with foil if it’s getting too dark before the apples are tender.
- Bland flavor: Don’t skimp on the salt. It’s essential for balancing the sweetness.
Variations & Substitutions
Once you’ve nailed the basic version, here’s how you can mix it up. I’ve tried all of these.
Pear Crisp — Substitute pears for apples. Use Bosc or Anjou pears. They hold their shape well and have a beautiful flavor. The cooking time is the same.
Apple-Blueberry Crisp — Add 1 cup of fresh or frozen blueberries to the apple mixture. The berries burst and create little pockets of purple sweetness. Amazing with the brown butter topping.
Gluten-Free — Use a 1:1 gluten-free flour blend instead of all-purpose flour. Make sure your oats are certified gluten-free. The texture is slightly different but still delicious.
Dairy-Free — Use coconut oil or vegan butter instead of regular butter. Brown it the same way. The flavor will be slightly different (coconutty), but still tasty. Use dairy-free ice cream for serving.
Vegan — Combine the dairy-free modifications above. The crisp itself is naturally vegan except for the butter. The brown butter flavor works well with coconut oil too.
Spiced Up — Add a pinch of cardamom or ginger to the streusel for a warmer, spicier flavor. Great for winter.
Maple Version — Substitute the brown sugar with maple sugar or reduce the sugar and add 2 tablespoons of pure maple syrup. Very autumnal.
Serving & Storage
How to Serve: — I usually serve this straight from the skillet at the dinner table. It looks rustic and stays warm. Put a big scoop of vanilla ice cream in the center of each bowl, then spoon the hot crisp over it. The contrast of hot and cold is what makes this dessert special.
Side Dishes: — This is a dessert, so it doesn’t need sides. But if you’re having a big dinner, it pairs well with light meals like maple dijon roasted chicken or a simple green salad.
Storage: — Store leftovers in an airtight container in the refrigerator for up to 4 days. The topping will soften in the fridge, which is normal.
Reheating: — The best way to reheat is in the oven. Preheat to 350°F and bake the crisp (covered with foil) for 15-20 minutes until warmed through. This helps restore the crispiness of the topping. You can also microwave individual portions for 1-2 minutes, but the topping will get chewy.
Freezing: — You can freeze this crisp! Bake it, let it cool completely, then wrap the whole skillet tightly in plastic wrap and foil. Freeze for up to 3 months. Thaw in the fridge overnight and reheat in the oven. Or freeze individual portions in freezer-safe containers.
Pro Tip: — If you’re meal prepping, make the streusel topping and apple filling separately. Store them in the fridge. Bake them together when you’re ready to eat. This keeps the topping crisper.
Nutrition Information
I’m not a nutritionist, but here’s the breakdown if you’re tracking. This is a indulgent dessert, so enjoy it in moderation.
Per Serving (based on 8 servings):
- Calories: 380
- Protein: 4g
- Carbs: 52g
- Fiber: 4g
- Sugar: 32g
- Fat: 18g
- Saturated Fat: 10g
- Cholesterol: 40mg
- Sodium: 180mg
What’s Good: — Apples provide fiber and vitamins. Oats offer some heart-healthy benefits. It’s a fruit-forward dessert.
What to Know: — Higher in sugar and saturated fat from the butter and brown sugar. It’s a treat, not a health food. Pair with a protein or fat (like nuts or cheese) to balance the blood sugar spike if you’re concerned.
Final Thoughts
So that’s my go-to cast iron skillet apple crisp! I’ve probably talked your ear off at this point, but when you make a recipe this often, you have a lot to say about it.
This has saved my dessert game more times than I can count. It’s my answer to “what’s for dessert?” when I want something homemade but don’t want to spend hours in the kitchen. My family is happy, my guests are impressed, and I’m happy because I’m not stressed about cooking.
Make it yours! Try different apple varieties, swap in your favorite nuts, or add a splash of bourbon to the apples for an adult twist. The best recipes are the ones you adapt to your family’s tastes.
If you make this, drop a comment and let me know what you think! I love hearing how recipes turn out in your kitchen. And if something doesn’t work, tell me that too—I’m here to help troubleshoot.
Happy cooking! And I hope your kitchen smells half as good as mine does right now.
Frequently Asked Questions
Can I use a baking dish instead of a cast iron skillet?
You can, but you won’t get the same crispy edges. A 9×13 inch baking dish works, but the cooking time might be slightly shorter since the apples are in a shallower layer. Watch it closely. Cast iron is ideal because it retains heat and creates that signature crust.
Why did my topping turn out soggy?
This usually happens if the apples released too much liquid during baking, or if the topping wasn’t browned enough. Make sure your brown butter is fully cooled before mixing it with the dry ingredients. Also, let the crisp rest for 15 minutes after baking to allow the juices to thicken.
Can I make this ahead of time?
Yes! You can prep the apple mixture and the streusel topping separately and store them in the fridge for up to 2 days. Assemble and bake when you’re ready. Or, bake the whole crisp, let it cool, and reheat it later. The flavor actually gets better after sitting for a day.
What’s the best apple for apple crisp?
I recommend a mix of Granny Smith (tart, firm) and Honeycrisp (sweet, crisp). Avoid Red Delicious or McIntosh, as they turn to mush. You want apples that hold their shape but become tender.
Can I use instant oats instead of old-fashioned oats?
I don’t recommend it. Instant oats are too thin and will turn to mush. Old-fashioned or rolled oats provide the right texture. If you must, pulse the instant oats in a food processor to make them thicker, but old-fashioned is best.
How do I store leftovers?
Store in an airtight container in the fridge for up to 4 days. Reheat in the oven at 350°F for 15 minutes to restore crispiness. Microwave reheating works in a pinch but makes the topping chewy.
Can I double this recipe?
Yes, but you’ll need a larger skillet or a 9×13 inch baking dish. Increase the cooking time by 10-15 minutes. Check for doneness by looking for bubbling juices and a golden topping.
Pin This Recipe!
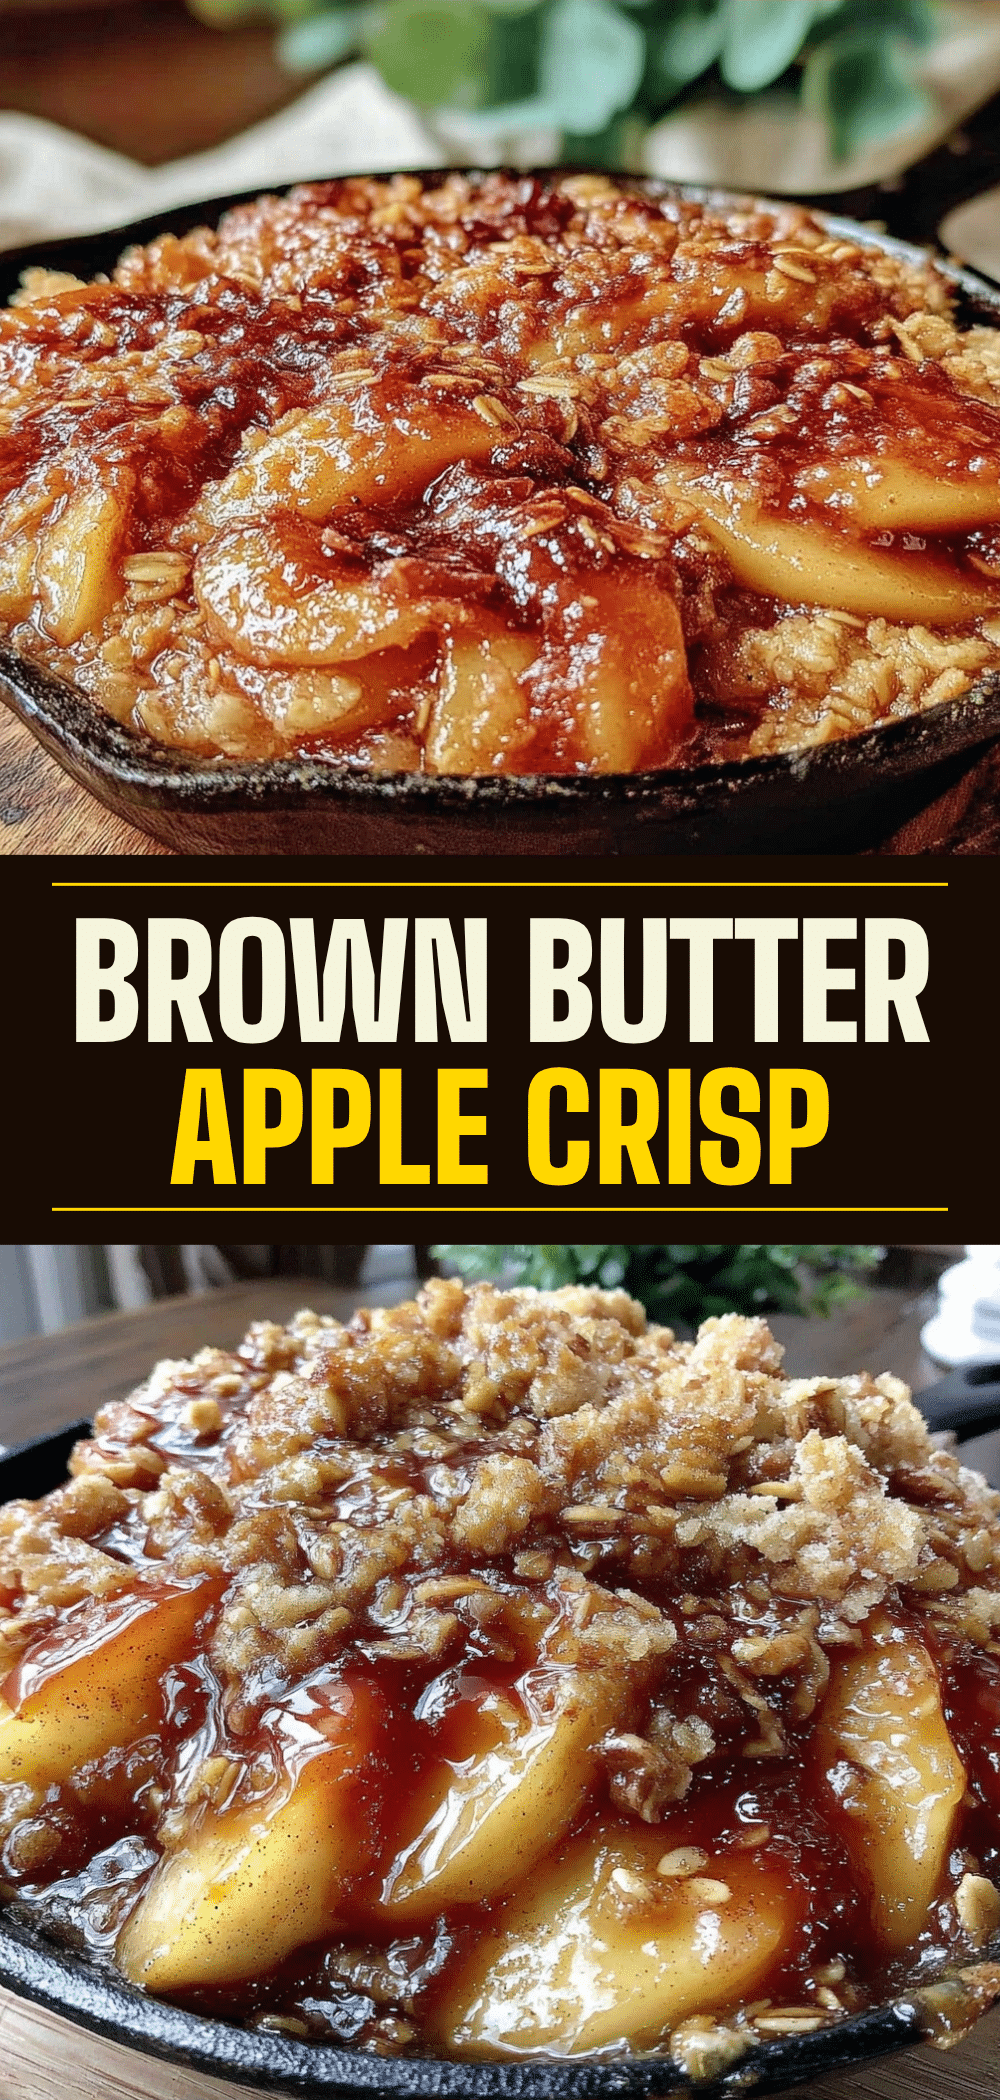

Cast Iron Skillet Apple Crisp: Easy Apple Crisp Recipe
- Total Time: 60 minutes
- Yield: 8 servings 1x
Description
A foolproof, one-pan dessert featuring tart and sweet apples topped with a crunchy, nutty brown butter oat streusel. This recipe uses a cast iron skillet for maximum crispiness and minimal cleanup.
Ingredients
- 6 large apples (peeled and sliced, approx. 2.5 kg; mix of Granny Smith and Honeycrisp recommended)
- 2 tablespoons lemon juice
- 1/4 cup granulated sugar
- 1 teaspoon ground cinnamon
- 1 teaspoon pure vanilla extract
- 1/2 cup unsalted butter
- 1 cup all-purpose flour
- 1 cup old-fashioned oats
- 3/4 cup packed brown sugar
- 1/2 teaspoon kosher salt
- 1/2 cup chopped pecans or walnuts (optional)
- Pinch of nutmeg (optional)
- Vanilla ice cream or whipped cream (for serving)
Instructions
- Preheat oven to 375°F (190°C).
- Peel and slice apples into 1/4 inch thick pieces. Toss with lemon juice, granulated sugar, cinnamon, and vanilla extract in a large bowl. Set aside.
- Melt butter in a medium saucepan over medium heat. Cook, stirring occasionally, until the butter foams, turns amber-colored with brown specks, and smells nutty (about 3-5 minutes). Immediately pour into a heatproof bowl to stop cooking.
- In a large mixing bowl, combine flour, oats, brown sugar, salt, nutmeg, and chopped nuts. Pour the warm brown butter over the dry ingredients. Mix with a fork or fingers until the mixture resembles coarse, wet sand.
- Transfer the apple mixture to a 10-inch oven-safe cast iron skillet. Spread evenly. Sprinkle the streusel topping evenly over the apples.
- Bake for 45-50 minutes, or until the topping is deep golden brown and the apple juices are bubbling vigorously. If the topping browns too quickly, tent with foil for the last 10 minutes.
- Remove from oven and let cool on a wire rack for at least 15 minutes to allow juices to thicken.
- Serve warm with vanilla ice cream or whipped cream.
Notes
For best results, use a mix of tart (Granny Smith) and sweet (Honeycrisp) apples. Avoid Red Delicious as they turn to mush. Ensure the brown butter is cooled slightly before mixing with dry ingredients to prevent melting the oats. Letting the crisp rest for 15 minutes after baking is crucial for the filling to set. For a gluten-free version, use a 1:1 gluten-free flour blend and certified gluten-free oats. For a dairy-free/vegan version, substitute butter with coconut oil or vegan butter.
- Prep Time: 15 minutes
- Cook Time: 45 minutes
- Category: Dessert
- Cuisine: American
Nutrition
- Serving Size: 1/8 of the skillet
- Calories: 380
- Sugar: 32
- Sodium: 180
- Fat: 18
- Saturated Fat: 10
- Carbohydrates: 52
- Fiber: 4
- Protein: 4
Keywords: apple crisp, cast iron skillet dessert, brown butter recipe, easy apple dessert, fall baking, gluten-free option, vegan option


