There was a crisp Tuesday in October when I decided I was done with ordinary dessert bars. I had just come back from a farmers market, my arms full of bruised apples and a bag of pecans that cost more than I wanted to admit, and I was staring at a completely empty weekend. I didn’t want to bake a massive, intimidating cheesecake that required a water bath and three hours of my life. I didn’t want to just eat another bowl of cereal. I wanted something that felt like fall in a bite—warm, spiced, creamy, and deeply satisfying without being heavy.
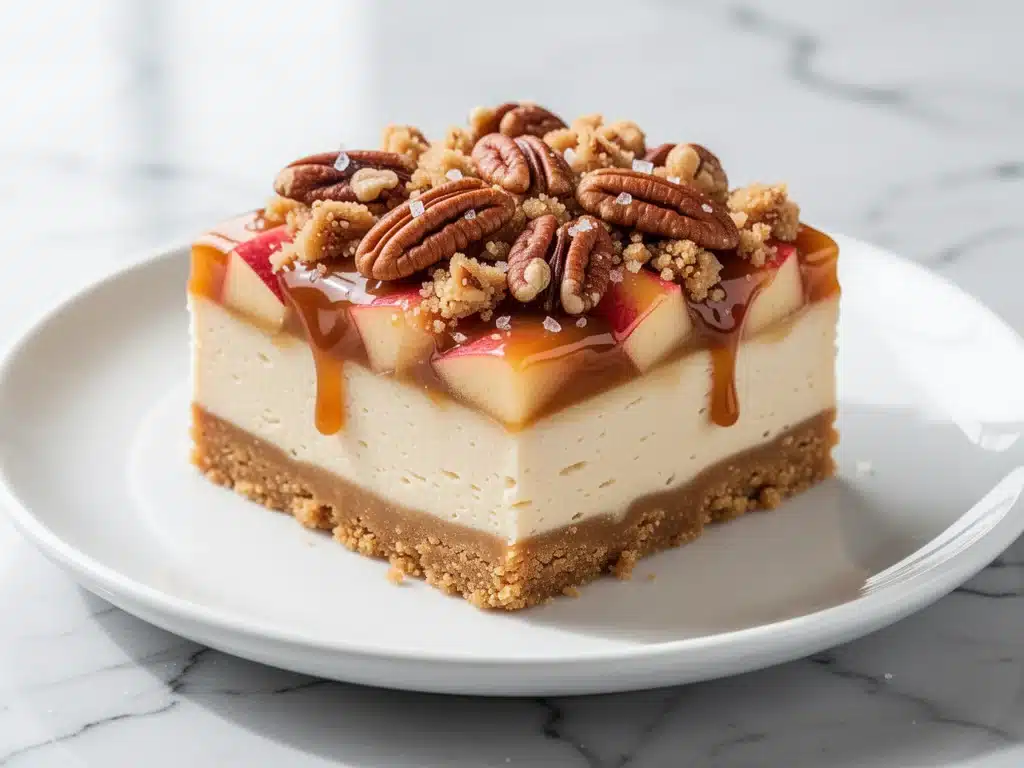
So I threw together what I thought would be a mediocre apple crisp with a cream cheese swirl. I figured if it failed, I’d just eat it with ice cream and call it a day. But the smell that filled my kitchen changed everything. It smelled like my grandmother’s house during Thanksgiving, mixed with something new and exciting. The first time I took a bite, I actually stopped mid-chew. The contrast between the buttery, salted pecan crumble, the tangy cheesecake layer, and the soft, caramelized apples was perfect. It was the kind of dessert that makes people close their eyes.
Since that Tuesday, I’ve made these fall caramel apple cheesecake bars at least six times. I’ve tweaked the caramel ratio, I’ve tested different apple varieties, and I’ve even argued with my husband about whether the salted pecan topping is necessary (spoiler: it is). Now, they are my go-to for potlucks, holiday gatherings, or just when I need a little comfort on a rainy afternoon. They look fancy, but they’re actually incredibly forgiving to make. If you’ve been looking for a dessert that impresses every time without the stress, this is it.
Why You’ll Love This Recipe
I know what you’re thinking. “Another cheesecake bar?” But hear me out. There are specific reasons I keep coming back to these fall caramel apple cheesecake bars, and they have nothing to do with trends. They’re about texture, flavor balance, and actually enjoying the baking process.
- The Texture Combo is Unbeatable — Most bar recipes are one-note. You get the crust, or you get the filling. This one gives you three distinct layers that fight for your attention in the best way. You get the crunch of the pecan crumble, the dense creaminess of the cheesecake, and the tender chew of the baked apples. It’s like a pie and a cheesecake had a delicious baby.
- Perfect for Fall Gatherings — I’ve brought these to three different potlucks and a Thanksgiving dinner. Every single time, someone asks for the recipe within five minutes. They travel well, they look rustic and elegant at the same time, and they taste better the next day. Seriously, day-two apple bars are a thing, and they’re amazing.
- Uses Up Those Farmers Market Finds — This recipe is designed for apples that aren’t perfect. You’re dicing them small and baking them into caramel, so bruised or slightly soft apples work just as well as the shiny ones. It’s a zero-waste dessert that makes the most of seasonal produce.
- No Water Bath Required — This is huge for me. I hate water baths. They’re messy, they take up oven space, and they always seem to leak. These bars are baked in a standard pan, and the structure is sturdy enough that you won’t get cracks or soggy bottoms. It’s foolproof.
- Salted Pecan Crumble is the Star — Don’t skip the pecans. The saltiness cuts through the sweetness of the caramel and cream cheese perfectly. It adds a savory depth that makes the dessert feel sophisticated. I’ve tried making it without pecans before, and it just felt… missing.
These bars are my answer to “I need to bring a dessert that says I tried, but I also want to relax.” They’re rich, they’re spiced, and they’re basically edible confetti for your fall season.
Ingredients You’ll Need
Before we get into the mixing, let’s talk about what’s going into the bowl. I’m particular about three things here: the apples, the cream cheese, and the quality of the pecans. If you cut corners on those, the whole thing suffers. But don’t worry, most of this is standard pantry stuff.
For the Salted Pecan Crumble Base
Unsalted butter (1/2 cup / 115g, softened) — You need this at room temperature so it creams easily with the sugar. Cold butter will make a gritty crust. I use unsalted so I can control the salt level, especially since we’re adding salted pecans.
Granulated sugar (1/2 cup / 100g) — This helps create that crunchy, cookie-like texture for the base. Don’t substitute with brown sugar here; you want a light, crisp foundation.
All-purpose flour (1 cup / 125g) — Standard flour is fine. I’ve tested cake flour, but it made the base too tender. You want structure.
Salted pecan halves (1 cup / 115g, roughly chopped) — Yes, salted. The salt is crucial. If you only have unsalted, add an extra 1/4 teaspoon of salt to the crumble mix. Chop them roughly; you want chunks, not dust.
Cinnamon (1/2 teaspoon) — Just a hint in the crust to tie it to the apple flavor.
For the Caramel Apple Filling
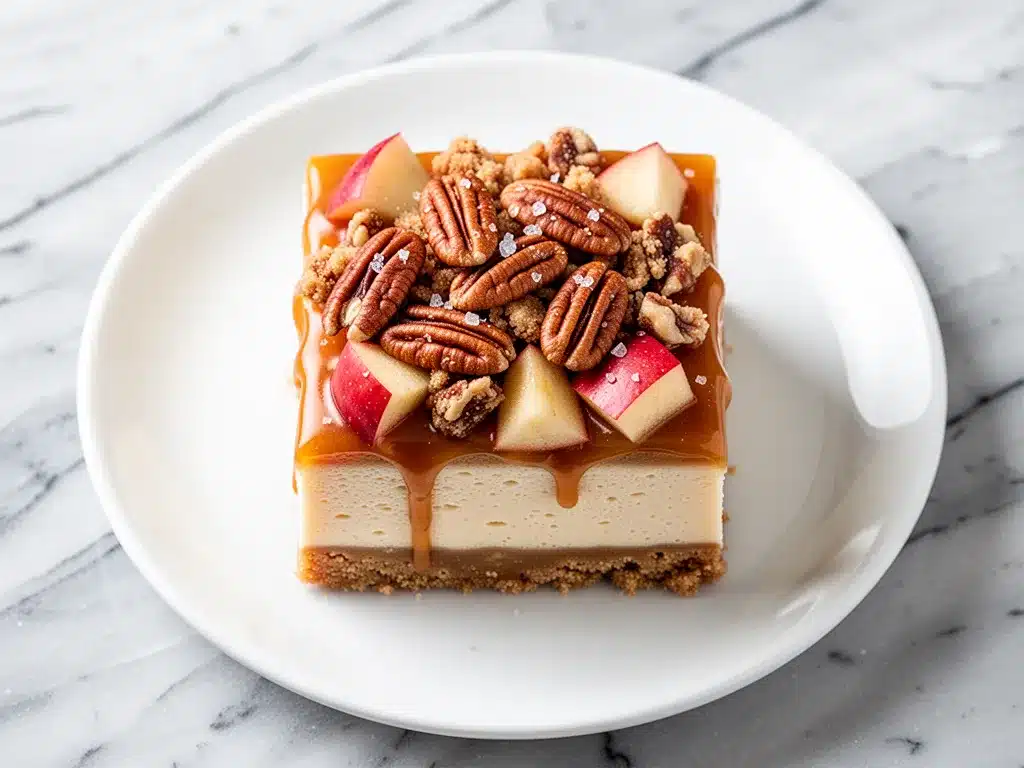
Granny Smith apples (3 medium / about 600g) — I swear by Granny Smiths for baking. They hold their shape and have a tartness that balances the sugar. Honeycrisp works too, but they can get mushy. Avoid Red Delicious—they turn to applesauce.
Brown sugar (1/2 cup / 100g, packed) — This gives the apples that deep, molasses-y caramel flavor. Light or dark both work, but dark has more depth.
Butter (2 tablespoons / 30g) — For sautéing the apples before they go into the oven. It adds richness.
Cinnamon (1 teaspoon) — More cinnamon here because apples and cinnamon are best friends.
Vanilla extract (1 teaspoon) — Pure vanilla, please. The artificial stuff tastes harsh with the caramel.
Cornstarch (1 tablespoon) — This is the secret weapon. It thickens the juices released by the apples so you don’t end up with a soggy bottom. Don’t skip it.
For the Cream Cheese Layer
Full-fat cream cheese (16 oz / 450g, softened) — This is non-negotiable. Low-fat cream cheese has too much water and will make your bars runny. Let it sit on the counter for an hour. If it’s cold, you’ll get lumps.
Granulated sugar (1 cup / 200g) — Standard sweetener for the cheesecake layer.
Eggs (2 large) — Room temperature eggs are key for a smooth batter. Cold eggs can cause the batter to curdle when mixed.
Vanilla extract (1 teaspoon) — Double vanilla is better.
All-purpose flour (2 tablespoons / 15g) — Just a little bit to stabilize the cheesecake layer. It prevents cracking.
Sour cream (1/4 cup / 60g) — This adds tang and keeps the cheesecake moist. It’s what makes it taste like a real cheesecake and not just sweetened cream cheese.
Equipment Needed
You don’t need a fancy kitchen for this. Here’s what I actually use when I make these bars.
9×13 inch baking pan — Standard size. I use glass because I can see the bottom cooking, but metal or dark non-stick works too. Just grease it well with butter or cooking spray.
Large skillet — For sautéing the apples. I prefer cast iron because it heats evenly, but stainless steel is fine. You need this step to caramelize the apples slightly before baking.
Hand mixer or stand mixer — I use a hand mixer because it’s faster to clean. You need to beat the cream cheese until it’s completely smooth, which takes about 2-3 minutes. A whisk works but your arm will hurt.
Measuring cups and spoons — Standard stuff. Level off your flour for accuracy.
Spatula — A silicone spatula is best for scraping the bowl and spreading the cheesecake layer evenly.
Cooling rack — Essential. These bars need to cool completely before you cut them, or they’ll fall apart. Rushing this step is the #1 mistake people make.
How to Make It: Step-by-Step
Alright, let’s make these! I’m walking you through exactly how I do it, including the little tricks I’ve picked up over the last six tries.
Step 1: Prep Your Oven and Pan
Preheat your oven to 350°F (175°C). Grease your 9×13 inch baking pan generously with butter or non-stick spray. I usually line it with parchment paper for easy lifting, but if you’re lazy like me, just grease it really well. Set aside.
Step 2: Make the Salted Pecan Crumble Base
In a medium bowl, mix the softened butter, granulated sugar, flour, cinnamon, and chopped pecans. Use your fingers or a fork to combine until it looks like coarse sand with some larger clumps. Press this mixture firmly and evenly into the bottom of your prepared pan. I use the bottom of a measuring cup to pack it down tight. This is your foundation, so make it solid. Bake for 10 minutes. This par-bakes the crust so it stays crunchy.
Step 3: Prepare the Caramel Apples
While the crust bakes, peel and dice the apples into 1/2-inch cubes. In a large skillet, melt the 2 tablespoons of butter over medium heat. Add the diced apples, brown sugar, cinnamon, vanilla, and cornstarch. Stir well to coat the apples in the sugar and spices. Cook for about 5-7 minutes, stirring occasionally, until the apples are slightly softened and the liquid has thickened into a syrup. This step concentrates the flavor. Remove from heat and let it cool for a few minutes.
Step 4: Assemble the First Layer
Take your par-baked crust out of the oven. Carefully spoon the caramel apple mixture over the hot crust. Spread it out evenly. Don’t worry if it’s a bit messy; it’s supposed to look rustic. Set the pan aside to cool while you make the cheesecake layer.
Step 5: Make the Cream Cheese Filling
In a large bowl, beat the softened cream cheese and granulated sugar until smooth and creamy, about 2 minutes. Scrape down the sides of the bowl. Add the eggs one at a time, mixing on low speed just until combined. Do not overmix once the eggs are in, or you’ll incorporate too much air and cause cracks. Add the vanilla, sour cream, and flour. Mix until just combined. The batter should be thick and glossy.
Step 6: Add the Cheesecake Layer
Pour the cream cheese mixture over the apple layer. Use a spatula to spread it evenly to the edges. Try to get it smooth, but don’t stress if it’s not perfect. The apples underneath will create a nice texture. If you want to get fancy, you can swirl a little extra caramel sauce on top, but it’s not necessary.
Step 7: Bake and Cool
Bake at 350°F (175°C) for 35-40 minutes. The edges should be set and slightly golden, but the center should still have a tiny jiggle. It will firm up as it cools. Let the bars cool in the pan on a wire rack for at least 1 hour. Then, refrigerate for at least 2 hours, preferably overnight. This chilling step is crucial for clean cuts.
Step 8: Cut and Serve
Once chilled, lift the bars out of the pan using the parchment paper (if you used it) or just slide a knife around the edges. Cut into squares. Dust with a little powdered sugar or extra cinnamon if you want to look fancy. Serve and enjoy.
Expert Tips & Tricks
Here’s everything I’ve learned from making these dozens of times. These tips will save you from my mistakes.
Room Temperature Everything
This cannot be stressed enough. Your cream cheese and eggs need to be room temperature. Cold cream cheese creates lumps that you can’t beat out, and cold eggs can seize the batter. I set my cream cheese out the morning of baking. If I forget, I microwave it for 15-second bursts, checking frequently.
Don’t Skip the Sauté
You might be tempted to just dump raw diced apples on the crust. Don’t. Raw apples release too much water during baking, and you’ll end up with a soggy, watery cheesecake layer. Sautéing them first evaporates excess moisture and caramelizes the sugars.
The Cornstarch is Non-Negotiable
Apples are juicy. The cornstarch in the apple mixture helps thicken those juices so they stay in the bar and don’t leak into the crust. It’s a small ingredient, but it makes a huge difference in texture.
Cool Completely
I know it’s tempting to cut into warm cheesecake bars. It’s soft, it’s gooey, it’s delicious. But if you cut them warm, they will crumble. They need to set. I usually bake them on Sunday night and eat them Monday morning. The flavor actually gets better after chilling.
Use a Sharp Knife
For clean cuts, use a sharp knife. Wipe the blade with a paper towel between cuts to remove any sticky cheesecake residue. This keeps your squares looking sharp and professional.
Variations & Substitutions
Once you’ve nailed the basic version, here’s how you can mix it up. I’ve tried all of these.
Pumpkin Spice Version
Swap the cinnamon in the apple layer for pumpkin pie spice. Add 1/2 cup of pumpkin puree to the cheesecake layer instead of sour cream. It’s basically pumpkin cheesecake in bar form.
Maple Walnut Crumble
Replace the pecans with walnuts and use maple syrup instead of brown sugar in the apple layer. It’s a more classic fall flavor profile.
Gluten-Free
Use a 1:1 gluten-free flour blend in the crust and the cheesecake layer. It works surprisingly well. The texture is slightly more tender, but still delicious.
Dairy-Free
Use vegan butter and dairy-free cream cheese. Note that dairy-free cream cheese can be wetter, so you might need an extra tablespoon of cornstarch in the cheesecake layer. It’s not quite the same, but it’s passable.
Extra Caramel
Drizzle store-bought caramel sauce over the top before baking for a gooey center. I do this when I’m feeling indulgent. It’s sweet, but it’s worth it.
Serving & Storage
How to Serve:
I usually serve these at room temperature or slightly chilled. They’re rich, so a small square is plenty. They pair beautifully with a hot cup of coffee or a glass of cold milk. I also like to serve them with a dollop of whipped cream if I’m having guests.
Storage:
Store leftovers in an airtight container in the refrigerator for up to 5 days. They actually taste better on day 2 and 3 as the flavors meld. Do not freeze these bars. The texture of the cheesecake and the apples will change, and they’ll become grainy or watery when thawed. They’re best fresh from the fridge.
Make-Ahead:
You can make the crust and apple layer up to 2 days ahead. Store them covered in the fridge. When you’re ready to bake, let the crust and apples come to room temperature, add the cheesecake layer, and bake as directed. This is great for holiday planning.
Nutrition Information
I’m not a nutritionist, but here’s the breakdown if you’re tracking. Keep in mind that these are rich, indulgent bars, so a little goes a long way.
Per Serving (based on 12 bars):
- Calories: 380
- Protein: 6g
- Carbs: 42g
- Fiber: 1g
- Sugar: 28g
- Fat: 22g
- Saturated Fat: 12g
- Cholesterol: 55mg
- Sodium: 180mg
What’s Good:
- Apples provide some fiber and vitamin C
- Pecans offer healthy fats and antioxidants
- It’s a single-serve dessert, so portion control is easier
What to Know:
High in sugar and saturated fat due to the cream cheese, butter, and caramel. It’s a treat, not a health food. Enjoy it mindfully.
Final Thoughts
So that’s my go-to fall caramel apple cheesecake bars! I’ve probably talked your ear off at this point, but when you make a recipe this often, you have a lot to say about it. These bars have saved my dessert game more times than I can count. They’re my answer to “I need to bring something impressive to the party” when I’m tired and don’t want to bake a whole cake.
My family is obsessed. The kids love the crunch of the pecans, and the adults love the tang of the cheesecake. It’s the perfect balance of sweet and savory, soft and crunchy. Make it yours! Try different apples, swap the nuts, or add a drizzle of caramel. The best recipes are the ones you adapt to your family’s tastes.
If you make these, drop a comment and let me know what you think! I love hearing how recipes turn out in your kitchen. And if something doesn’t work, tell me that too—I’m here to help troubleshoot. Happy baking!
Frequently Asked Questions
Can I use different apples?
Yes, but stick to baking apples. Granny Smith is my favorite because they’re tart and hold their shape. Honeycrisp is a good second choice. Avoid Red Delicious or Gala—they get too mushy and lose their flavor when baked.
Why did my cheesecake layer crack?
Cracking usually happens from overmixing or overheating. Make sure you don’t overbeat the eggs into the batter, and don’t bake it for too long. The center should still have a slight jiggle when you take it out. It will firm up as it cools.
Can I make this in a different pan size?
You can use an 8×8 pan, but the bars will be thicker and you’ll need to increase the baking time by 5-10 minutes. Keep an eye on them. A 9×13 is the standard for this recipe.
Do I have to use pecans?
You can use walnuts, almonds, or even pistachios if you prefer. But the salted pecans really complement the caramel and apple flavors. If you skip the nuts entirely, the crust will be more cookie-like and less crunchy.
Can I prepare this ahead of time?
Yes! You can assemble the entire bar up to 24 hours in advance. Cover it tightly and refrigerate. Then bake it the next day. Just make sure to let it cool completely before cutting.
Is this recipe similar to your other fall desserts?
It has a similar vibe to my caramel apple cinnamon roll bake, but this one is a bar format, so it’s easier to serve and transport. If you like that, you’ll love this.
What do these go well with?
They pair perfectly with a hot cup of coffee or a glass of cold milk. I also like to serve them with a side of iced vanilla chai latte if I’m having guests, though hot tea is classic for fall.
Pin This Recipe!
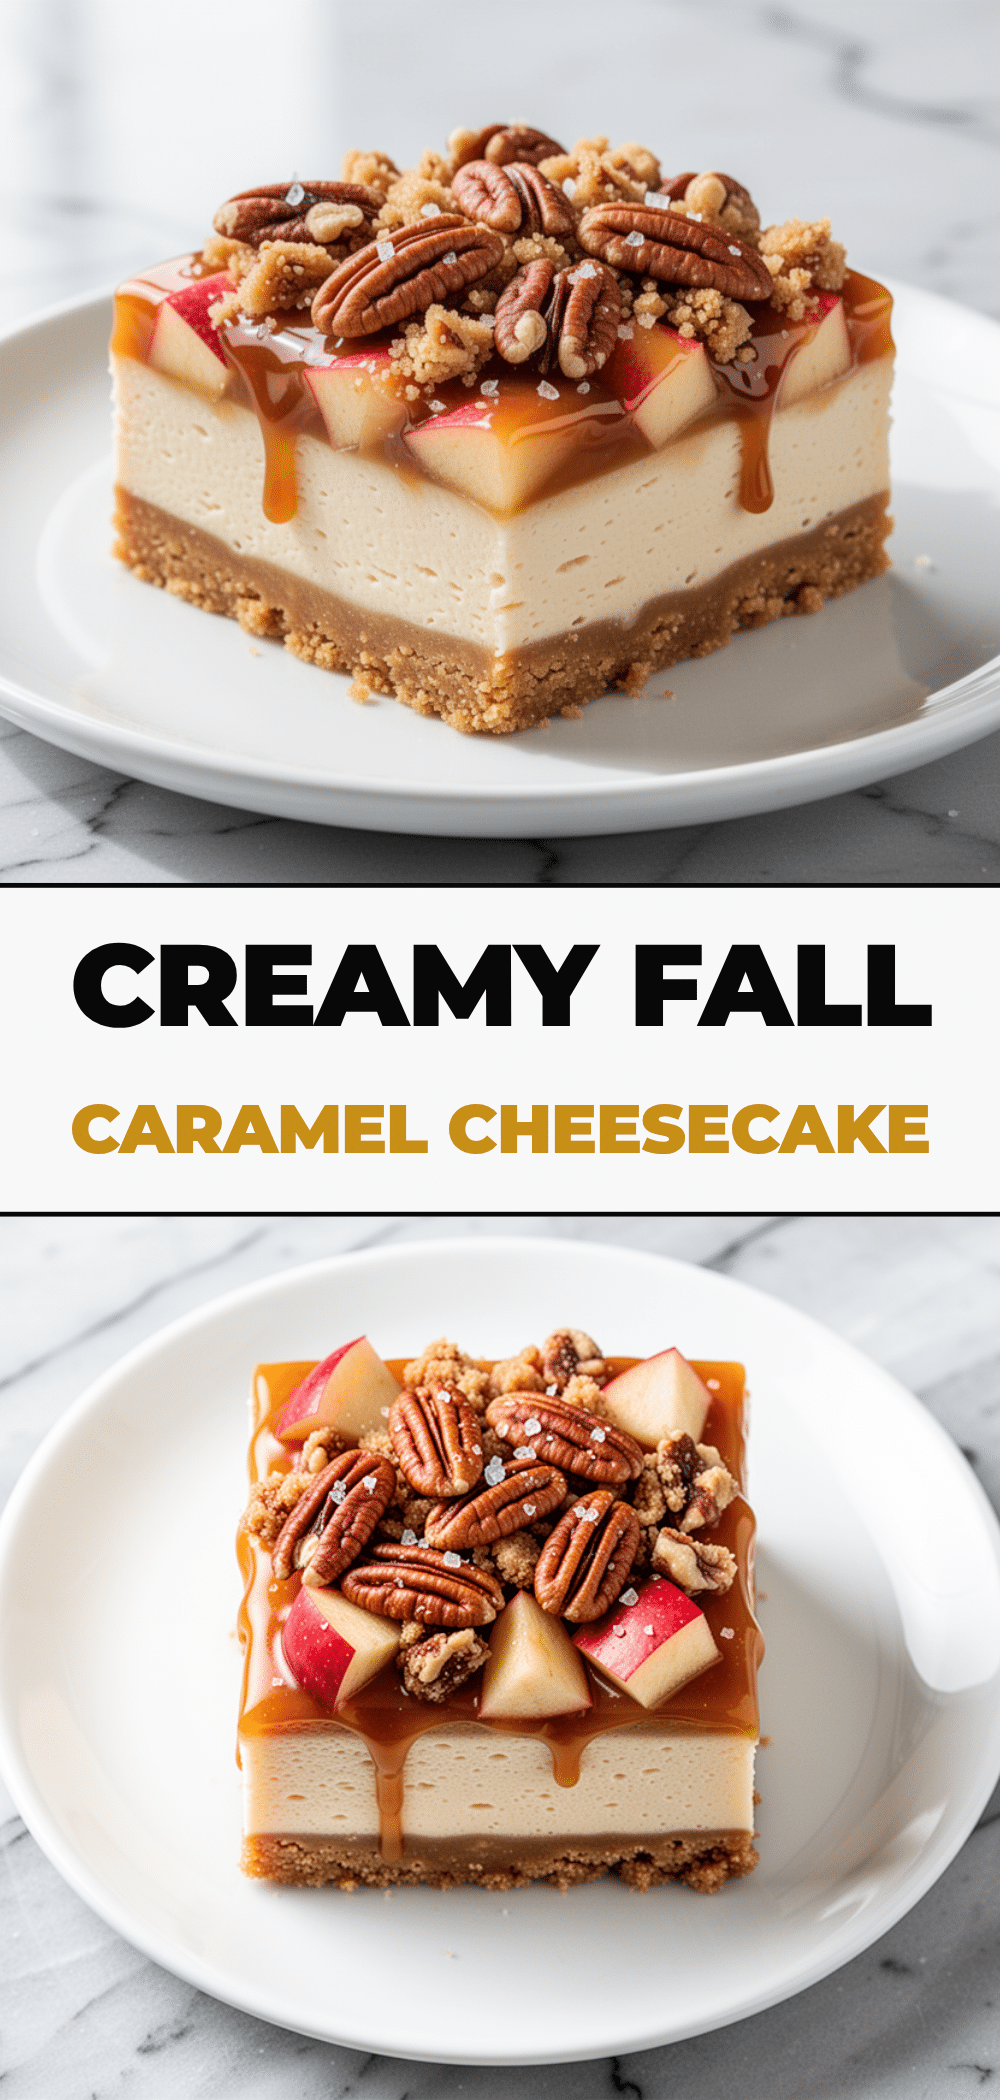
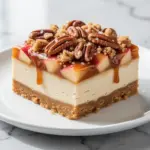
Fall Caramel Apple Cheesecake Bars: Best Salted Pecan Crumble
- Total Time: 1 hour 15 minutes
- Yield: 12 servings 1x
Description
Rich and creamy cheesecake bars featuring a buttery salted pecan crumble base, caramelized Granny Smith apples, and a tangy cream cheese layer. This foolproof dessert requires no water bath and is perfect for fall gatherings.
Ingredients
- 1/2 cup (115g) unsalted butter, softened
- 1/2 cup (100g) granulated sugar
- 1 cup (125g) all-purpose flour
- 1 cup (115g) salted pecan halves, roughly chopped
- 1/2 teaspoon cinnamon
- 3 medium Granny Smith apples (about 600g), peeled and diced
- 1/2 cup (100g) packed brown sugar
- 2 tablespoons (30g) butter
- 1 teaspoon cinnamon
- 1 teaspoon vanilla extract
- 1 tablespoon cornstarch
- 16 oz (450g) full-fat cream cheese, softened
- 1 cup (200g) granulated sugar
- 2 large eggs, room temperature
- 1 teaspoon vanilla extract
- 2 tablespoons (15g) all-purpose flour
- 1/4 cup (60g) sour cream
Instructions
- Preheat oven to 350°F (175°C). Grease a 9×13 inch baking pan generously with butter or non-stick spray.
- In a medium bowl, mix softened butter, 1/2 cup granulated sugar, flour, 1/2 teaspoon cinnamon, and chopped pecans until it resembles coarse sand. Press firmly into the bottom of the prepared pan.
- Par-bake the crust for 10 minutes, then remove from oven.
- While the crust bakes, melt 2 tablespoons butter in a large skillet over medium heat. Add diced apples, brown sugar, 1 teaspoon cinnamon, 1 teaspoon vanilla, and cornstarch. Cook for 5-7 minutes until apples are softened and liquid has thickened into a syrup. Remove from heat and let cool slightly.
- Spread the caramel apple mixture evenly over the hot par-baked crust.
- In a large bowl, beat cream cheese and 1 cup granulated sugar until smooth. Add eggs one at a time, mixing on low speed just until combined. Add 1 teaspoon vanilla, sour cream, and 2 tablespoons flour. Mix until just combined.
- Pour the cream cheese mixture over the apple layer and spread evenly.
- Bake at 350°F (175°C) for 35-40 minutes until edges are set and slightly golden, but the center still has a slight jiggle.
- Cool in the pan on a wire rack for at least 1 hour, then refrigerate for at least 2 hours (preferably overnight) before cutting.
Notes
Ensure cream cheese and eggs are at room temperature to prevent lumps and curdling. Do not skip sautéing the apples to avoid a soggy bottom. The cornstarch is essential for thickening apple juices. Bars must cool completely and be chilled before cutting for clean slices. Store in the refrigerator for up to 5 days; do not freeze.
- Prep Time: 30 minutes
- Cook Time: 45 minutes
- Category: Dessert
- Cuisine: American
Nutrition
- Serving Size: 1 bar
- Calories: 380
- Sugar: 28
- Sodium: 180
- Fat: 22
- Saturated Fat: 12
- Carbohydrates: 42
- Fiber: 1
- Protein: 6
Keywords: fall dessert, caramel apple bars, cheesecake bars, pecan crumble, easy baking, holiday dessert, apple recipe