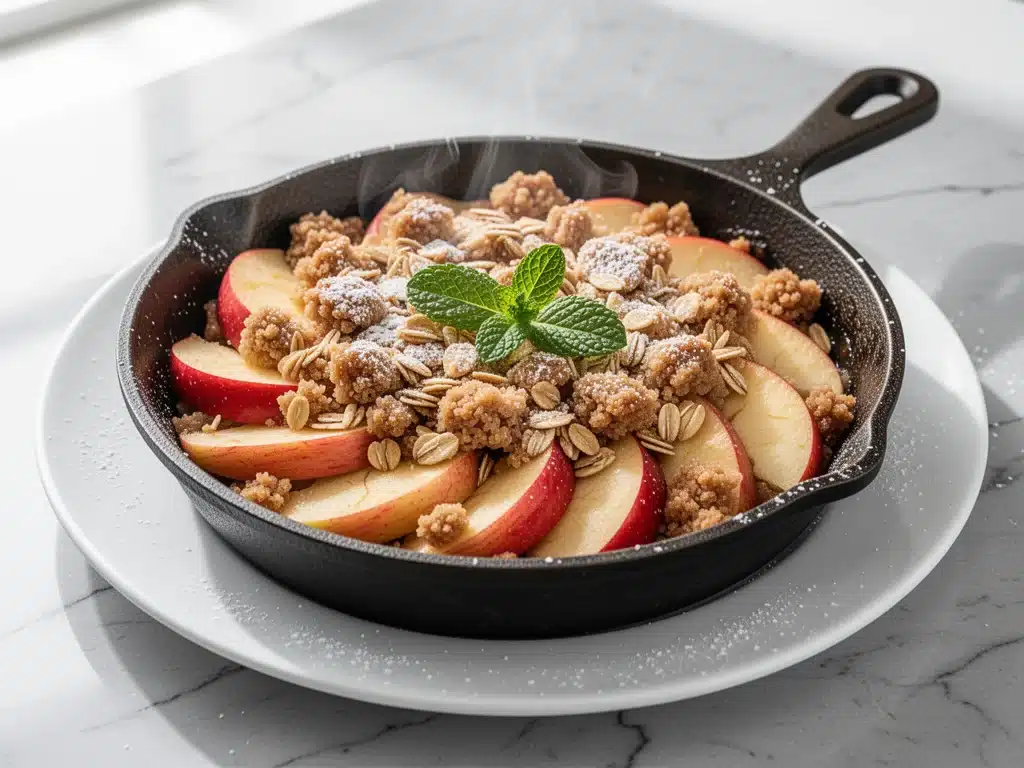
There is a specific kind of magic that happens when the air turns crisp and the leaves start to turn that burnt orange color. For me, it’s not just about the weather changing; it’s about my kitchen filling up with the smell of cinnamon and caramelized sugar. Last weekend, I was standing in my kitchen, watching the rain tap against the window, feeling that sudden, deep urge for something warm and comforting. I didn’t want to bake a complicated cake that required three bowls and a mixer. I didn’t want to wait hours for a slow cooker to do its thing. I wanted something that felt like a hug from the inside out, and I wanted it in one pan.
That’s when I decided to make my Apple Harvest Skillet Crisp. I’ve made this dessert probably fifty times over the last five years, tweaking it slightly each autumn until it felt perfect. It’s my go-to for those cozy fall gatherings where you need a dessert that looks rustic and impressive but actually comes together in under an hour. The best part? It’s baked right in a cast-iron skillet, which gives you that incredible, crispy-edged texture that you just can’t get from a standard baking dish.
I remember the first time I served this, it was during a small dinner party with close friends. We had just finished a hearty meal—something like my cozy fall creamy wild rice and mushroom casserole—and everyone was complaining about having too much room for dessert. I pulled the skillet out of the oven, steam rising off the bubbling apples, and the entire mood of the room shifted. People stopped talking and just stared at it. We ate it straight from the pan with spoons, laughing about how we didn’t care about manners. That’s the power of this Apple Harvest Skillet Crisp. It’s not just a dessert; it’s an experience. It’s messy, it’s sweet, and it’s absolutely perfect for this time of year.
Why You’ll Love This Recipe
So, why am I so obsessed with this particular crisp? There are a few reasons, but honestly, it’s mostly because it solves the biggest problem with homemade desserts: effort versus reward. This recipe delivers maximum comfort with minimum stress. Here’s why it keeps me coming back to the oven every October:
- One-Pan Wonder — Seriously, if you can chop an apple and mix oats, you can make this. There’s no complex assembly, no fancy piping, and no cleanup nightmare. You mix the fruit, you mix the topping, you dump it in the skillet, and you bake it. Done. I’ve made this while helping my kids with their homework, and it works perfectly.
- The Cast-Iron Advantage — Baking crisp in a skillet changes everything. The heavy iron conducts heat evenly, creating a caramelized crust on the bottom and sides that stays crunchy even when you add ice cream. Standard glass or ceramic dishes tend to make the edges soggy faster. This method keeps it crisp for hours.
- Uses What You Have — You probably have most of the ingredients for the crumble topping already in your pantry. Flour, sugar, butter, oats—it’s basic stuff. The only thing you need to buy fresh are apples. This makes it incredibly budget-friendly and spontaneous. You don’t need to plan a special trip to the store.
- Perfectly Balanced Sweetness — I’ve tasted too many crisp recipes that are just sugar bombs. This one balances the tartness of the apples with a warm, spiced topping. It’s sweet, yes, but it’s also rich and textured. It feels indulgent without being overwhelming.
- Freezes Like a Dream — Here’s a little secret: this crisp actually tastes better the next day. The flavors meld together, and the apples soften just a bit more. I often make it on Sunday night and eat it for breakfast (with coffee, obviously) or dessert on Monday. It reheats beautifully in the microwave or oven.
This is my answer to “what’s for dessert?” when I want something homemade but don’t have the energy to bake a pie. It’s reliable, it’s delicious, and it makes your house smell like a bakery for hours.
Ingredients You’ll Need
Before we get to the cooking, let’s talk about what you need. I’m going to keep this simple because that’s the beauty of this recipe. You don’t need exotic spices or expensive ingredients. Here’s what I use, and why.
For the Apple Filling
Apples (6 medium, about 2.5 lbs / 1.1 kg) — This is the star of the show. For this Apple Harvest Skillet Crisp, you want a mix of tart and sweet. I always use a combination of Granny Smith (for structure and tartness) and Honeycrisp or Fuji (for sweetness). If you use only sweet apples, it might taste too sugary. If you use only tart ones, it might be too sharp. The mix is the sweet spot. Peel them? I usually peel mine because I like the smooth texture, but if you’re in a rush, leaving the skin on adds fiber and color. Just chop them into uniform ½-inch cubes so they cook evenly.
Lemon Juice (1 tablespoon / 15ml) — Squeeze this over the apples immediately after chopping. It prevents browning and adds a bright pop of acidity that cuts through the richness of the butter and sugar. Don’t skip this; it balances the flavor profile.
Granulated Sugar (½ cup / 100g) — This helps draw out the natural juices from the apples, creating that syrupy base. If you prefer a less sweet dessert, you can reduce this to ⅓ cup, but I find that the sugar is necessary for the caramelization process.
Ground Cinnamon (1 teaspoon) — The classic fall spice. It’s warm and comforting. I use regular ground cinnamon, not the fancy stuff, because it’s consistent and affordable.
Ground Nutmeg (¼ teaspoon) — Just a pinch. Nutmeg adds depth. Too much and it tastes like a spice cake; too little and you miss out on that subtle warmth. A little goes a long way.
Cornstarch (1 tablespoon / 8g) — This is the thickener. As the apples bake, they release juice. The cornstarch catches that juice and turns it into a glossy, thick sauce that coats the spoon. If you don’t have cornstarch, arrowroot powder works too, but avoid flour if you can—it can make the sauce cloudy.
For the Crumble Topping
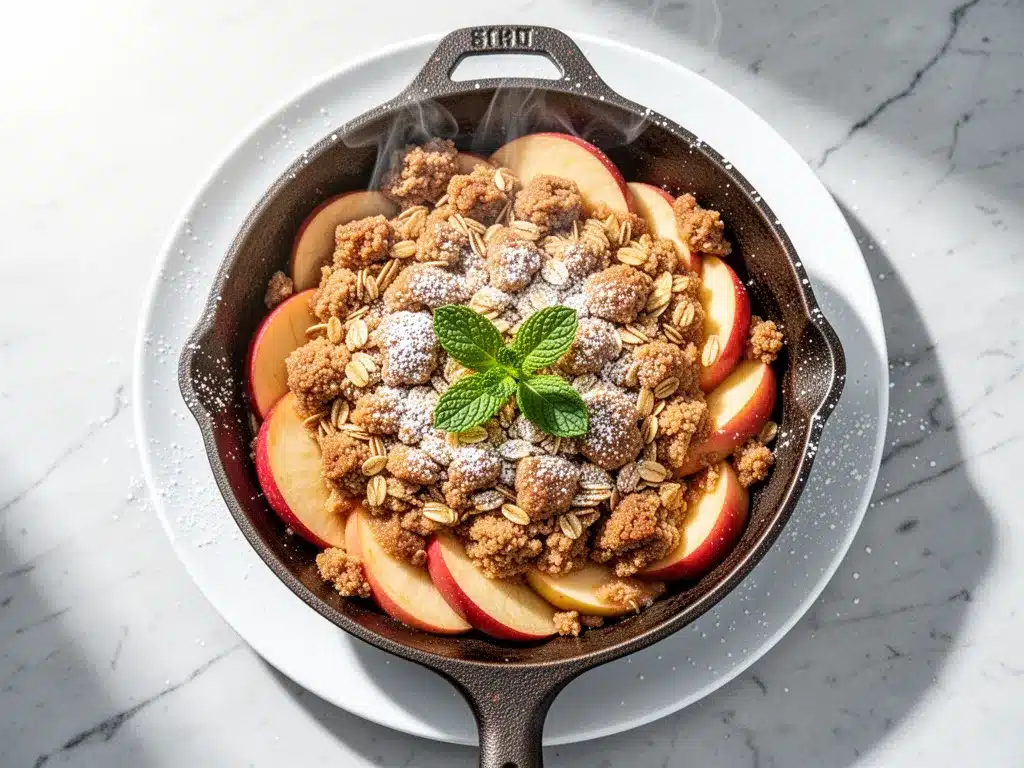
Old-Fashioned Rolled Oats (1 cup / 90g) — These give the topping its signature chew and crunch. Quick oats will make it mushy. Don’t substitute quick oats unless you’re desperate, and even then, the texture won’t be the same.
All-Purpose Flour (1 cup / 125g) — This binds the oats and butter together. It creates that shortbread-like crumb texture.
Light Brown Sugar (½ cup / 100g, packed) — Brown sugar is non-negotiable here. It adds molasses notes and moisture, making the topping chewier and more flavorful than white sugar. I always keep a bag of light brown sugar in my pantry specifically for desserts like this.
Unsalted Butter (½ cup / 113g, cold and cubed) — Cold butter is key. When you cut cold butter into the dry ingredients, it creates little pockets of fat. As it bakes, those pockets melt and create steam, which helps the topping become flaky and crisp. If you use melted butter, you’ll just get a dense, cake-like layer. Trust me on this.
Maple Syrup (1 tablespoon / 15ml) — This is my secret weapon. It adds a deep, woody sweetness that complements the apples beautifully. It’s optional, but I highly recommend it for that extra depth of flavor.
Optional Add-ins — I sometimes add ½ cup of chopped pecans or walnuts to the topping for extra crunch. If you have leftover cherry almond crumble bars in your mind, the nutty vibe is very similar. Walnuts pair especially well with the cinnamon.
Equipment Needed
You don’t need a fancy kitchen for this. Here’s what I actually use, and what you can swap if needed.
10-Inch Cast-Iron Skillet — This is the most important piece of equipment. A 10-inch skillet is the perfect size for 6 apples. It’s deep enough to hold the juice but wide enough to allow evaporation for a crisp topping. If you don’t have cast iron, a 9-inch round baking dish works, but you’ll lose that crispy bottom edge. A 9×13 pan will also work, but you’ll need to increase the baking time by about 10 minutes because the layer is shallower.
Mixing Bowls — You’ll need two medium bowls. One for tossing the apples, one for the topping. I use simple glass or ceramic bowls.
Pastry Cutter or Fork — To cut the butter into the dry ingredients. I actually just use my hands sometimes—it’s faster and warms the butter slightly, which helps it incorporate. But a fork or pastry cutter works well if you want precision.
Sharp Knife and Cutting Board — For dicing the apples. Make sure your knife is sharp; it makes chopping much safer and easier.
Spatula — For stirring the apples and spreading the topping. A silicone spatula is great because it scrapes the bowl clean.
How to Make It: Step-by-Step
Alright, let’s make this Apple Harvest Skillet Crisp! I’m walking you through exactly how I do it, including the little tricks I’ve picked up over the years. It’s simpler than you think.
Step 1: Prep the Oven and Skillet (2 minutes)
Preheat your oven to 375°F (190°C). While it’s heating, grab your 10-inch cast-iron skillet. If it’s new, make sure it’s well-seasoned. If it’s old, just give it a quick wipe. You don’t need to grease it heavily—the butter in the topping will do most of the work—but a light brush of oil or butter helps prevent sticking.
Step 2: Prepare the Apples (5 minutes)
Peel, core, and dice your apples into ½-inch cubes. Throw them into a large mixing bowl. Add the lemon juice, granulated sugar, cinnamon, nutmeg, and cornstarch. Toss everything together until the apples are evenly coated. The cornstarch might look white at first, but don’t worry—it’ll dissolve as it bakes. Let this sit for a few minutes while you make the topping. This helps the apples start releasing their juices.
Step 3: Make the Crumble Topping (5 minutes)
In a separate bowl, combine the rolled oats, flour, brown sugar, and salt (a pinch, about ¼ teaspoon). Add the cold, cubed butter and the maple syrup. Use your fingers, a fork, or a pastry cutter to work the butter into the dry ingredients. You’re looking for a coarse, crumbly texture with some larger clumps. Don’t overmix! Those clumps are what make the topping crunchy. If it looks too dry, add a teaspoon more cold butter. If it’s too wet, add a tablespoon more flour.
Step 4: Assemble the Crisp (2 minutes)
Pour the apple mixture into the skillet. Spread it out evenly. Then, sprinkle the crumble topping over the apples. Try to cover the fruit completely, but don’t press it down. You want it to be loose and airy so it can bake up crispy. If you have nuts, sprinkle them on top now.
Step 5: Bake (40-45 minutes)
Place the skillet in the preheated oven. Bake for 40-45 minutes. You’ll know it’s done when the topping is golden brown and the juices are bubbling up through the cracks. If the topping starts browning too quickly before the apples are tender, cover the skillet loosely with foil for the last 10 minutes. Let it rest for 10 minutes after removing it from the oven. This step is crucial—it allows the filling to thicken up slightly so it’s not soupy when you scoop it.
Step 6: Serve
Serve warm. This is non-negotiable. Warm crisp with a scoop of vanilla ice cream or a dollop of whipped cream is the ultimate comfort food. The contrast of hot fruit and cold cream is everything.
Expert Tips & Tricks
Here’s everything I’ve learned from making this dozens of times. These tips will save you from my mistakes.
- Choose the Right Apples — I can’t stress this enough. Avoid Red Delicious apples for baking—they turn mealy and mushy. Stick to firm varieties like Granny Smith, Honeycrisp, Braeburn, or Pink Lady. They hold their shape and provide the right texture.
- Don’t Skip the Rest Time — I know it’s hard to wait, but letting the crisp rest for 10 minutes after baking allows the starches to set. If you cut into it immediately, the filling will run out and be watery. Patience pays off.
- Keep the Butter Cold — For the topping, make sure your butter is straight out of the fridge. If it’s soft or melted, you lose that flaky, crumbly texture. Cut it into cubes before you start mixing so it’s ready to go.
- Use a Sheet Pan — Apples can bubble over in the oven, especially if you’re using juicy varieties. Place your skillet on a rimmed baking sheet while it bakes. It catches any drips and makes cleanup so much easier. Ask me how I know—there was a mess in my oven last Thanksgiving.
- Toast the Nuts — If you’re adding pecans or walnuts, toast them in a dry pan for 2-3 minutes before adding them to the topping. It brings out their natural oils and makes them much more flavorful.
Variations & Substitutions
Once you’ve nailed the basic version, here’s how you can mix it up. I’ve tried all of these, and they all work.
- Pear Crisp — Substitute all the apples with pears. Pears are naturally sweeter, so you might want to reduce the sugar slightly. Add a teaspoon of cardamom instead of nutmeg for a different flavor profile.
- Apple Cranberry Crisp — Add 1 cup of fresh cranberries to the apple mixture. The tartness of the cranberries pairs perfectly with the sweet apples. It’s a classic combination for a reason.
- Gluten-Free — Simply swap the all-purpose flour for a 1:1 gluten-free baking flour. The texture might be slightly different, but it’s still delicious. I’ve used Bob’s Red Mill with great results.
- Dairy-Free — Use coconut oil or a vegan butter stick instead of dairy butter. The topping will be slightly different in texture, but still crunchy. Serve with coconut whipped cream.
- Spiced Rum Version — Add 1 tablespoon of dark rum to the apple mixture. It adds a sophisticated, adult flavor that’s perfect for holiday gatherings. Just be careful not to add too much, or it will make the topping soggy.
- Oatmeal-Free — If you’re avoiding oats, you can use crushed graham crackers or almond flour in the topping. It makes it more like a pie crust crumble.
Serving & Storage
How to serve this best? I usually serve it straight from the skillet at the dinner table—it looks rustic and stays warm. But here are other ways I’ve enjoyed it:
Side Dishes — Since this is a dessert, you don’t need much else. But if you’re serving it as part of a larger meal, it pairs well with coffee or tea. I love it with my iced vanilla chai latte in the summer, but in the fall, I prefer hot coffee or mulled wine.
Leftovers — Store leftovers in an airtight container in the refrigerator for up to 4 days. The topping will soften in the fridge, which is normal. To reheat, warm it in the oven at 350°F for 10-15 minutes to crisp up the topping again. The microwave works in a pinch, but the topping won’t be as crunchy.
Freezing — You can freeze this crisp! Bake it completely, let it cool, and then wrap the entire skillet (or transfer to a freezer-safe dish) tightly with plastic wrap and foil. It will keep for up to 3 months. Thaw in the fridge overnight and reheat in the oven. It tastes almost as good as fresh.
Nutrition Information
I’m not a nutritionist, but here’s the breakdown if you’re tracking. Keep in mind that this is a dessert, so it’s naturally higher in sugar and calories.
Per Serving (based on 6 servings):
- Calories: 380
- Protein: 4g
- Carbs: 52g
- Fiber: 4g
- Sugar: 32g
- Fat: 16g
- Saturated Fat: 9g
- Cholesterol: 35mg
- Sodium: 150mg
What’s good about it? It has fiber from the oats and apples, and it’s a single-serving portion, which helps with control. What to know? It’s rich. A little goes a long way. When I want to make it lighter, I serve a smaller portion and add a dollop of Greek yogurt instead of ice cream. But usually? I just enjoy the treat and move on.
Final Thoughts
So that’s my Apple Harvest Skillet Crisp! I’ve probably talked your ear off at this point, but when you make a recipe this often, you have a lot to say about it. This has saved my dessert game more times than I can count. It’s my answer to “what’s for dessert?” when I’m tired, don’t want takeout, and still want something that tastes really good. My family is happy, my guests are happy, and I’m happy because I’m not stressed about cooking.
Make it yours! Try different apples, swap in your favorite nuts, or add a splash of rum. The best recipes are the ones you adapt to your family’s tastes. If you make this, drop a comment and let me know what you think! I love hearing how recipes turn out in your kitchen. And if something doesn’t work, tell me that too—I’m here to help troubleshoot.
Happy cooking! And I hope your kitchen smells half as good as mine does right now.
Frequently Asked Questions
Q: Can I use frozen apples instead of fresh?
A: You can, but fresh is definitely better. Frozen apples release a lot of water, which can make the topping soggy. If you must use frozen, thaw them first and drain the excess liquid. You might need to increase the cornstarch by a teaspoon. But really, fresh apples give you the best texture and flavor.
Q: Why did my topping turn out soggy?
A: This usually happens for two reasons: either the butter was too warm when you mixed it, or the oven wasn’t hot enough. Make sure your butter is cold and cubed. Also, ensure your oven is fully preheated before putting the skillet in. If the topping is already baked and soggy, you can put it under the broiler for 1-2 minutes to crisp it up, but watch it closely so it doesn’t burn.
Q: Can I make this ahead of time?
A: Yes! You can assemble the crisp up to 24 hours in advance. Cover it tightly with plastic wrap and store it in the fridge. When you’re ready to bake, let it sit on the counter for 20 minutes while the oven preheats, then bake as directed. You might need to add 5-10 minutes to the baking time since it’s starting cold.
Q: What’s the best way to reheat leftovers?
A: The oven is best. Preheat to 350°F and heat the crisp for 10-15 minutes. This revives the crispiness of the topping. The microwave is faster but will make the topping soft. If you use the microwave, do it in 30-second intervals and stir gently.
Q: Can I double this recipe?
A: Absolutely. Just use a larger skillet (12-inch) or a 9×13 baking dish. If you use a 9×13 dish, the layer will be shallower, so the baking time might be slightly shorter—check it at 35 minutes. The ingredient ratios stay the same.
Q: Is this recipe vegan-friendly?
A: Not as written, because it uses butter. But it’s easy to make vegan! Use a vegan butter stick (like Earth Balance) and serve with coconut whipped cream. The rest of the ingredients are naturally vegan.
Pin This Recipe!
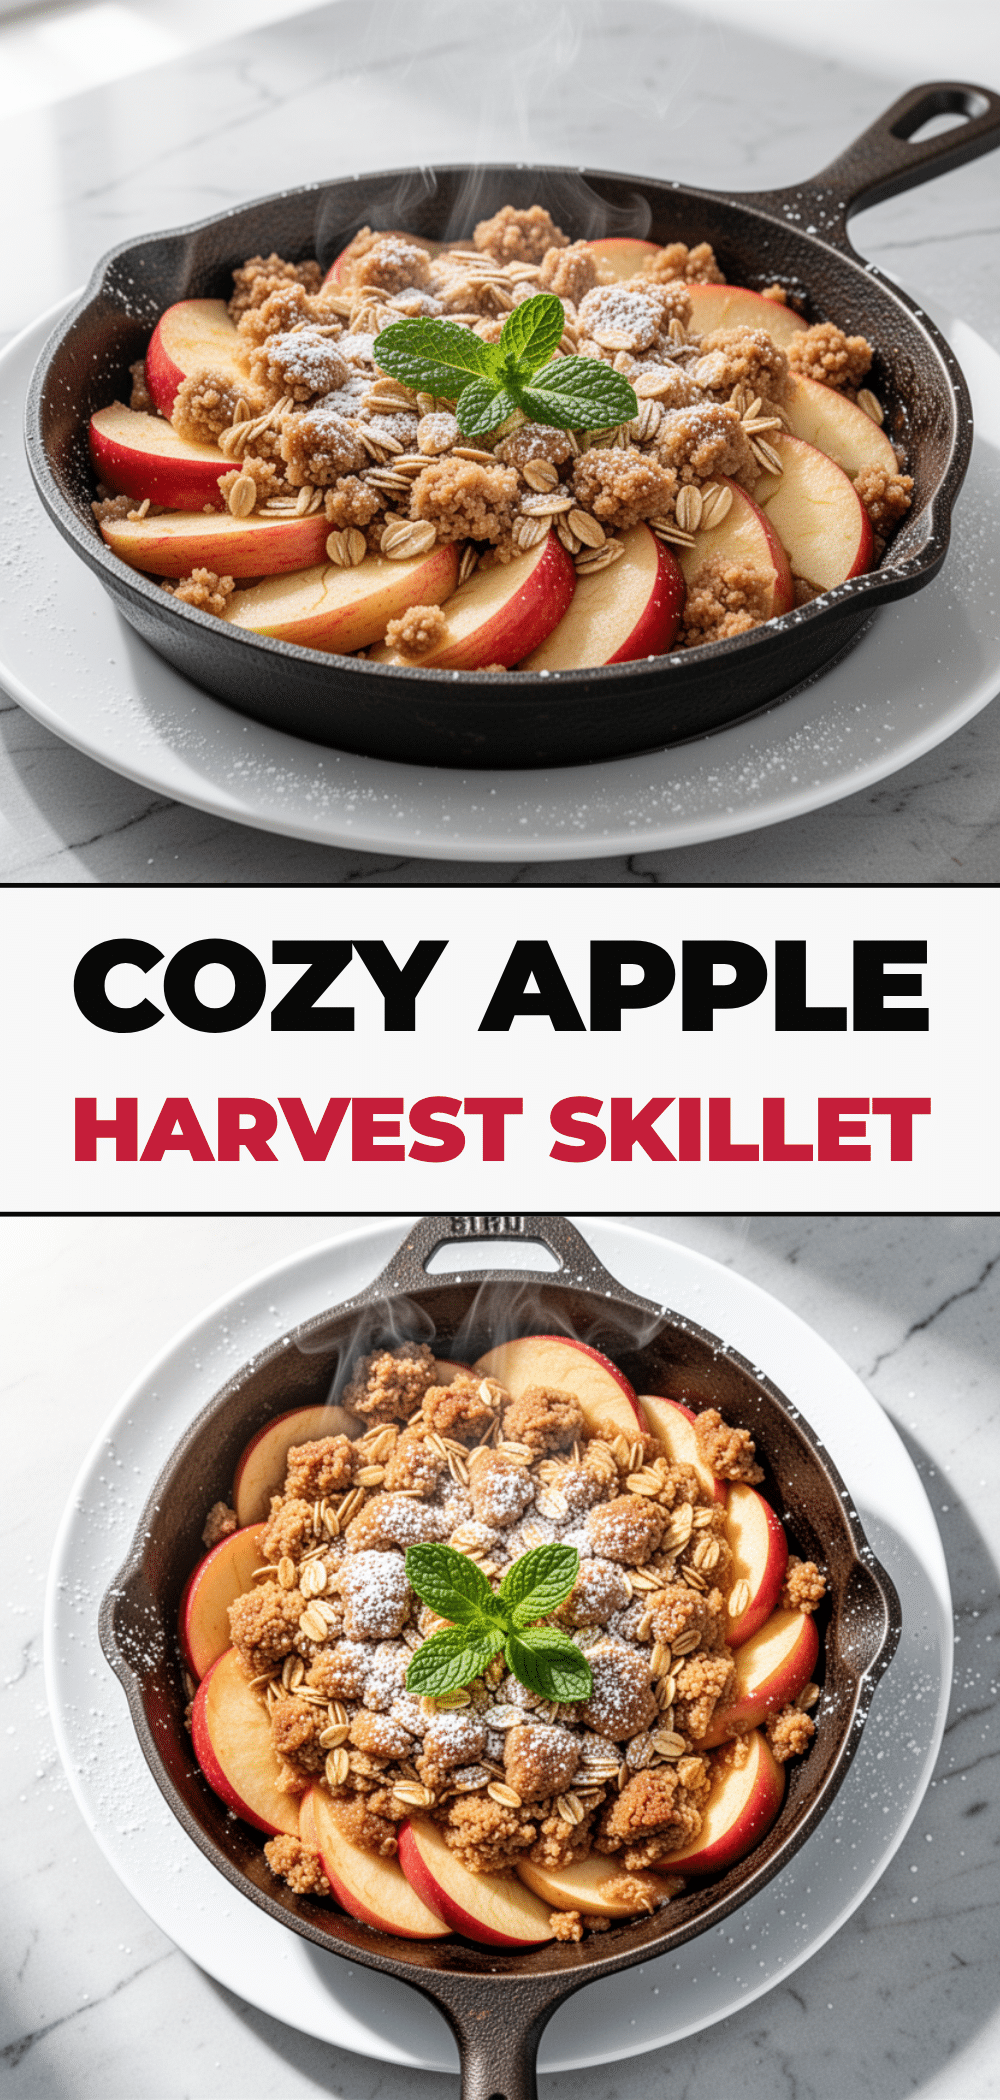

Apple Harvest Skillet Crisp: 5 Best Easy Fall Dessert
- Total Time: 57 minutes
- Yield: 6 servings 1x
Description
A cozy, one-pan fall dessert featuring tart and sweet apples baked in a cast-iron skillet with a crunchy oat and brown sugar crumble topping.
Ingredients
- 6 medium apples (about 2.5 lbs / 1.1 kg), peeled, cored, and diced into ½-inch cubes (mix of Granny Smith and Honeycrisp/Fuji)
- 1 tablespoon lemon juice
- ½ cup granulated sugar
- 1 teaspoon ground cinnamon
- ¼ teaspoon ground nutmeg
- 1 tablespoon cornstarch
- 1 cup old-fashioned rolled oats
- 1 cup all-purpose flour
- ½ cup light brown sugar, packed
- ½ cup unsalted butter, cold and cubed
- 1 tablespoon maple syrup
- Pinch of salt (about ¼ teaspoon)
- Optional: ½ cup chopped pecans or walnuts
Instructions
- Preheat oven to 375°F (190°C). Lightly grease a 10-inch cast-iron skillet with oil or butter.
- In a large mixing bowl, toss diced apples with lemon juice, granulated sugar, cinnamon, nutmeg, and cornstarch until evenly coated. Let sit for a few minutes.
- In a separate bowl, combine rolled oats, flour, brown sugar, and salt. Add cold cubed butter and maple syrup. Use fingers, a fork, or pastry cutter to mix until the texture is coarse and crumbly with some larger clumps.
- Pour the apple mixture into the prepared skillet and spread evenly. Sprinkle the crumble topping over the apples, covering the fruit completely without pressing down. Add nuts if using.
- Bake for 40-45 minutes, or until the topping is golden brown and juices are bubbling. If the topping browns too quickly, cover loosely with foil for the last 10 minutes.
- Remove from oven and let rest for 10 minutes to allow the filling to thicken.
- Serve warm with vanilla ice cream or whipped cream.
Notes
For best results, use firm apples like Granny Smith or Honeycrisp. Ensure butter is cold for a flaky topping. Let the crisp rest for 10 minutes after baking to prevent a soupy filling. Can be frozen for up to 3 months.
- Prep Time: 12 minutes
- Cook Time: 45 minutes
- Category: Dessert
- Cuisine: American
Nutrition
- Serving Size: 1 slice/serving
- Calories: 380
- Sugar: 32
- Sodium: 150
- Fat: 16
- Saturated Fat: 9
- Carbohydrates: 52
- Fiber: 4
- Protein: 4
Keywords: apple crisp, fall dessert, cast iron skillet, easy dessert, one pan dessert, oat crumble, autumn baking