I still remember the year I tried to make a sweet potato pie for my gluten-intolerant brother-in-law. It was Thanksgiving, the house was freezing, and I was already stressed because the butternut squash soup was simmering on the stove. I grabbed a box of gluten-free crust mix, mixed it up, and prayed. The crust crumbled into sad, dry shards the moment I tried to slice it. My brother-in-law took one bite, smiled politely, and then pushed the plate away. I felt terrible. I felt like I had failed him. I felt like gluten-free baking was just… broken.
That failure haunted me for two years. I tried almond flour crusts that tasted like dirt. I tried oat crusts that got soggy. I even tried skipping the crust entirely and serving the filling in little ramekins, which was cute but definitely not “pie.” Then, last autumn, I had a realization: why am I fighting the texture of gluten-free pastry when I can just change the whole game? What if the crust wasn’t flour-based at all? What if it was nuts?
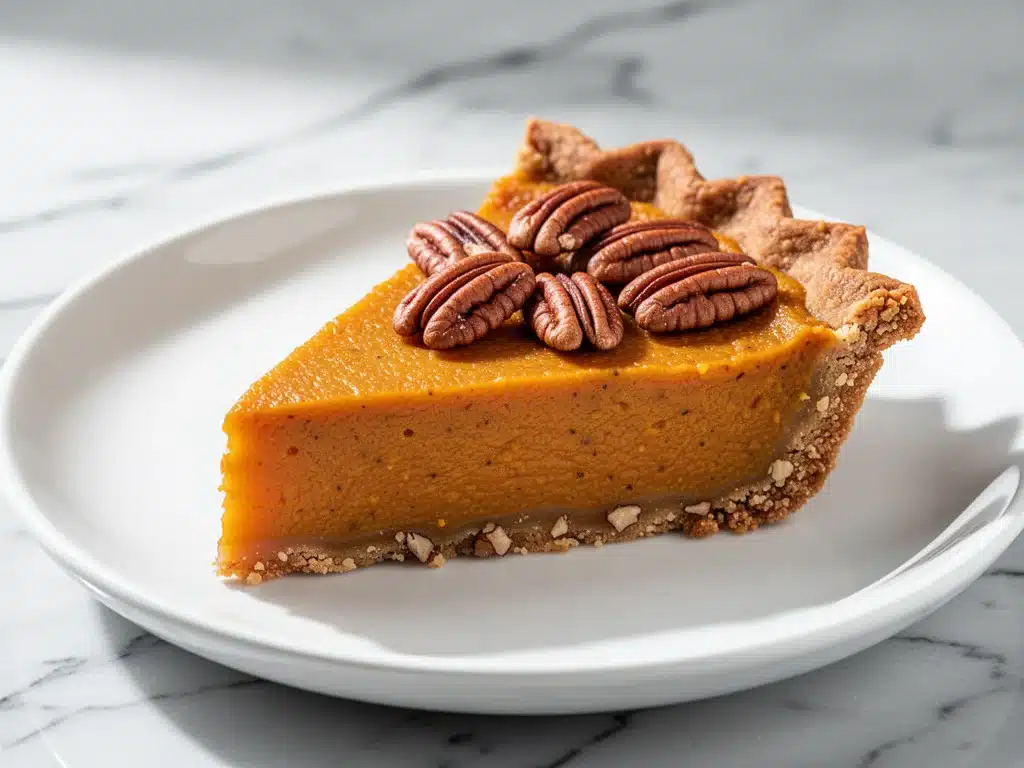
I decided to make a **gluten-free maple sweet potato pie with toasted pecan crust**. I didn’t expect much. I expected a dense, gritty bottom. Instead, I got a crust that shattered perfectly with a fork, rich with buttery, nutty flavor, and a filling so creamy and spiced it made my dad (who is not gluten-free) ask for the recipe. This is the pie that saved Thanksgiving. It’s the one I make every fall now, whether I’m feeding a crowd of twenty or just treating myself on a quiet Sunday. It’s rich, it’s indulgent, and it’s completely gluten-free. And honestly? It’s better than any traditional pie I’ve ever had.
Why You’ll Love This Maple Sweet Potato Pie
There are a lot of pumpkin pies out there. Pumpkin is easy. It’s predictable. But sweet potato? Sweet potato is complex. It’s earthy, it’s naturally sweeter, and it pairs beautifully with the deep, caramel-like notes of real maple syrup. When you add a toasted pecan crust, you get this incredible textural contrast that feels fancy but is actually incredibly simple to pull off. Here’s why this pie has earned a permanent spot in my autumn rotation:
- It’s Actually Gluten-Free (and Tastes Like It) — No chalky, dry crust. The pecan base holds together perfectly because of the butter and the natural oils in the nuts. My gluten-free friends swear by it, and my regular-eating friends can’t tell the difference.
- Real Maple, Not Fake Syrup — I’m serious about this. If you use pancake syrup, this pie will taste like candy. Pure maple syrup gives it that deep, woody sweetness that balances the spices. It’s the difference between a gourmet pie and a grocery store dessert.
- Crust That Doesn’t Crumble — The secret is toasting the pecans first. It releases their oils and adds crunch. When you mix them with butter and a little sugar, they bind like a magnet. You can slice it cleanly. No shattering.
- Make-Ahead Friendly — This pie actually gets better the next day. The flavors meld together overnight. I usually make it on Thursday for Sunday dinner, which takes all the stress out of the actual holiday.
- Simple Ingredients, Big Flavor — You don’t need a pantry full of weird baking flours. You need sweet potatoes, pecans, maple syrup, eggs, and spices. That’s it. If you can roast a vegetable and blend it, you can make this.
This pie isn’t just “good for gluten-free.” It’s just good. Period. It’s the kind of dessert that disappears before you can finish taking a photo. It’s cozy, it’s warm, and it smells like a hug. Trust me, once you try this, you’ll never go back to the box mix.
Ingredients You’ll Need
Here’s the best part: you probably have most of this already if you’re in the mood for fall baking. The ingredients are simple, but quality matters more here than in most recipes because there are fewer of them. Let’s break it down.
For the Toasted Pecan Crust
Raw pecan halves (2 cups / 225g) — This is the star. Don’t use already chopped pecans if you can help it; halves toast more evenly and look prettier. Look for ones that smell sweet, not rancid. If they smell like paint thinner, toss them.
Unsalted butter (6 tablespoons / 85g, melted) — This binds the crust. Use good quality butter. Salted butter works, but you’ll need to reduce the sugar slightly. I stick to unsalted so I control the salt.
Granulated sugar (3 tablespoons / 35g) — Just a little bit to help the crust brown and crisp up. You don’t want it too sweet; the filling is sweet enough.
Pinch of salt — Enhances the nutty flavor. Don’t skip it.
Ground cinnamon (½ teaspoon) — Adds a warm background note to the crust. Optional, but I think it’s essential.
For the Maple Sweet Potato Filling
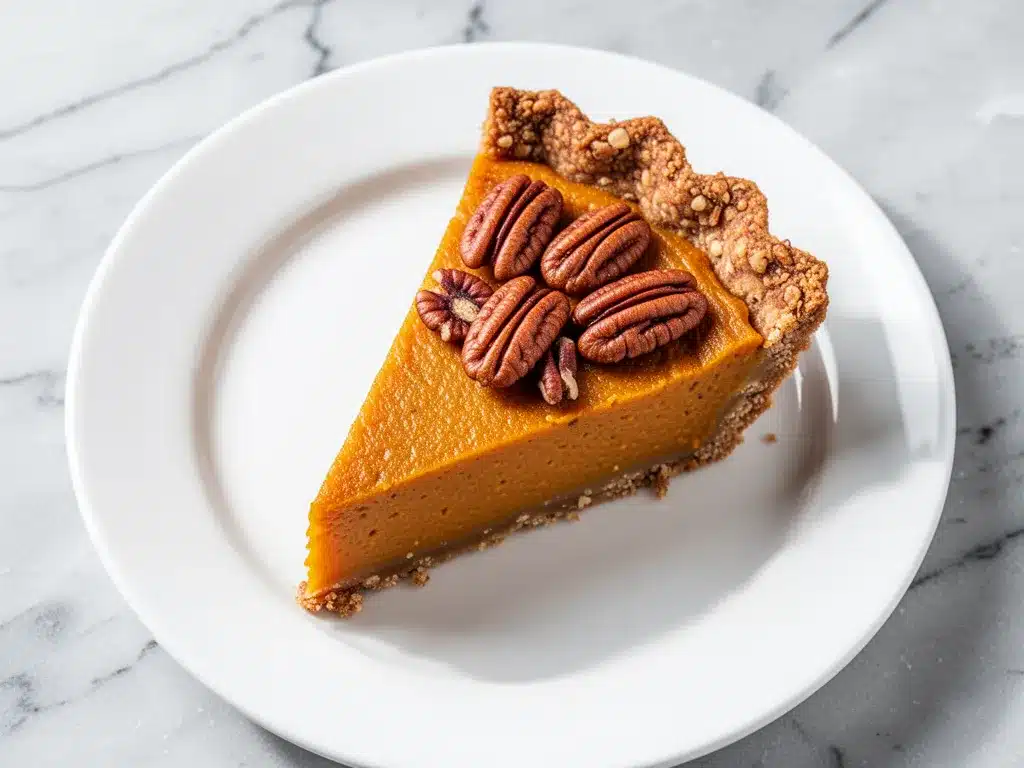
Sweet potatoes (2 large, about 2 lbs / 900g) — Look for ones that are uniform in shape and feel heavy for their size. Garnet or Beauregard varieties are best because they’re naturally sweeter and moister. Avoid the “yams” at the grocery store that are actually just orange-fleshed sweet potatoes with weird names.
Pure maple syrup (½ cup / 120ml) — Grade A Dark or Grade B. This has a stronger maple flavor than Grade A Light. If you only have light syrup, it’ll work, but the maple flavor will be subtler. Avoid “pancake syrup” at all costs.
Heavy cream (½ cup / 120ml) — Adds richness and prevents the filling from becoming too dense. Half-and-half works in a pinch, but heavy cream makes it luxuriously smooth.
Large eggs (2) — These bind the filling. Room temperature eggs blend more evenly, but cold eggs work too. Just give it an extra whisk.
Egg yolk (1) — Extra richness. It makes the texture closer to a custard. Don’t skip it if you want that professional bakery texture.
Vanilla extract (1 teaspoon) — Pure vanilla. I know it’s pricey, but artificial vanilla tastes chemical in a delicate pie like this. One teaspoon goes a long way.
Ground cinnamon (1 teaspoon) — The primary spice.
Ground ginger (½ teaspoon) — Adds a little zing. If you’re sensitive to spice, reduce to ¼ teaspoon.
Ground nutmeg (¼ teaspoon) — Freshly grated if you have a microplane. Pre-ground nutmeg is fine, but it loses potency fast. A little goes a long way.
Ground cloves (⅛ teaspoon) — Optional, but it adds that classic “holiday” depth. Don’t add more, or it’ll taste like medicine.
Salt (½ teaspoon) — Crucial. Sweet potato is bland on its own. Salt makes the maple and spices pop.
For Serving (Optional)
Whipped cream — Homemade is best. Chai latte spices in the cream would be amazing here.
Extra toasted pecans — For garnish.
Equipment Needed
You don’t need fancy gadgets for this. Here’s what I actually use in my kitchen:
9-inch Pie Dish — Glass or ceramic works best because it conducts heat evenly. Metal pans can get the bottom too crispy too fast. I use a Pyrex dish.
Food Processor — Essential for the crust. You need to pulse the pecans into a coarse meal. A blender works, but it’s harder to control. A mortar and pestle? Possible, but you’ll be there all day.
Roasting Pan — For baking the sweet potatoes. A simple rimmed baking sheet works fine.
Large Mixing Bowl — For the filling. Glass or ceramic is nice because you can see how well it’s blending.
Hand Mixer or Blender — To puree the sweet potatoes until smooth. Lumps in the filling are… well, they’re lumps. You want it silky.
Pastry Brush — For brushing the crust with a little extra butter before baking, if you want it extra shiny.
Cooling Rack — Non-negotiable. You must cool the pie on a rack so the bottom doesn’t get soggy from steam.
How to Make It: Step-by-Step
Alright, let’s make this! It sounds complicated, but it’s really just three phases: roast, blend, bake. I’m walking you through exactly how I do it, including the little tricks I’ve picked up over the years.
Step 1: Roast the Sweet Potatoes (45-60 minutes)
Preheat your oven to 400°F (200°C). Wash the sweet potatoes thoroughly. Prick them a few times with a fork so they don’t explode (I learned this the hard way). Place them directly on the oven rack or on a lined baking sheet. Roast for 45-60 minutes, depending on size. They’re done when you can squeeze them gently and they feel soft all the way through. Let them cool completely. This is important—if you scoop hot potatoes, you’ll burn your hands and steam will ruin your puree.
Step 2: Toast the Pecans (5 minutes)
While the potatoes roast, toast your pecans. Spread them on a dry skillet over medium heat. Stir constantly for 3-5 minutes until they smell nutty and slightly browned. Watch them closely! Nuts go from perfect to burnt in about 30 seconds. Once they’re fragrant, dump them into a food processor. Let them cool for 5 minutes. If you process hot nuts, the oils will release too early and you’ll end up with pecan butter instead of a crumbly crust.
Step 3: Make the Crust (5 minutes)
Pulse the cooled pecans in the food processor until they resemble coarse sand. Don’t over-process! You want texture, not butter. Add the melted butter, sugar, cinnamon, and salt. Pulse again just until the mixture starts to clump together when you pinch it. Press this mixture firmly into the bottom and up the sides of your pie dish. Use the bottom of a measuring cup to pack it down tightly. This prevents cracks later. Chill the crust in the fridge for 15 minutes while you make the filling.
Step 4: Make the Filling (10 minutes)
Scoop the flesh out of the cooled sweet potatoes. Discard the skins. Place the flesh in a food processor or blender. Puree until completely smooth. This might take a minute. Scrape down the sides. You should have about 2 cups of puree. In a separate bowl, whisk together the maple syrup, heavy cream, eggs, egg yolk, vanilla, cinnamon, ginger, nutmeg, cloves, and salt. Pour this mixture into the food processor with the sweet potato puree. Pulse until combined. Taste it. Does it need more maple? More spice? Adjust now.
Step 5: Bake (50-60 minutes)
Preheat your oven to 350°F (175°C). Pour the filling into the chilled crust. It will be liquidy—don’t panic. That’s normal. Bake for 50-60 minutes. The pie is done when the edges are set but the center still has a slight jiggle, like Jell-O. It should not be liquidy, but it shouldn’t be solid rock either. It will firm up as it cools.
Step 6: Cool Completely (2-4 hours)
This is the hardest part. You have to let the pie cool. If you cut it hot, it will be soupy. Place the pie on a cooling rack. Let it cool for at least 2 hours at room temperature. Then, refrigerate it for at least 2 hours, or overnight. This chilling time is what allows the custard to set properly. Slice it cold. Serve it cold or at room temperature.
Expert Tips & Tricks
Here’s everything I’ve learned from making this dozens of times. These tips will save you from my mistakes.
Puree Until Silky — The number one complaint about sweet potato pie is a grainy texture. This happens when the potato isn’t pureed enough. Use a food processor or high-speed blender. If you use a fork, you’ll have lumps. No lumps allowed.
Don’t Skip the Chill — I know you want to eat it. But if you put the filling in a warm crust, the crust will get soggy. If you cut it hot, it won’t set. Patience pays off. Literally.
Protect the Crust Edges — Pecan crusts can brown too fast. If you notice the edges getting dark after 30 minutes, cover them loosely with aluminum foil. This keeps the crust golden brown and crunchy.
Use a Scale for Maple Syrup — Maple syrup is thick. It’s hard to get an accurate cup measure. If you have a kitchen scale, weigh it. 120 grams is perfect. If you don’t, dip your measuring cup in oil first so the syrup slides out easily.
Room Temperature Eggs — Cold eggs can cause the filling to curdle slightly when mixed with cold cream. Take your eggs out of the fridge 30 minutes before you start. It makes the emulsion smoother.
Common Mistakes
- Crust is crumbly: You didn’t press it down hard enough, or the nuts were too fine. Make sure you have coarse crumbs, not powder, and pack it tight.
- Filling is watery: Your sweet potatoes were too watery. Roast them longer, or drain the puree in a cheesecloth for 15 minutes before mixing.
- Crust is burnt: Oven temperature was too high. Use an oven thermometer to check. Ovens lie.
Variations & Substitutions
Once you’ve nailed the basic version, here’s how you can mix it up. I’ve tried all of these.
Walnut Crust — Swap pecans for walnuts. It’s slightly more bitter, which balances the maple well. Toast them the same way.
Coconut Crust — Use shredded unsweetened coconut instead of nuts. Add a tablespoon of coconut oil. It’s dairy-free and tastes tropical.
Spiced Pecan — Add a pinch of cayenne pepper to the crust. It adds a tiny kick that contrasts with the sweet filling. Amazing with maple Dijon roasted chicken for dinner.
Gluten-Free Crust Alternative — If you don’t like nuts, use gluten-free graham cracker crumbs. Mix with butter and sugar. It’s not as fancy, but it works.
Dairy-Free — Use coconut cream instead of heavy cream, and coconut oil instead of butter. The flavor changes slightly, but it’s still delicious.
Serving & Storage
How to Serve: I usually serve this straight from the fridge, sliced thin. It’s dense enough to hold its shape. Top with a dollop of whipped cream and a sprinkle of crushed toasted pecans. A drizzle of extra maple syrup is nice for the sweet-tooths.
Side Dishes: This pie is rich, so pair it with something light. A simple green salad with apple cider vinaigrette cuts through the heaviness. Or serve it alongside caramel apple cinnamon roll bake for a double-dose of fall flavors.
Refrigerator: Store covered in the fridge for up to 5 days. It actually tastes better on day 2 and 3.
Freezing: You can freeze this pie! Wrap it tightly in plastic wrap and foil. Freeze for up to 2 months. Thaw overnight in the fridge. The texture might be slightly softer, but it’s still good.
Nutrition Information
I’m not a nutritionist, but here’s the breakdown if you’re tracking. This is a rich dessert, so portion control is key.
Per Slice (1/8th of pie):
- Calories: 280
- Protein: 5g
- Carbs: 28g
- Fat: 18g
- Fiber: 3g
- Sugar: 20g
It’s higher in fat due to the pecans and cream, but the carbs come from natural sources (sweet potato and maple). It’s gluten-free and nut-heavy, so it’s satiating. Enjoy a slice, not the whole pie.
Final Thoughts
So that’s my go-to **gluten-free maple sweet potato pie with toasted pecan crust**. I’ve probably talked your ear off at this point, but when you make a recipe this often, you have a lot to say about it. This pie has saved me from awkward holiday silences and has become the highlight of my autumn gatherings. It’s my answer to “what dessert should I make?” when I want something impressive but manageable. My kids are happy, my gluten-free friends are happy, and I’m happy because I’m not stressed about cooking.
Make it yours! Try different nuts, adjust the spice, or add a layer of caramel. The best recipes are the ones you adapt to your family’s tastes. If you make this, drop a comment and let me know what you think! I love hearing how recipes turn out in your kitchen. And if something doesn’t work, tell me that too—I’m here to help troubleshoot.
Happy baking! And I hope your kitchen smells half as good as mine does right now.
Frequently Asked Questions
Can I use canned sweet potato puree?
You can, but homemade tastes so much better. Canned puree is often denser and lacks the fresh flavor. If you must use canned, drain it well in a cheesecloth to remove excess moisture. I’ve done it in a pinch, but it’s not my preference.
Why did my crust fall apart when I sliced it?
Two reasons: either you didn’t press it down firmly enough, or you didn’t let it cool completely. The butter needs to re-solidify to hold the crust together. If it’s warm, it’s gooey. Chill it for at least 2 hours before slicing.
Can I make this ahead for a dinner party?
Yes! This is actually better made ahead. Make it 2-3 days in advance. The flavors meld, and the texture sets perfectly. Just keep it covered in the fridge. Take it out 30 minutes before serving to take the chill off.
What kind of maple syrup should I use?
Use 100% pure maple syrup. Look for Grade A Dark or Robust. Avoid “pancake syrup” or “table syrup,” which are mostly corn syrup and artificial flavor. The difference is huge. It’s worth the extra cost.
Can I substitute the pecans for another nut?
Absolutely. Walnuts, almonds, or hazelnuts all work. Toast them first, then process. Walnuts are the closest substitute in terms of texture and flavor. Hazelnuts add a nice chocolatey note.
How do I know when the pie is done baking?
Look for the jiggle. The edges should be set, but the center (about 2 inches in diameter) should wobble slightly like Jell-O. It will firm up as it cools. If it’s firm when it comes out of the oven, it’s overbaked and will crack.
Pin This Recipe!
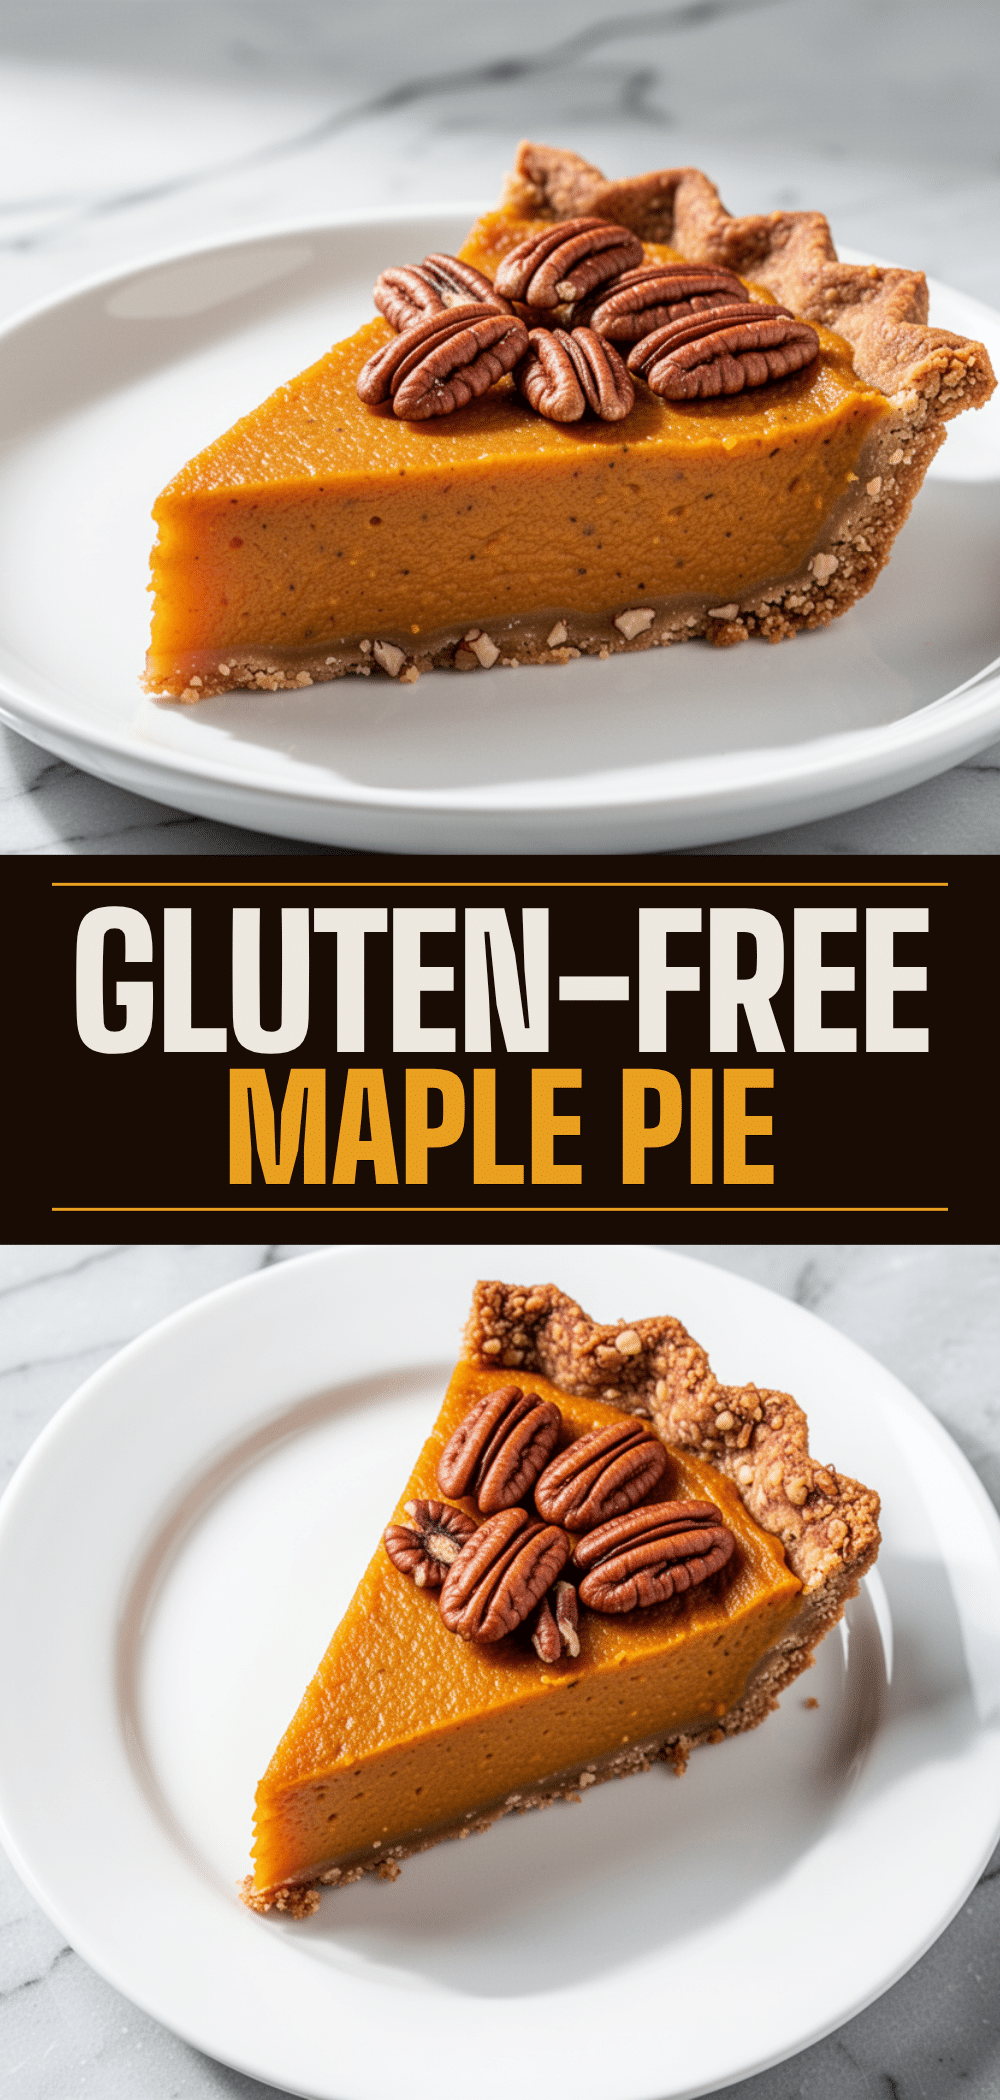
Fall Gluten-Free Maple Sweet Potato Pie with Toasted Pecan Crust
- Total Time: 135 minutes
- Yield: 8 servings 1x
Description
A rich, indulgent gluten-free dessert featuring a creamy maple sweet potato filling and a crunchy, buttery toasted pecan crust that holds together perfectly.
Ingredients
- 2 cups raw pecan halves (225g)
- 6 tablespoons unsalted butter (85g), melted
- 3 tablespoons granulated sugar (35g)
- Pinch of salt
- 1/2 teaspoon ground cinnamon
- 2 large sweet potatoes (about 2 lbs / 900g)
- 1/2 cup pure maple syrup (120ml)
- 1/2 cup heavy cream (120ml)
- 2 large eggs
- 1 egg yolk
- 1 teaspoon vanilla extract
- 1 teaspoon ground cinnamon
- 1/2 teaspoon ground ginger
- 1/4 teaspoon ground nutmeg
- 1/8 teaspoon ground cloves
- 1/2 teaspoon salt
Instructions
- Preheat oven to 400°F (200°C). Wash and prick sweet potatoes, then roast for 45-60 minutes until soft. Let cool completely.
- While potatoes roast, toast pecans in a dry skillet over medium heat for 3-5 minutes until fragrant. Let cool for 5 minutes.
- Pulse cooled pecans in a food processor until coarse sand texture. Add melted butter, sugar, cinnamon, and salt; pulse until mixture clumps.
- Press crust mixture firmly into a 9-inch pie dish. Chill in fridge for 15 minutes.
- Scoop flesh from cooled sweet potatoes and puree until smooth (about 2 cups).
- Whisk maple syrup, heavy cream, eggs, egg yolk, vanilla, cinnamon, ginger, nutmeg, cloves, and salt in a separate bowl.
- Combine sweet potato puree and egg mixture in food processor; pulse until smooth.
- Pour filling into chilled crust. Bake at 350°F (175°C) for 50-60 minutes until edges are set but center jiggles slightly.
- Cool completely on a rack for at least 2 hours at room temperature, then refrigerate for at least 2 hours or overnight before slicing.
Notes
Ensure sweet potatoes are fully cooled before pureeing to avoid steam ruining the texture. The crust must be pressed tightly to prevent crumbling. The pie requires significant chilling time to set properly. Use pure maple syrup, not pancake syrup, for best flavor.
- Prep Time: 30 minutes
- Cook Time: 105 minutes
- Category: Dessert
- Cuisine: American
Nutrition
- Serving Size: 1/8th of pie
- Calories: 280
- Sugar: 20
- Sodium: 150
- Fat: 18
- Saturated Fat: 7
- Carbohydrates: 28
- Fiber: 3
- Protein: 5
Keywords: gluten-free, sweet potato pie, maple syrup, pecan crust, fall dessert, Thanksgiving, dairy-free option, nut crust


