I still remember the exact moment I realized store-bought fudge was a lie. It was during a holiday office party a few years back, and I had taken the last piece of that pale, waxy square from the plastic tray. I bit into it, expecting that sugary rush, but instead got a mouthful of wax that tasted like regret and cheap cocoa powder. My coworker, a self-proclaimed chocolate snob, looked at me with genuine pity. “You haven’t lived,” she said, handing me a piece of her homemade dark chocolate fudge instead.
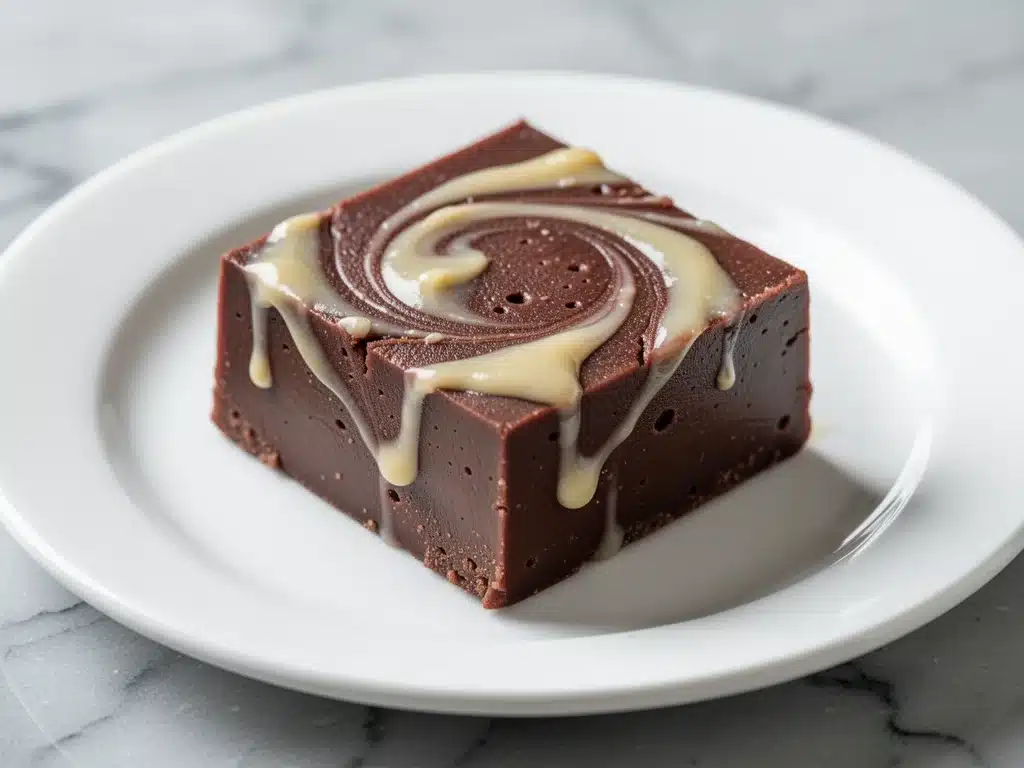
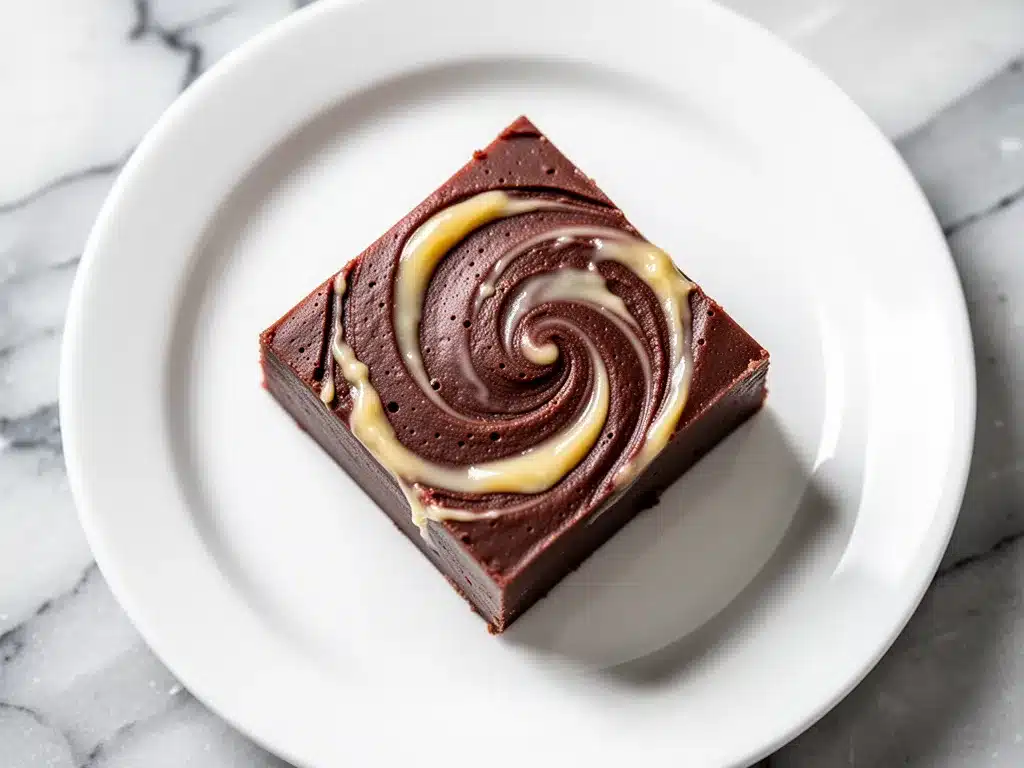
That piece of fudge changed everything. It was dense, glossy, and shattered slightly when you bit into it before melting into a rich, intense dark chocolate cloud. It didn’t taste like candy. It tasted like dessert. I went home that night and attempted to recreate it. The first batch was a grainy disaster. The second was too soft. By the fifth attempt, I had cracked the code. This creamy old-fashioned dark chocolate fudge you’ll make on repeat isn’t just a recipe; it’s a lesson in patience, quality ingredients, and the magic of three simple items.
There is something deeply nostalgic about making fudge. It feels like stepping back into a time when desserts were made with care, not pulled from a microwave bag. This recipe strips away the complicated candy thermometer gymnastics and the endless stirring of sugar syrups. Instead, it relies on the natural emulsification of dark chocolate, butter, and sweetened condensed milk. The result? A fudge that is incredibly rich, deeply chocolatey, and smooth enough to melt on your tongue before you even swallow. I’ve made this for Thanksgiving, Christmas, Valentine’s Day, and random Tuesday nights when I need a hug in edible form. It’s the kind of treat that disappears fast, so you’ll want to make extra.
Why You’ll Love This Recipe
Let’s be honest: most fudge recipes are intimidating. They involve boiling sugar to the soft-ball stage, which is a precise temperature that can be scary if you’re not used to candy making. This creamy old-fashioned dark chocolate fudge flips that script. It’s forgiving, fast, and uses ingredients you likely already have in your pantry. Here’s why this version has taken over my kitchen (and probably will take over yours, too):
- Only Three Ingredients — Seriously. Dark chocolate, butter, and sweetened condensed milk. That’s it. No eggs, no cream of tartar, no confusing stages. If you can melt chocolate, you can make this. I’ve made this while half-asleep on the couch because I was craving chocolate so badly I couldn’t stay awake.
- No Candy Thermometer Needed — One of the biggest pain points with traditional fudge is the thermometer. If you go two degrees too low, it’s soft. Two degrees too high, it’s grainy. With this method, you’re relying on the chocolate and condensed milk to do the heavy lifting. As long as you melt it gently, you’re golden.
- Restaurant-Quality Texture — This isn’t that crumbly, sandy fudge you get at gas stations. This is dense, fudgy, and smooth. The dark chocolate creates a sophisticated flavor profile that isn’t overly sweet, balancing the natural sweetness of the condensed milk perfectly.
- Ready in Under 20 Minutes — Most of that time is just waiting for it to set in the fridge. The actual active cooking time is about 10 minutes. I make this on weeknights when I want a dessert that feels fancy but doesn’t require three hours of standing over the stove like my ultra-moist pumpkin bread.
- Perfect for Gifting — Cut into neat squares, wrapped in parchment paper, and tied with a ribbon, this fudge looks like it came from a high-end chocolatier. I’ve given jars of this to neighbors, teachers, and bosses, and it’s always the most appreciated gift on the table.
- Gluten-Free by Nature — Since there are no flour or starches involved, this is naturally gluten-free. It’s a safe dessert option for my celiac friend who usually has to skip the holiday sweets table.
This is my go-to when I need a dessert that feels indulgent but is actually simple to execute. No stress, no mess, just pure chocolate joy.
Ingredients You’ll Need
The beauty of this recipe is its simplicity. Because there are only three ingredients, the quality of each one matters immensely. You can’t hide behind vanilla extract or spices here. Every bite is pure chocolate. Here’s what you need to get started:
For the Base
Dark Chocolate Chips or Chunks (12 oz / 340g) — This is the star of the show. I recommend using chocolate with at least 60% cocoa content. It doesn’t need to be expensive artisanal chocolate, but avoid the cheap baking chips that are full of stabilizers. I like to use semi-sweet chips from a reputable brand like Ghirardelli or Guittard. They melt smoothly and have a great flavor. If you want a deeper, more intense flavor, use bittersweet chocolate chips. Just know that the higher the cocoa percentage, the less sweet the final fudge will be.
Unsalted Butter (½ cup / 113g) — I use unsalted butter because it allows me to control the saltiness. Sweetened condensed milk is already quite sweet, so a little salt helps balance it out. If you only have salted butter, you can use it, but taste the mixture before adding any extra salt. Room temperature butter works best here, but if you’re melting it, straight from the fridge is fine.
Sweetened Condensed Milk (1 can / 14 oz / 397g) — Do not confuse this with evaporated milk! They are different products. Sweetened condensed milk is thick, syrupy, and very sweet. It’s the glue that holds this fudge together and gives it that creamy texture. Keep the can in your pantry for emergencies like this. I usually have a few cans on hand specifically for fudge and key lime pie.
Optional Add-Ins
Sea Salt Flakes — A sprinkle of flaky sea salt on top of the fudge before it sets elevates the flavor profile significantly. The salt contrasts with the sweetness and makes the chocolate taste even more chocolatey.
Nuts — Toasted pecans, walnuts, or hazelnuts add a wonderful crunch. I like to fold them in at the end, or press them into the top before chilling. If you prefer a nut-free version, this fudge is perfect on its own.
Pretzel Pieces — For a sweet-and-salty twist, sprinkle crushed pretzels on top. It’s a bit like a gourmet version of those chocolate-covered pretzel candies.
Vanilla Extract — 1 teaspoon of pure vanilla extract can be added at the end to enhance the chocolate flavor. It’s optional, but I find it adds a nice depth.
Equipment Needed
You don’t need fancy gadgets for this. Here’s what I actually use, along with some honest opinions on what’s necessary:
Heavy-Bottomed Saucepan — I use a 2-quart saucepan. The heavy bottom is important because it distributes heat evenly and prevents the chocolate from scorching. If you use a thin pan, you’ll likely get hot spots that burn the chocolate. My old stainless steel pan works perfectly for this.
Silicone Spatula — Essential for scraping the sides of the pan and ensuring everything is fully incorporated. A wooden spoon works too, but a spatula gets into the corners better.
8×8 Inch Baking Pan — This is the standard size for fudge. Line it with parchment paper, leaving an overhang on the sides. This overhang acts as handles, making it incredibly easy to lift the fudge out once it’s set. I use parchment paper because it’s non-stick and makes cleanup a breeze.
Microwave-Safe Bowl — If you prefer to melt the chocolate in the microwave, a large bowl works well. Just be sure to stir frequently to prevent melting unevenly.
Whisk — A small whisk helps incorporate the butter and condensed milk smoothly, especially if you’re doing this in a bowl rather than on the stove.
How to Make It: Step-by-Step
Alright, let’s make this! I’m walking you through exactly how I do it, including the little tricks I’ve picked up over the years. This process is straightforward, but attention to detail is key.
Step 1: Prepare Your Pan
Line an 8×8 inch baking pan with parchment paper. Leave a few inches of overhang on the long sides—this is your lifeline for lifting the fudge out later. Lightly grease the parchment with a little butter or cooking spray to ensure nothing sticks. I usually do this while the chocolate is melting so I’m ready to go.
Step 2: Melt the Chocolate and Butter
Combine the dark chocolate chips and butter in your heavy-bottomed saucepan. Place it over low heat. This is crucial. High heat will burn the chocolate, and burnt chocolate tastes bitter and ruins the whole batch. Stir constantly with your silicone spatula. The butter will melt into the chocolate, creating a glossy mixture. This takes about 5-7 minutes. Be patient. If you’re using a microwave, heat in 30-second intervals, stirring between each, until smooth.
Step 3: Add the Sweetened Condensed Milk
Once the chocolate and butter are fully melted and combined, pour in the entire can of sweetened condensed milk. Keep the heat on low. Stir continuously. The mixture will look strange at first—it might seem separated or lumpy. Don’t panic. Keep stirring. Within a minute or two, it will come together into a smooth, thick, glossy sauce. This step takes about 3-4 minutes. The mixture will bubble slightly as it heats. Do not let it boil vigorously; you just want to warm it through and combine the ingredients.
Step 4: Fold in Add-Ins
Remove the pan from the heat. If you’re using vanilla extract, stir it in now. If you’re adding nuts or other mix-ins, fold them in gently. I like to reserve some nuts to press on top for decoration. Stir until everything is evenly distributed.
Step 5: Pour and Set
Pour the hot fudge mixture into your prepared pan. Use the spatula to spread it evenly into the corners. Tap the pan gently on the counter to release any air bubbles. If you’re adding sea salt or extra nuts, sprinkle them on top now. Let the fudge cool at room temperature for about 30 minutes, then transfer it to the refrigerator. It needs to chill for at least 2 hours, but overnight is best. This allows the fudge to set completely and develop that firm, sliceable texture.
Step 6: Slice and Serve
Once the fudge is fully set, lift it out of the pan using the parchment paper overhang. Place it on a cutting board. Use a sharp knife to cut into squares. For clean cuts, wipe the knife with a clean towel between each slice. I like to cut them into 1-inch squares. They’re rich, so you don’t need big pieces. Serve and enjoy!
Expert Tips & Tricks
Here’s everything I’ve learned from making this dozens of times. These tips will save you from my mistakes and ensure your fudge is perfect every time.
Don’t Rush the Melting
I know it’s tempting to crank up the heat, but low and slow is the only way. If the chocolate burns, there’s no fixing it. The flavor will be off, and you’ll have to start over. I’ve burned chocolate twice before getting it right. Trust the process.
Stir Constantly
When you add the condensed milk, keep stirring. This ensures the mixture emulsifies properly. If you stop stirring, you might get lumps of condensed milk that don’t fully incorporate. A smooth mixture is a smooth fudge.
Use Quality Chocolate
Since this recipe has only three ingredients, the chocolate is 50% of the flavor. Don’t use the cheapest chips you can find. Look for ones with a clean ingredient list—cocoa mass, sugar, cocoa butter, maybe lecithin. Avoid ones with vegetable oils or artificial flavors.
Chill Thoroughly
Impatience is the enemy of fudge. If you try to slice it before it’s fully set, it will be soft and messy. Give it at least 2 hours in the fridge, but ideally overnight. The texture improves significantly with time.
Storage is Key
This fudge keeps well in the refrigerator for up to two weeks. Store it in an airtight container, with parchment paper between layers if you’re stacking them. It can also be frozen for up to three months. Thaw in the fridge before serving.
Variations & Substitutions
Once you’ve mastered the basic version, here’s how you can mix it up. I’ve tried all of these, and they all work beautifully.
Milk Chocolate Fudge
Simply swap the dark chocolate for milk chocolate chips. This will result in a sweeter, creamier fudge. It’s less intense but very kid-friendly. I make this for my nephew’s birthday parties.
White Chocolate Fudge
Use white chocolate chips instead of dark. Add 1 teaspoon of vanilla extract and a pinch of sea salt. This is a classic combination. You can also add dried cranberries or macadamia nuts for a festive touch.
Mint Chocolate Fudge
Add ½ teaspoon of peppermint extract along with the vanilla. You can also fold in crushed peppermint candies for a holiday twist. This pairs wonderfully with my fudgy mint chocolate brownies for a mint-themed dessert spread.
Espresso Fudge
Add 1 tablespoon of instant espresso powder to the melted chocolate mixture. This enhances the chocolate flavor without making it taste like coffee. It’s a subtle but game-changing addition.
Cherry Almond Fudge
Fold in dried cherries and slivered almonds. The tartness of the cherries cuts through the sweetness, and the almonds add crunch. This is similar in flavor profile to my cherry almond crumble bars.
Dairy-Free Option
Use dairy-free dark chocolate chips and dairy-free sweetened condensed milk (available in coconut milk versions). The texture might be slightly different, but the flavor is still delicious.
Serving & Storage
How to serve this creamy old-fashioned dark chocolate fudge you’ll make on repeat:
I usually serve this at room temperature. Cold fudge can be too hard and doesn’t melt in your mouth as nicely. Take it out of the fridge about 15 minutes before serving. Pair it with a cup of coffee or tea for a classic afternoon treat. It also goes well with a glass of cold milk or a warm cup of iced vanilla chai latte.
Storage Instructions:
Store in an airtight container in the refrigerator for up to two weeks. If you’re traveling with it, keep it cool to prevent melting. It can also be frozen for up to three months. Wrap individual squares in plastic wrap and place them in a freezer bag. Thaw in the fridge overnight before serving.
Do Not Freeze in the Pan:
If you’re freezing, cut the fudge first. Freezing it in the pan makes it difficult to remove later. Just wrap the whole block in plastic wrap and foil, but cutting first is easier for portion control.
Nutrition Information
I’m not a nutritionist, but here’s the breakdown if you’re tracking. This is definitely a treat, so enjoy in moderation.
Per Serving (1 square, approx. 1 inch):**
- Calories: 120
- Total Fat: 7g
- Saturated Fat: 4g
- Cholesterol: 10mg
- Sodium: 15mg
- Total Carbohydrates: 14g
- Dietary Fiber: 1g
- Sugars: 12g
- Protein: 2g
Keep in mind that nutrition values can vary based on the specific brands of chocolate and condensed milk used. This recipe is naturally gluten-free and nut-free (unless you add nuts).
Final Thoughts
So that’s my creamy old-fashioned dark chocolate fudge! It’s simple, rich, and incredibly satisfying. I’ve probably talked your ear off at this point, but when you make a recipe this often, you have a lot to say about it. This fudge has saved my social life more times than I can count. It’s my go-to when I’m asked to bring a dessert to a potluck, and it’s always the first thing to disappear from the table.
Make it yours! Try different add-ins, swap in your favorite chocolate, or play with the textures. The best recipes are the ones you adapt to your tastes. If you make this, drop a comment and let me know what you think! I love hearing how recipes turn out in your kitchen. And if something doesn’t work, tell me that too—I’m here to help troubleshoot.
Happy cooking! And I hope your kitchen smells half as good as mine does right now.
Frequently Asked Questions
Q: Can I use milk chocolate instead of dark chocolate?
A: Yes, you can! Just know that the fudge will be sweeter and less intense. Milk chocolate has a lower cocoa content, so the chocolate flavor won’t be as pronounced. If you use milk chocolate, you might want to add a pinch more sea salt on top to balance the sweetness.
Q: Why is my fudge soft or chewy instead of firm?
A: This usually happens if the fudge wasn’t chilled long enough, or if the chocolate and condensed milk weren’t fully combined before pouring. Make sure you stir constantly while heating to ensure a smooth emulsion. Also, check that you’re using the right size pan. If your pan is larger than 8×8, the fudge layer will be thinner and might not set as firmly.
Q: Can I make this in the microwave?
A: Absolutely. Combine the chocolate and butter in a microwave-safe bowl. Microwave in 30-second intervals, stirring between each, until smooth. Then stir in the condensed milk until fully combined. Pour into the pan and chill. It’s a great option if you don’t want to stand over the stove.
Q: How long does this fudge last?
A: In the refrigerator, it lasts up to two weeks. In the freezer, it lasts up to three months. Just make sure it’s stored in an airtight container to prevent it from absorbing other smells from your fridge.
Q: Can I add nuts to this fudge?
A: Yes! Toasted pecans, walnuts, or hazelnuts are delicious. Fold them in after removing the mixture from the heat, or press them into the top before chilling. Just be aware that adding nuts changes the texture and adds calories.
Q: Is this recipe gluten-free?
A: Yes, this recipe is naturally gluten-free as long as you use gluten-free chocolate chips. Most dark chocolate chips are gluten-free, but always check the label to be sure.
Q: Can I use evaporated milk instead of sweetened condensed milk?
A: No, do not substitute evaporated milk. Evaporated milk is unsweetened and has a completely different consistency. Sweetened condensed milk is thick and syrupy, which is what gives this fudge its texture and sweetness. Substituting it will result in a runny, sweet milk mixture, not fudge.
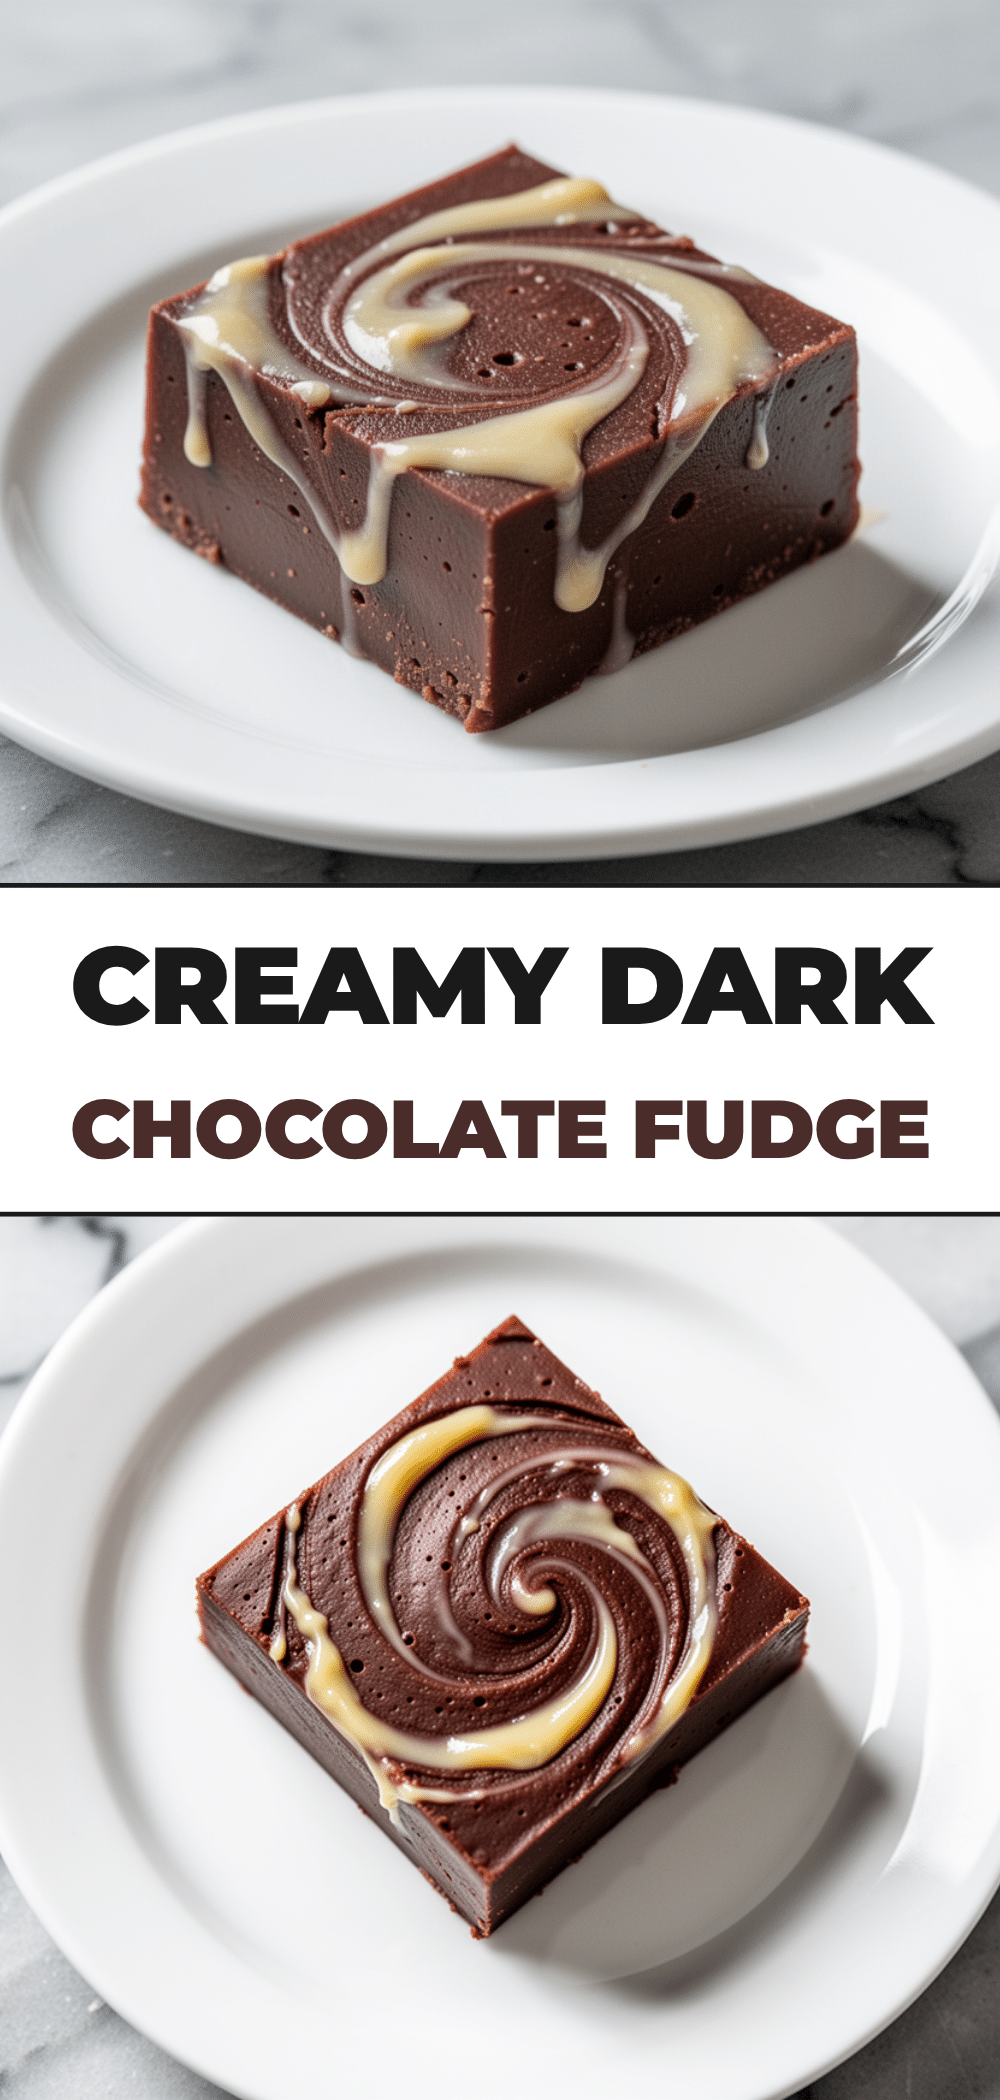
Pin This Recipe!
Creamy Old-Fashioned Dark Chocolate Fudge: 3-Ingredient Easy Recipe
- Total Time: 2 hours 20 minutes
- Yield: 16 servings 1x
Description
A rich, dense, and smooth dark chocolate fudge made with just three simple ingredients: dark chocolate, butter, and sweetened condensed milk. No candy thermometer required.
Ingredients
- 12 oz (340g) dark chocolate chips or chunks (at least 60% cocoa)
- ½ cup (113g) unsalted butter
- 1 can (14 oz / 397g) sweetened condensed milk
- Optional: Sea salt flakes, toasted nuts (pecans/walnuts/hazelnuts), crushed pretzels, or 1 tsp vanilla extract
Instructions
- Line an 8×8 inch baking pan with parchment paper, leaving an overhang on the sides, and lightly grease with butter or cooking spray.
- Combine dark chocolate chips and butter in a heavy-bottomed saucepan over low heat.
- Stir constantly with a silicone spatula for 5-7 minutes until the chocolate and butter are fully melted and glossy. (Alternatively, melt in a microwave-safe bowl in 30-second intervals, stirring between each).
- Pour in the entire can of sweetened condensed milk while keeping heat on low.
- Stir continuously for 3-4 minutes until the mixture becomes smooth, thick, and glossy. Do not let it boil vigorously.
- Remove from heat. Stir in vanilla extract or other add-ins if using.
- Pour the mixture into the prepared pan and spread evenly. Tap the pan to release air bubbles.
- Sprinkle with optional sea salt or nuts if desired.
- Cool at room temperature for 30 minutes, then refrigerate for at least 2 hours (or overnight) until firm.
- Lift fudge out using parchment overhang and cut into 1-inch squares with a sharp knife.
Notes
Use quality dark chocolate with at least 60% cocoa for best flavor. Do not rush the melting process; low heat prevents burning. Ensure the fudge is chilled thoroughly for clean cuts. Store in an airtight container in the refrigerator for up to two weeks or freeze for up to three months.
- Prep Time: 10 minutes
- Cook Time: 10 minutes
- Category: Dessert
- Cuisine: American
Nutrition
- Serving Size: 1 square (approx. 1
- Calories: 120
- Sugar: 12
- Sodium: 15
- Fat: 7
- Saturated Fat: 4
- Carbohydrates: 14
- Fiber: 1
- Protein: 2
Keywords: dark chocolate fudge, 3 ingredient fudge, easy fudge recipe, gluten-free dessert, no bake fudge, homemade fudge, creamy fudge


