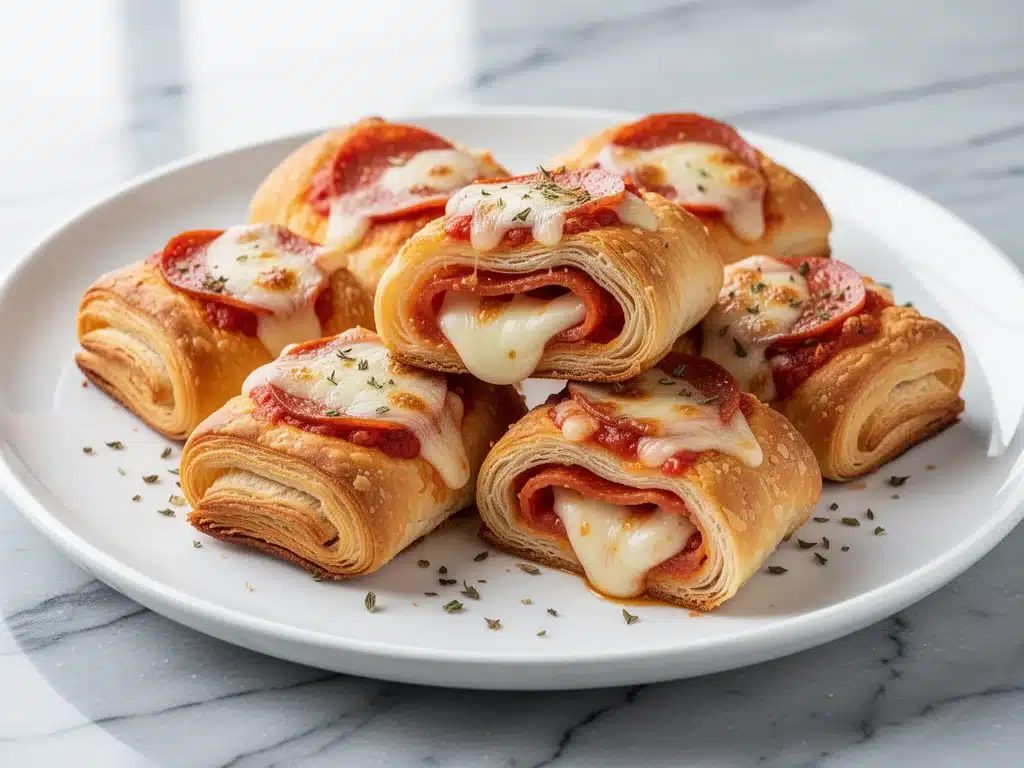
Last August, I stood in front of an open refrigerator, staring at a half-empty jar of marinara and a block of mozzarella that was slowly turning into a science experiment. It was 6:45 PM. My son had just come home from school, dropped his backpack with a thud that echoed through the house, and asked the question that strikes fear into the heart of every parent: “What’s for snack? And dinner?”
I was exhausted. The summer freedom was over, the routine was chaos, and I had zero energy for elaborate meal prep. I wanted something fast, something he’d actually eat (no steamed broccoli tonight), and something that felt like a treat rather than a chore. That’s when I looked at that mozzarella, thought about the pepperoni slices sitting in the deli drawer, and remembered those pizza roll-ups I’d seen on Pinterest years ago. But the ones I’d tried before were always soggy or fell apart. Not this time.
I threw together a batch of cheesy pepperoni pizza roll-ups using tortillas, some leftover sauce, and whatever cheese I could find. They came out crispy, gooey, and utterly delicious. My son devoured three before I could even plate them for myself. That night changed everything. It wasn’t just a snack; it was a lifeline. Now, three months into the school year, these roll-ups are the backbone of our weeknight snack rotation and the secret weapon in my kids’ lunchboxes. They’re easy, they’re customizable, and they taste like Friday night pizza night, but on a Tuesday.
If you’re drowning in the back-to-school grind and need a snack that’s ready in 15 minutes, this is your answer. I’ve tested this recipe with different cheeses, different tortilla sizes, and even different fillings (bacon? yes. veggies? sure). But the classic pepperoni and mozzarella version? It’s the gold standard. Here’s exactly how to make them, along with all the tricks I’ve learned so you don’t end up with a mess like I did on night one.
Why You’ll Love These Pizza Roll-Ups
There are a lot of snack options out there. Apple slices? Fine. Crackers? Boring. But these cheesy pepperoni pizza roll-ups hit that sweet spot between “healthy-ish” and “definitely junk food.” Here’s why they’ve earned a permanent spot in my kitchen:
- Zero Meltdowns — Seriously. My kids are notorious for complaining about “weird textures” or “too much cheese.” These are familiar flavors. It’s pizza. It’s rolled up. It’s safe. I’ve watched even the pickiest eaters ask for “just one more.”
- Under 15 Minutes — I’m not exaggerating. From fridge to oven, it takes 15 minutes. That’s faster than waiting for a pizza delivery. I make these after soccer practice when I’m starving and impatient.
- Lunchbox Friendly — Unlike floppy slices of pizza that get squished in a backpack, these hold their shape. They don’t drip sauce everywhere. They’re sturdy enough to survive a 45-minute bus ride without falling apart.
- Customizable for Everyone — My husband hates pepperoni? No problem. We make ham and mushroom roll-ups for him. My daughter is gluten-free? We use gluten-free tortillas. One batch, multiple preferences. No separate cooking required.
- Freezer Friendly — This is the big one. I make a double batch, freeze half, and have instant snacks ready for busy mornings. They reheat perfectly in the toaster oven.
Real talk: these aren’t gourmet. They’re not going to win a culinary award. But they are reliable, delicious, and they make your life easier. That’s what matters when you’re managing school runs, homework, and dinner all at once.
Ingredients You’ll Need
Here’s the best part: you probably have 90% of these ingredients already. I’m not asking you to go to three different stores. This is pantry-friendly cooking.
For the Roll-Ups
Flour tortillas (8-inch size, 4 large) — I use standard flour tortillas, not the skinny ones. You need enough surface area to roll without tearing. If you want gluten-free, use gluten-free flour tortillas, but be careful—they can be more brittle. I’ve had success with Mission GF, but handle gently.
Marinara sauce (½ cup) — Don’t use pizza sauce; it’s too thick and sweet. Use a regular marinara or pasta sauce. I like Rao’s if I’m being fancy, but a good jarred store brand works perfectly fine. The key is it shouldn’t be watery. If your sauce is thin, simmer it for 5 minutes to thicken it up first.
Mozzarella cheese (1 ½ cups, shredded) — Shred your own block. Please. Pre-shredded cheese has potato starch that prevents it from melting smoothly. You want gooey, stringy cheese, not grainy clumps. It takes 3 minutes to shred and makes a huge difference.
Pepperoni slices (1 package, standard size) — Cut these in half if they’re large. You want even distribution. I use the cheap store-brand pepperoni; it has that classic salty, spicy punch that kids love.
Butter (2 tablespoons, melted) — This is for brushing the outside. It gives them that golden, bakery-style finish. I use salted butter, but unsalted works too if you’re watching sodium.
Garlic powder (½ teaspoon) — Optional, but I think it adds a nice depth. If you don’t have it, skip it. Or use onion powder.
Dried oregano (½ teaspoon) — Essential for that “pizza” flavor. Don’t skip this.
Red pepper flakes (½ teaspoon) — For a little kick. If your kids are sensitive to spice, leave it out or use just a pinch.
Parmesan cheese (¼ cup, grated) — For sprinkling on top before baking. Adds a salty, crispy crust.
Equipment Needed
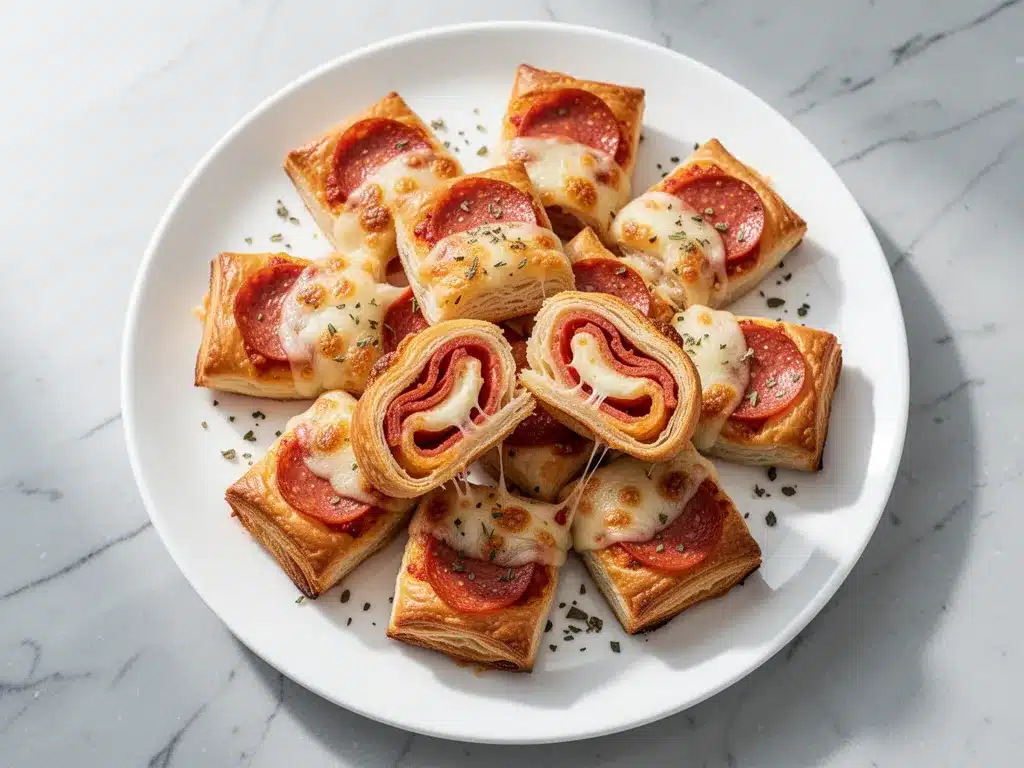
You don’t need fancy gadgets for this. Here’s what I actually use:
Baking sheet — I use a standard half-sheet pan. Line it with parchment paper for easy cleanup. Grease is a pain to scrub.
Pastry brush — For brushing the melted butter on the tortillas. A silicone brush is easiest to clean, but a regular one works fine.
Rolling pin — Optional. I usually just roll with my hands, but a rolling pin helps flatten the tortilla if it’s bumpy.
Toaster oven — For reheating leftovers. I find they crisp up better in a toaster oven than a microwave. But a regular oven works too.
How to Make It: Step-by-Step
Alright, let’s make these! I’m walking you through exactly how I do it, including the little tricks I’ve picked up so they don’t fall apart.
Step 1: Prep Your Oven and Pan (5 minutes)
Preheat your oven to 375°F (190°C). Line a baking sheet with parchment paper or lightly grease it with cooking spray. This step is crucial—don’t skip the parchment. You don’t want cheese sticking to your pan.
Step 2: Lay Out the Tortillas
Take your tortillas and lay them flat on a clean counter. If they’re stiff from the fridge, microwave them for 10 seconds to make them pliable. I’ve had tortillas crack when I tried to roll them cold, and that’s a disaster. You want them soft and flexible.
Step 3: Spread the Sauce
Spread about 2 tablespoons of marinara sauce over each tortilla, leaving a ½-inch border around the edges. Don’t go crazy with the sauce! Too much sauce and your roll-ups will get soggy and burst. You want a thin, even layer. Think “glaze,” not “flood.”
Step 4: Add Cheese and Pepperoni
Sprinkle a generous amount of mozzarella cheese over the sauce. Then, layer the pepperoni slices on top. I like to arrange them so they’re evenly distributed. If you’re adding other toppings (like sliced olives or diced peppers), add them now. Keep it simple for the best results.
Step 5: Roll Them Up Tight
This is the most important step. Starting from one long edge, roll the tortilla up tightly. Use your fingers to tuck the filling in as you roll. You want a tight cylinder, not a loose burrito. If it’s too loose, it will unroll in the oven. Once rolled, place the seam-side down on the prepared baking sheet. Press down gently to seal.
Step 6: Brush and Season
Melt the butter in a small bowl (microwave for 30 seconds). Brush the tops and sides of the roll-ups with the melted butter. Sprinkle with garlic powder, oregano, and red pepper flakes. Then, sprinkle the grated Parmesan cheese on top. This creates that delicious, crispy, golden crust.
Step 7: Bake Until Golden
Bake for 12-15 minutes, or until the tortillas are golden brown and the cheese is bubbly. Keep an eye on them after 10 minutes because ovens vary. You want them crispy, not burnt. If they’re browning too fast, cover them loosely with foil.
Step 8: Cool and Serve
Let them cool for 2-3 minutes before cutting. This allows the cheese to set slightly so they don’t fall apart. Cut each roll-up into 3-4 pinwheels. Serve warm with extra marinara for dipping. Trust me, the dipping is non-negotiable.
Expert Tips & Tricks
Here’s everything I’ve learned from making these dozens of times. These tips will save you from my mistakes.
Don’t Overfill — This is the #1 mistake. If you put too much sauce or cheese, the roll-up will burst. Less is more. You want a thin layer of flavor, not a sandwich filling.
Roll Tight — I can’t stress this enough. Roll them tight. If they’re loose, they’ll unroll. Tuck the ends in if you need to.
Use Freshly Shredded Cheese — I know it’s annoying, but pre-shredded cheese has anti-caking agents that prevent proper melting. You’ll end up with a weird texture. Take the 2 minutes to shred your own.
Thicken the Sauce — If your marinara is watery, simmer it in a pan for 5-10 minutes to reduce it. Watery sauce = soggy roll-ups. Nobody wants that.
Cool Before Cutting — Hot cheese is liquid gold. If you cut them immediately, everything spills out. Let them rest for 3 minutes. It’s hard, but worth it.
Freeze Before Baking — You can assemble these and freeze them on the baking sheet before baking. Once frozen solid, transfer to a bag. Bake from frozen, adding 5 minutes to the cook time. Great for meal prep.
Variations & Substitutions
Once you’ve nailed the basic version, here’s how you can mix it up. I’ve tried all of these.
Hamburger Helper — Swap pepperoni for cooked ground beef and onions. Use cheddar cheese instead of mozzarella. It’s like a mini taco roll-up.
Spinach and Feta — Use spinach and feta cheese with a little sun-dried tomato. Add a drizzle of balsamic glaze after baking. More sophisticated, but still easy.
Bacon and Ranch — Use cooked bacon bits and ranch seasoning instead of oregano. Top with a dollop of ranch after baking. My kids go crazy for this one.
Veggie Delight — Add sliced mushrooms, bell peppers, and black olives. Use mozzarella and provolone. It’s a bit healthier, though the kids might complain.
Gluten-Free — Use gluten-free tortillas. Be extra careful with rolling, as GF tortillas are more fragile. Handle gently.
Chicken Alfredo — Swap marinara for alfredo sauce, use cooked chicken, and add spinach. Top with Parmesan. A creamy twist on the classic.
Serving & Storage
How to Serve: I usually serve these straight from the pan with small bowls of warm marinara for dipping. They’re perfect for parties, game nights, or just a quick snack. I also pack them in lunchboxes. They hold up well for 2-3 days.
Refrigerator: Store leftovers in an airtight container for up to 3 days. They’ll soften, but they’re still good cold or reheated.
Reheating: Best method: Toaster oven or regular oven at 350°F for 5-7 minutes. This keeps them crispy. Microwave method: 30 seconds. They’ll get chewy, but they’ll be hot. I avoid the microwave if I can help it.
Freezing: Yes, you can freeze baked roll-ups. Let them cool completely, then freeze in a single layer on a baking sheet. Once frozen, transfer to a bag. Reheat in the oven or toaster oven to restore crispiness.
Nutrition Information
I’m not a nutritionist, but here’s the breakdown if you’re tracking. This is per roll-up (assuming 4 roll-ups per tortilla, 8 tortillas total = 32 roll-ups).
- Calories: ~85
- Protein: 4g
- Carbs: 8g
- Fat: 4g
- Sodium: 220mg
Look, this is comfort food. It’s not a diet recipe. But it’s better than chips or candy. When I want to make it lighter, I use low-fat cheese and turkey pepperoni. But usually? I just eat a reasonable portion and enjoy it. These are for fun, not for counting macros.
Final Thoughts
So that’s my go-to cheesy pepperoni pizza roll-ups! I’ve probably talked your ear off at this point, but when you make a recipe this often, you have a lot to say about it. These have saved my sanity during the back-to-school rush. They’re my answer to “what’s for snack?” when I’m tired, don’t want takeout, and still want something that tastes really good. My kids are happy, I’m happy, and we’re all eating well.
Make it yours! Try different add-ins, swap in your favorite cheeses, adjust the spice level. The best recipes are the ones you adapt to your family’s tastes. If you make this, drop a comment and let me know what you think! I love hearing how recipes turn out in your kitchen. And if something doesn’t work, tell me that too—I’m here to help troubleshoot.
Happy cooking! And I hope your kitchen smells half as good as mine does right now.
Frequently Asked Questions
Can I use pizza sauce instead of marinara?
You can, but pizza sauce is often thicker and sweeter. If you use it, thin it out with a little water or tomato sauce so it spreads easily. I prefer marinara because it’s more savory and less sweet, which balances the salty pepperoni better. But if that’s all you have, it works.
Why did my roll-ups fall apart?
Usually, this means they weren’t rolled tight enough, or you used too much filling. Make sure you roll them tightly and press the seam down. Also, let them cool for a few minutes before cutting. Hot cheese is liquid and will cause them to slide apart.
Can I make these ahead of time?
Yes! You can assemble them and freeze them unbaked. Place them on a baking sheet, freeze until solid, then transfer to a bag. When ready to cook, bake from frozen, adding 5 minutes to the cook time. This is great for busy mornings.
Can I use gluten-free tortillas?
Yes, but handle them gently. GF tortillas are more brittle and can crack when rolled. Microwave them for 10-15 seconds to make them more pliable before rolling. They might not roll as tightly, so keep an eye on them in the oven.
How do I reheat leftovers?
For the best texture, reheat in a toaster oven or regular oven at 350°F for 5-7 minutes. This restores the crispiness. The microwave works in a pinch, but the tortillas will get chewy. Avoid the microwave if you want them to taste fresh.
Can I add vegetables?
Absolutely. Sliced mushrooms, bell peppers, onions, and spinach work great. Just make sure to cook watery vegetables (like mushrooms) first to remove excess moisture, so your roll-ups don’t get soggy.
Can I use turkey pepperoni?
Yes, turkey pepperoni is a lighter option. It’s less salty and has a milder flavor. If you use it, you might want to add a little extra oregano or red pepper flakes to boost the flavor, as turkey pepperoni is less potent than regular pepperoni.
Pin This Recipe!
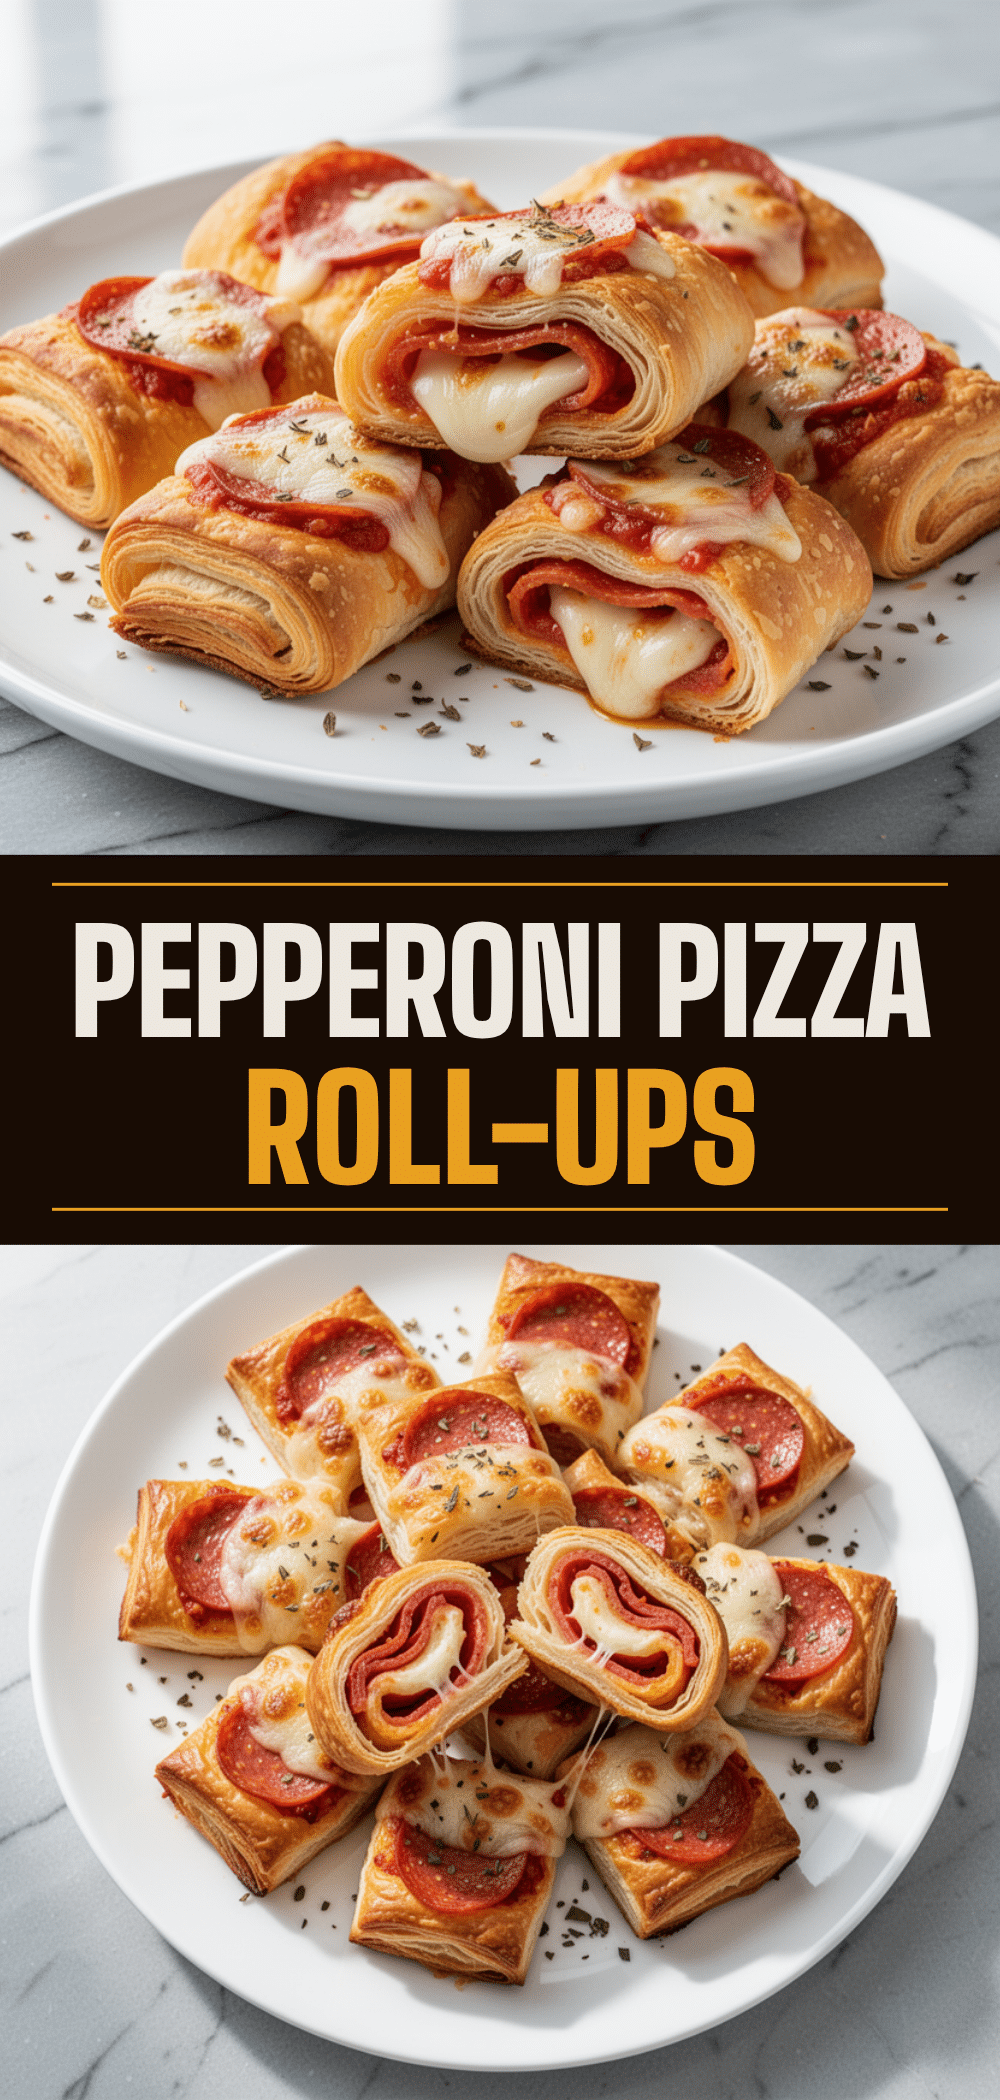

Cheesy Pepperoni Pizza Roll-Ups
- Total Time: 15 minutes
- Yield: 32 roll-ups 1x
Description
Quick, crispy, and customizable pizza roll-ups made with tortillas, marinara, mozzarella, and pepperoni. Perfect for back-to-school snacks or busy weeknights, ready in under 15 minutes.
Ingredients
- 4 large flour tortillas (8-inch)
- 1/2 cup marinara sauce
- 1 1/2 cups shredded mozzarella cheese
- 1 package pepperoni slices (cut in half if large)
- 2 tablespoons melted butter
- 1/2 teaspoon garlic powder
- 1/2 teaspoon dried oregano
- 1/2 teaspoon red pepper flakes
- 1/4 cup grated Parmesan cheese
Instructions
- Preheat oven to 375°F (190°C). Line a baking sheet with parchment paper.
- Lay tortillas flat on a clean counter. If stiff, microwave for 10 seconds to make pliable.
- Spread about 2 tablespoons of marinara sauce over each tortilla, leaving a 1/2-inch border.
- Sprinkle mozzarella cheese over the sauce, then layer pepperoni slices evenly.
- Roll each tortilla tightly from one long edge, tucking in the filling. Place seam-side down on the baking sheet and press gently to seal.
- Brush the tops and sides with melted butter. Sprinkle with garlic powder, oregano, red pepper flakes, and Parmesan cheese.
- Bake for 12-15 minutes until golden brown and cheese is bubbly.
- Let cool for 2-3 minutes to allow cheese to set.
- Cut each roll-up into 3-4 pinwheels and serve warm with extra marinara for dipping.
Notes
Use freshly shredded mozzarella for better melting. Ensure tortillas are rolled tightly to prevent unrolling. If using watery marinara, simmer it first to thicken. Can be frozen unbaked or baked.
- Prep Time: 5 minutes
- Cook Time: 12-15 minutes
- Category: Snack
- Cuisine: American
Nutrition
- Serving Size: 1 roll-up
- Calories: 85
- Sugar: 1
- Sodium: 220
- Fat: 4
- Saturated Fat: 2
- Carbohydrates: 8
- Protein: 4
Keywords: pizza roll-ups, back-to-school snacks, easy snacks, kid-friendly recipes, quick dinner, tortilla recipes, pepperoni snacks


