It was the kind of July afternoon that makes you question every life choice leading up to it. The air was thick enough to chew, the grill was smoking like a dragon, and I was standing in my kitchen trying to figure out how to bake a cheesecake in temperatures that felt like an oven set to “broil.” Spoiler alert: You can’t. My kitchen would have become a sauna, and the cheesecake would have collapsed before it even hit the table.
That was the moment I stopped fighting the weather and started working with it. I needed something cold, creamy, and visually stunning that didn’t require turning on the oven. I needed a dessert that could survive the heat without melting into a puddle of regret before dinner was even served. That’s when I stumbled upon the concept of no-bake cheesecake cups. They’re individual, they’re gorgeous, and best of all? They stay perfectly set in the summer heat.
I’ve tested this No-Bake Strawberry Cheesecake Cups recipe for over a dozen summer gatherings now. From backyard BBQs to poolside brunches, these cups have become my secret weapon. They look like they came from a high-end patisserie, but they’re surprisingly simple to make. The real secret isn’t just the recipe; it’s the strategy. By making them in small, individual portions, you control the texture, the presentation, and the portion size all at once. No more slicing a giant cake and dealing with messy, uneven pieces. Just perfect, spoonable bliss.
What started as a desperate heatwave solution has turned into a summer staple. My friends actually ask for these by name now. “Did you bring the strawberry cups?” is the first question they ask when I walk through the door. It’s funny how a little bit of cream cheese and some fresh berries can turn a stressful party into a relaxed evening. These cups are light enough to enjoy after a heavy meal but rich enough to feel like a real treat. Let me walk you through exactly how to make them, including the tricks I’ve learned so you don’t end up with a soupy mess.
Why You’ll Love This No-Bake Strawberry Cheesecake Cups Recipe
There are a million dessert recipes out there, but this one hits a different sweet spot. It’s not just about taste; it’s about the entire experience of making and serving it during the hottest months of the year. Here’s why these cups have earned a permanent spot in my summer rotation.
No Oven Required — This is the biggest selling point for me. I don’t want to heat up my house in July. This recipe uses a fridge to set the filling, which means your kitchen stays cool and comfortable. You can make these the day before a party and forget about them until it’s time to serve. That’s peace of mind.
Individual Portions — Serving a whole cake can be intimidating. You need a cake server, you need plates, and you need to worry about how many slices you’ll get. With these cups, each guest gets their own perfect portion. No fighting over the corner piece. No messy slicing. Just grab a cup and go. It’s perfect for standing around with a drink in one hand and a dessert in the other.
Make-Ahead Friendly — These actually taste better after sitting in the fridge for a few hours. The flavors meld together, and the texture firms up to that perfect spoonable consistency. I usually make them the night before the party. This means I’m not stuck in the kitchen when my guests arrive. I can be social, not stressed.
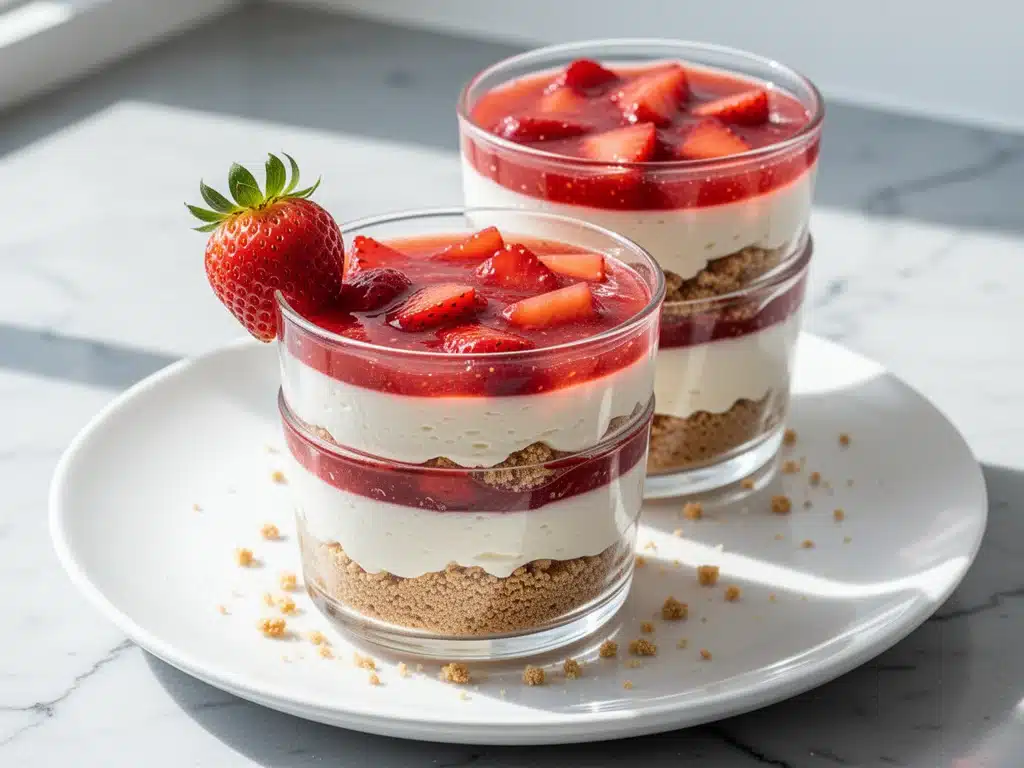
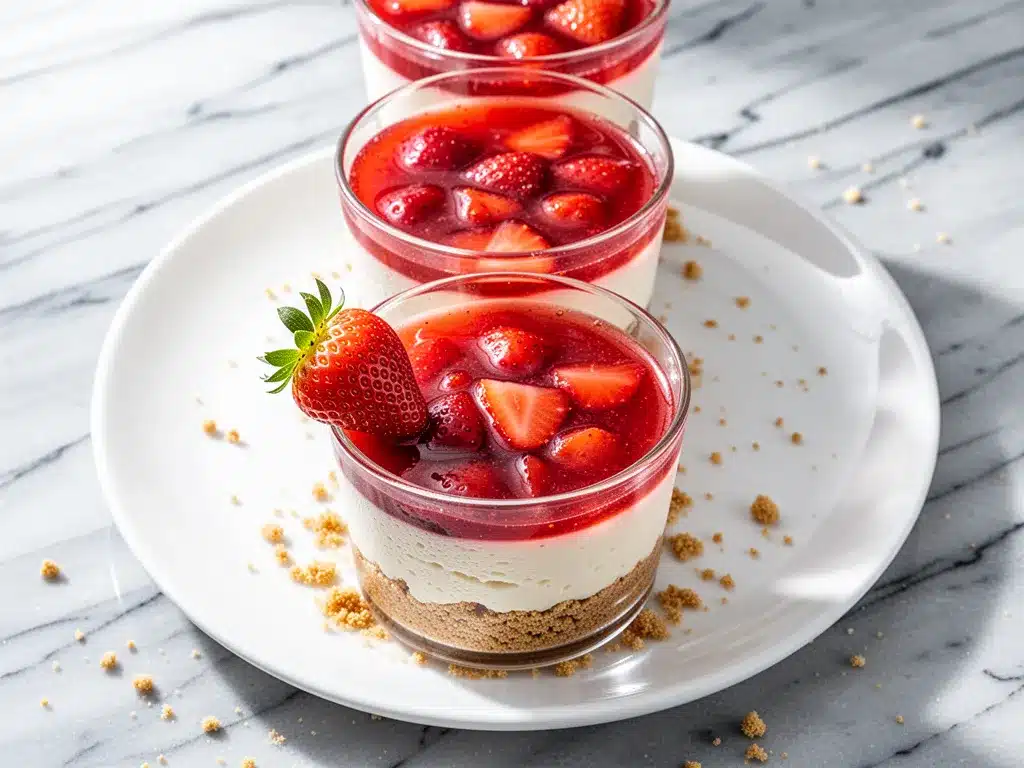
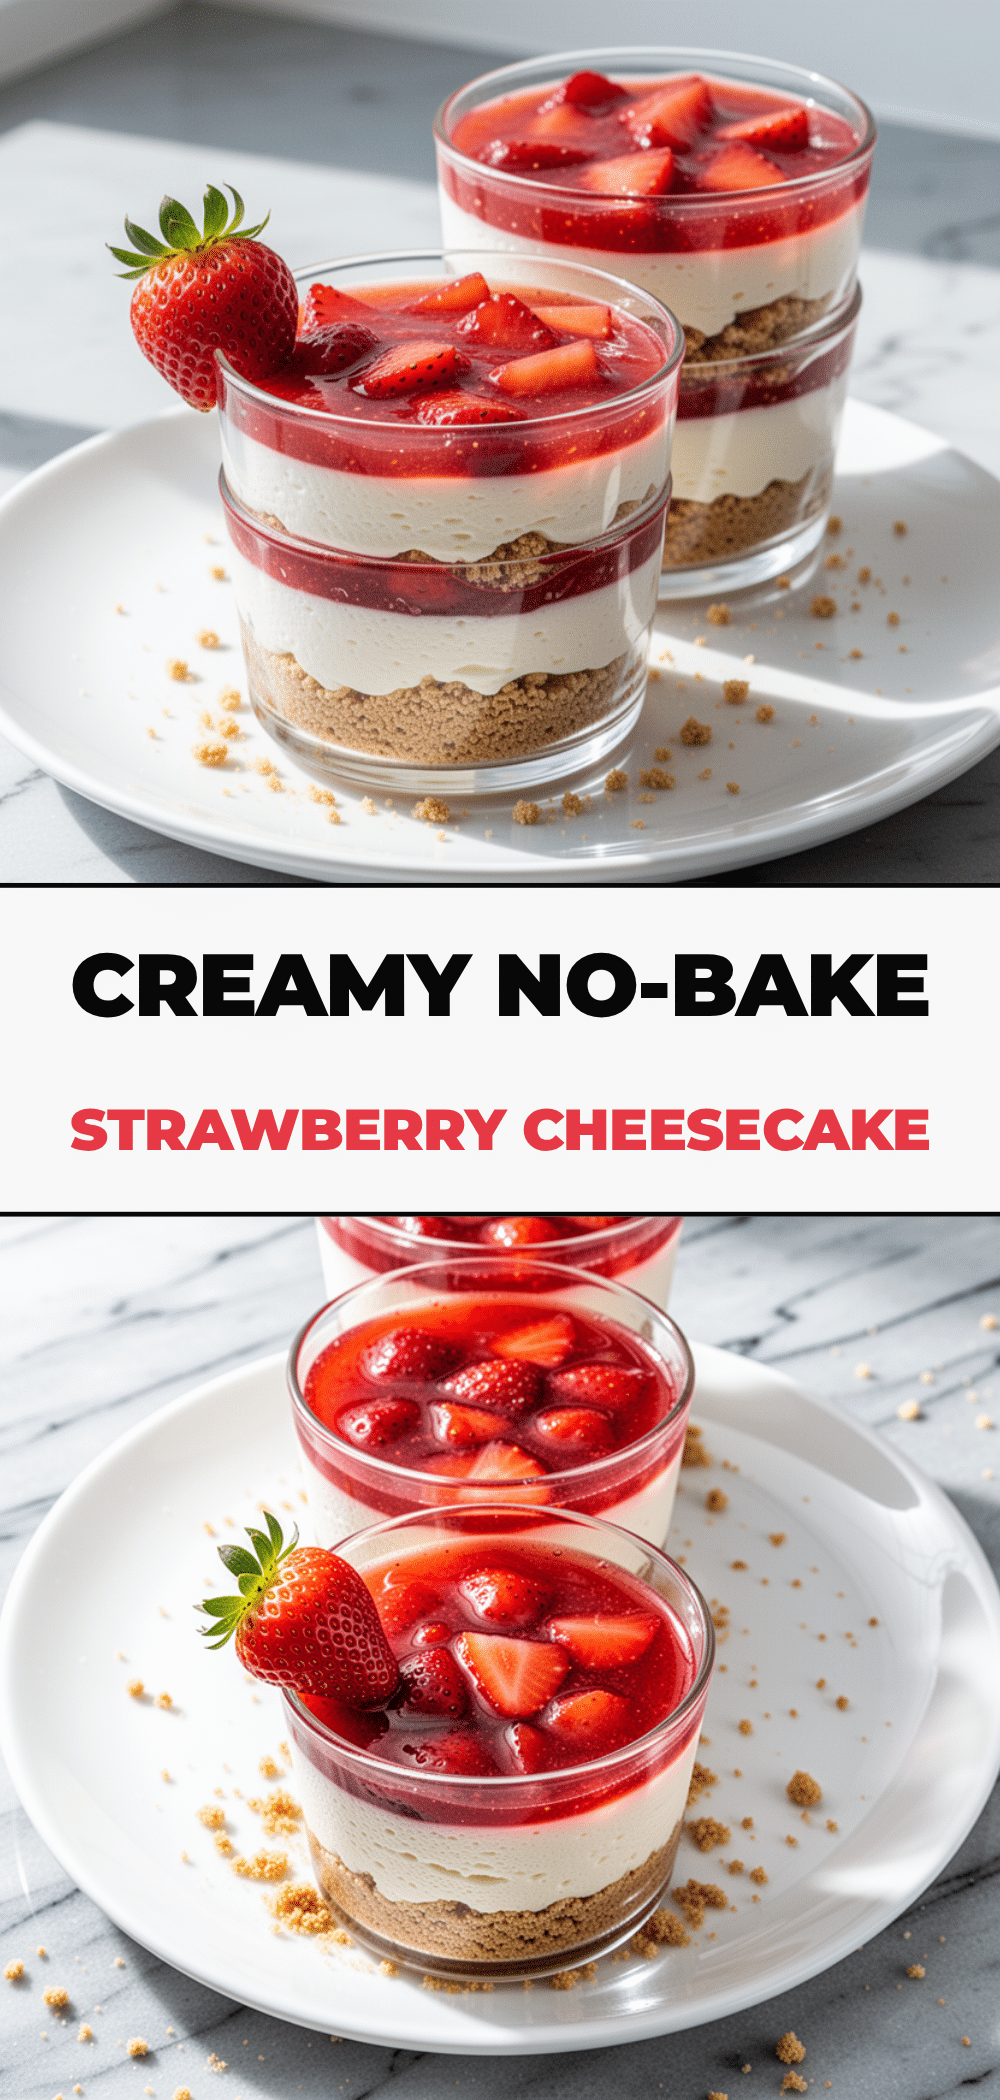
Visually Stunning — Let’s be honest, we eat with our eyes first. The layers of golden crust, white cream, and bright red strawberries look incredible in clear glasses. It’s a dessert that photographs beautifully on Instagram and Pinterest, but it tastes even better than it looks. The contrast of colors is just so vibrant and summery.
Customizable — Have kids? They love the sweet, creamy taste. Have guests with dietary restrictions? You can easily swap the crust for gluten-free or use a dairy-free cream cheese alternative. The base recipe is flexible enough to adapt to your specific crowd without losing its magic.
This recipe is my go-to when I want to impress without the work. It’s reliable, it’s refreshing, and it’s the kind of dessert that makes people ask for the recipe immediately. I’ve made these for potlucks, bridal showers, and just random Tuesday nights when I crave something sweet. They never fail.
Ingredients You’ll Need
One of the best things about this No-Bake Strawberry Cheesecake Cups recipe is how few ingredients you need. You probably have most of this in your pantry or fridge right now. I’m particular about quality here, especially with the cream cheese and strawberries, because there’s nothing to hide behind. It’s all about fresh, simple flavors.
For the Crust
Graham Cracker Crumbs (1 ½ cups / 150g) — This is your base. I buy pre-made crumbs to save time, but if you have leftover graham crackers, just blitz them in a food processor. They need to be fine enough to hold together but not dust-like.
Unsalted Butter (6 tablespoons / 85g, melted) — This binds the crumbs. Use real butter, not margarine. The flavor difference is noticeable. Melt it completely before mixing so the crust is uniform.
Granulated Sugar (2 tablespoons / 25g) — Just a little bit to sweeten the crust. If you’re using sweetened graham cracker crumbs, you can skip this or reduce to 1 tablespoon.
Salt (¼ teaspoon) — A pinch of salt cuts through the sweetness and adds depth. Don’t skip it.
For the Cheesecake Filling
Full-Fat Cream Cheese (16 ounces / 450g) — This is the star. Let it sit at room temperature for 30-60 minutes before you start. If it’s cold and lumpy, your filling will be grainy. I’ve ruined batches by rushing this step. Patience pays off.
Heavy Cream (1 cup / 240ml) — Cold, straight from the fridge. This is what gives the filling its light, airy texture. Whipping it creates the structure that holds the cup together.
Confectioners’ Sugar (½ cup / 60g) — Also known as powdered sugar. It dissolves instantly, unlike granulated sugar, which might leave little gritty spots in your smooth filling.
Vanilla Extract (1 teaspoon) — Use pure vanilla, not imitation. It adds that classic cheesecake aroma.
Lemon Juice (1 tablespoon) — This is the secret weapon. It brightens the heavy cream cheese and balances the sweetness. You won’t taste it as “lemon,” but you’ll notice the lack of it if you leave it out.
For the Strawberry Topping
Fresh Strawberries (1 pint / 450g) — Use ripe, red strawberries. If they’re white on top, they’re not ready. Wash and hull them. Keep a few small ones whole for garnish, and chop the rest into small dice.
Strawberry Jam or Preserves (2 tablespoons) — Optional, but I recommend it. Heating the jam slightly and brushing it over the top gives the strawberries a glossy, professional finish. It also helps them stick to the cup.
Mint Leaves (For garnish) — A tiny sprig of mint adds a pop of green color that looks amazing against the red and white. It’s the final touch that makes it look like you tried really hard.
Equipment Needed
You don’t need fancy gadgets for this. Here’s what I actually use in my kitchen.
Stand Mixer or Hand Mixer — A hand mixer works fine, but a stand mixer is easier if you have strong arms. You need to whip the cream cheese until it’s completely smooth and the heavy cream until it holds stiff peaks.
Measuring Cups and Spoons — Standard stuff. Accuracy matters here, especially with the sugar and crumbs.
Small Spatula — For folding the whipped cream into the cheese mixture. You want to keep the air in the mixture, so gentle folds are key.
Clear Glasses or Mugs — This is crucial. Use glasses that are wide enough to eat from easily but narrow enough to hold the layers. I like small mason jars or even sturdy shot glasses for bite-sized versions. The clear glass lets people see the layers, which is half the appeal.
Piping Bag (Optional) — If you want it to look super fancy, pipe the filling into the cups. But honestly? A spoon works just fine. It gives it a rustic, homemade look that I actually prefer.
Strainer — If you’re making a strawberry puree for the bottom layer, you’ll need a fine-mesh strainer to remove the seeds.
How to Make It: Step-by-Step
Alright, let’s make this! I’m walking you through exactly how I do it, including the little tricks I’ve picked up over the years.
Step 1: Prepare the Crust
Start by mixing your graham cracker crumbs, sugar, salt, and melted butter in a bowl. Stir until it looks like wet sand. It should hold together when you squeeze it in your hand. If it’s too dry, add a teaspoon more butter. If it’s too wet, add a few more crumbs.
Take your clear glasses and press about 2 tablespoons of the crust mixture into the bottom of each. Use the bottom of a small measuring cup or a shot glass to pack it down firmly. You want a solid base. If it’s loose, the cup will fall apart when you eat it. Set them aside on a baking sheet or plate.
Step 2: Whip the Cream Cheese Mixture
In a large bowl, beat the softened cream cheese, confectioners’ sugar, vanilla, and lemon juice on medium-high speed. Beat for about 3-4 minutes until it is completely smooth and creamy. Scrape down the sides of the bowl with a spatula to make sure there are no lumps. This step is non-negotiable for a silky texture.
Step 3: Whip the Heavy Cream
In a separate cold bowl, whip the heavy cream until it forms stiff peaks. This means when you lift the beaters, the cream stands up straight. Don’t over-whip it into butter, but don’t under-whip it either. It needs structure.
Step 4: Fold It Together
Now, gently fold the whipped cream into the cream cheese mixture. Use a spatula and cut down the middle, sweep across the bottom, and fold over the top. Do this until just combined. You want to keep as much air in the mixture as possible. It should look light and fluffy, like a cloud.
Step 5: Assemble the Cups
Spoon or pipe the cheesecake filling over the crust in each glass. Fill them about ¾ of the way up. Tap the glass gently on the counter to level the filling and remove any air bubbles. Place them in the fridge for at least 2 hours, or ideally overnight, to set.
Step 6: Add the Strawberries
Once the filling is set, it’s time for the topping. Dice your strawberries. If you’re using jam, warm it slightly in the microwave for 10 seconds and brush a thin layer over the strawberries before adding them to the cups. This acts as a glue and adds shine.
Top each cup with the diced strawberries. You can also add a whole small strawberry on top for garnish. Add a tiny mint leaf if you’re feeling fancy. Serve immediately or keep refrigerated until party time.
Expert Tips & Tricks
Here’s everything I’ve learned from making these dozens of times. These tips will save you from my mistakes.
Cream Cheese Temperature is Everything
I cannot stress this enough. Your cream cheese MUST be room temperature. If it’s cold, you will have lumps. And you can’t fix lumps in a no-bake cheesecake without blending it, which might incorporate too much air or change the texture. Plan ahead. Take it out of the fridge when you get home from the store.
Don’t Skip the Lemon
It sounds weird to put lemon in a sweet dessert, but it’s essential. The acidity cuts the richness of the cream cheese and heavy cream. It makes the dessert taste lighter and more refreshing. Without it, the cups can taste a bit heavy or cloying.
Use Cold Bowls for Whipping
If you’re whipping heavy cream, put your bowl in the fridge for 15 minutes before starting. Cold cream whips faster and holds its shape better. This is a pro tip that makes a huge difference in texture.
Pack the Crust Tight
Loose crusts are the enemy. Press it down firmly. If you’re making these ahead, the crust might soften slightly from the moisture in the filling, which is actually nice. But if it’s too loose, it’ll slide around.
Choose the Right Strawberries
Use strawberries that are firm but ripe. If they’re too soft, they’ll get mushy in the cup. If they’re too hard, they won’t taste like much. Look for bright red berries that smell sweet.
Common Mistakes
Mistake: The filling is too runny. Fix: You didn’t whip the cream enough, or the cream cheese wasn’t fully incorporated. Whip until stiff peaks form. Mistake: The crust is sandy. Fix: You didn’t add enough butter. It should hold together when squeezed. Mistake: The strawberries are watery. Fix: Pat them dry with a paper towel before adding them to the cups. Excess water makes the top soggy.
Variations & Substitutions
Once you’ve nailed the basic version, here’s how you can mix it up. I’ve tried all of these.
Blueberry Cheesecake Cups
Swap the strawberries for fresh blueberries. Add a teaspoon of lemon zest to the filling. It’s a classic combo that looks beautiful in purple and white.
Chocolate Covered Strawberries
Dip half of each strawberry in melted dark chocolate before adding them to the top. This adds a crunch and a rich chocolate flavor that pairs well with the cream cheese.
Gluten-Free Option
Use gluten-free graham crackers or even crushed gluten-free cookies. The rest of the recipe is naturally gluten-free. Just check your jam label to ensure it’s gluten-free.
Dairy-Free Version
Use a dairy-free cream cheese alternative (like Kite Hill or Miyoko’s) and coconut cream instead of heavy cream. Whip the coconut cream like regular cream. It’s not exactly the same, but it’s surprisingly good and still creamy.
Low-Sugar Option
Use a sugar substitute like erythritol or monk fruit in the filling and crust. Use fresh berries without jam. The texture might be slightly different, but it’s still delicious.
Layered Fruit Compote
Instead of just fresh berries, make a quick strawberry compote by simmering chopped strawberries with a little sugar and lemon juice. Let it cool, then spoon a layer of compote over the crust before adding the cheesecake filling. It adds a deeper, cooked strawberry flavor.
Serving & Storage
These cups are best served chilled. I usually pull them out of the fridge about 10 minutes before serving to let them take the edge off the cold, but they’re still cool and refreshing.
How to Serve
Place them on a platter with a few extra mint leaves and whole strawberries for decoration. They look great on a tiered stand. I often serve them with a small spoon, but they’re also easy to eat with a regular dessert spoon. Pair them with a light white wine or a sparkling water with lemon.
Storage Instructions
Store the cups in the refrigerator in an airtight container or covered with plastic wrap. They will keep for up to 3 days. After that, the crust might get too soft and the berries might release too much water. Do not freeze them. The cream cheese and whipped cream will separate and become grainy when thawed. They’re best fresh.
Meal Prep Strategy
I usually make the crust and filling on Sunday, assemble them Monday night, and add the strawberries right before the party on Tuesday. This ensures the berries are fresh and the presentation is perfect. If you add the strawberries too early, they can bleed color into the cream cheese, which is fine for taste but not for looks.
Nutrition Information
I’m not a nutritionist, but here’s the breakdown if you’re tracking. Keep in mind that these are rich, creamy desserts, so portion control is key.
Per Cup (based on 8 servings):
- Calories: 280
- Protein: 4g
- Carbs: 22g
- Fiber: 1g
- Sugar: 18g
- Fat: 18g
- Saturated Fat: 11g
- Cholesterol: 50mg
- Sodium: 120mg
What’s Good:
- Provides calcium from the cream cheese.
- Vitamins from the fresh strawberries.
- Easy to control portion size.
What to Know:
- High in saturated fat due to cream cheese and heavy cream.
- Contains gluten (unless modified).
- Sugar content is moderate to high.
My Take:
Look, this is a dessert. It’s meant to be enjoyed. It’s not a health food. But it’s homemade, so you know exactly what’s in it. When I make these, I enjoy one cup and feel satisfied. It’s a special treat, not something I have every day. If you want to lighten it up, use the low-fat cream cheese option (though the texture will be different) or reduce the sugar in the filling.
Final Thoughts
So that’s my go-to No-Bake Strawberry Cheesecake Cups! I’ve probably talked your ear off at this point, but when you make a recipe this often, you have a lot to say about it. These cups have saved my sanity during hot summer parties. They’re my answer to “what’s for dessert” when I’m tired, don’t want to bake, and still want something that tastes really good. My guests are happy, my kids are happy, and I’m happy because I’m not stressed about cooking.
Make it yours! Try different berries, swap the crust for Oreo crumbs, or add a layer of chocolate. The best recipes are the ones you adapt to your family’s tastes. If you make this, drop a comment and let me know what you think! I love hearing how recipes turn out in your kitchen. And if something doesn’t work, tell me that too—I’m here to help troubleshoot.
Happy cooking! And I hope your kitchen smells half as good as mine does right now.
Frequently Asked Questions
Can I use frozen strawberries?
You can, but fresh is much better. Frozen strawberries release a lot of water when they thaw, which can make the filling watery and the crust soggy. If you must use frozen, thaw them completely, drain the excess liquid, and pat them dry with paper towels. Chop them small so the water doesn’t pool.
Why did my cheesecake filling turn out grainy?
This usually happens if the cream cheese wasn’t fully softened before mixing. Lumps of cream cheese don’t blend well into the whipped cream. Make sure you beat it on medium-high speed for a full 3-4 minutes until it’s completely smooth. Also, make sure your bowl and beaters are clean and dry.
Can I make these ahead of time?
Yes! In fact, they taste better the next day. You can assemble the crust and filling up to 24 hours in advance. Add the strawberries right before serving to keep them fresh and prevent bleeding. Just keep them covered in the fridge.
How do I stop the strawberries from bleeding?
Strawberries contain water and acids that can seep into the cream cheese. To minimize this, pat the berries dry after washing. You can also brush them with a little warmed jam, which creates a barrier. Another trick is to add the strawberries just before serving, rather than hours before.
Can I use a different type of crust?
Absolutely! Oreo crumbs make a chocolate crust. Digestive biscuits are a great alternative to graham crackers (they’re slightly sweeter). You can even use crushed gingersnaps for a spicy kick. Just adjust the sugar in the crust if the cookies are already sweet.
Do I need a springform pan?
No! That’s for traditional cheesecakes. These cups are individual, so you just need glasses or jars. This is one of the best parts of this recipe—no special pans required.
Can I freeze the cheesecake cups?
I don’t recommend it. The texture of the cream cheese and whipped cream changes when frozen and thawed. It can become grainy or watery. It’s best to enjoy these fresh from the fridge.
Pin This Recipe!
No-Bake Strawberry Cheesecake Cups
- Total Time: 2 hours 30 minutes
- Yield: 8 servings 1x
Description
Individual, no-bake cheesecake cups featuring a graham cracker crust, creamy cream cheese filling, and fresh strawberry topping. Perfect for summer gatherings as they require no oven and stay set in the heat.
Ingredients
- 1 ½ cups (150g) graham cracker crumbs
- 6 tablespoons (85g) unsalted butter, melted
- 2 tablespoons (25g) granulated sugar
- ¼ teaspoon salt
- 16 ounces (450g) full-fat cream cheese, softened to room temperature
- 1 cup (240ml) heavy cream, cold
- ½ cup (60g) confectioners’ sugar
- 1 teaspoon vanilla extract
- 1 tablespoon lemon juice
- 1 pint (450g) fresh strawberries, hulled and diced
- 2 tablespoons strawberry jam or preserves (optional, for glaze)
- Mint leaves for garnish
Instructions
- Mix graham cracker crumbs, sugar, salt, and melted butter in a bowl until it resembles wet sand.
- Press about 2 tablespoons of the crust mixture into the bottom of each clear glass or mug, packing it down firmly. Set aside.
- In a large bowl, beat the softened cream cheese, confectioners’ sugar, vanilla, and lemon juice on medium-high speed for 3-4 minutes until completely smooth.
- In a separate cold bowl, whip the heavy cream until stiff peaks form.
- Gently fold the whipped cream into the cream cheese mixture until just combined, keeping the mixture light and airy.
- Spoon or pipe the filling over the crust in each glass, filling about ¾ of the way up.
- Refrigerate the cups for at least 2 hours, or ideally overnight, to set.
- If using jam, warm it slightly and brush a thin layer over the diced strawberries.
- Top the set filling with the diced strawberries and garnish with mint leaves.
- Serve immediately or keep refrigerated until serving.
Notes
Ensure cream cheese is at room temperature to avoid lumps. Use cold bowls for whipping heavy cream for better volume. Pack the crust firmly to prevent it from falling apart. Do not freeze the cups as the texture will become grainy. Add strawberries just before serving to prevent bleeding.
- Prep Time: 30 minutes
- Cook Time: 0 minutes
- Category: Dessert
- Cuisine: American
Nutrition
- Serving Size: 1 cup
- Calories: 280
- Sugar: 18
- Sodium: 120
- Fat: 18
- Saturated Fat: 11
- Carbohydrates: 22
- Fiber: 1
- Protein: 4
Keywords: no-bake cheesecake, strawberry dessert, summer recipes, individual desserts, make-ahead dessert, easy cheesecake, gluten-free option


