Last Tuesday, I was staring at my kitchen counter at 6:30 PM, feeling that familiar wave of dread. You know the one. You’re hungry, you’re tired, and the only two options seem to be ordering takeout from the place down the street or eating a sad piece of cheese and hoping no one notices. I was leaning heavily toward the cheese.
But then I remembered a batch of chicken I’d thrown in the oven an hour earlier. I didn’t have to stand over a sizzling wok stirring constantly. I didn’t have to worry about splattering oil on my clean stove. I just had to set a timer.
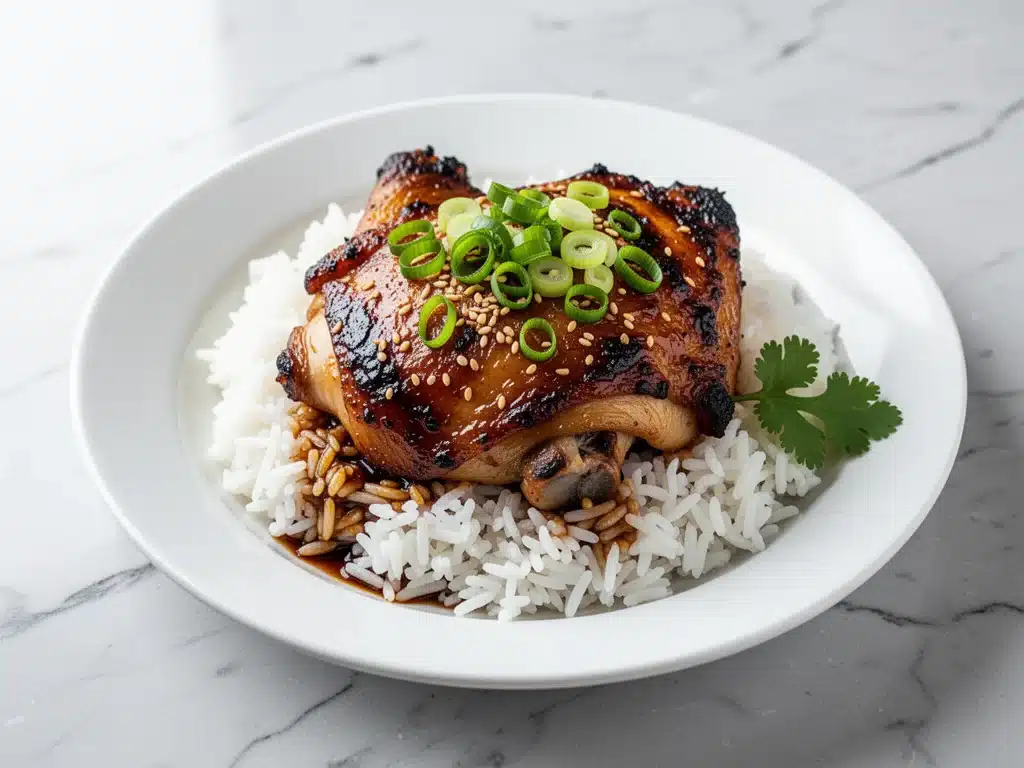
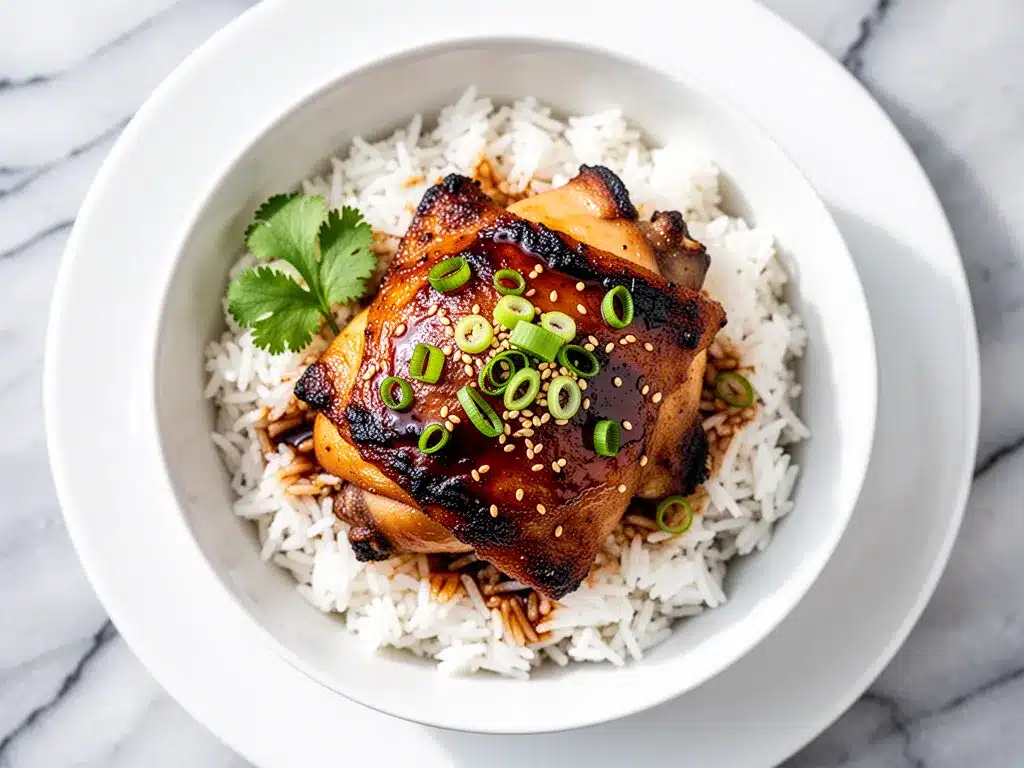
When I pulled those baked teriyaki chicken rice bowls out of the oven, the smell was incredible. It filled the house with this sweet, savory aroma that instantly made my husband look up from his phone and ask, “Is that dinner?” It was. And honestly? It was better than anything I could have made on the stovetop in the same amount of time.
That was three months ago. Since then, I’ve made this specific dinner at least a dozen times. It’s become my go-to answer for “what’s for dinner?” when I have zero energy but still want something that feels homemade and satisfying. There’s something magical about how the oven does all the heavy lifting while you kick back with a glass of wine.
I used to think making authentic-tasting Asian-inspired food required a trip to the grocery store for twenty different sauces and a lot of technical skill. I was wrong. This recipe uses a simple homemade teriyaki glaze that thickens perfectly in the oven, coating tender, juicy chicken thighs that fall apart with a fork. Paired with fluffy rice and maybe a quick steamed vegetable, it’s a complete meal that feels gourmet but takes less effort than assembling a sandwich.
If you’re stuck in a dinner rut or just want to reclaim your weeknights, you need to try this. It’s the kind of meal that makes you feel like a culinary genius without the stress. Let’s talk about why this baked teriyaki chicken rice bowl recipe is going to become your new best friend.
Why You’ll Love This Recipe
There are about ten reasons I keep coming back to this dish, but if I had to narrow it down, it’s because it hits every single one of my comfort food buttons while actually being pretty reasonable to make.
Set It and Forget It — This is the biggest selling point. You mix the sauce, toss the chicken, put it in the oven, and then you’re free. I’ve made this while helping my kids with homework, folding laundry, or literally just sitting on the couch watching TV. The oven does the work. No standing over a hot stove, no stirring, no burning.
Restaurant-Quality Flavor at Home — I’m not going to lie, I used to order takeout teriyaki chicken bowls at least once a week. This version tastes just as good, if not better, because you control the sugar and sodium levels. The glaze gets sticky and caramelized in the oven, creating those perfect crispy edges that you crave. It’s sweet, salty, and savory in all the right ways.
Super Affordable — Chicken thighs are cheap. Rice is cheap. Soy sauce and honey are pantry staples. You can make this entire meal for under $10, which feeds four people. That’s way cheaper than a single meal at a sushi place or a Thai restaurant, and you get way more food.
Perfect for Meal Prep — This is one of those recipes that actually tastes good the next day. In fact, I think the flavors get even better after sitting in the fridge overnight. I often make a double batch on Sunday and portion it out into containers. It reheats beautifully in the microwave, making my Tuesday lunch a breeze.
Customizable — Love veggies? Throw in some broccoli or snap peas. Hate rice? Use cauliflower rice or quinoa. Want it spicy? Add some sriracha to the glaze. This recipe is a blank canvas that adapts to whatever you have in your fridge.
Basically, this is the dinner that saves my week. It’s reliable, delicious, and requires almost zero effort. If you’re looking for easy dinner ideas that actually taste good, this is it.
Ingredients You’ll Need
Here’s the best part: you probably have most of these ingredients already. I’m not asking you to hunt down exotic spices or rare ingredients. This is pantry-friendly cooking at its finest.
For the Chicken
Chicken Thighs (2 pounds / 900g) — Boneless, skinless chicken thighs are the way to go here. They stay juicy and flavorful in the oven. Breast meat tends to dry out, especially with the sugar in the teriyaki sauce. If you must use breast, cut them into large chunks and keep a close eye on the baking time.
Olive Oil (1 tablespoon) — Just a little bit to help the chicken brown. You can use vegetable oil or melted butter if you prefer.
For the Homemade Teriyaki Glaze
Soy Sauce (½ cup / 120ml) — Use low-sodium soy sauce if you’re watching your salt intake. Regular soy sauce works too, but you might want to reduce any added salt later. I like Kikkoman because it has a nice balance of flavors.
Honey (¼ cup / 60ml) — This provides the sweetness and helps the sauce caramelize. Maple syrup works as a substitute if you want a vegan option, though the flavor will be slightly different. Brown sugar is another option, but honey gives it that glossy shine.
Rice Vinegar (2 tablespoons) — This adds the necessary acidity to balance the sweetness. If you don’t have rice vinegar, white wine vinegar or apple cider vinegar will work in a pinch.
Minced Garlic (3 cloves) — Fresh garlic is non-negotiable here. It gives the sauce that punchy, aromatic flavor. Jarred garlic is too metallic for this. If you’re being lazy, use 1 tablespoon of pre-minced garlic, but fresh is better.
Fresh Ginger (1 tablespoon, grated) — This is what makes it taste like authentic teriyaki. Grate a piece of fresh ginger root. If you absolutely cannot find fresh ginger, ½ teaspoon of ground ginger works, but the flavor won’t be as bright.
Cornstarch (1 teaspoon) — This is the secret weapon. It thickens the sauce so it coats the chicken instead of running off. It’s a tiny amount, but it makes a huge difference in texture.
For the Bowl Assembly
White or Brown Rice (2 cups cooked) — Jasmine rice is my preference for that fluffy, fragrant texture. Brown rice is healthier but has a chewier texture. You can also use quinoa or cauliflower rice for a lower-carb option.
Steamed Broccoli or Green Beans (2 cups) — Adds color, crunch, and nutrition. I usually steam these in the microwave while the chicken is baking.
Sesame Seeds (1 tablespoon) — For garnish. Toasted sesame seeds add a nice nutty flavor and visual appeal. Black sesame seeds look cool too if you want to be fancy.
Sriracha or Chili Flakes (Optional) — For those who like a little heat. I always keep a bottle of Sriracha nearby to drizzle over my bowl.
Equipment Needed
You don’t need any fancy gadgets for this. Here’s what I actually use:
Large Baking Sheet or Sheet Pan — I use a standard 18×13 inch half-sheet pan. Make sure it has a rim so the sauce doesn’t drip into the oven. Line it with parchment paper or aluminum foil for easy cleanup. Seriously, parchment paper is a game-changer for sticky sauces.
Mixing Bowl — A medium-sized bowl for whisking the teriyaki sauce. Any bowl works.
Whisk — To combine the sauce ingredients smoothly. A fork works too if you don’t have a whisk.
Tongs — For turning the chicken in the oven. I use tongs because they’re easier to manage than a spatula when dealing with sticky chicken.
Small Saucepan or Microwave-Safe Bowl — Optional. Some people like to simmer the sauce on the stovetop first to thicken it before pouring it over the chicken. I skip this step and just let it thicken in the oven, which saves a dish.
Steamer Basket or Microwave Steamer — For cooking the vegetables. I usually just use a microwave-safe bowl with a little water and a plate on top.
Rice Cooker or Pot — To cook the rice. If you have a rice cooker, use it. It’s hands-off and perfect for this recipe.
How to Make Baked Teriyaki Chicken Rice Bowls
Alright, let’s get cooking! This is incredibly simple, but there are a few tricks to getting that perfect sticky glaze.
Step 1: Prep Your Chicken
Preheat your oven to 400°F (200°C). Line a large baking sheet with parchment paper or foil. Pat the chicken thighs dry with paper towels. This step is important—dry chicken browns better than wet chicken. If the chicken is too wet, the sauce will just slide off instead of sticking.
Step 2: Make the Teriyaki Sauce
In a small bowl, whisk together the soy sauce, honey, rice vinegar, minced garlic, grated ginger, and cornstarch. Whisk until the cornstarch is completely dissolved. You don’t want any white lumps in your sauce. It should look smooth and slightly thickened already.
Step 3: Coat the Chicken
Place the chicken thighs on the prepared baking sheet. Pour about half of the teriyaki sauce over the chicken. Use tongs to toss the chicken until it’s evenly coated. Save the other half of the sauce for later—it will become your dipping sauce or glaze at the end.
Step 4: Bake
Place the baking sheet in the preheated oven. Bake for 20-25 minutes. Halfway through (around the 10-minute mark), take the pan out and flip the chicken pieces. This ensures even cooking and browning on both sides. The chicken is done when it reaches an internal temperature of 165°F (74°C) and the edges are slightly caramelized.
Step 5: Thicken the Sauce
While the chicken is baking, heat the reserved teriyaki sauce in a small saucepan over medium heat. Let it simmer for 2-3 minutes until it thickens into a glossy glaze. Alternatively, you can pour the reserved sauce over the chicken during the last 5 minutes of baking. The heat from the oven will thicken it nicely.
Step 6: Assemble the Bowls
Fluff the cooked rice with a fork. Divide the rice among four bowls. Top each bowl with 2-3 pieces of baked teriyaki chicken. Add steamed broccoli or green beans on the side. Drizzle the thickened teriyaki glaze over the chicken. Sprinkle with sesame seeds and sliced green onions if you have them.
Step 7: Serve
Serve immediately while the chicken is hot and the rice is steaming. Add a drizzle of Sriracha if you like it spicy. Enjoy!
Expert Tips & Tricks
Here’s everything I’ve learned from making this dozens of times. These tips will save you from my mistakes.
Don’t Skip the Cornstarch — The cornstarch is crucial. It helps the sauce cling to the chicken and prevents it from running off into the pan. Without it, you’ll have sweet chicken but no sticky glaze. It’s a small amount, so don’t worry about the texture.
Pat the Chicken Dry — I know it’s annoying, but drying the chicken with paper towels before adding the sauce makes a huge difference. Moisture is the enemy of caramelization. Dry chicken = sticky, tasty chicken.
Use Chicken Thighs — I’ve tried this with chicken breasts, and they just don’t hold up as well. Thighs have more fat, which keeps them juicy even when baked. If you’re using breast meat, cut them into uniform chunks so they cook evenly, and check them early so they don’t dry out.
Toast Your Sesame Seeds — If you have an extra minute, toast the sesame seeds in a dry pan for 2-3 minutes until they’re fragrant and lightly browned. It adds so much more flavor than raw seeds. Trust me on this.
Make Extra Sauce — I always make a little extra sauce. It’s great for dipping, or you can save it to pour over the rice. Leftover teriyaki sauce keeps in the fridge for up to a week.
Watch for Burning — Because the sauce has sugar, it can burn if the oven is too hot or if it’s on the top rack for too long. Keep an eye on it during the last 5 minutes. If the chicken is browning too fast, cover it loosely with foil.
Variations & Substitutions
Once you’ve nailed the basic version, here’s how you can mix it up. I’ve tried all of these.
Spicy Teriyaki — Add 1-2 tablespoons of Sriracha or chili garlic sauce to the glaze. It adds a nice kick that cuts through the sweetness.
Veggie-Packed — Toss chopped bell peppers, snap peas, or broccoli florets onto the baking sheet with the chicken. They’ll roast alongside the chicken and absorb the teriyaki flavor. Just make sure the veggies are cut into similar-sized pieces so they cook evenly.
Gluten-Free — Swap regular soy sauce for tamari or coconut aminos. Everything else is naturally gluten-free. I’ve used tamari and it tastes just as good.
Low-Carb/Keto — Serve over cauliflower rice instead of regular rice. You can also use zucchini noodles, though they get a bit watery. The chicken and sauce remain the same.
Pineapple Teriyaki — Add ½ cup of pineapple chunks to the baking sheet. The pineapple caramelizes and adds a tropical sweetness that pairs beautifully with the savory sauce. It’s a Hawaiian-style twist that’s delicious.
Dairy-Free — This recipe is naturally dairy-free, so no changes needed. Just make sure your soy sauce and other ingredients are certified dairy-free if you have a severe allergy.
Serving & Storage
How to serve:
I usually serve this straight from the oven with the bowls ready on the table. It’s rustic and inviting. But here are other ways I’ve enjoyed it:
- Salad Bowl — Skip the rice and serve over a bed of mixed greens. Add avocado and edamame for a lighter lunch.
- Lettuce Wraps — Use large lettuce leaves as wraps for the chicken and veggies. Fun and interactive.
- Noodle Bowl — Swap rice for soba noodles or udon noodles. The teriyaki sauce pairs perfectly with noodles.
Side Dishes:
– Edamame sprinkled with sea salt
– Cucumber salad with rice vinegar dressing
– Miso soup (if you have time)
– Pickled ginger (from the sushi aisle)
Storage Instructions:
Refrigerator: Store leftover chicken and sauce in an airtight container for up to 4 days. The rice can be stored separately for up to 3 days. The flavors actually meld together in the fridge, so it tastes great cold or reheated.
Reheating: Reheat in the microwave in 30-second intervals, stirring in between. If the chicken looks dry, add a splash of water or extra sauce before heating. It helps keep it moist. Alternatively, reheat in a skillet over medium heat with a little water to steam it back to life.
Freezing: You can freeze the baked chicken and sauce for up to 3 months. Thaw in the fridge overnight before reheating. The rice doesn’t freeze as well—it can get grainy—so it’s best to cook fresh rice when you’re ready to eat.
Meal Prep: This is a meal prep superstar. Cook a batch of rice, bake the chicken, and portion everything into containers. Add your veggies fresh each day or steam them ahead of time. It makes lunch for the workweek effortless.
Nutrition Information
I’m not a nutritionist, but here’s the breakdown if you’re tracking. These are estimates based on standard ingredients.
Per Serving (based on 4 servings):
– Calories: 450
– Protein: 35g
– Carbs: 45g
– Fiber: 2g
– Sugar: 18g
– Fat: 12g
– Saturated Fat: 3g
– Cholesterol: 95mg
– Sodium: 800mg (varies based on soy sauce used)
What’s Good:
– High in protein from the chicken
– Contains healthy fats from the thighs
– Can be adjusted to be lower-carb or gluten-free
What to Know:
– Higher in sodium due to soy sauce
– Sugar content comes from honey and soy sauce
– Adjust soy sauce and honey to reduce sodium and sugar if needed
My Take:
Look, this is comfort food. It has sugar and sodium. But it’s way better than takeout, and you control what goes into it. When I want to make it lighter, I use low-sodium soy sauce, reduce the honey slightly, and load up on the veggies. But usually? I just enjoy a reasonable portion and don’t stress about it too much. Balance is key.
Final Thoughts
So that’s my go-to baked teriyaki chicken rice bowl! I’ve probably talked your ear off at this point, but when you make a recipe this often, you have a lot to say about it.
This has saved weeknight dinners more times than I can count. It’s my answer to “what’s for dinner?” when I’m tired, don’t want takeout, and still want something that tastes really good. My kids are happy, my husband’s happy, and I’m happy because I’m not stressed about cooking.
Make it yours! Try different add-ins, swap in your favorite vegetables, adjust the spice level. The best recipes are the ones you adapt to your family’s tastes. If you’re looking for other easy chicken recipes, you might also enjoy my crispy baked chicken nuggets for a fun twist on chicken night.
If you make this, drop a comment and let me know what you think! I love hearing how recipes turn out in your kitchen. And if something doesn’t work, tell me that too—I’m here to help troubleshoot.
Happy cooking! And I hope your kitchen smells half as good as mine does right now.
Frequently Asked Questions
Can I use chicken breasts instead of thighs?
You can, but they will be less juicy. Chicken thighs have more fat, which keeps them moist during baking. If you use breasts, cut them into uniform chunks and check them early to prevent drying out. I recommend using a meat thermometer to ensure they reach 165°F without overcooking.
Can I make the sauce ahead of time?
Yes! You can make the teriyaki sauce up to a week in advance and store it in the fridge. Just whisk it again before using, as the cornstarch may settle. It saves even more time on busy weeknights.
Why is my sauce too thin?
If the sauce is too thin, it means you didn’t cook it long enough to thicken, or you didn’t use enough cornstarch. Simmer the sauce on the stovetop for a few more minutes until it coats the back of a spoon. Next time, make sure the cornstarch is fully dissolved before adding it to the heat.
Can I freeze this recipe?
The chicken and sauce freeze well for up to 3 months. However, the rice doesn’t freeze as well—it can become grainy and dry. I recommend freezing the chicken and sauce separately, then cooking fresh rice when you’re ready to eat.
What can I serve with this besides rice?
You can serve this over quinoa, cauliflower rice, soba noodles, or even zucchini noodles for a low-carb option. Steamed broccoli, snap peas, or a simple cucumber salad also pair beautifully.
Is this recipe spicy?
The base recipe is not spicy—it’s sweet and savory. However, you can easily add heat by stirring in Sriracha, chili garlic sauce, or red pepper flakes to the sauce. Start with a little and adjust to your taste.
Can I double this recipe?
Absolutely! Double all the ingredients and use two baking sheets if needed. You may need to bake them in batches if your oven doesn’t have room for two sheets. The cooking time should remain the same, but keep an eye on them to ensure even browning.
Pin This Recipe!
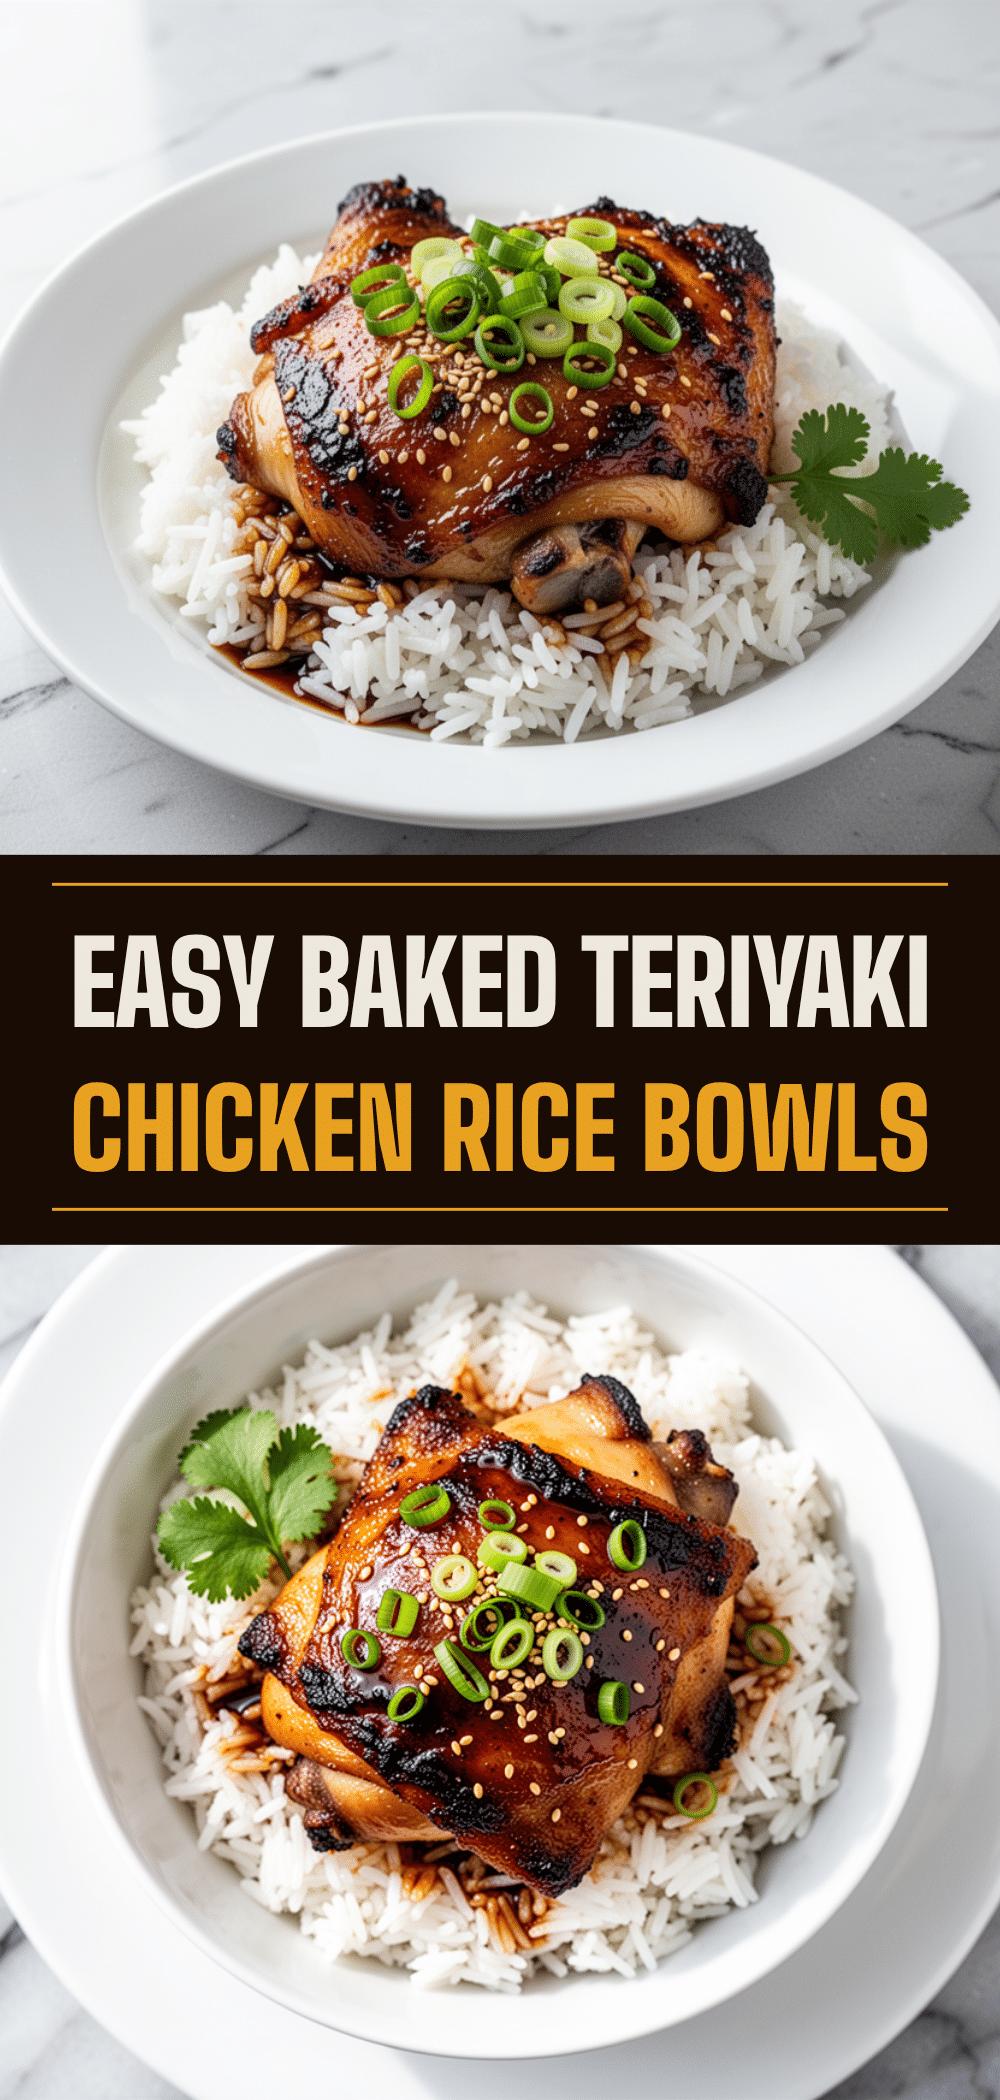
Baked Teriyaki Chicken Rice Bowls
- Total Time: 40 minutes
- Yield: 4 servings 1x
Description
A simple, set-it-and-forget-it dinner featuring juicy chicken thighs coated in a homemade sweet and savory teriyaki glaze, served over fluffy rice with steamed vegetables.
Ingredients
- 2 pounds boneless, skinless chicken thighs
- 1 tablespoon olive oil
- ½ cup soy sauce (low-sodium recommended)
- ¼ cup honey
- 2 tablespoons rice vinegar
- 3 cloves garlic, minced
- 1 tablespoon fresh ginger, grated
- 1 teaspoon cornstarch
- 2 cups cooked white or brown rice
- 2 cups steamed broccoli or green beans
- 1 tablespoon sesame seeds, toasted
- Sriracha or chili flakes (optional)
Instructions
- Preheat oven to 400°F (200°C). Line a large baking sheet with parchment paper or foil.
- Pat chicken thighs dry with paper towels to ensure proper browning.
- In a small bowl, whisk together soy sauce, honey, rice vinegar, minced garlic, grated ginger, and cornstarch until smooth.
- Place chicken on the prepared baking sheet. Pour half of the teriyaki sauce over the chicken and toss to coat evenly. Reserve the remaining sauce.
- Bake for 20-25 minutes. Halfway through (around 10 minutes), flip the chicken pieces to ensure even cooking.
- Chicken is done when it reaches an internal temperature of 165°F (74°C) and edges are caramelized.
- While chicken bakes, heat the reserved sauce in a small saucepan over medium heat for 2-3 minutes until thickened into a glaze (or pour over chicken during the last 5 minutes of baking).
- Fluff rice and divide among four bowls.
- Top each bowl with chicken and steamed vegetables.
- Drizzle with the thickened teriyaki glaze and sprinkle with sesame seeds.
- Serve immediately.
Notes
Patting the chicken dry is crucial for caramelization. Chicken thighs stay juicier than breasts. Toast sesame seeds for better flavor. The recipe can be made spicy by adding Sriracha. For a low-carb option, serve over cauliflower rice or quinoa.
- Prep Time: 15 minutes
- Cook Time: 25 minutes
- Category: Main Course
- Cuisine: Asian
Nutrition
- Serving Size: 1 bowl per person
- Calories: 450
- Sugar: 18
- Sodium: 800
- Fat: 12
- Saturated Fat: 3
- Carbohydrates: 45
- Fiber: 2
- Protein: 35
Keywords: teriyaki chicken, baked chicken, rice bowls, easy dinner, meal prep, weeknight dinner, healthy chicken recipe, gluten-free options


