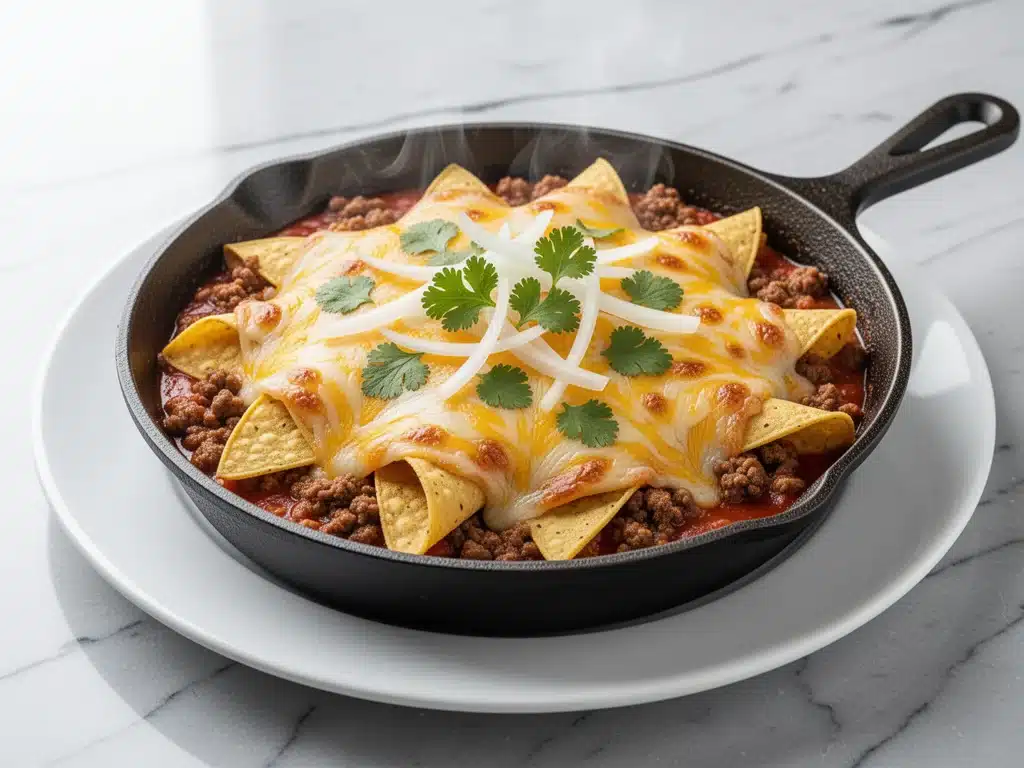
It was 6:45 PM on a Tuesday, and the house was already at peak chaos. My youngest was asking if we could have ice cream for dinner (no), my oldest was hunting for a missing cleat (impossible), and I was staring into the refrigerator like it held the secrets to the universe. Spoiler alert: it didn’t. It held three sad carrots, half a jar of salsa, and a package of ground beef that had been thawing since Sunday.
I was too tired to chop, too tired to marinate, and definitely too tired to assemble twenty individual enchiladas, roll them up, and then scrub a baking dish afterward. I just wanted dinner. I wanted something that tasted like a Friday night takeout order but could be on the table before the kids finished their homework. That’s when I decided to stop thinking like a chef and start thinking like a busy parent.
I dumped the beef in the pan. I added the spices. I stirred in the salsa and beans. I buried it all under a mountain of cheese. I didn’t pre-cook the tortillas. I didn’t make a from-scratch sauce. I just let it all melt together into a bubbling, cheesy, beefy mess. When I tasted it, I actually stopped what I was doing. It tasted like comfort. It tasted like I had my life together, even though I hadn’t showered yet.
That was the birth of my cheesy ground beef enchilada skillet. It’s not fancy. It’s not traditional. But it is hands-down the most reliable weeknight dinner I own. It’s the recipe I make when I’m running on fumes, when I need to feed four hungry people for under $15, and when I want my family to ask, “Can we have this again?” (The answer is always yes, but please don’t make me make it three days in a row).
If you’re looking for a way to get authentic Mexican-inspired flavors without the hours of prep, this is it. It’s simple, it’s hearty, and it’s ready in about 15 minutes of active time. Let’s get into why this skillet has earned a permanent spot in my rotation.
Why You’ll Love This Cheesy Ground Beef Enchilada Skillet
There are about a dozen reasons I keep making this, but if I’m being honest, it’s usually because I’m lazy. And let’s face it, sometimes lazy is the best cooking strategy. Here’s why this cheesy ground beef enchilada skillet works so well for real life:
It’s Actually Fast — Seriously, if you can brown meat and pour cheese, you can make this. I’ve timed it, and from start to finish, it’s about 25 minutes. Ten minutes of active chopping and stirring, and fifteen minutes of simmering and melting. I make this on weeknights when I walk in the door at 6:30 PM and need dinner by 7:00.
One Pan Cleanup — This is the biggest selling point for me. No baking dish to soak. No extra bowls for mixing sauce. No rolling station. Just one large skillet. My husband actually does the dishes sometimes now because he knows it’s not a nightmare. That’s a win in my book.
Picky-Eater Approved — I have a teenager who refuses to eat anything with “sauce” in it and a toddler who only eats cheese. This dish bridges the gap. The flavors are mild enough for little ones but rich enough for adults. I’ve served this to friends who claim they “don’t like Mexican food,” and they always come back for seconds. It’s the perfect middle ground.
Pantry-Friendly — You probably have 90% of these ingredients already. Ground beef, canned beans, jarred salsa, frozen corn, and cheese. I keep these stocked specifically so I can throw this together on a whim when the grocery store feels too far away.
Makes Amazing Leftovers — Actually tastes better the next day. The flavors meld together overnight, and the cheese re-melts beautifully. I deliberately make extra for lunch throughout the week. It reheats perfectly in the microwave or on the stove.
This is my go-to when I need dinner to just work. No complicated techniques, no weird ingredients, just reliable, delicious food that makes everyone happy. If you need a quick lunch idea during the day, you might also enjoy these turkey cheddar pinwheels for a lighter option, but for dinner? This skillet is king.
Ingredients You’ll Need
Here’s the best part: you probably have most of this already. I’m particular about three ingredients here, and I’ll tell you exactly why. Don’t skip the tips, or you’ll end up with a dry, bland mess. Trust me.
Ground Beef (1 pound / 450g) — I use 80/20 lean-to-fat ratio. Yes, it’s more fat, but that fat is where the flavor lives. If you use extra lean, the dish will be dry. Drain the grease, but don’t rinse the meat with water—that washes away flavor. Just tilt the pan and scoop it out.
Taco Seasoning (1 packet / 1 ounce) — I use a standard store-bought packet (like Old El Paso or McCormick) for convenience. It’s consistent and salty enough that you don’t need to add extra salt. If you want to control sodium, make your own blend, but adjust the salt in the recipe accordingly.
Red Enchilada Sauce (1 cup / 240ml) — I prefer a medium heat. If you like it spicy, use hot. If you’re feeding kids, mild is your friend. You can use jarred sauce or canned. I don’t recommend making this from scratch unless you have hours to spare. Jarred is fine here because it’s mixed with cheese.
Corn Tortillas (6-8 small / about 6 inches) — This is crucial. Do not use flour tortillas in this specific recipe unless you want a messy, doughy texture. Corn tortillas hold their shape better in a skillet and provide that authentic chew. Tear them into bite-sized pieces before adding them.
Black Beans (1 can / 15 oz, drained and rinsed) — Adds protein and fiber. Rinsing them removes the metallic canned taste. If you’re out of black beans, pinto beans work too, but they get creamier.
Frozen Corn (1 cup / 150g) — I use frozen because it’s cheap and I never throw it away. Thawed corn adds sweetness that balances the spicy sauce. Fresh corn is great but seasonal and expensive. Canned corn works but is too watery.
Shredded Mexican Blend Cheese (2 cups / 200g) — Buy the bag, not the block. I know, I know, pre-shredded has anti-caking agents, but in this recipe, the moisture from the sauce compensates. Plus, grating two cups of cheese is a pain when you’re tired. If you must grate your own, use a mix of cheddar and Monterey Jack.
Optional Add-ins — I often throw in diced bell peppers or jalapeños if I have them. They add crunch and brightness. If you’re feeling fancy, top with fresh cilantro and a squeeze of lime after cooking.
For a quick snack to go with this, I sometimes make a batch of no-bake peanut butter granola bites for the kids to have while I cook. It keeps them out of the way and satisfies their sweet tooth.
Equipment Needed
You don’t need fancy equipment for this. Here’s what I actually use:
Large Skillet or Dutch Oven — I use a 12-inch cast iron skillet. It holds heat well and goes from stove to table beautifully. If you don’t have cast iron, a large non-stick skillet works fine. Just make sure it’s big enough to hold all the ingredients without overflowing.
Wooden Spoon — For stirring. Silicone works too. Don’t use metal on non-stick.
Colander — For draining the beans. Or just use the lid to drain—I do this when I’m lazy.
Knife and Cutting Board — For tearing the tortillas and prepping any fresh veggies.
Measuring Cups — Pretty standard stuff. Dollar store versions work fine.
Don’t have a Dutch oven? Any big pot works—doesn’t need to be fancy. I’m obsessed with my garlic press from IKEA for other recipes, but for this, I just use my hands to tear the tortillas. It’s faster and more satisfying.
How to Make It: Step-by-Step
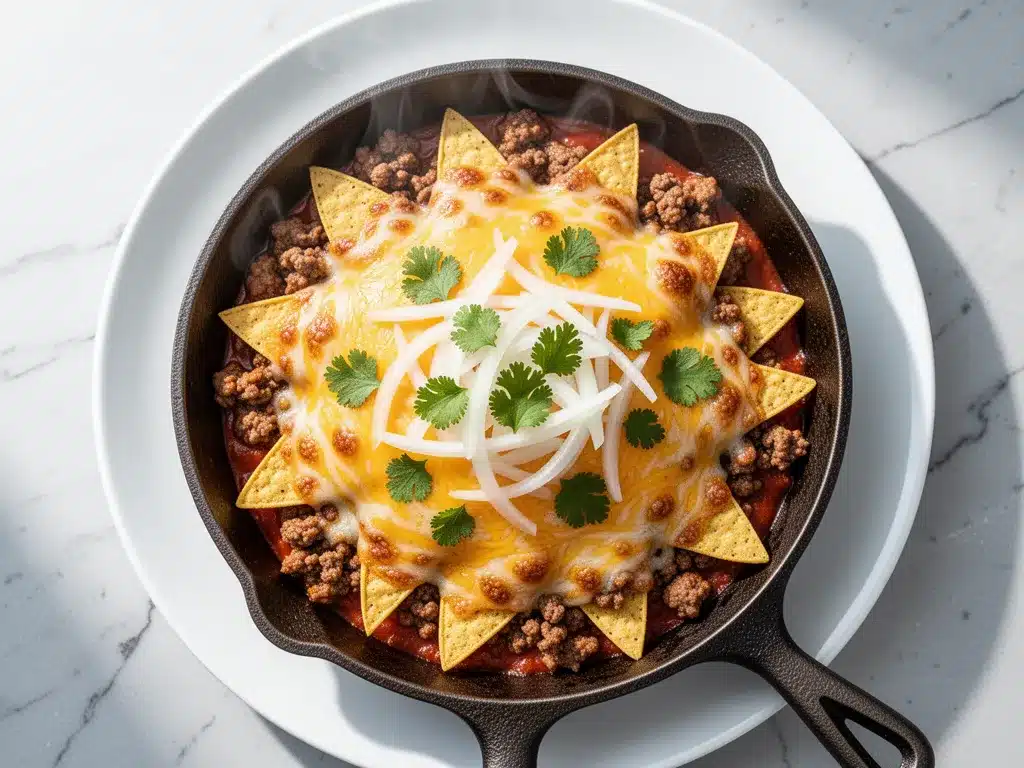
Alright, let’s make this! I’m walking you through exactly how I do it, including the little tricks I’ve picked up over the years.
Step 1: Brown the Beef (5 minutes)
Heat your large skillet over medium-high heat. Add the ground beef. Break it up with your wooden spoon as it cooks. You want small crumbles, not big chunks. Cook until it’s no longer pink, about 5-7 minutes. Once it’s done, tilt the pan and spoon out the excess grease. Don’t rinse it with water—that washes away all the flavor. Just drain it.
Step 2: Add the Flavor (2 minutes)
Reduce the heat to medium. Sprinkle the taco seasoning over the beef. Stir well to coat. Pour in the enchilada sauce. Stir everything together. Let it simmer for 2 minutes so the flavors meld. The sauce should bubble gently. If it looks too thick, add a splash of water or broth.
Step 3: Add the Bulk (2 minutes)
Add the drained black beans and the frozen corn to the skillet. Stir to combine. The corn doesn’t need to be thawed; it’ll heat through in the sauce. Taste the mixture now. Does it need more salt? More spice? Adjust as needed. This is your chance to fix it before it’s baked.
Step 4: Add the Tortillas (1 minute)
Here’s the trick: tear the corn tortillas into bite-sized pieces with your hands. Drop them into the skillet. Stir gently to coat them in the sauce. They’ll start to soften immediately. Don’t worry if they look dry; the sauce will hydrate them as it cooks.
Step 5: Melt the Cheese (3-4 minutes)
Reduce heat to low. Sprinkle the shredded cheese evenly over the top. Cover the skillet with a lid. Let it sit for 3-4 minutes until the cheese is melted and bubbly. If you don’t have a lid, use a piece of foil or another pan inverted on top. The steam is key to melting the cheese and softening the tortillas.
Step 6: Serve
Remove from heat. Garnish with fresh cilantro, sliced avocado, or a dollop of sour cream if you’re feeling fancy. Serve immediately. It’s best eaten straight from the skillet, but a bowl works too.
Total Time: About 25 minutes (5 minutes active prep, 20 minutes cooking).
Built-in Troubleshooting: If the mixture looks too dry after adding the tortillas, add a little more enchilada sauce or water. If it’s too soupy, let it simmer uncovered for a few more minutes to reduce.
Expert Tips & Tricks
Here’s everything I’ve learned from making this dozens of times. These tips will save you from my mistakes.
Don’t Skip the Tear
Tearing the tortillas by hand creates irregular edges that soak up more sauce. Using a knife to cut them creates neat squares that tend to slide around and stay dry. Trust the tear.
Low and Slow for Cheese
Always reduce the heat before adding cheese. High heat makes cheese grainy and separated. I learned this the hard way with a broken cheese sauce that looked awful. Let the residual heat melt it.
Rinse Those Beans
Canned beans are starchy and salty. Rinsing them removes the canned taste and prevents the dish from being too salty. It takes 30 seconds but makes a huge difference.
Make It Ahead
You can assemble this dish up to 24 hours in advance. Store it in the fridge, covered. When you’re ready to eat, just add a few minutes to the cooking time. This is perfect for meal prep or busy weeknights.
Pro Trick: The Crispy Bottom
If you like a crispy bottom, don’t cover the skillet for the last 2 minutes of cooking. Let the bottom get a little charred. It adds a nice texture contrast to the soft tortillas.
If you’re looking for a quick side dish to pair with this, these crispy baked chicken nuggets are a hit with kids, though they take a bit more prep. For a lighter lunch option later in the week, check out these soft baked banana oatmeal breakfast cookies.
Variations & Substitutions
Once you’ve nailed the basic version, here’s how you can mix it up. I’ve tried all of these.
Turkey Version
Swap ground beef for ground turkey. It’s leaner but drier. Add an extra tablespoon of oil to the pan and maybe a splash more broth to keep it moist. My husband prefers this when he’s watching his fat intake.
Veggie-Loaded
Toss in 1 cup of diced bell peppers and 1 cup of spinach in the last minute. The spinach wilts right in. This is how I get my kids to eat vegetables without complaining.
Chicken Enchilada Skillet
Use shredded rotisserie chicken instead of beef. Add it in at the end just to heat through. It’s lighter and faster since the chicken is already cooked.
Spicy Kick
Add a diced jalapeño or a teaspoon of cayenne pepper to the beef. Top with hot sauce. For those who like it really hot, use hot enchilada sauce.
Gluten-Free
Corn tortillas are naturally gluten-free, so this recipe is already GF. Just check your taco seasoning packet to ensure it’s certified GF (some contain wheat starch).
Dairy-Free
Skip the cheese or use a dairy-free shreds. The dish will be less rich but still flavorful. Add extra avocado for creaminess.
Serving & Storage
How to Serve:
I usually serve this straight from the skillet at the dinner table—it looks rustic and stays warm. But here are other ways I’ve enjoyed it:
Side Dishes:
– Simple green salad with lime vinaigrette
– Rice and beans (if you want to double down on carbs)
– Cornbread (obviously)
– Cucumber salad for a fresh crunch
Toppings Bar:
When I have guests, I put out: sour cream, diced avocado, fresh cilantro, lime wedges, and sliced jalapeños. Everyone customizes their bowl.
Storage Instructions:
Store leftovers in an airtight container in the fridge for up to 4 days. The tortillas will continue to absorb sauce, so it will thicken. That’s normal.
Reheating:
Best method: Add a splash of water or broth to a skillet, add leftovers, and heat gently over medium-low heat, stirring frequently. The liquid re-hydrates the tortillas.
Microwave method: Heat in 30-second intervals, stirring between. Add a splash of water if it’s too dry.
Never works: Trying to reheat it dry in the oven. It will turn into a brick. Ask me how I know.
Freezing:
Honestly, this doesn’t freeze well because the tortillas get mushy when thawed. The texture changes too much. Make it fresh or store in the fridge for up to 4 days.
Nutrition Information
I’m not a nutritionist, but here’s the breakdown if you’re tracking. This is based on 6 servings.
| Nutrient | Per Serving |
|---|---|
| Calories | 450 |
| Protein | 28g |
| Carbs | 35g |
| Fiber | 8g |
| Sugar | 4g |
| Fat | 22g |
| Sodium | 680mg |
What’s Good: High protein from the beef and beans. Good fiber from the corn and beans. Calcium from the cheese.
What to Know: Higher in sodium due to the taco seasoning and canned beans. Use low-sodium broth and rinse beans well to reduce. It’s comfort food, so don’t stress the calories too much. Enjoy it!
Final Thoughts
So that’s my cheesy ground beef enchilada skillet! I’ve probably talked your ear off at this point, but when you make a recipe this often, you have a lot to say about it.
This has saved weeknight dinners more times than I can count. It’s my answer to “what’s for dinner” when I’m tired, don’t want takeout, and still want something that tastes really good. My kids are happy, my husband’s happy, and I’m happy because I’m not stressed about cooking.
Make it yours! Try different add-ins, swap in your favorite vegetables, adjust the spice level. The best recipes are the ones you adapt to your family’s tastes.
If you make this, drop a comment and let me know what you think! I love hearing how recipes turn out in your kitchen. And if something doesn’t work, tell me that too—I’m here to help troubleshoot.
Happy cooking! And I hope your kitchen smells half as good as mine does right now.
Frequently Asked Questions
Can I use flour tortillas instead of corn?
You can, but the texture will be different. Flour tortillas are softer and more doughy. They won’t hold their shape as well and might get soggy faster. If you use flour, tear them into smaller pieces and reduce the cooking time slightly. But corn is definitely the traditional choice for this dish.
My skillet looks too dry—what happened?
Usually means you didn’t add enough liquid. The tortillas absorb a lot of moisture. Add a splash of water, broth, or more enchilada sauce. Stir it in, cover, and let it sit for a few more minutes. The steam will soften everything.
Can I make this ahead for a dinner party?
Yes! Assemble it up to 24 hours ahead. Store in the fridge. When ready to serve, add 5-10 minutes to the cooking time. It’s a great way to reduce stress on the day of the party.
Why did my cheese get grainy?
The heat was too high when you added the cheese. Cheese seizes up over high heat. Always reduce to low and let the residual heat melt it. If it’s already grainy, whisk in a splash of cream or milk to smooth it out.
Can I use fresh corn instead of frozen?
Yes! Just make sure to cut the kernels off the cob and rinse them. Fresh corn is sweeter but more expensive. Frozen is convenient and just as good for this recipe.
How do I reheat leftovers without it getting dry?
Add a splash of liquid (water, broth, or milk) to the skillet. Heat gently over low heat, stirring frequently. The liquid re-hydrates the tortillas and brings back the creamy texture. Microwave works too, but add the liquid first.
Can I double this recipe?
Absolutely! Double everything and use your biggest skillet. The cooking times stay the same. I do this when I’m meal-prepping or feeding a crowd. Just make sure your skillet is big enough for the sauce—you might need to use two pans.
Pin This Recipe!
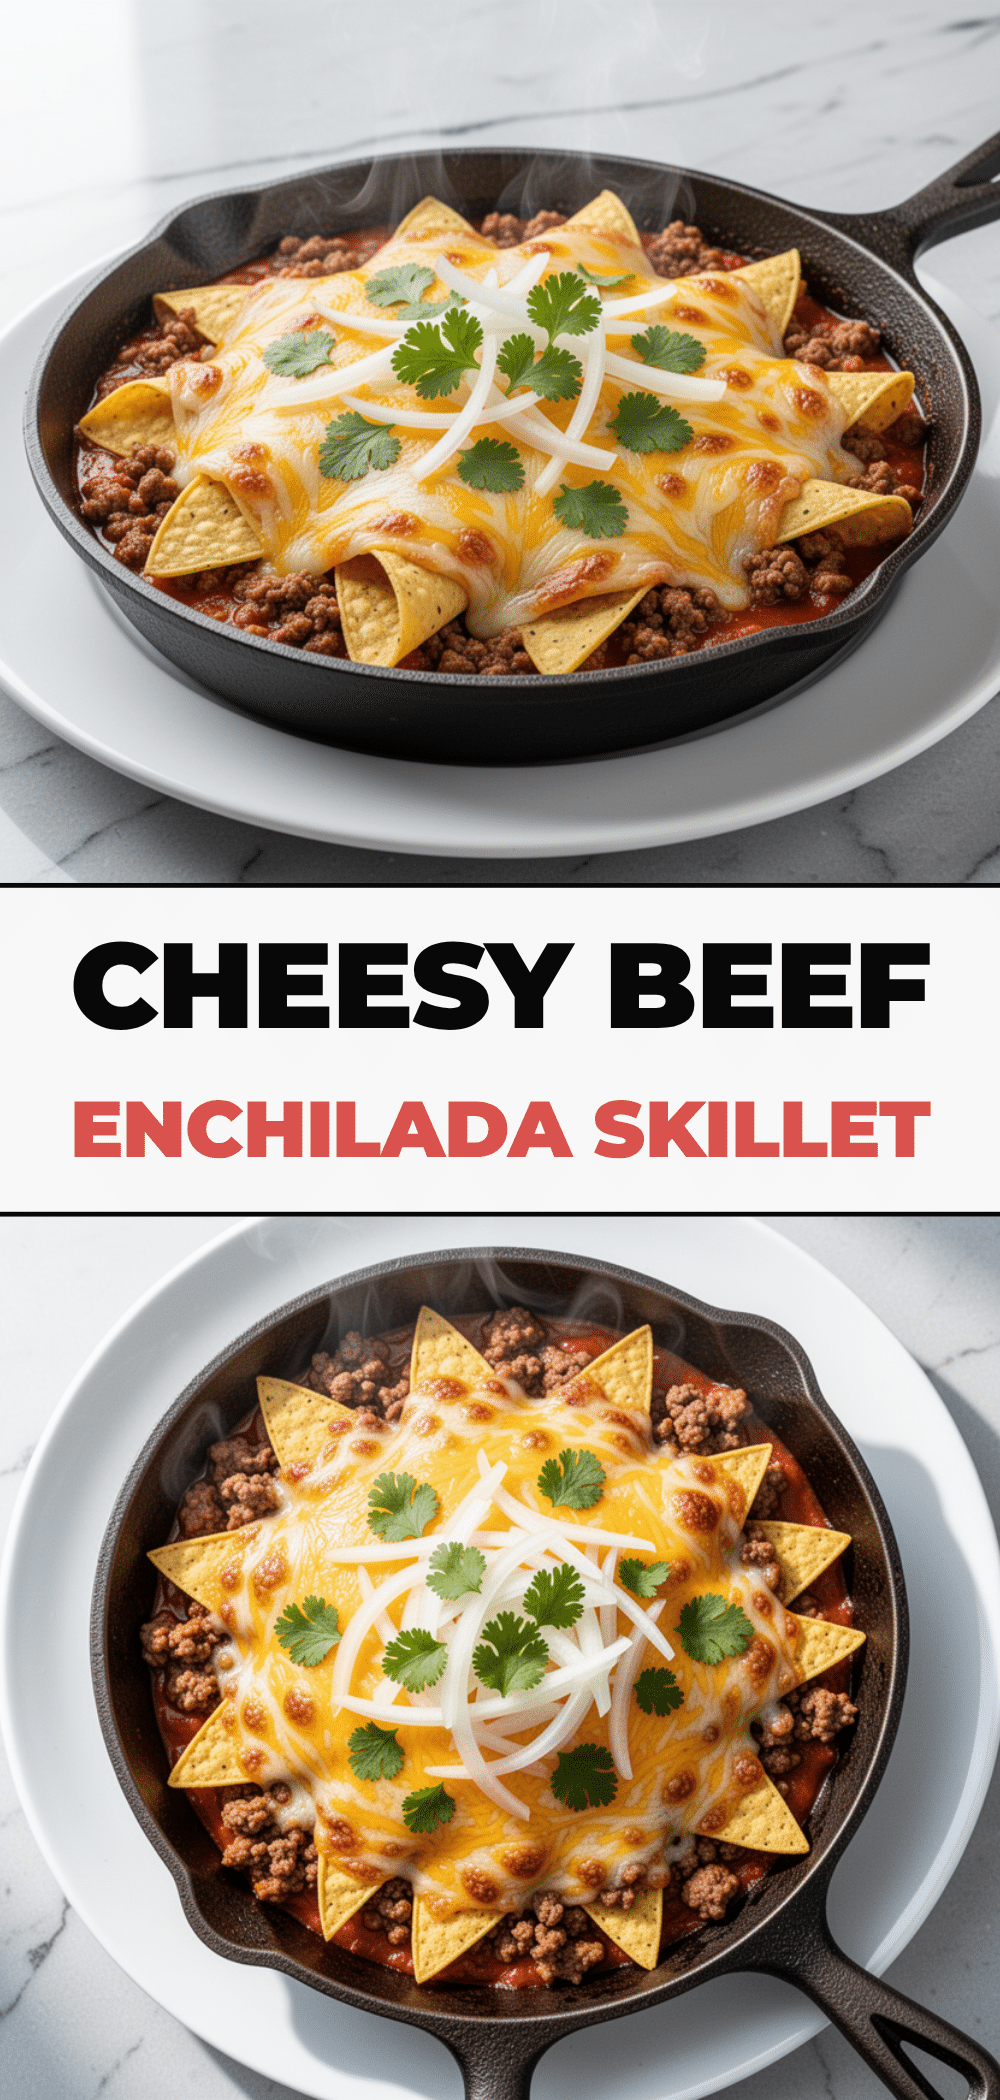
Cheesy Ground Beef Enchilada Skillet
- Total Time: 25 minutes
- Yield: 6 servings 1x
Description
A quick, one-pan weeknight dinner featuring ground beef, black beans, corn, and corn tortillas in a rich enchilada sauce, topped with melted cheese. Ready in about 25 minutes with minimal cleanup.
Ingredients
- 1 pound ground beef (80/20 lean-to-fat ratio)
- 1 packet (1 ounce) taco seasoning
- 1 cup (240ml) red enchilada sauce (medium heat)
- 6–8 small corn tortillas (about 6 inches)
- 1 can (15 oz) black beans, drained and rinsed
- 1 cup (150g) frozen corn
- 2 cups (200g) shredded Mexican blend cheese
- Optional: diced bell peppers, jalapeños, fresh cilantro, lime wedges, sour cream, avocado
Instructions
- Heat a large skillet over medium-high heat. Add ground beef and break it into small crumbles with a wooden spoon. Cook until no longer pink, about 5-7 minutes.
- Tilt the pan and spoon out excess grease. Do not rinse with water.
- Reduce heat to medium. Sprinkle taco seasoning over the beef and stir to coat. Pour in enchilada sauce and stir to combine. Simmer for 2 minutes.
- Add drained black beans and frozen corn to the skillet. Stir to combine and taste for seasoning adjustments.
- Tear corn tortillas into bite-sized pieces by hand and add them to the skillet. Stir gently to coat in sauce.
- Reduce heat to low. Sprinkle shredded cheese evenly over the top. Cover the skillet with a lid (or foil) and let sit for 3-4 minutes until cheese is melted and bubbly.
- Remove from heat and serve immediately, garnished with optional toppings like cilantro, avocado, or sour cream.
Notes
Do not use flour tortillas as they become doughy; corn tortillas hold their shape better. Rinse canned beans to remove metallic taste and excess sodium. If the mixture looks too dry after adding tortillas, add a splash of water or broth. For a crispy bottom, uncover the skillet for the last 2 minutes of cooking. This recipe does not freeze well due to texture changes in the tortillas.
- Prep Time: 10 minutes
- Cook Time: 15 minutes
- Category: Main Course
- Cuisine: Mexican
Nutrition
- Serving Size: 1 serving (approx. 1
- Calories: 450
- Sugar: 4
- Sodium: 680
- Fat: 22
- Carbohydrates: 35
- Fiber: 8
- Protein: 28
Keywords: ground beef, enchilada skillet, weeknight dinner, one pan meal, quick dinner, cheesy beef, family friendly, gluten-free option


