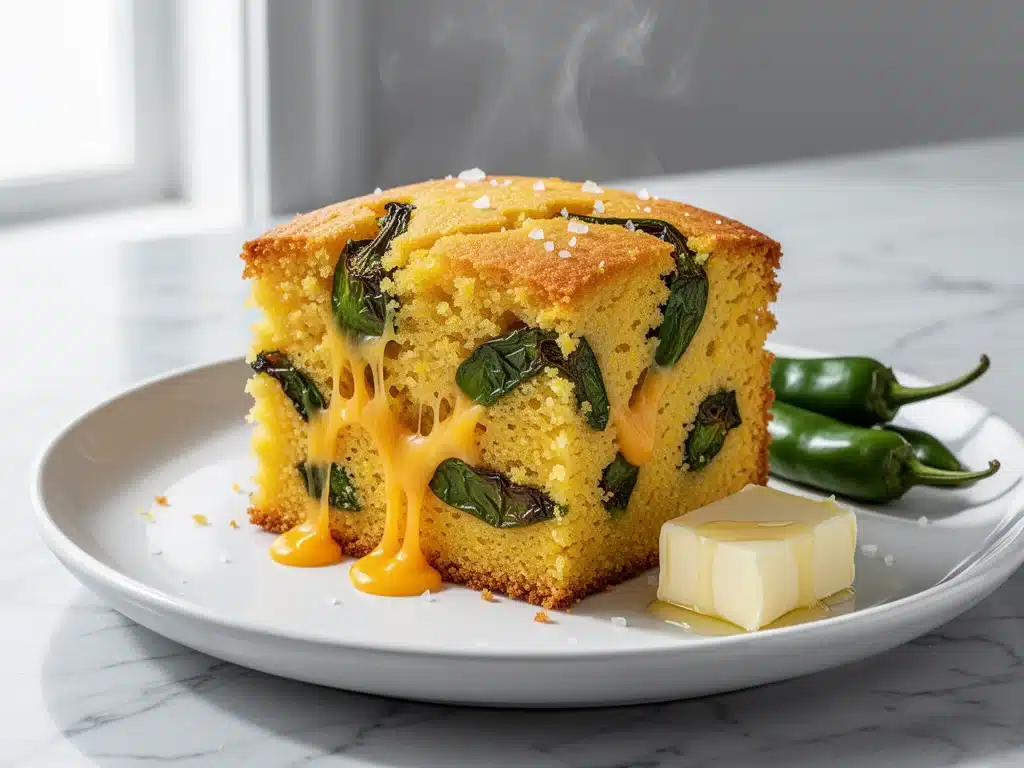
Last July, I stood in my kitchen with a bag of Hatch chiles that looked like they’d been through a war zone. They were bruised, blistered, and smelling like pure summer smoke. I’d driven two hours out of Albuquerque just to get them because I know that once-a-year window when New Mexico’s state vegetable turns into magic. I roasted them until my hands smelled like fire for three days straight, then froze them in bags labeled “Future Good Times.”
Fast forward to last Tuesday. I got home from work at 6:45 PM. My kids were hungry. My husband was tired. The fridge was mostly empty except for a block of sharp cheddar, some cornmeal, and those frozen chiles. I didn’t want to order takeout. I didn’t have the energy to chop vegetables for a stir-fry. I just wanted something warm, comforting, and weirdly exciting.
So I threw together this roasted Hatch chile cheddar cornbread. I knew it would be good—cornbread is usually a safe bet—but I didn’t expect it to be that good. The first bite hit me with that smoky heat from the peppers, followed by the salty, creamy melt of the cheddar, and then that sweet, crumbly cornmeal base. It was savory, spicy, and comforting all at once. My kids asked for seconds. My husband asked if I could make it every week. (Spoiler: I can’t, because fresh Hatch chiles only come for a few weeks in July, but I can make this with frozen ones or mild poblanos year-round.)
This isn’t your dry, school-cafeteria cornbread. This is moist, tangy, and packed with flavor. It’s the kind of side dish that steals the show at dinner. I’ve tested this recipe about a dozen times, tweaking the cheese ratio and the chile preparation until it was perfect. It’s ready in under an hour, uses simple ingredients, and tastes like you spent all day cooking. Here’s how to make it.
Why You’ll Love This Roasted Hatch Chile Cheddar Cornbread
There are a lot of cornbread recipes out there. Some are sweet, some are savory, some are gluten-free, and some are just… okay. This one is different. It’s the kind of recipe that changes how you think about cornbread. It’s not just a side; it’s a star.
Here’s why this roasted Hatch chile cheddar cornbread has earned a permanent spot in our weekly rotation:
It’s Actually Moist — I’ve made cornbread that dried out in my mouth before I could swallow it. Not this one. The combination of buttermilk, sour cream, and roasted peppers keeps it incredibly tender. It stays good in the fridge for days without turning into a brick. I’ve actually eaten cold slices for breakfast. It’s surprisingly delicious.
Smoky Heat Without the Fuss — Roasting the chiles brings out a depth of flavor you just can’t get from canned jalapeños or hot sauce. It’s complex. It’s smoky. And because you’re mixing the peppers directly into the batter, every bite has a little surprise of heat. It’s not overwhelming, just a nice kick that warms you up.
Pantry-Friendly (Mostly) — You probably have the cornmeal, cheese, and eggs already. The only “special” ingredient is the Hatch chiles (or a substitute like poblanos or roasted red peppers). If you can’t find Hatch chiles, don’t stress. This recipe is flexible. I’ve made it with jarred roasted red peppers when I’m lazy, and it’s still fantastic.
Ready in 35 Minutes — From mixing to oven, this takes less time than it takes to browse takeout menus. Prep is about 10 minutes, bake is 25. That’s it. It’s perfect for weeknights when you need dinner on the table fast but don’t want to compromise on flavor.
Makes Amazing Leftovers — Seriously. The flavors meld overnight. By day two, it’s even better. I slice it up and freeze individual portions for quick lunches or snacks. It reheats beautifully in the toaster oven.
This is my go-to when I want to feel like a gourmet cook without the effort. It’s reliable, delicious, and always gets compliments. Trust me on this one.
Ingredients You’ll Need
Here’s the best part: you don’t need anything fancy. This is simple, honest food. I’m particular about a few things here, mostly the cheese and the chiles, but the rest is pretty standard.
For the Cornbread Base
Yellow Cornmeal (1 cup / 120g) — This is the star. Use medium-grind for that classic crumbly texture. Fine grind works too but makes it denser. I like Stone Ground Cornmeal from local brands if I can find it—it has more flavor. Avoid self-rising cornmeal unless you adjust the leavening.
All-Purpose Flour (1 cup / 125g) — Just a little bit to help hold it together. You want mostly cornmeal, but 100% cornmeal can be too crumbly. This ratio gives the perfect balance of structure and texture.
Baking Powder (1 tablespoon) — Fresh baking powder is crucial for lift. If yours is old, your cornbread will be flat. I keep mine in the fridge to extend its life.
Salt (1 teaspoon) — Kosher salt is best. It controls the saltiness better than table salt. This recipe is savory, so don’t skip the salt.
Buttermilk (1 cup / 240ml) — This adds tang and tenderness. If you don’t have buttermilk, make your own by adding 1 tablespoon of lemon juice or white vinegar to 1 cup of milk. Let it sit for 5 minutes until it curdles. It works just as well.
Sour Cream (½ cup / 120g) — This is the secret weapon for moisture. It adds richness and keeps the crumb soft. Full-fat is best here. Don’t use Greek yogurt unless you thin it out with a little milk.
Eggs (2 large) — Room temperature eggs mix better into the batter. I take them out of the fridge 15 minutes before I start.
Melted Butter (¼ cup / 60g) — For richness. You can use oil, but butter tastes better. I use unsalted so I can control the sodium.
For the Flavor
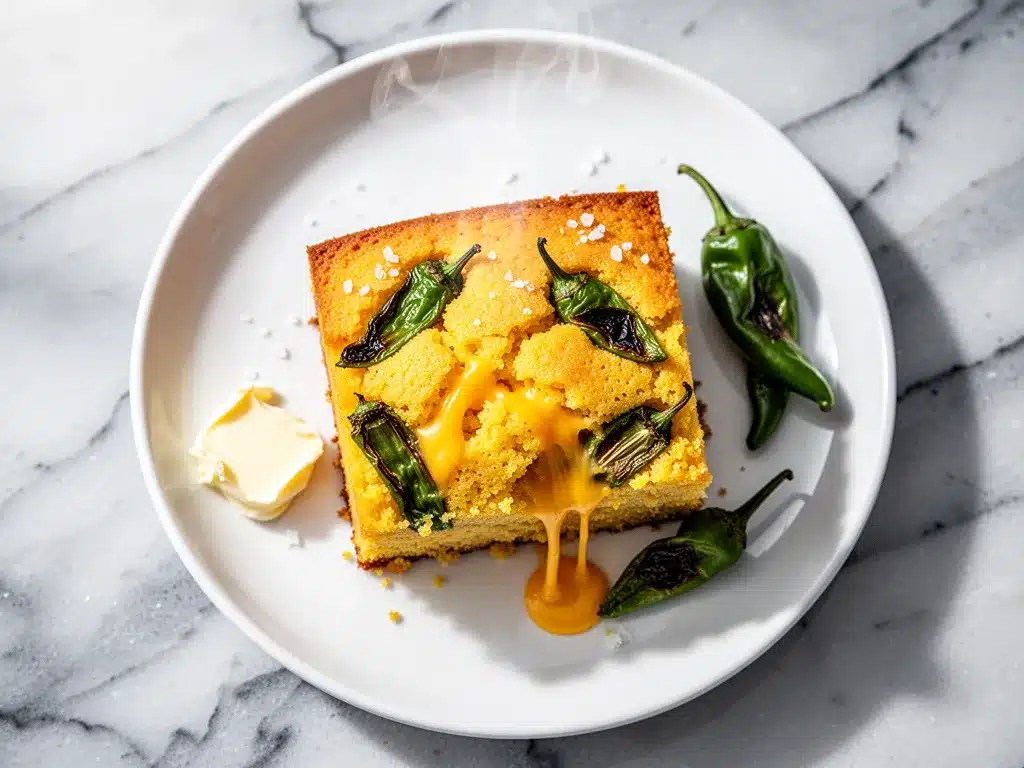
Hatch Chiles (1 cup, roasted, peeled, and diced / about 150g) — This is where the magic happens. Fresh Hatch chiles are best, available only in July. If you’re outside that window, use frozen roasted Hatch chiles (I buy them in bulk and freeze them), or substitute with roasted poblano peppers, roasted red peppers from a jar, or even canned green chiles (drained well). The smoky flavor is key.
Sharp Cheddar Cheese (1 cup / 100g, shredded) — Use a block and grate it yourself. Pre-shredded cheese has anti-caking agents that prevent it from melting smoothly. Sharp cheddar has more flavor than mild. I like to mix sharp and extra-sharp for complexity.
Optional: Jalapeño (1 small, diced) — If you want extra heat, add a diced jalapeño along with the Hatch chiles. Remove seeds if you want less spice.
Optional: Cilantro (¼ cup, chopped) — Fresh cilantro adds a bright, herbal note that cuts through the richness. I add it if I have it, but it’s not mandatory.
Optional: Corn Kernels (½ cup, fresh or frozen) — For extra sweetness and texture. I add this sometimes when the chiles are mild.
Equipment Needed
You don’t need fancy gear for this. Here’s what I actually use:
9×9 Inch Square Baking Pan — I prefer square over round because it gives more surface area for crispy edges. A 9×9 pan is perfect. You can use a 9-inch round pan, but the cornbread will be thicker and might need a few extra minutes in the oven.
Medium Mixing Bowl — For dry ingredients. Any bowl works.
Large Mixing Bowl — For wet ingredients. I use a large glass bowl so I can see everything clearly.
Whisk — To combine wet ingredients smoothly. A fork works too.
Box Grater — For shredding the cheese. Or use a food processor if you’re grating lots of cheese.
Pastry Brush — Optional, but nice for brushing the pan with butter. I just use a paper towel to smear butter around.
Wire Cooling Rack — For cooling the cornbread. Or just let it cool in the pan on the stovetop.
How to Make It: Step-by-Step
Alright, let’s make this! I’m walking you through exactly how I do it, including the little tricks I’ve picked up over the years.
Step 1: Roast and Prep the Chiles (10 minutes)
If you’re using fresh Hatch chiles, roast them first. Place them under a broiler or on an open flame until the skins are blackened and blistered on all sides. Put them in a bowl and cover with plastic wrap for 10 minutes. This steams them and makes peeling easy. Peel off the skins, remove seeds, and dice the flesh. If you’re using frozen or jarred chiles, just thaw and drain them well. You want 1 cup of diced chiles.
Step 2: Prep the Pan and Oven (5 minutes)
Preheat your oven to 400°F (200°C). Grease your 9×9 baking pan generously with butter or non-stick spray. I like to add a little cornmeal to the greased pan for extra crunch on the edges. It’s a small detail that makes a big difference.
Step 3: Mix Dry Ingredients (2 minutes)
In a medium bowl, whisk together the cornmeal, flour, baking powder, and salt. Make sure there are no lumps. If your cornmeal is coarse, give it a good whisk to break it up.
Step 4: Mix Wet Ingredients (2 minutes)
In a large bowl, whisk together the buttermilk, sour cream, eggs, and melted butter. The mixture might look a little curdled—that’s normal. It’s the buttermilk reacting with the acid. Whisk until smooth.
Step 5: Combine Wet and Dry (1 minute)
Pour the wet ingredients into the dry ingredients. Stir gently with a spoon until just combined. Do not overmix! A few lumps are okay. Overmixing makes the cornbread tough. It should look shaggy and thick.
Step 6: Fold in Cheese and Chiles (1 minute)
Gently fold in the shredded cheddar cheese and diced Hatch chiles (and cilantro/corn if using). Be careful not to break up the cheese too much. You want pockets of cheese and chiles throughout.
Step 7: Bake (25 minutes)
Pour the batter into the prepared pan. Smooth the top with a spatula. Bake for 25-30 minutes, or until the top is golden brown and a toothpick inserted into the center comes out clean. If the top is browning too fast, cover it loosely with foil after 20 minutes.
Step 8: Cool and Serve (10 minutes)
Let the cornbread cool in the pan for 10 minutes. This helps it set so it cuts cleanly. Then, lift it out using the edges or invert it onto a cutting board. Slice into squares and serve warm.
Expert Tips & Tricks
Here’s everything I’ve learned from making this dozens of times. These tips will save you from my mistakes.
Don’t Overmix the Batter
This is the #1 mistake people make. Once you add the wet to the dry, mix until you *just* see no dry flour. Lumps are fine. Overmixing develops gluten in the flour, which makes the cornbread dense and tough. I’ve ruined batches this way. Trust me, a little lumpiness is better than a brick.
Drain Your Chiles Well
If you’re using canned or jarred chiles, squeeze out as much liquid as possible. Excess water makes the cornbread soggy. I pat them dry with paper towels. Fresh roasted chiles are less watery, but still check them.
Use Sharp Cheddar
Mild cheddar tastes bland in cornbread. Sharp or extra-sharp cheddar has the punch needed to stand up to the cornmeal and chiles. I like to grate my own because it melts better. Pre-shredded cheese is coated in potato starch, which prevents smooth melting.
Buttermilk is Non-Negotiable
It adds tang and tenderness. If you skip it, the cornbread will be flat and flat-tasting. The acid reacts with the baking powder for lift. If you don’t have buttermilk, make a substitute with milk and lemon juice. It works.
Check for Doneness Early
Ovens vary. Start checking at 20 minutes. The toothpick test is reliable, but also look for a golden-brown crust and edges pulling away from the pan. If the center is still jiggly, it needs more time.
Pro Trick: Brush with Butter
Right out of the oven, brush the top with melted butter. It adds shine and richness. I do this every time. It’s like a hug for the cornbread.
Variations & Substitutions
Once you’ve nailed the basic version, here’s how you can mix it up. I’ve tried all of these.
Mild Version
Skip the Hatch chiles and use roasted red peppers or bell peppers. Use mild cheddar. This is great for kids or anyone who doesn’t like heat. It’s still delicious.
Spicy Version
Add a diced jalapeño or a teaspoon of cayenne pepper to the batter. Use pepper jack cheese instead of cheddar for extra kick. I make this when I want something with a serious punch.
Veggie-Loaded
Add ½ cup of corn kernels and ¼ cup of diced onions. Sauté the onions first if you want them sweeter. This adds texture and sweetness.
Gluten-Free
Use a gluten-free 1:1 baking flour instead of all-purpose flour. Most brands work well. Make sure your baking powder is gluten-free. The cornmeal is naturally gluten-free, but check the label to be sure.
Dairy-Free
Use dairy-free butter, dairy-free sour cream (or coconut yogurt), and dairy-free cheddar. It’s not the same, but it’s edible. I prefer to stick to dairy for the best texture, but it works in a pinch.
Different Cheeses
You can use Monterey Jack, Gouda, or even feta. Feta adds a nice salty tang. I’ve tried queso fresco, which is traditional in Mexico, and it’s amazing. Experiment!
Serving & Storage
How to Serve:
I serve this straight from the pan, warm. It’s perfect alongside chili, soup, or grilled chicken. It’s also great with a simple green salad. For a full meal, pair it with a protein like crispy baked chicken nuggets or a hearty stew. It’s versatile like that.
Side Dishes:
- Black bean soup
- Chili con carne
- Grilled sausages
- BBQ pulled pork
- Simple garden salad
Storage Instructions:
Refrigerator: Store in an airtight container for up to 4 days. It actually tastes better the next day as the flavors meld. Reheat in the microwave for 30 seconds or in the toaster oven for 5 minutes.
Freezer: Wrap individual slices in plastic wrap, then foil. Freeze for up to 3 months. Thaw overnight in the fridge and reheat. It freezes surprisingly well.
Reheating: To avoid dryness, reheat in the oven or toaster oven. Microwave can make it rubbery. If you must microwave, add a damp paper towel over the slice.
Nutrition Information
I’m not a nutritionist, but here’s the breakdown if you’re tracking. This is per slice (makes 9 slices).
Per Serving:
- Calories: 280
- Protein: 9g
- Carbs: 32g
- Fiber: 2g
- Sugar: 3g
- Fat: 14g
- Saturated Fat: 7g
- Cholesterol: 45mg
- Sodium: 350mg
It’s rich from the cheese and butter, but the cornmeal provides some fiber. If you want to lighten it up, use less cheese and more chiles. But honestly? It’s comfort food. Enjoy it as is.
Final Thoughts
So that’s my roasted Hatch chile cheddar cornbread! It’s become my answer to “what’s for dinner?” when I need something fast, flavorful, and comforting. It’s not just cornbread; it’s an experience. The smoky heat, the tangy buttermilk, the melty cheese—it all comes together in a way that feels special.
I hope you try it. Make it yours! Add more cheese, less heat, different veggies. The best recipes are the ones you adapt to your tastes. If you make this, drop a comment and let me know what you think! I love hearing how recipes turn out in your kitchen.
Happy cooking! And I hope your kitchen smells half as good as mine does right now.
Frequently Asked Questions
Can I use canned green chiles instead of Hatch chiles?
Yes! Drained canned green chiles work well. Just make sure to squeeze out the liquid so the batter isn’t watery. The flavor won’t be as smoky, but it’s still good. I use them when fresh Hatch chiles aren’t available.
Why did my cornbread turn out dry?
Usually, it’s overbaking or overmixing. Check it at 20 minutes. If the toothpick comes out clean, it’s done. Also, make sure you’re using buttermilk and sour cream for moisture. Don’t skip the wet ingredients.
Can I make this ahead of time?
You can make the batter ahead and refrigerate it for up to 12 hours. Stir it before baking. Or, bake it ahead and reheat it. It reheats well in the oven. I often bake it on Sunday for the week.
Why did my cornbread sink in the middle?
This can happen if the oven temperature is too high or if you opened the oven door too early. Also, make sure your baking powder is fresh. Don’t peek too much!
Can I use self-rising cornmeal?
If you use self-rising cornmeal, reduce or omit the baking powder and salt in the recipe. Check the package for leavening amounts. It’s easier, but you lose control over the rise.
Is this cornbread sweet or savory?
This version is savory. It’s not sweet like Southern-style cornbread. If you want a touch of sweetness, add 1-2 tablespoons of sugar to the batter. But the chiles and cheese make it savory-forward.
Can I freeze the cornbread?
Yes! Wrap slices tightly in plastic and foil. Freeze for up to 3 months. Thaw and reheat. It’s great for meal prep.
Pin This Recipe!
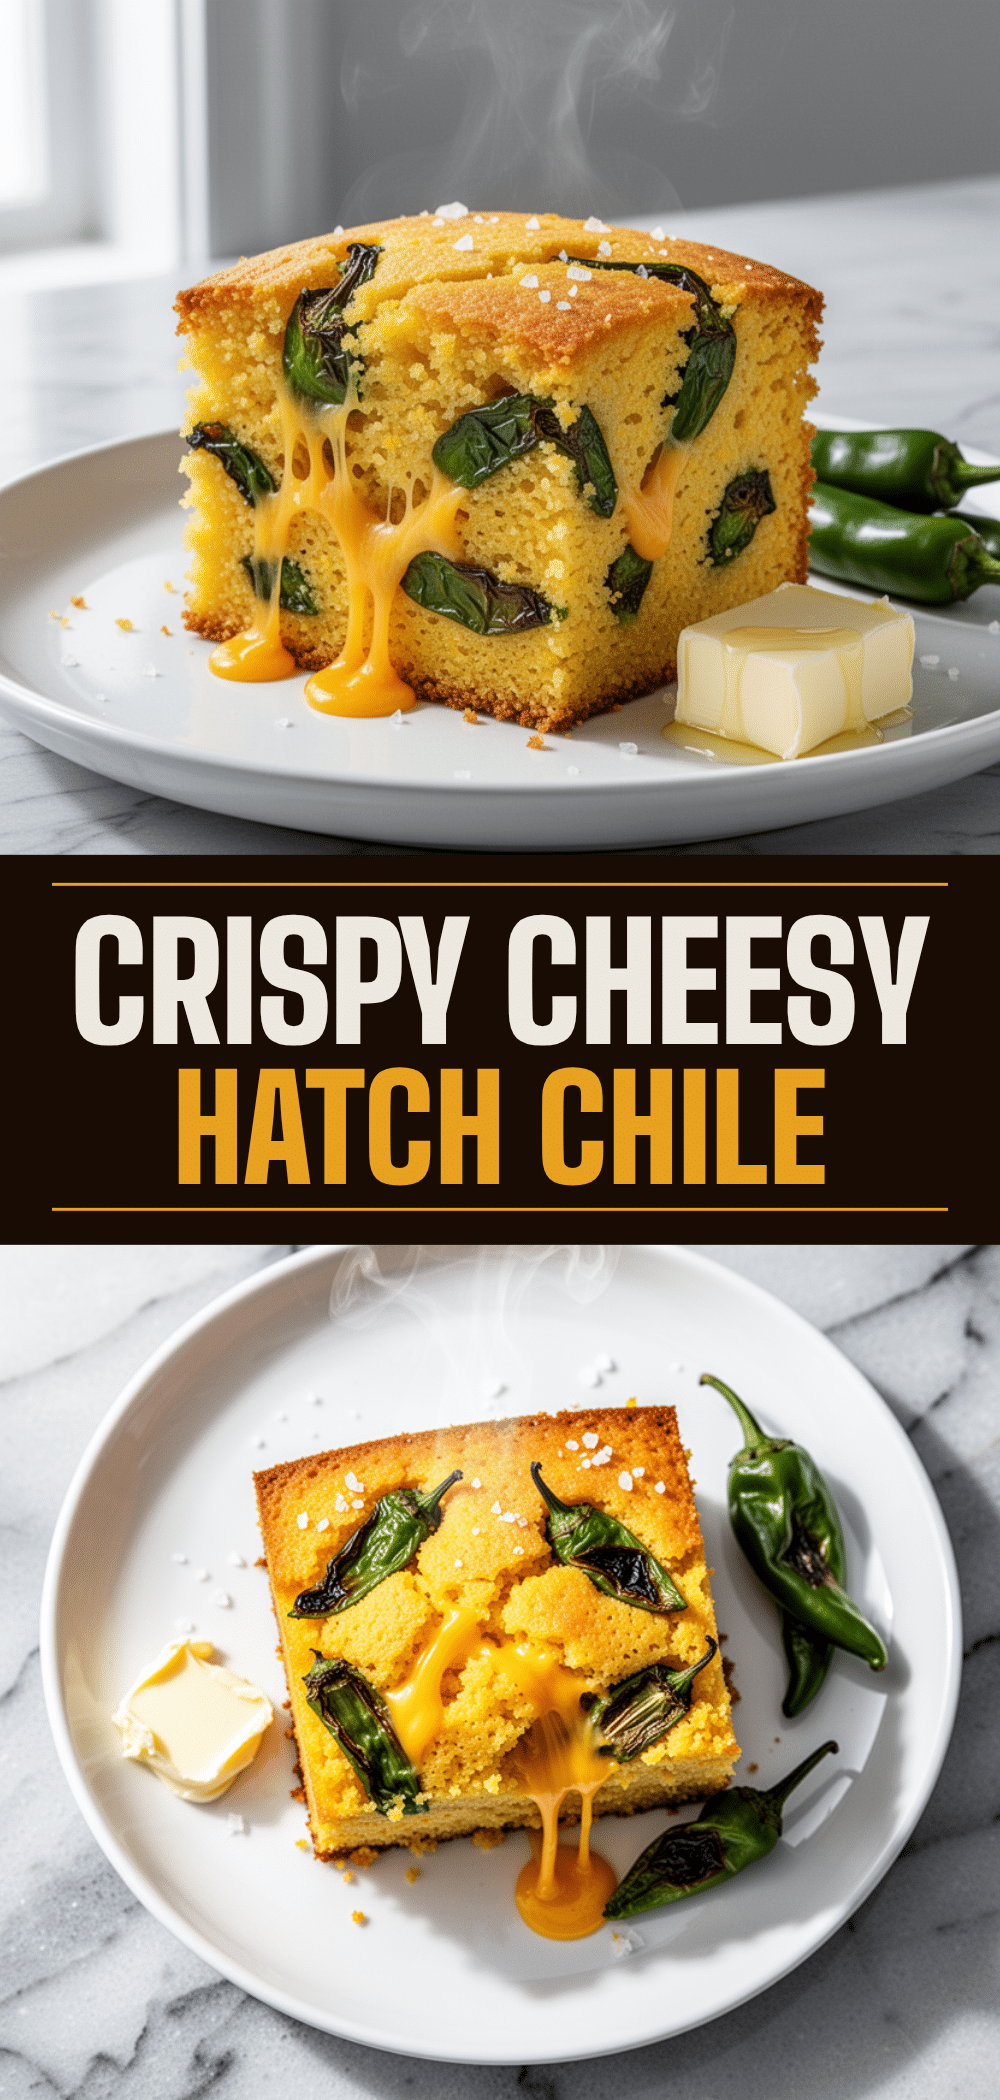
Roasted Hatch Chile Cheddar Cornbread: Perfect Weeknight Side
- Total Time: 35 minutes
- Yield: 9 servings 1x
Description
A moist, savory cornbread packed with smoky roasted Hatch chiles and sharp cheddar cheese. This weeknight-friendly side dish is ready in under an hour and offers a perfect balance of heat, tang, and comfort.
Ingredients
- 1 cup (120g) yellow cornmeal (medium-grind)
- 1 cup (125g) all-purpose flour
- 1 tablespoon baking powder
- 1 teaspoon kosher salt
- 1 cup (240ml) buttermilk
- ½ cup (120g) full-fat sour cream
- 2 large eggs, room temperature
- ¼ cup (60g) melted unsalted butter
- 1 cup (150g) roasted, peeled, and diced Hatch chiles
- 1 cup (100g) sharp cheddar cheese, shredded
- Optional: 1 small jalapeño, diced
- Optional: ¼ cup fresh cilantro, chopped
- Optional: ½ cup corn kernels, fresh or frozen
Instructions
- Preheat oven to 400°F (200°C). Grease a 9×9 inch square baking pan with butter or non-stick spray; optionally dust with cornmeal for crispy edges.
- If using fresh Hatch chiles, roast them under a broiler or on an open flame until blackened. Cover in a bowl for 10 minutes to steam, then peel, seed, and dice. If using frozen or jarred chiles, thaw and drain well.
- In a medium mixing bowl, whisk together the cornmeal, flour, baking powder, and salt until no lumps remain.
- In a large mixing bowl, whisk together the buttermilk, sour cream, eggs, and melted butter until smooth.
- Pour the wet ingredients into the dry ingredients. Stir gently with a spoon until just combined; do not overmix. A few lumps are acceptable.
- Gently fold in the shredded cheddar cheese and diced Hatch chiles (and optional jalapeño, cilantro, or corn).
- Pour the batter into the prepared pan and smooth the top with a spatula.
- Bake for 25-30 minutes, or until the top is golden brown and a toothpick inserted into the center comes out clean. If browning too quickly, cover loosely with foil after 20 minutes.
- Let the cornbread cool in the pan for 10 minutes to set. Lift out, slice into squares, and serve warm. Optionally brush with melted butter after baking.
Notes
Do not overmix the batter to avoid a tough texture. Ensure chiles are drained well to prevent sogginess. Use sharp cheddar for better flavor and melting. If buttermilk is unavailable, make a substitute with milk and lemon juice. This cornbread keeps well in the fridge for 4 days or can be frozen for up to 3 months.
- Prep Time: 10 minutes
- Cook Time: 25 minutes
- Category: Side Dish
- Cuisine: American
Nutrition
- Serving Size: 1 slice
- Calories: 280
- Sugar: 3
- Sodium: 350
- Fat: 14
- Saturated Fat: 7
- Carbohydrates: 32
- Fiber: 2
- Protein: 9
Keywords: Hatch chiles, cornbread, cheddar cheese, roasted peppers, weeknight dinner, side dish, savory cornbread, New Mexican cuisine


