I have a confession to make. I used to be terrified of brown butter. Like, genuinely scared of it. I thought it was one of those fancy chef techniques that required constant staring, a stopwatch, and a fire extinguisher nearby. I’d burn it, panic, and then order takeout because my kitchen smelled like burnt toast. But then I realized something: brown butter isn’t magic. It’s just butter that’s been patient.
Last weekend, I decided to stop overthinking it. I wanted something cozy, something that smelled like cinnamon and comfort, but didn’t require a degree in pastry arts. I threw together what I thought would be a simple oat bar. I didn’t have time for a complicated crust, and I definitely didn’t want to wash six bowls. So I did something almost too simple to be called a recipe. I browned the butter, mixed it with just a few pantry staples, and dumped it in a pan.
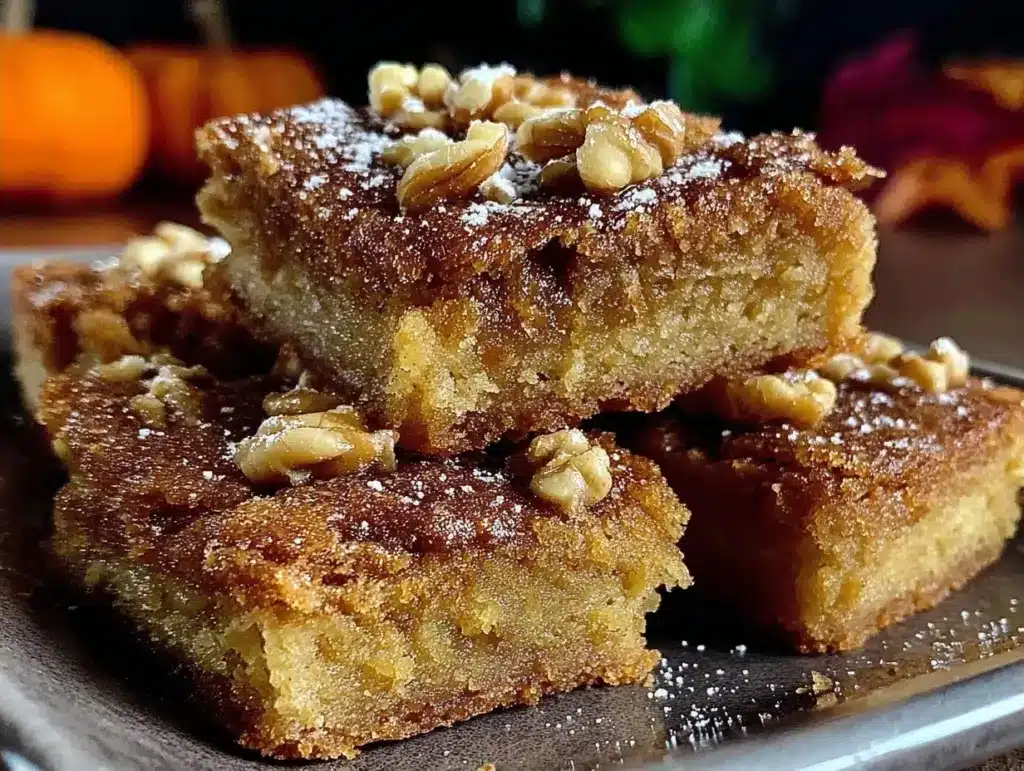
When those fall cookie bars with brown butter and cinnamon spice came out of the oven, the smell hit me so hard I had to sit down. It smelled like October. It smelled like safety. And the best part? They were incredibly easy to make, even for someone who usually treats baking like a dangerous experiment. I’ve made them four times in two weeks. Not because I’m stressed or busy, but because they are genuinely, stupidly good. If you’re looking for a dessert that feels fancy but is actually foolproof, this is it. You really can’t mess this up.
Why You’ll Love This Recipe
There’s a reason this fall cookie bars with brown butter and cinnamon spice recipe has taken over my kitchen. It’s not just about the taste (though that nutty, caramelized butter flavor is unmatched). It’s about the simplicity. I’ve tried dozens of bar recipes that call for cream cheese, eggs, vanilla extract, and three different types of flour. This one? It strips everything back to what actually matters.
Here’s why these bars are about to become your new obsession:
Minimalist Ingredients — Seriously, you only need about five or six items. I’m talking brown butter, oats, flour, sugar, cinnamon, and maybe some nuts if you’re feeling fancy. If you can find those, you can make this. I don’t care if you’re a beginner or a pro, this works.
One-Bowl Magic — There is no creaming butter and sugar. There is no melting chocolate chips separately. You mix the wet, you mix the dry, you combine them, and you bake. The cleanup is basically non-existent. I love that about it.
Texture Perfection — These aren’t just soft cookies. They have a chewy center and a slightly crisp, golden edge. The brown butter gives them a depth of flavor that regular butter just can’t achieve. It’s savory and sweet at the same time. It’s complex, but the method is simple.
Forgiving — I accidentally left these in the oven for two extra minutes once. They were still perfect. Maybe even better. These bars are sturdy. They don’t crumble into dust. They hold together. You can cut them, wrap them, and carry them without anxiety. I’ve taken these to work, to a park, and to a friend’s house. They survive everything.
This is the kind of recipe that builds your confidence. It proves that you don’t need complicated techniques to make something delicious. You just need good ingredients and a little bit of patience.
Ingredients You’ll Need
Here’s the best part: you probably have most of this already. This isn’t a recipe where you need to drive to three different specialty stores. It’s built on basics. But because the ingredient list is short, the quality of each item really shines through. I’m particular about a few things here, so pay attention to the details.
For the Base
Unsalted Butter (1 cup / 226g) — This is where the magic happens. Use good quality butter. If it tastes good on its own, it’ll taste amazing browned. I usually buy the kind that’s already in sticks so I don’t have to measure it weirdly. Salted butter works, but you’ll need to reduce the added salt in the recipe.
Old-Fashioned Rolled Oats (2 cups / 160g) — Do not use instant oats or steel-cut oats. I’ve tried. It doesn’t work. You need the texture of old-fashioned oats. They give these bars their chew. If you’re gluten-free, look for certified gluten-free oats, but regular ones are standard here.
All-Purpose Flour (1 cup / 125g) — Just standard white flour. It provides the structure. Don’t swap this for almond flour or coconut flour unless you know exactly what you’re doing. We want that classic cookie bar texture.
Baking Powder (1 teaspoon) — Just a little lift. It keeps them from being too dense. Measure it accurately, or they might taste metallic.
Salt (½ teaspoon) — Even though we’re using unsalted butter, the salt is crucial. It balances the sweetness. Don’t skip it.
For the Sweetness and Spice
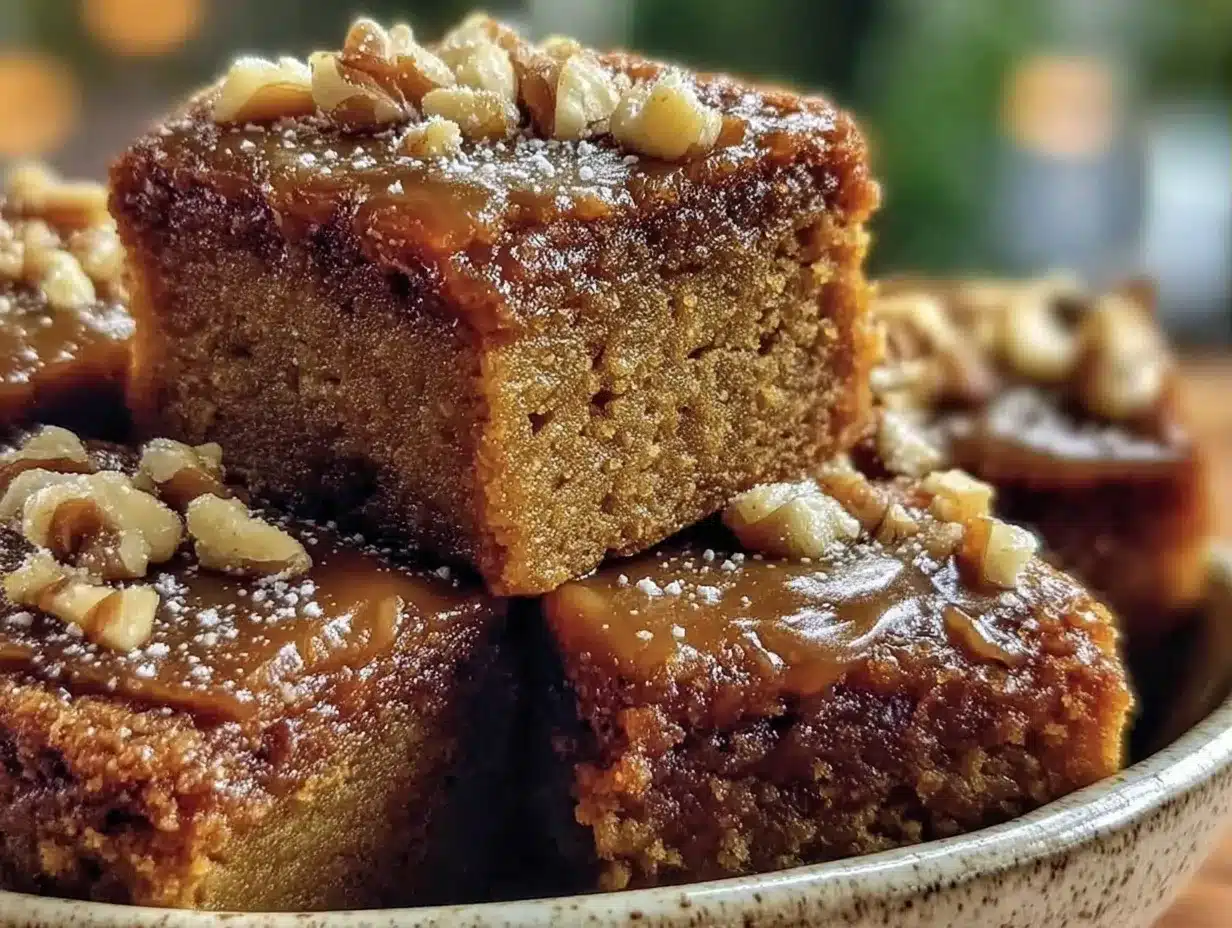
Brown Sugar (1 cup / 200g, packed) — This is non-negotiable for that chewy, caramel flavor. Light or dark brown sugar both work. I usually just grab whatever is in the pantry. If it’s hard as a rock, microwave it for 10 seconds to soften it up.
Granulated Sugar (½ cup / 100g) — A little bit of white sugar helps with the crisp edges. It balances the moisture from the brown sugar.
Cinnamon (2 teaspoons) — Use ground cinnamon. If you have a fresh jar, use it. If yours has been sitting since 2019, buy a new one. The spice flavor needs to be strong to stand up to the butter.
Nutmeg (¼ teaspoon) — Just a pinch. It adds that warm, cozy fall vibe. Don’t go overboard, or it’ll taste like pumpkin pie. We want cookie bars, not pie.
The Mix-Ins (Optional but Recommended)
Chopped Pecans or Walnuts (½ cup / 60g) — I love the crunch of nuts in these. Pecans feel more “fall,” but walnuts are great too. If you’re allergic or just hate nuts, skip them. The bars are still delicious without them.
Dark Chocolate Chips (½ cup / 85g) — Or semi-sweet. Or even butterscotch chips. I’ve made these with just nuts, with just chocolate, and with both. Both is my favorite. The bitterness of the chocolate pairs perfectly with the nutty butter.
Flaky Sea Salt — For sprinkling on top after baking. This is the pro move. It makes the bars taste like you spent way more time on them than you actually did.
Equipment Needed
You don’t need fancy gadgets for this. I’m not using a stand mixer or a food processor. Here’s what I actually use, and what you can swap if you don’t have it.
Medium Saucepan — I use a small saucepan for browning the butter. It lets me watch the color change closely. If you only have a large stockpot, it works, but you might miss the subtle color shift. Just keep an eye on it.
Large Mixing Bowl — Something wide and deep so you don’t spill when you’re whisking the wet ingredients. Glass or ceramic is nice because you can see everything.
9×9 Inch Baking Pan — Standard square pan. You can use a 9×13 if you want thinner bars, but you’ll need to double the recipe or they’ll be too thin. I prefer the 9×9 for that perfect thick-and-chewy ratio.
Parchment Paper — This is my secret weapon. Line the pan with parchment, leaving an overhang on the sides. It makes removing the bars so much easier. You can lift them out in one big slab and cut them on a cutting board. It also means zero cleanup of the pan.
Whisk and Spatula — A whisk to break up the brown butter as it cools (so it doesn’t cook the oats), and a sturdy spatula to mix the dough. No electric mixer needed.
Cooling Rack — Optional, but recommended. These bars are best when they cool completely, but if you can’t wait, let them sit for at least 20 minutes so they set up.
How to Make It: Step-by-Step
Alright, let’s make this! I’m walking you through exactly how I do it. It’s simple, but there are a few key moments to watch for. Don’t rush these steps, especially the browning part.
Step 1: Prep the Pan and Oven (5 minutes)
First, preheat your oven to 350°F (175°C). While that’s heating up, line your 9×9 inch baking pan with parchment paper. Leave a little overhang on the long sides—this acts like handles so you can lift the baked bars out later. Lightly grease the parchment with a little butter or cooking spray. It helps the parchment stick so it doesn’t slide around.
Step 2: Brown the Butter (5-7 minutes)
This is the most important step. Put your butter in the saucepan over medium heat. It will melt, then foam up, then start to crackle. Keep stirring! Use a wooden spoon or a heat-proof spatula. Watch the bottom of the pan. You’ll see little brown specks forming. That’s the flavor. Once the foam settles and you smell a nutty, toasted aroma (like hazelnuts), it’s done. Immediately pour the brown butter into a heat-safe bowl. This stops the cooking process. If you leave it in the hot pan, it might keep cooking and burn. Let it cool for about 5 minutes. It should be warm, not hot.
Step 3: Mix the Wet Ingredients (2 minutes)
While the butter cools, grab your large mixing bowl. Add the brown sugar and granulated sugar. Pour in the warm brown butter. Whisk vigorously for about a minute. You want the sugars to dissolve a bit into the butter. This creates that chewy texture. If the butter is too hot, it might melt the sugar too much and make the bars greasy. If it’s too cold, it won’t mix well. Warm is the sweet spot.
Step 4: Combine Dry and Wet (3 minutes)
Add the flour, baking powder, salt, cinnamon, and nutmeg to the sugar-butter mixture. Stir with your spatula until just combined. It will look thick and doughy. Now, fold in your oats and any mix-ins (nuts, chocolate chips, etc.). Don’t overmix at this stage. Just get everything distributed evenly. The dough will be stiff. That’s normal.
Step 5: Press and Bake (25-30 minutes)
Dump the dough into your prepared pan. Use a spatula or your fingers (if you don’t mind dirty hands) to press it down evenly. You want it flat and tight. Bake for 25-30 minutes. They’re done when the edges are golden brown and the center looks set. It might still look slightly soft in the middle, but it will firm up as it cools. Do not overbake them, or they’ll be dry.
Step 6: Cool and Cut (30+ minutes)
This is the hardest part: waiting. Let the bars cool in the pan for at least 20 minutes. Then, use the parchment overhang to lift the whole slab out onto a cutting board. Let them cool completely. If you cut them warm, they’ll be messy and crumbly. Once cool, slice into squares or rectangles. Sprinkle with flaky sea salt if you’re using it.
Expert Tips & Tricks
Here’s everything I’ve learned from making this dozens of times. These tips will save you from my mistakes.
Don’t Burn the Butter
I know I said this twice, but it bears repeating. Brown butter goes from perfect to burnt in about 30 seconds. If it smells like burnt popcorn or acrid smoke, start over. It’s sad, but it’s the truth. When in doubt, take it off the heat early. You can always brown it more next time, but you can’t un-burn it.
Let the Butter Cool
If you add the oats to piping hot butter, they’ll start to soften and get mushy before they even hit the oven. Wait until the butter is just warm to the touch. It ensures the oats retain their texture.
Press It Down Firmly
When you put the dough in the pan, press it down hard. If it’s loose and airy, the bars will fall apart. You want a dense, compact layer. This ensures they hold together when you cut them.
Use Flaky Salt
Don’t skip the flaky sea salt on top. It’s not just for looks. The crunch and the burst of salt cut through the sweetness and the richness of the brown butter. It’s the difference between “okay” and “wow.”
Storage is Key
These bars actually get better after a day. They seem to meld together and become chewier. Store them in an airtight container at room temperature for up to 5 days. If your kitchen is hot, keep them in the fridge, but let them come to room temperature before eating for the best texture.
Variations & Substitutions
Once you’ve nailed the basic version, here’s how you can mix it up. I’ve tried all of these, and they all work.
Pumpkin Spice Version
Add 2 tablespoons of pumpkin puree to the wet ingredients. Reduce the brown sugar by 2 tablespoons to account for the moisture. Add an extra teaspoon of cinnamon and a pinch of ginger. It tastes like pumpkin pie in bar form.
Maple Walnut
Swap the brown sugar for maple sugar if you can find it, or just use extra brown sugar and add 1 tablespoon of maple extract. Load up on walnuts. It’s very rustic and earthy.
Cherry Almond
Skip the cinnamon. Use almond extract in the wet mix. Add dried tart cherries and sliced almonds. It’s a bit more sophisticated, almost like a European cookie bar.
Gluten-Free
Use certified gluten-free oats and a 1:1 gluten-free flour blend. The texture might be slightly more crumbly, but the flavor is the same. Make sure to press the dough firmly.
Double Chocolate
Add 2 tablespoons of cocoa powder to the dry ingredients. Use dark chocolate chips. It’s rich and intense. Great for chocolate lovers.
Serving & Storage
How to serve these bars depends on the mood. I usually eat them plain, straight from the container, with a glass of cold milk. But here are other ways I’ve enjoyed them:
With Coffee or Tea
These are perfect with a black coffee or a chai latte. The cinnamon and nutmeg pair beautifully with those drinks. It’s my go-to afternoon snack.
With Ice Cream
If you want to make it a dessert, serve a warm bar with a scoop of vanilla bean ice cream. The contrast of hot, chewy bar and cold, creamy ice cream is incredible. I actually have a recipe for creamy no-churn vanilla bean ice cream that pairs perfectly with this.
As a Gift
These travel well. Pack them in a tin with parchment paper between layers. Add a tag that says “Brown Butter Magic” or something cute. People love receiving homemade treats, and these are impressive enough to make you look like a pro.
Storage Instructions
Keep them in an airtight container at room temperature for up to 5 days. If you live in a humid climate, add a piece of bread to the container to keep them soft. They freeze well too! Wrap individual bars in plastic wrap and freeze for up to 3 months. Thaw at room temperature.
Nutrition Information
I’m not a nutritionist, but here’s the breakdown if you’re tracking. These are rich bars, so a little goes a long way.
Per Serving (based on 16 bars):
- Calories: 220
- Protein: 3g
- Carbs: 28g
- Fiber: 1g
- Sugar: 16g
- Fat: 12g
- Saturated Fat: 7g
What’s Good: The oats provide some fiber and sustained energy. The brown butter adds healthy fats (in moderation). It’s a treat, but not an overly processed one.
What to Know: It’s high in sugar and saturated fat because of the butter and brown sugar. Enjoy as a special treat, not a daily snack. If you want to lighten it up, reduce the sugar by 25% and use half the nuts. It’ll still be good.
Final Thoughts
So that’s my go-to fall cookie bars with brown butter and cinnamon spice! I’ve probably talked your ear off at this point, but when you make a recipe this often, you have a lot to say about it.
This has saved my dessert game more times than I can count. It’s my answer to “what should I bring to the party?” or “what should I have with my coffee?” when I want something that tastes really good but doesn’t require a trip to the bakery. My family is happy, my friends are happy, and I’m happy because I’m not stressed about baking.
Make it yours! Try different nuts, different chocolates, or skip the spices entirely. The best recipes are the ones you adapt to your tastes. If you make this, drop a comment and let me know what you think! I love hearing how recipes turn out in your kitchen. And if something doesn’t work, tell me that too—I’m here to help troubleshoot.
Happy baking! And I hope your kitchen smells half as good as mine does right now.
Frequently Asked Questions
Can I use salted butter instead of unsalted?
You can, but you’ll need to reduce the added salt in the recipe. Since butter salt content varies by brand, I recommend using unsalted so you can control the flavor. If you only have salted butter, omit the ½ teaspoon of salt in the recipe. The bars will still be good, just slightly different.
Why did my bars turn out crumbly?
This usually happens if the dough wasn’t pressed down firmly enough, or if they were cut while still warm. Make sure to press the dough into the pan tightly. Also, let them cool completely before cutting. They need time to set. If you’re using gluten-free flour, it can also contribute to crumbliness, so be sure to press them extra hard.
Can I make these ahead of time?
Absolutely. In fact, they taste better the next day. You can make the dough and refrigerate it for up to 2 days, then bake when you’re ready. Or you can bake them and store them at room temperature for up to 5 days. They keep well because of the brown butter and oats.
Can I freeze the dough?
You can, but it’s easier to freeze the baked bars. If you want to freeze the dough, press it into the pan, wrap it tightly in plastic wrap and foil, and freeze for up to 3 months. Thaw in the fridge overnight before baking. You might need to add a couple of minutes to the bake time if the dough is cold.
Do I have to use oats?
For this specific recipe, yes. The oats are what give these bars their structure and chew. If you omit them, you’re essentially making a shortbread or a bar cookie, which requires a different ratio of ingredients. If you have an oat allergy, you could try using crushed gluten-free cereal or more flour, but the texture will be very different.
Can I add nuts?
Yes! Chopped pecans, walnuts, or even hazelnuts work beautifully. I recommend about ½ cup. Toast them lightly in a pan before adding them to the dough for extra flavor. If you’re allergic to nuts, you can skip them or use seeds like pumpkin seeds (pepitas) for crunch.
What if I don’t have a 9×9 pan?
You can use a 9×13 pan, but the bars will be thinner. You’ll need to reduce the bake time to about 20-25 minutes. Check them early so they don’t overbake. Alternatively, you can double the recipe for a 9×13 pan if you want thicker bars.
Pin This Recipe!
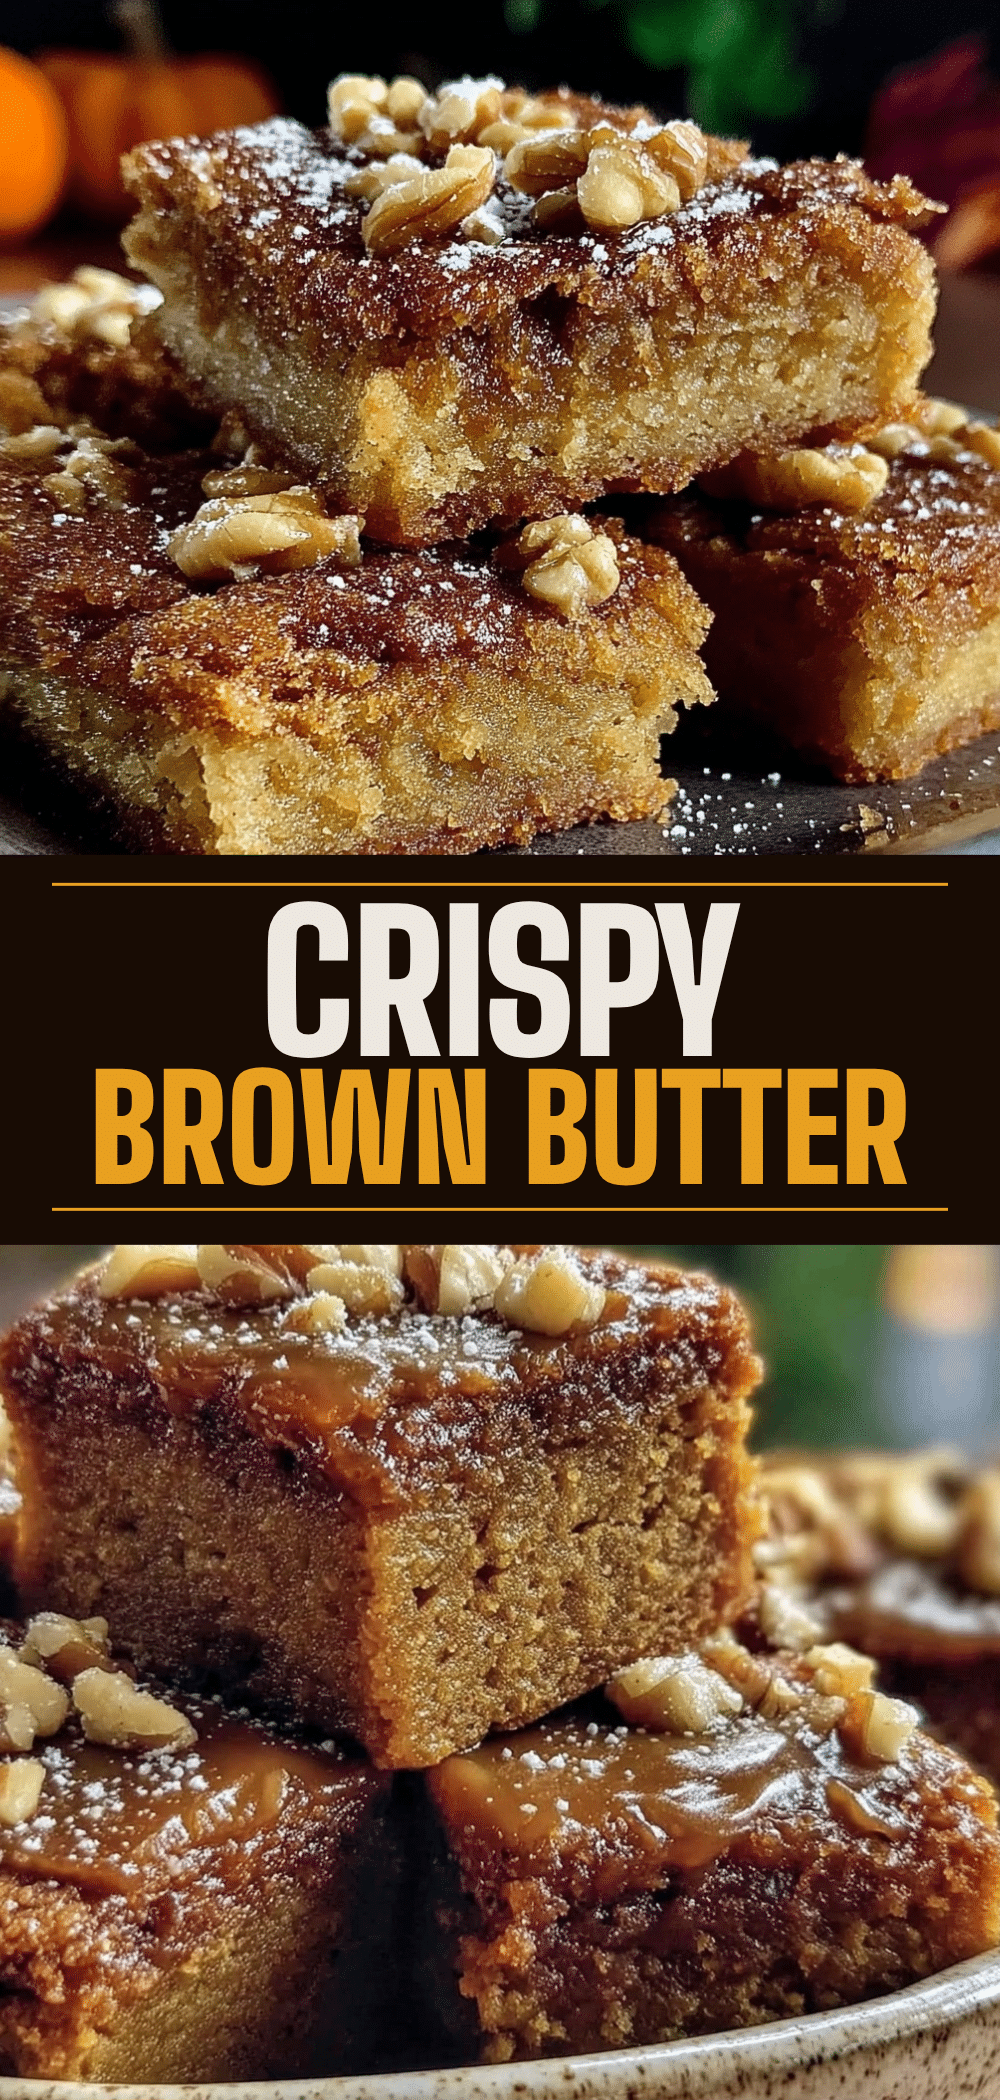
Fall Cookie Bars: 5-Ingredient Brown Butter Simplicity
- Total Time: 40 minutes
- Yield: 16 servings 1x
Description
These fall cookie bars feature nutty brown butter, cinnamon spice, and chewy oats in a simple one-bowl recipe. They are foolproof, forgiving, and perfect for autumn baking.
Ingredients
- 1 cup (226g) unsalted butter
- 2 cups (160g) old-fashioned rolled oats
- 1 cup (125g) all-purpose flour
- 1 teaspoon baking powder
- ½ teaspoon salt
- 1 cup (200g) packed brown sugar
- ½ cup (100g) granulated sugar
- 2 teaspoons ground cinnamon
- ¼ teaspoon nutmeg
- ½ cup (60g) chopped pecans or walnuts (optional)
- ½ cup (85g) dark or semi-sweet chocolate chips (optional)
- Flaky sea salt for sprinkling (optional)
Instructions
- Preheat oven to 350°F (175°C). Line a 9×9 inch baking pan with parchment paper, leaving an overhang on the long sides, and lightly grease the parchment.
- Melt the butter in a medium saucepan over medium heat. Stir constantly until the foam settles and the butter smells nutty with brown specks at the bottom (about 5-7 minutes). Immediately pour into a heat-safe bowl to stop cooking and let cool for 5 minutes until warm.
- In a large mixing bowl, whisk the brown sugar and granulated sugar together. Add the warm brown butter and whisk vigorously for about a minute until the sugars begin to dissolve.
- Add the flour, baking powder, salt, cinnamon, and nutmeg to the wet mixture. Stir with a spatula until just combined.
- Fold in the oats and any optional mix-ins (nuts, chocolate chips) until evenly distributed. The dough will be stiff.
- Press the dough firmly and evenly into the prepared pan.
- Bake for 25-30 minutes, or until the edges are golden brown and the center looks set.
- Let the bars cool in the pan for at least 20 minutes. Lift out using the parchment overhang and let cool completely on a wire rack before slicing.
- Sprinkle with flaky sea salt if desired before serving.
Notes
Do not burn the butter; remove from heat as soon as it smells nutty. Ensure the butter is warm, not hot, before adding oats to prevent them from getting mushy. Press the dough firmly into the pan to ensure the bars hold together. These bars taste better the next day and can be stored in an airtight container at room temperature for up to 5 days or frozen for up to 3 months.
- Prep Time: 10 minutes
- Cook Time: 30 minutes
- Category: Dessert
- Cuisine: American
Nutrition
- Serving Size: 1 bar
- Calories: 220
- Sugar: 16
- Fat: 12
- Saturated Fat: 7
- Carbohydrates: 28
- Fiber: 1
- Protein: 3
Keywords: fall cookie bars, brown butter, cinnamon spice, oat bars, easy dessert, one-bowl recipe, autumn baking


