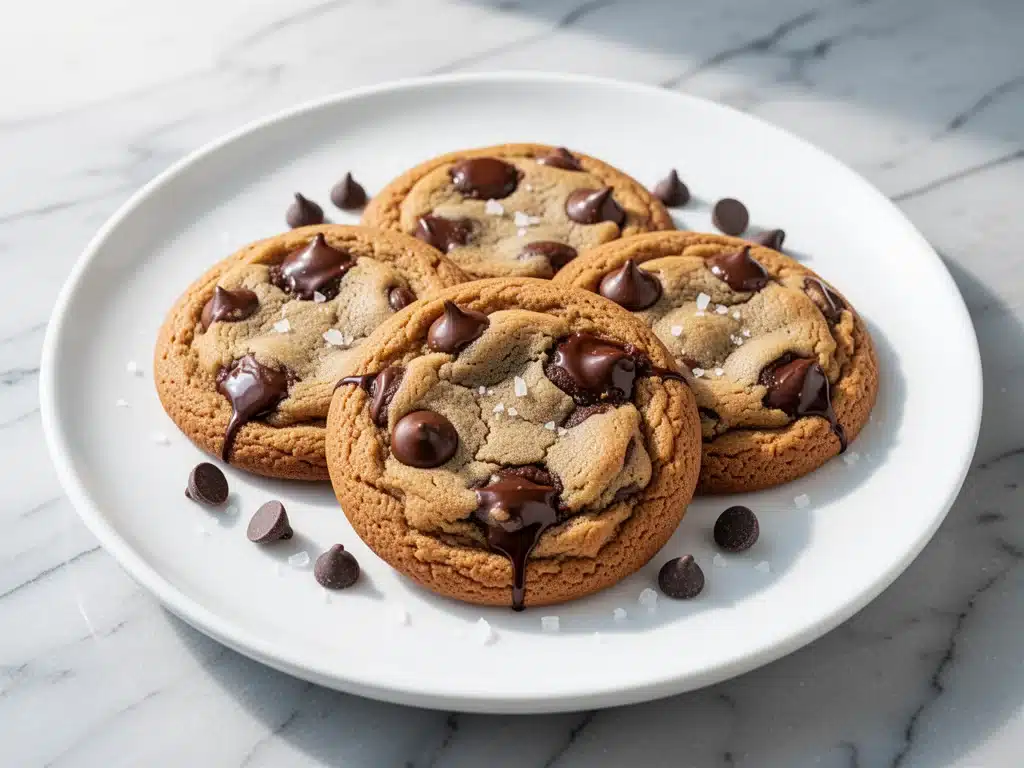
It was 6:45 PM on a Tuesday, and I was standing in my kitchen staring at a box of store-bought cookies like it owed me money. I had just finished a workday that felt three days long, my kids were already in the bath (which means the chaos is about to start), and I desperately wanted something sweet that wasn’t going to require a three-hour bake time or a trip to the bakery. I needed dessert. I needed it now. I needed it to taste like I’d actually tried.
That’s when I remembered the brown butter sitting in the back of my fridge. I’d made it for a different recipe earlier in the week, and the smell alone—nutty, toasty, incredibly rich—had stopped me in my tracks. I thought, why not? What’s the worst that could happen? I’d ruin a stick of butter and eat a sad, flat cookie?
Turns out, I didn’t ruin anything. I created the best cookie I’ve ever made. Not just the best chocolate chip cookie, but the best cookie period. This Brown Butter Chocolate Chip Cookies recipe has become my secret weapon for busy weeknights. It’s the perfect balance of “I’m treating my family” and “I’m not spending my entire evening in the kitchen.”
Here’s the thing about brown butter cookies: they taste like they came from a high-end bakery, but the method is actually simpler than a standard chocolate chip cookie. You’re basically cooking the butter first, which changes everything. The flavor is deeper, the texture is chewier, and the aroma fills the house in a way that makes people stop what they’re doing and come investigate. I’ve made these at least twenty times since that random Tuesday, tweaking the ratio of brown sugar to white sugar, adjusting the chill time, and testing different chocolate chunks. This is the final, perfected version. It’s crispy on the edges, soft in the middle, and packed with enough chocolate to make anyone happy.
If you’re tired of the same old drop cookies that taste one-dimensional, or if you’re like me and just want a quick win that feels fancy, you need to try this. It’s faster than you think, requires no fancy equipment, and the results are so good you’ll forget you’re on a weeknight. Let’s get into why this specific method works so well, what you’ll need, and how to get that perfect golden-brown edge every single time.
Why You’ll Love This Recipe
I know what you’re thinking. “Another cookie recipe? Really?” But hear me out. This isn’t just another chocolate chip cookie. This is the upgrade. I’ve tested dozens of variations, and this brown butter method consistently beats them all. Here’s why this Brown Butter Chocolate Chip Cookies recipe has earned a permanent spot in my weekly rotation:
- Depth of Flavor That Feels Fancy — Regular butter tastes like butter. Brown butter tastes like… well, like toasted nuts and caramel. It adds a savory, complex layer that makes the cookie taste like it took hours to make. My husband, who claims he doesn’t like “fancy” food, asked for the recipe after one bite. He didn’t even know what brown butter was until I told him.
- Perfect Texture Every Time — The Maillard reaction that happens when you brown the butter changes the structure of the cookie. You get this incredible contrast: thin, crispy, lacy edges that shatter when you bite them, and a center that’s soft, chewy, and slightly gooey. It’s not cakey. It’s not flat. It’s exactly in the middle.
- Busy Night Friendly — I’m a huge believer in recipes that don’t demand your life. Yes, you have to watch the butter, but that’s only five minutes of active attention. The rest is waiting. You can mix the dough, pop it in the fridge while you help with homework, and then bake it when everyone is finally calm. It’s stress-free dessert making.
- Uses Ingredients You Already Have — No exotic flours, no weird extracts, no hard-to-find nuts. Just butter, sugar, eggs, flour, chocolate, and a little baking soda. If you can make basic cookies, you can make this. The brown butter is the only “trick,” and it’s easier than you think.
- Freezes Like a Dream — I often make a double batch of dough. I scoop the balls onto a sheet, freeze them solid, and then transfer them to a bag. When I want cookies on a random Thursday night, I just throw frozen dough balls into the oven. They take a minute or two longer to bake, but they come out perfect. It’s my meal-prep hack for dessert.
This recipe has saved me from buying expensive bakery cookies more times than I can count. It’s reliable, delicious, and makes your kitchen smell like heaven. It’s the kind of treat that feels like a hug. And honestly? It’s the perfect way to end a long week without the guilt of ordering takeout.
Ingredients You’ll Need
Here’s the best part: you probably have most of these items in your pantry right now. The magic of this Brown Butter Chocolate Chip Cookies recipe lies in the quality of the butter and the chocolate, but the rest is standard baking staples. I’m particular about a few things here, so pay attention to the notes below—they make a difference.
For the Dough
Unsalted butter (1 cup / 226g) — This is the star of the show. You need good quality butter here. I use Kerrygold or Land O’Lakes. Do not use margarine. Do not use light butter. You need full-fat, solid butter. The salt is there for balance, so unsalted lets you control the flavor.
Granulated sugar (½ cup / 100g) — This helps create those crispy edges. It spreads the cookie out. Don’t skip it, even if you’re trying to reduce sugar. It’s structural.
Brown sugar (1 cup / 200g, packed) — This is the moisture anchor. It keeps the center chewy and adds that caramel note that pairs with the brown butter. Dark brown sugar is better here because it has more molasses, which means more flavor. If you only have light brown, it works, but dark is superior.
Egg (1 large, room temperature) — Room temperature eggs incorporate better into the butter mixture. If you’re in a rush, just crack the egg into a small bowl and microwave it for 5-10 seconds. Don’t cook it, just warm it up.
Egg yolk (1 large, room temperature) — This is the secret weapon for chewiness. The extra fat from the yolk makes the cookie richer and denser. It’s what separates bakery cookies from homemade ones. Don’t skip the yolk!
Vanilla extract (1 tablespoon) — Use real vanilla, not imitation. The brown butter flavor is delicate, and fake vanilla will overpower it. If you have pure vanilla bean paste, that’s even better, but extract works perfectly fine.
All-purpose flour (2 ¼ cups / 280g) — Spoon and level your flour. Don’t scoop it directly from the bag, or you’ll pack it down and end up with dry cookies. I always use Gold Medal or King Arthur. Both work great.
Baking soda (1 teaspoon) — This helps the cookies spread and brown. Make sure it’s not old. If it’s been in your cabinet for two years, toss it and get a new box. Test it with a little vinegar to see if it fizzes.
Baking powder (½ teaspoon) — Just a little bit to give it a slight lift. It balances the baking soda.
Sea salt (1 teaspoon) — I use kosher salt for mixing. It’s crucial for balancing the sweetness. If you use table salt, reduce to ¾ teaspoon because it’s saltier.
For the Mix-Ins
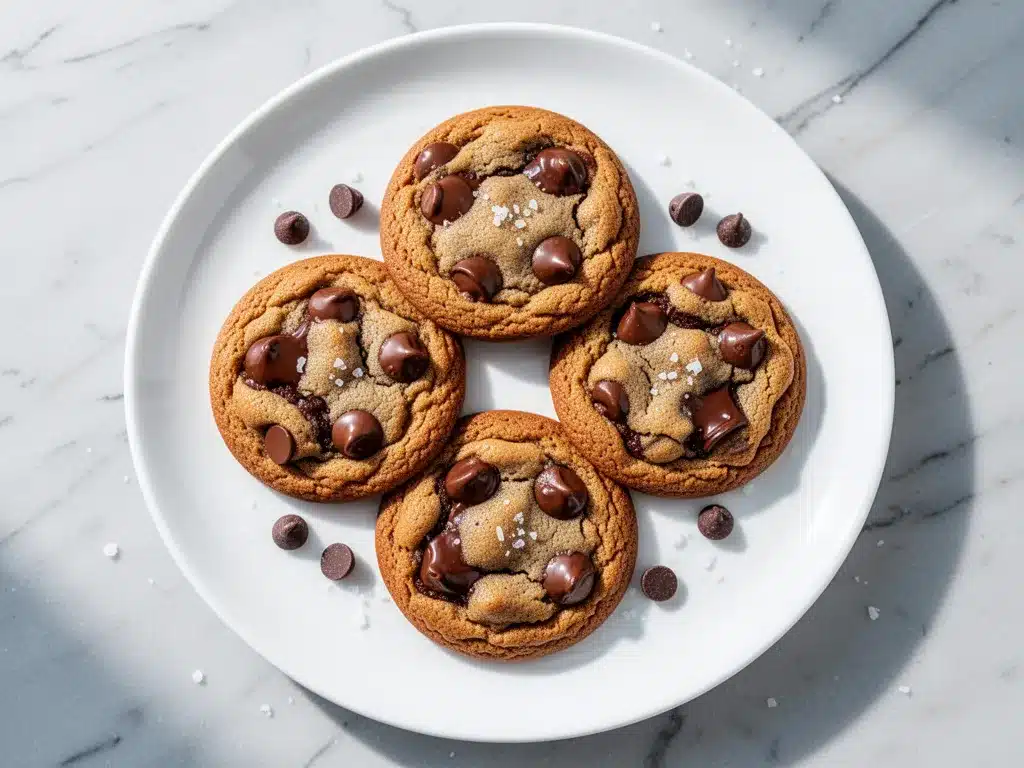
Chocolate chips or chunks (2 cups / 340g) — This is where you can have fun. I love using a mix of semi-sweet chips and dark chocolate chunks. The chips melt evenly, and the chunks give you those big, gooey pockets of chocolate. Ghirardelli or Guittard are my go-to brands. Avoid the cheap pre-shredded chocolate chips; they have wax coatings that don’t melt well.
Flaky sea salt (optional but recommended) — For sprinkling on top after baking. Maldon is the gold standard. It adds a tiny crunch and a burst of salt that makes the chocolate pop.
Equipment Needed
You don’t need fancy gadgets for this. Here’s what I actually use in my kitchen:
Medium saucepan — I use a 2-quart stainless steel saucepan. It needs to be wide enough so the butter spreads out in a thin layer. This helps it brown evenly and quickly. If your pan is too deep, the butter will steam instead of brown.
Whisk — A simple wire whisk is perfect for whipping the butter and sugars together. It incorporates air and makes the texture lighter.
Spatula — A silicone spatula is essential for scraping down the sides of the bowl and folding in the chocolate. It’s also great for stirring the butter while it browns so it doesn’t burn.
Baking sheets — I use standard half-sheet pans. Light-colored aluminum pans are best because they reflect heat and prevent the bottoms from burning. Dark pans absorb more heat, which can lead to overly dark edges.
Parchment paper — Line your baking sheets. It’s non-negotiable for easy cleanup and even baking. I never bake directly on metal pans anymore. Trust me.
Cookie scoop — A 2-tablespoon scoop ensures uniform size. This means even baking. If you scoop by hand, try to make them all roughly the same size so they finish at the same time.
Wire cooling rack — Essential for stopping the cooking process. If you leave cookies on the hot pan, they’ll keep cooking and get dry.
Microplane or grater (optional) — If you want to grate your own chocolate bar for chunks, a microplane works well. But chips are fine too!
How to Make It: Step-by-Step
Alright, let’s make these cookies! I’m walking you through exactly how I do it, including the little tricks I’ve picked up over years of baking. This process is straightforward, but there are a few key moments where attention pays off.
Step 1: Brown the Butter (5-7 minutes)
Start by melting your butter in the saucepan over medium heat. Stir it constantly with your whisk. It will foam up—that’s normal. Keep stirring. You’ll hear the sizzling change from a loud roar to a quiet pop. That’s the water evaporating. Watch closely. The butter will turn from yellow to a deep amber color, and you’ll smell a distinct nutty, toasted aroma. This is the most critical step. If you see dark brown bits at the bottom, it’s too far. Pull it off the heat immediately. Pour the brown butter into a heat-proof bowl to stop the cooking. Let it cool for 10 minutes until it’s warm but not hot. If it’s too hot, it will melt the chocolate chips later or cook the eggs.
Step 2: Mix the Wet Ingredients (3 minutes)
Once the butter is slightly cooled, add the granulated sugar and brown sugar to the bowl. Whisk vigorously for about 2 minutes. You want the mixture to look glossy and slightly thickened. This incorporates air and helps with the crisp edges. Add the egg and egg yolk. Whisk until fully combined. Add the vanilla extract and whisk again. The mixture should look smooth and emulsified.
Step 3: Combine Dry Ingredients (2 minutes)
In a separate medium bowl, whisk together the flour, baking soda, baking powder, and kosher salt. This ensures the leavening agents are evenly distributed so you don’t get bitter spots of baking soda. Sifting is optional, but I do it if my flour is clumpy.
Step 4: Make the Dough (2 minutes)
Gradually add the dry ingredients to the wet ingredients. Use a spatula to fold them together. Stop as soon as the flour streaks disappear. Do not overmix! Overmixing develops gluten, which leads to tough cookies. You want tender cookies. Once combined, fold in the chocolate chips. Save a handful to sprinkle on top later if you want that bakery look.
Step 5: Chill the Dough (30 minutes – 24 hours)
This is the step most people skip, but it’s the secret to flavor. Chilling the dough allows the flour to hydrate fully and the flavors to meld. It also prevents the cookies from spreading too thin. I usually chill mine for at least 30 minutes if I’m in a rush, but overnight is best. If you chill it overnight, let it sit at room temperature for 10 minutes before scooping, or the dough will be too hard to handle.
Step 6: Scoop and Bake (12-14 minutes)
Preheat your oven to 350°F (175°C). Line your baking sheets with parchment paper. Scoop the dough into balls (about 2 tablespoons each) and place them on the sheets, spaced 2 inches apart. They will spread. Bake for 12-14 minutes. You want the edges to be golden brown and the centers to still look slightly soft and underdone. They will finish cooking on the hot pan. Do not bake until they look fully set in the oven, or they will be dry when they cool.
Step 7: Cool and Serve (10 minutes)
Let the cookies cool on the baking sheet for 5 minutes. Then transfer them to a wire rack to cool completely. If you can’t wait, eat one warm—they are incredible warm. Sprinkle with flaky sea salt if you’re using it. Store in an airtight container.
Expert Tips & Tricks
Here’s everything I’ve learned from making this recipe dozens of times. These tips will save you from my mistakes.
- Don’t Burn the Butter — It’s easy to go from “perfectly browned” to “burnt” in seconds. When you see the foam subside and the smell gets nutty, slow down. Stir constantly. If you’re worried, pull it off the heat when it looks light amber; the residual heat will continue to cook it.
- Cool the Butter — I cannot stress this enough. If you add hot brown butter to the sugar and eggs, you’ll create a weird texture. Let it cool to room temperature or slightly warm. It should be pourable but not hot.
- Chill, Chill, Chill — I know you want to eat them now. But chilled dough produces thicker, chewier cookies with more intense flavor. Unchilled dough spreads too much and becomes thin and crispy all over. If you’re short on time, freeze the scoops for 15 minutes.
- Underbake Slightly — The cookies look done when they look slightly underdone. The edges should be golden, but the center should still look soft. They will firm up as they cool. If they look hard in the oven, they’ll be like rocks when they cool.
- Use a Scale — Baking is chemistry. Measuring flour by volume (cups) is inconsistent. A kitchen scale ensures you use the exact right amount of flour. Too much flour = dry cookies. Too little = spreaders. 280g is the magic number for this recipe.
- Room Temperature Eggs — Cold eggs can cause the butter to seize up when you mix them. Take them out of the fridge 30 minutes before you start, or warm them in a bowl of warm water for 5 minutes.
Common Mistakes (and how to avoid them)
Mistake: Cookies spread too thin. Fix: Your butter was too warm when you mixed the dough, or you didn’t chill the dough. Also, check your oven temperature. If your oven runs hot, cookies will spread fast.
Mistake: Cookies are cakey. Fix: You likely packed the flour into the measuring cup. Spoon and level it. Also, too much baking powder can make them cakey. Stick to the recipe.
Mistake: Cookies are burnt on the bottom. Fix: You might be using dark baking sheets. Switch to light-colored aluminum sheets. Or, lower your oven rack to the middle position.
Variations & Substitutions
Once you’ve nailed the basic version, here’s how you can mix it up. I’ve tried all of these, and they all work.
Flavor Variations
Red Velvet — Add 1 tablespoon of cocoa powder to the dry ingredients and 1 teaspoon of red food coloring to the wet. It’s festive and delicious.
Peanut Butter — Swap ½ cup of the flour for creamy peanut butter. Add chocolate chips as usual. The peanut butter adds incredible richness.
Maple Bourbon — Replace 2 tablespoons of the brown sugar with maple syrup. Add 1 teaspoon of bourbon to the wet ingredients. It’s an adult version that’s surprisingly good.
White Chocolate Macadamia — Swap the chocolate chips for white chocolate chips and 1 cup of toasted macadamia nuts. It’s like a tropical vacation.
Dietary Modifications
Gluten-Free — Use a 1:1 gluten-free flour blend (like Bob’s Red Mill or King Arthur). Add ½ teaspoon of xanthan gum if your blend doesn’t have it. The texture will be slightly more tender.
Dairy-Free — Use a high-quality dairy-free butter stick (like Miyoko’s or Earth Balance). Note that dairy-free butter has higher water content, so you may need to brown it a bit longer to evaporate the water. Add ¼ cup more flour to compensate.
Egg-Free — Use a flax egg (1 tablespoon ground flaxseed mixed with 3 tablespoons water, let sit for 5 minutes). The cookies will be slightly denser but still tasty.
Other Add-Ins
- Toasted Pecans or Walnuts — Add 1 cup for crunch. Toast them in a dry pan for 2 minutes before adding to boost flavor.
- Pretzel Pieces — Add ½ cup of crushed pretzels for a sweet-and-salty kick. My kids love this version.
- Chili Powder — Add ½ teaspoon of chili powder to the dry ingredients for a subtle kick. It sounds weird, but it enhances the chocolate.
Serving & Storage
How to serve these cookies is almost as important as how you bake them. I usually serve them warm, straight from the oven, with a cold glass of milk. But here are other ways I’ve enjoyed them:
As a Dessert — Pair with a scoop of vanilla ice cream and a drizzle of caramel sauce. The warm cookie and cold ice cream is a classic combo for a reason.
With Coffee or Tea — These cookies are perfect with a cup of black coffee or Earl Grey tea. The brown butter flavor pairs beautifully with coffee.
For Gifts — They pack well for gifts. Put them in a tin with parchment paper between layers. They stay fresh for days.
Storage Instructions
Room Temperature: Store in an airtight container for up to 5 days. Add a slice of bread to the container to keep them soft. The bread will dry out, but the cookies will stay chewy.
Refrigerator: I don’t recommend storing them in the fridge unless it’s very hot and humid. It can dry them out.
Freezer (Baked): Freeze cooled cookies in an airtight container for up to 3 months. Thaw at room temperature.
Freezer (Dough): Scoop dough balls onto a baking sheet and freeze until solid. Transfer to a bag. Bake from frozen, adding 1-2 minutes to the bake time. This is my favorite way to have fresh cookies on demand.
Reheating: Microwave a cookie for 10-15 seconds to warm it up. It’ll be gooey and perfect.
Nutrition Information
I’m not a nutritionist, but here’s the breakdown if you’re tracking. Please note that these are estimates and can vary based on the specific brands of ingredients you use.
Per Cookie (makes approx. 24 cookies):
- Calories: 180
- Protein: 2g
- Carbs: 22g
- Fiber: 1g
- Sugar: 14g
- Fat: 10g
- Saturated Fat: 6g
- Cholesterol: 25mg
- Sodium: 120mg
What’s Good: It’s a treat, but not overly massive. The brown butter adds richness without adding extra calories compared to regular butter.
What to Know: It’s high in sugar and saturated fat, which is expected for a cookie. Enjoy in moderation. If you’re watching sugar, you can reduce the brown sugar by ¼ cup, but the cookies will be less chewy.
Final Thoughts
So that’s my go-to Brown Butter Chocolate Chip Cookies recipe! I’ve probably talked your ear off at this point, but when you make a recipe this often, you have a lot to say about it. These cookies have saved me from dessert disasters more times than I can count. They’re my answer to “what’s for dessert?” when I’m tired, don’t want to order out, and still want something that tastes really good. My kids are happy, my husband’s happy, and I’m happy because I’m not stressed about cooking.
Make it yours! Try different add-ins, swap in your favorite chocolate, or adjust the salt to your taste. The best recipes are the ones you adapt to your family’s tastes. If you make these, drop a comment and let me know what you think! I love hearing how recipes turn out in your kitchen. And if something doesn’t work, tell me that too—I’m here to help troubleshoot.
Happy baking! And I hope your kitchen smells half as good as mine does right now.
Frequently Asked Questions
Can I use salted butter instead of unsalted?
You can, but you’ll need to reduce the added salt in the recipe. Salted butter varies wildly in salt content. If you use salted butter, omit the 1 teaspoon of kosher salt in the dough. Taste the dough before baking (if you’re brave enough!) to check seasoning.
Why did my cookies spread too much?
This usually happens for three reasons: 1) The butter was too warm when you mixed the dough. 2) You didn’t chill the dough. 3) Your oven temperature is too high. Make sure your butter is cooled, chill the dough for at least 30 minutes, and check your oven temp with an thermometer.
Can I freeze the cookie dough?
Absolutely! This is my favorite way to prep. Scoop the dough into balls, freeze them on a baking sheet until solid (about 1 hour), then transfer to a freezer bag. They’ll keep for up to 3 months. Bake from frozen, adding 1-2 minutes to the bake time.
How do I know when the butter is browned?
Watch for the color change to a deep golden amber. Look for small brown bits at the bottom of the pan (those are toasted milk solids, which add flavor). Listen for the sound to change from a loud sizzle to a quiet pop. Most importantly, smell it—it should smell nutty and toasty, like browned butter sauce for vegetables.
Can I use milk chocolate chips instead of semi-sweet?
Yes, but they are sweeter. The brown butter adds a savory depth, so semi-sweet or dark chocolate balances it better. If you use milk chocolate, you might want to reduce the sugar slightly or add a pinch more salt to balance the sweetness.
Why are my cookies cakey?
Cakey cookies usually result from too much flour or too much baking powder. Make sure you’re spooning and leveling your flour, not scooping it. Also, check that your baking soda and powder are fresh. If they’re old, they won’t work properly, leading to dense or cakey textures.
Pin This Recipe!
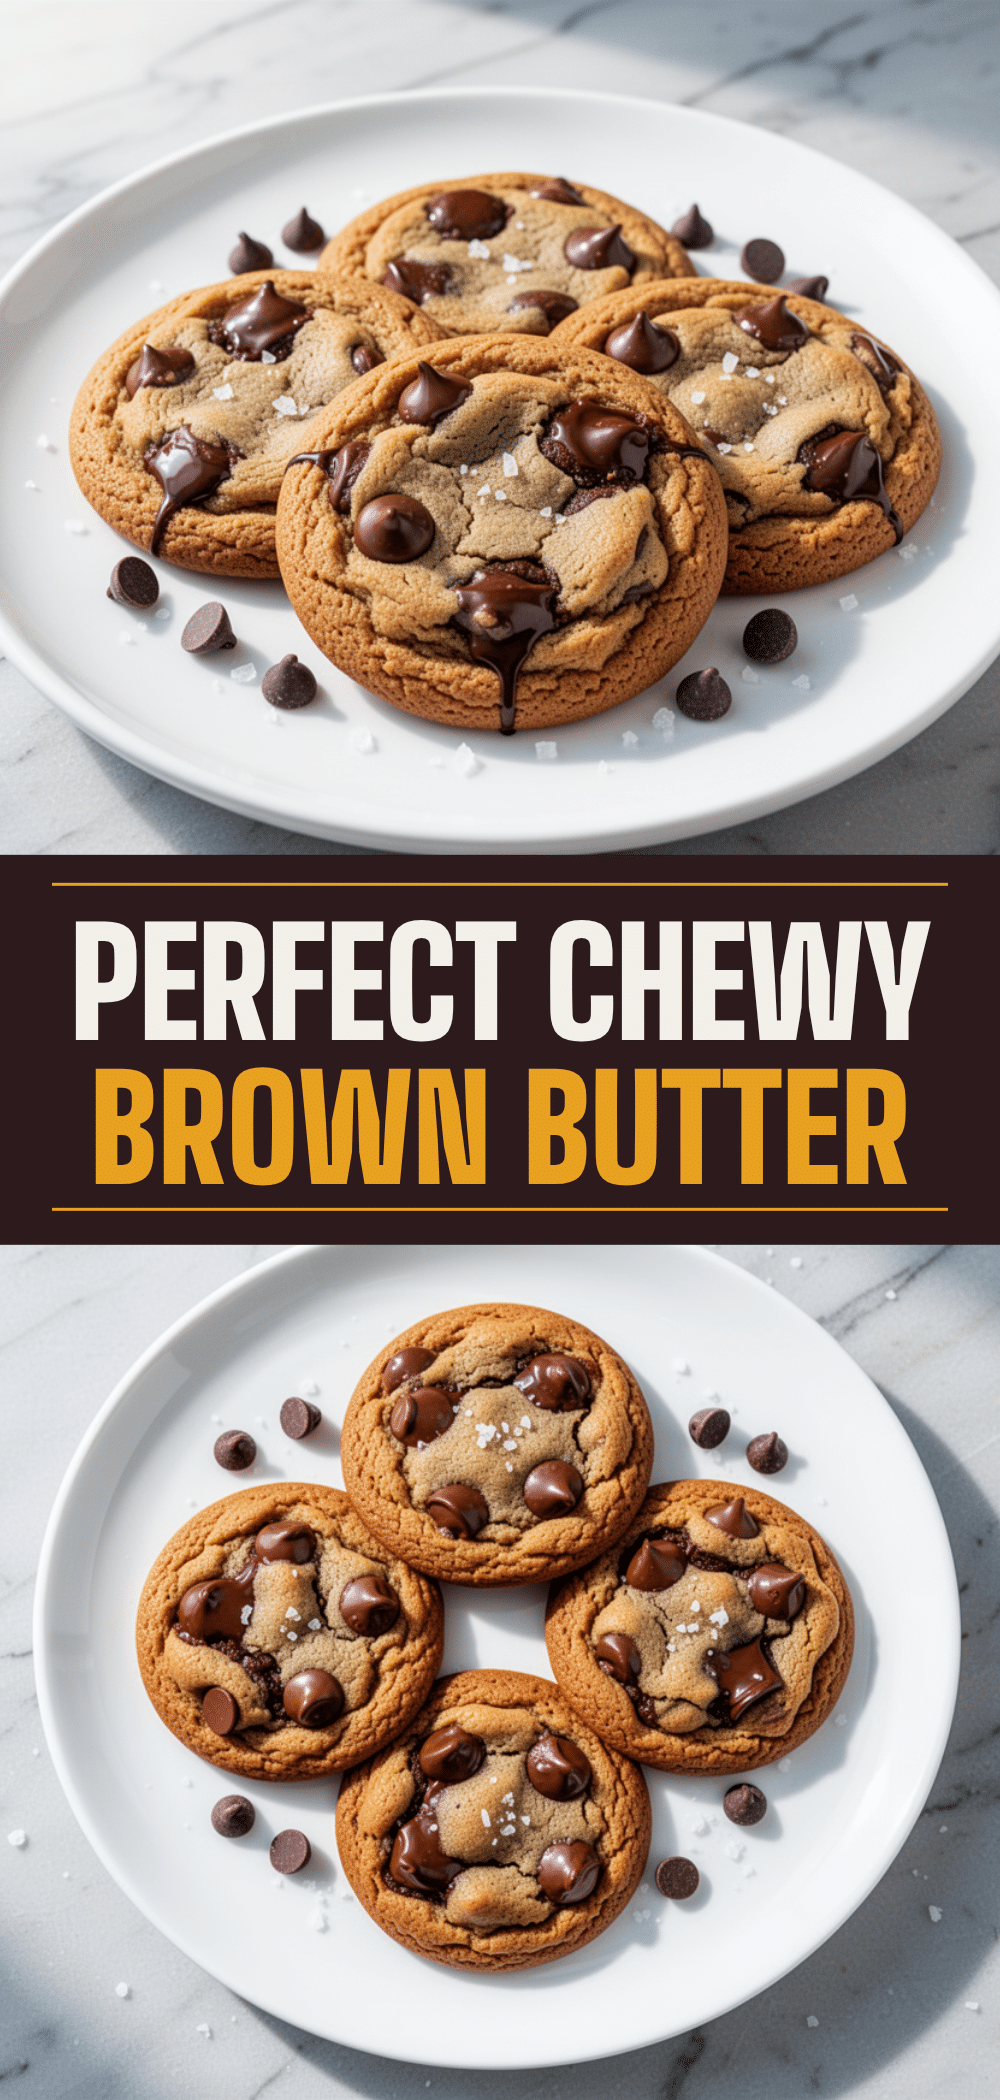
Brown Butter Chocolate Chip Cookies: Easy Weeknight Treat
- Total Time: 45 minutes
- Yield: 24 cookies 1x
Description
These brown butter chocolate chip cookies offer a bakery-quality taste with deep, nutty flavors and a perfect texture of crispy edges and chewy centers. They are designed for busy weeknights, requiring minimal active time and using standard pantry ingredients.
Ingredients
- 1 cup (226g) unsalted butter
- ½ cup (100g) granulated sugar
- 1 cup (200g) packed brown sugar (dark preferred)
- 1 large egg, room temperature
- 1 large egg yolk, room temperature
- 1 tablespoon vanilla extract
- 2 ¼ cups (280g) all-purpose flour
- 1 teaspoon baking soda
- ½ teaspoon baking powder
- 1 teaspoon kosher salt
- 2 cups (340g) chocolate chips or chunks
- Flaky sea salt (optional, for topping)
Instructions
- Brown the butter: Melt butter in a medium saucepan over medium heat, stirring constantly until it turns deep amber and smells nutty (5-7 minutes). Pour into a heat-proof bowl and cool for 10 minutes.
- Mix wet ingredients: Whisk the cooled brown butter, granulated sugar, and brown sugar vigorously for 2 minutes until glossy. Add the egg, egg yolk, and vanilla extract, whisking until smooth.
- Combine dry ingredients: In a separate bowl, whisk together the flour, baking soda, baking powder, and kosher salt.
- Make the dough: Gradually fold the dry ingredients into the wet mixture using a spatula until just combined. Do not overmix. Fold in the chocolate chips.
- Chill the dough: Refrigerate the dough for at least 30 minutes (or up to 24 hours) to prevent spreading and enhance flavor.
- Preheat and prepare: Preheat oven to 350°F (175°C). Line baking sheets with parchment paper.
- Scoop and bake: Scoop dough into 2-tablespoon balls, spacing them 2 inches apart. Bake for 12-14 minutes until edges are golden brown but centers look slightly soft.
- Cool and serve: Let cookies cool on the baking sheet for 5 minutes, then transfer to a wire rack. Sprinkle with flaky sea salt if desired.
Notes
Ensure butter is cooled before mixing to avoid melting the chocolate or cooking the eggs. Chill dough for best texture. Use a kitchen scale for accurate flour measurement. Cookies can be frozen as dough balls for up to 3 months.
- Prep Time: 15 minutes
- Cook Time: 12-14 minutes
- Category: Dessert
- Cuisine: American
Nutrition
- Serving Size: 1 cookie
- Calories: 180
- Sugar: 14
- Sodium: 120
- Fat: 10
- Saturated Fat: 6
- Carbohydrates: 22
- Fiber: 1
- Protein: 2
Keywords: brown butter cookies, chocolate chip cookies, easy dessert, weeknight baking, chewy cookies, bakery style cookies


