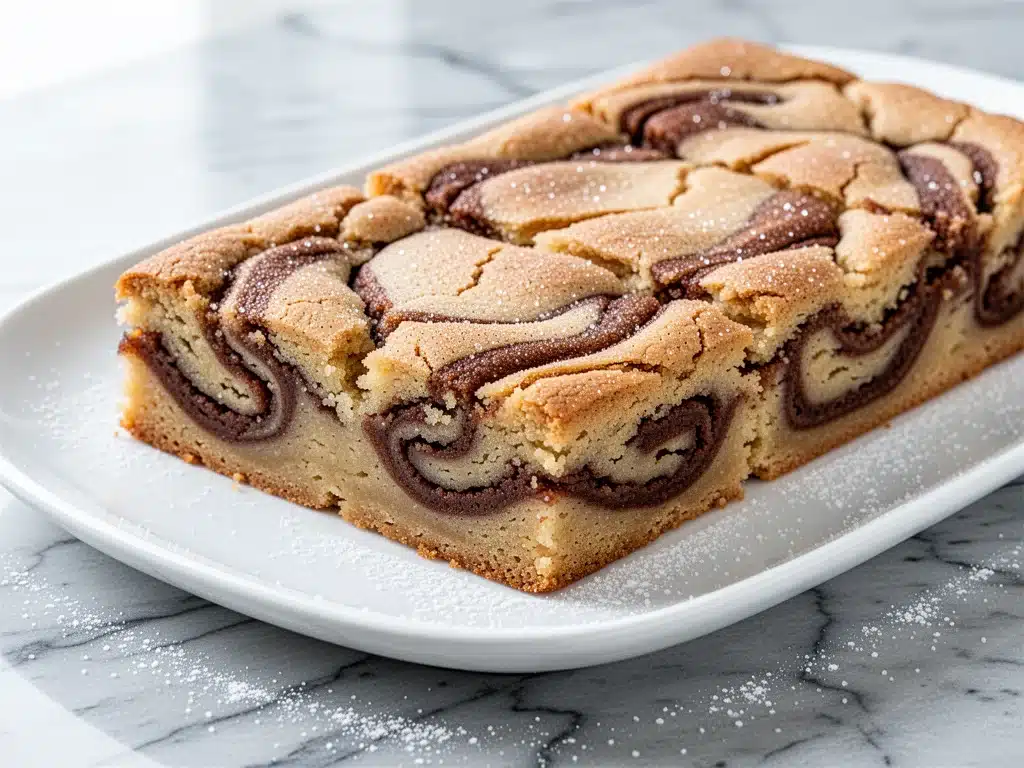
Last weekend, the air outside my kitchen window had that specific crisp chill that makes you want to wrap yourself in a blanket and stare at a radiator. It’s the kind of weather that screams “fall baking.” I had just finished a batch of brown butter toffee cookies and had a whole pan of golden, nutty brown butter left over. I wasn’t going to waste it. So, I reached for my go-to blondie base and decided to give it a personality transplant.
I wanted something that tasted like autumn but didn’t require a degree in chemistry to make. I wanted the cozy, cinnamon-sugar vibe of a snickerdoodle cookie but in a form that was easy to share, easy to eat, and deeply comforting. The result? These brown butter snickerdoodle blondies. They are chewy in the middle, slightly crisp at the edges, and loaded with that toasted nut flavor that makes everyone ask, “What’s the secret ingredient?” (It’s just butter, friends. Just butter.)
I’ve made these three times in the last ten days. Three times. My husband thinks I’m losing my mind, but honestly? I’m just happy. If you’re looking for the ultimate fall baking recipe that’s easier than pie and more interesting than a standard bar, you need to make these. They’re the perfect companion to a cup of hot coffee or that iced vanilla chai latte you’re probably craving right now.
Why You’ll Love This Recipe
There are about ten reasons I keep making these, but here are the big ones that convinced me to share them with you:
- The Brown Butter Magic — I know, I know, browning butter sounds like extra work. But it’s actually just waiting and watching. The difference it makes? Unbelievable. It adds a deep, caramel-like nuttiness that regular melted butter just can’t compete with. It turns a simple blondie into something sophisticated without any extra effort.
- Snickerdoodle Vibes, Zero Rolling — Real snickerdoodles require chilling dough, rolling balls in sugar, and waiting. These blondies skip all that. You get all the cinnamon-sugar flavor and soft, cake-like texture in a sheet pan format. It’s the flavor profile you love with the convenience of a bar you can cut and carry.
- Stupid Simple Ingredients — You probably have everything you need in your pantry right now. Butter, sugar, brown sugar, eggs, flour, cinnamon. No weird extracts or hard-to-find spices. This is a pantry-friendly recipe that feels fancy but costs pennies.
- Perfect for Gifting or Potlucks — Because they’re in a pan, they’re easy to transport. I wrapped a whole pan in foil for a neighbor and got a text an hour later saying, “I ate three before I got home. You’re my favorite.” They hold up well at room temperature, making them ideal for autumn gatherings, office parties, or just Tuesday night dessert.
- Make-Ahead Friendly — These actually taste better the next day. The flavors meld together, and the brown butter gets even more pronounced. I often make them on Sunday and they last through the week. Just keep them covered!
This is my go-to when I need dessert to just work. No complicated techniques, no weird ingredients, just reliable, delicious food that makes everyone happy.
Ingredients You’ll Need
Here’s the best part: you probably have most of this already. I’m particular about three ingredients here, and I’ll tell you exactly why. This isn’t a long list, and most of it is pantry basics.
For the Base
Unsalted butter (1 cup / 226g) — This is where the magic happens. You need enough butter to brown it properly. Use high-quality butter if you can; the flavor will shine through. I use whatever is on sale, but I try to stick to brands with clean ingredients.
Granulated sugar (1 cup / 200g) — For that slight crisp edge. Don’t substitute with brown sugar here; you want the crystalline structure to create those crunchy bits against the pan.
Dark brown sugar (1 cup / 220g, packed) — This provides the chewiness and moisture. Dark brown has more molasses, which pairs beautifully with the toasted butter. If you only have light brown, it works, but dark is better for fall flavors.
Eggs (2 large) — Room temperature eggs incorporate better into the batter. If you’re rushing, just crack them into a bowl and let them sit for 10 minutes while you brown the butter.
Vanilla extract (2 teaspoons) — Pure vanilla, not imitation. It adds warmth and depth. I always keep a bottle of McCormick or Nielsen-Massey on hand.
For the Structure
All-purpose flour (2 cups / 250g) — Standard flour works perfectly. Don’t try to substitute with cake flour unless you want them super cakey; we want chewy.
Baking powder (1 teaspoon) — Just a little bit to help them rise slightly without becoming a puff pastry.
Salt (1 teaspoon) — Essential to balance the sweetness. Don’t skip it, even if you like sweet desserts.
For the Snickerdoodle Flavor
Cinnamon (2 teaspoons) — Ground cinnamon, freshly ground if you have it. Old cinnamon loses its punch, so give your jar a sniff. If it smells weak, buy a new one.
Granulated sugar (for topping) (3 tablespoons) — Mixed with 1 teaspoon of cinnamon. This creates that classic snickerdoodle crust.
Optional: Cream of tartar (½ teaspoon) — If you want that authentic tangy snickerdoodle bite, add this to the dry ingredients. It’s traditional in snickerdoodles but optional here. I usually skip it because the brown butter adds enough complexity, but purists might want it.
Equipment Needed
You don’t need fancy equipment for this. Here’s what I actually use:
Medium saucepan — I use a 2-quart stainless steel saucepan. It needs to be light-colored so you can see the butter browning clearly. A dark pan hides the color change, and you’ll burn it before you know it.
Heatproof spatula — Silicone works best. You need to scrape the bottom of the pan constantly while browning.
9×9 inch baking pan — Or an 8×8 if you want thicker, chewier bars. I prefer 9×9 for a good balance of edge-to-center. Line it with parchment paper for easy removal.
Mixing bowls — One large for wet ingredients, one medium for dry.
Whisk — For incorporating the eggs and sugar smoothly.
Cooling rack — Essential. Do not cut these hot. They will fall apart. Let them cool completely for the best texture.
How to Make It: Step-by-Step
Alright, let’s make this! I’m walking you through exactly how I do it, including the little tricks I’ve picked up.
Step 1: Brown the Butter (5-7 minutes)
This is the most important step. Melt the butter in your saucepan over medium heat. Stir frequently. It will foam up, then settle. Watch it closely. You’ll see the milk solids separate and sink to the bottom. Keep stirring. The foam will turn a golden brown, and you’ll smell a nutty, toasted aroma—like hazelnuts or toasted bread. As soon as you smell it, take it off the heat immediately. Pour it into a heatproof bowl to stop the cooking. Let it cool for 10 minutes until it’s warm but not hot.
Step 2: Mix the Wet Ingredients (2 minutes)
In a large bowl, whisk the cooled brown butter with the granulated sugar and dark brown sugar until smooth. Add the eggs one at a time, whisking well after each. Stir in the vanilla extract. The mixture will look slightly curdled at first—that’s normal. Don’t panic.
Step 3: Combine Dry Ingredients (1 minute)
In a separate medium bowl, whisk together the flour, baking powder, salt, and cinnamon. If you’re using cream of tartar, add it here.
Step 4: Bring It All Together (2 minutes)
Pour the dry ingredients into the wet ingredients. Use a spatula to fold them together just until no dry flour remains. Do not overmix! Overmixing makes blondies tough. You want a thick, sticky dough.
Step 5: Bake (25-30 minutes)
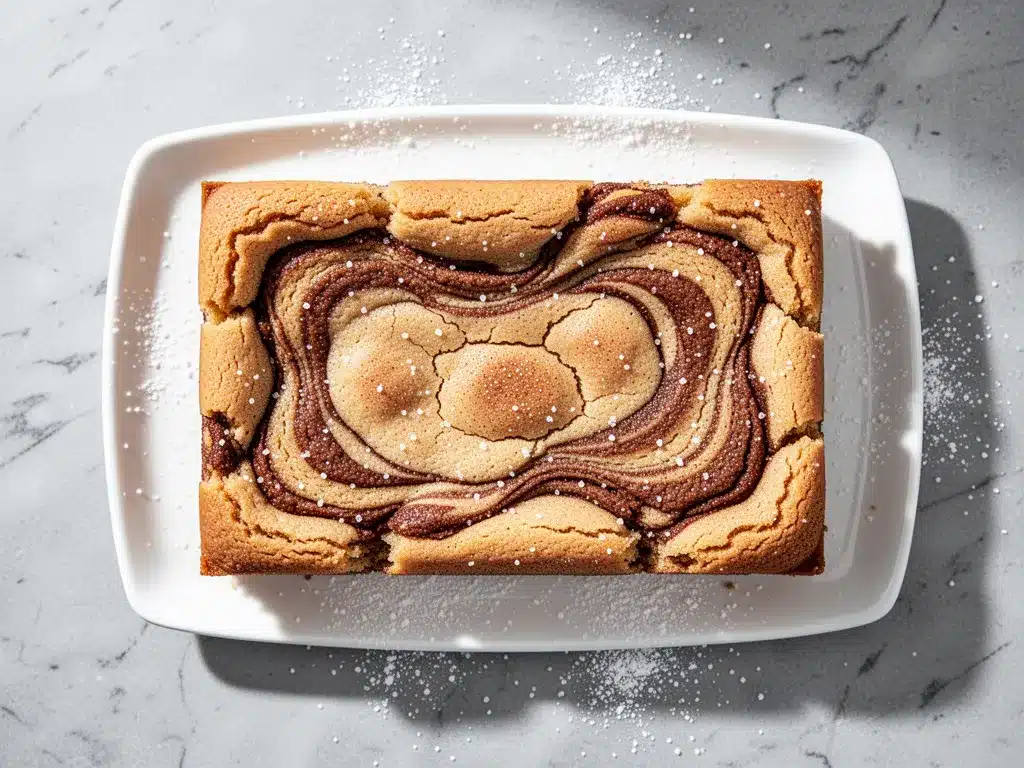
Preheat your oven to 350°F (175°C). Grease your 9×9 pan and line it with parchment paper, leaving an overhang on the sides for easy lifting. Spread the batter evenly into the pan. In a small bowl, mix the 3 tablespoons of sugar with 1 teaspoon of cinnamon. Sprinkle this mixture evenly over the top of the batter. Bake for 25-30 minutes. The edges should be golden brown, and the center should be set but still slightly soft. A toothpick inserted into the center should come out with a few moist crumbs, not wet batter.
Step 6: Cool Completely (1 hour)
This is the hardest part. Let the blondies cool in the pan on a wire rack. If you cut them hot, they will be gummy and messy. Wait at least an hour, preferably until completely cool. Once cool, lift them out using the parchment paper and cut into squares.
Expert Tips & Tricks
Here’s everything I’ve learned from making this dozens of times. These tips will save you from my mistakes.
- Don’t Burn the Butter — Brown butter goes from perfect to burnt in seconds. If it smells like burnt popcorn, start over. It’s frustrating, but it’s the only way to learn. The color should be a deep amber, like old whiskey.
- Use Parchment Paper — Blondies are sticky. Parchment paper is your best friend. It ensures clean removal and easy cleanup. No more scrubbing pans!
- Room Temperature Eggs — Cold eggs can seize the brown butter slightly. Let them sit out while you brown the butter.
- Don’t Overbake —Pull them out when the center looks just set. They will continue to cook in the pan. Overbaked blondies are dry and crumbly. Underbaked (but not raw) blondies are chewy and delicious.
- Store Properly — Keep them in an airtight container at room temperature for up to 5 days. If your kitchen is humid, add a slice of bread to the container to keep them moist.
Variations & Substitutions
Once you’ve nailed the basic version, here’s how you can mix it up. I’ve tried all of these.
White Chocolate Chip Version — Add 1 cup of white chocolate chips to the batter before baking. This is my favorite variation. The sweetness of the white chocolate contrasts perfectly with the salty, nutty brown butter.
Pumpkin Spice Version — Swap 1 teaspoon of cinnamon for pumpkin pie spice. Add 2 tablespoons of pumpkin puree to the wet ingredients. It’s like a fall dessert in bar form.
Gluten-Free — Use a 1:1 gluten-free flour blend. The texture will be slightly more cake-like, but still delicious. I’ve used Bob’s Red Mill and it works great.
Dairy-Free — Use a high-quality plant-based butter that browns well (some vegan butters don’t brown the same way). Use dairy-free chocolate chips if adding them.
Serving & Storage
I usually serve these straight from the pan with a fork. They’re messy, sticky, and perfect. But here are other ways I’ve enjoyed them:
- With Coffee — Obviously. The cinnamon and brown butter pair beautifully with black coffee or a latte.
- With Ice Cream — A scoop of vanilla bean ice cream on top of a warm blondie is heaven.
- For Breakfast — Yes, really. These are sweet enough to be a weekend brunch treat. Pair them with my fluffy buttermilk pancakes for a massive sweet feast.
Storage: Keep in an airtight container at room temperature for up to 5 days. They freeze well for up to 3 months. Wrap tightly in plastic wrap and then foil. Thaw at room temperature before serving.
Nutrition Information
I’m not a nutritionist, but here’s the breakdown if you’re tracking. Per serving (based on 16 bars):
- Calories: 280
- Protein: 3g
- Carbs: 38g
- Fat: 14g
- Sugar: 26g
- Sodium: 180mg
Look, this is dessert. It’s not a diet recipe. But it’s better than store-bought bars, and you control the ingredients. When I want to make it lighter, I cut the bars smaller and pair them with a piece of fruit. But usually? I just eat two and enjoy it.
Final Thoughts
So that’s my brown butter snickerdoodle blondies! I’ve probably talked your ear off at this point, but when you make a recipe this often, you have a lot to say about it. These have saved my dessert game more times than I can count. They’re my answer to “what’s for dessert” when I want something comforting, easy, and absolutely delicious.
Make it yours! Try different add-ins, swap in your favorite spices, or just enjoy them plain. The best recipes are the ones you adapt to your family’s tastes. If you make this, drop a comment and let me know what you think! I love hearing how recipes turn out in your kitchen.
Happy baking! And I hope your kitchen smells half as good as mine does right now.
Frequently Asked Questions
Can I use salted butter?
You can, but reduce the added salt in the recipe to ½ teaspoon. Since you’re browning the butter, you have less control over the salt content, so start with less and taste the batter before baking.
Why did my blondies turn out dry?
Most likely, they were overbaked. Blondies continue to cook in the hot pan after you take them out of the oven. Pull them out when the center looks just set. Also, make sure you’re measuring your flour correctly. Scooping flour directly from the bag packs it down, leading to dry bars. Spoon it into the cup and level it off.
Can I make these ahead of time?
Yes! In fact, they taste better the next day. Make them 1-2 days ahead and store in an airtight container. They hold up well for up to 5 days at room temperature.
Can I freeze these blondies?
Absolutely. Let them cool completely, then wrap the whole pan tightly in plastic wrap and foil. Freeze for up to 3 months. Thaw at room temperature before serving. You can also freeze individual bars for quick lunches or snacks.
What if I don’t have a 9×9 pan?
You can use an 8×8 pan for thicker bars (increase bake time by 5-10 minutes) or a 9×13 pan for thinner bars (decrease bake time by 5-10 minutes). Adjust accordingly and watch closely.
Can I add nuts?
Definitely! Toasted pecans or walnuts pair beautifully with brown butter and cinnamon. Add ½ cup of chopped nuts to the batter before baking.
Pin This Recipe!
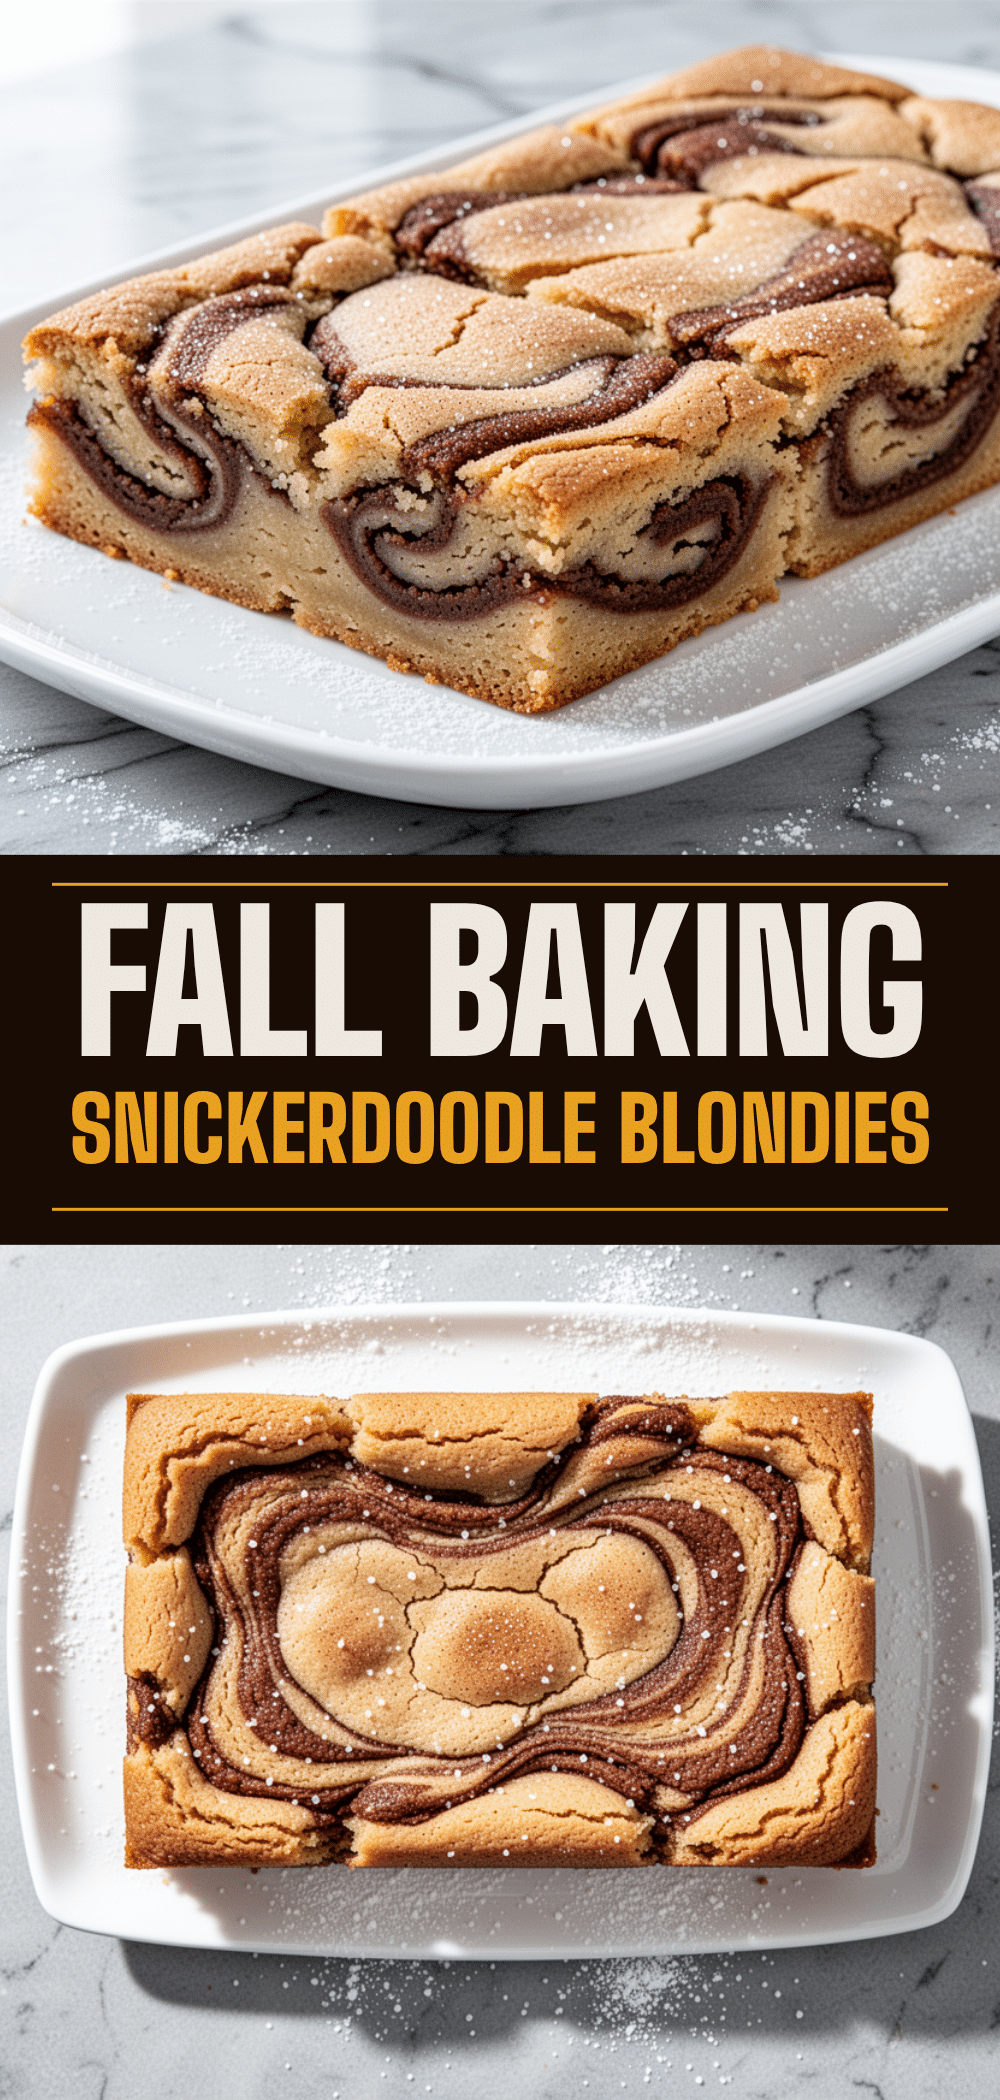
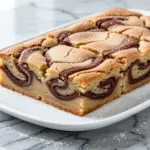
Brown Butter Snickerdoodle Blondies
- Total Time: 45 minutes
- Yield: 16 servings 1x
Description
Chewy, comforting fall blondies infused with toasted brown butter and a classic cinnamon-sugar topping, offering the cozy flavor of snickerdoodles with the ease of a bar dessert.
Ingredients
- 1 cup (226g) unsalted butter
- 1 cup (200g) granulated sugar
- 1 cup (220g) dark brown sugar, packed
- 2 large eggs, room temperature
- 2 teaspoons vanilla extract
- 2 cups (250g) all-purpose flour
- 1 teaspoon baking powder
- 1 teaspoon salt
- 2 teaspoons ground cinnamon
- 3 tablespoons granulated sugar (for topping)
- 1 teaspoon cinnamon (for topping)
- Optional: ½ teaspoon cream of tartar
Instructions
- Preheat oven to 350°F (175°C). Grease a 9×9 inch baking pan and line with parchment paper.
- Melt butter in a medium saucepan over medium heat. Stir frequently until milk solids sink and foam settles. Continue cooking until the butter turns deep amber and smells nutty (5-7 minutes). Immediately remove from heat and pour into a heatproof bowl to cool for 10 minutes.
- In a large bowl, whisk the cooled brown butter with granulated sugar and dark brown sugar until smooth.
- Add eggs one at a time, whisking well after each addition. Stir in vanilla extract.
- In a separate medium bowl, whisk together flour, baking powder, salt, cinnamon, and cream of tartar (if using).
- Fold the dry ingredients into the wet ingredients using a spatula just until no dry flour remains. Do not overmix.
- Spread the thick, sticky dough evenly into the prepared pan.
- Mix the topping sugar and cinnamon in a small bowl and sprinkle evenly over the batter.
- Bake for 25-30 minutes, until edges are golden brown and the center is set but slightly soft. A toothpick should come out with moist crumbs.
- Cool completely in the pan on a wire rack (at least 1 hour) before lifting out and cutting into squares.
Notes
Brown butter goes from perfect to burnt quickly, so watch closely. Do not overbake as blondies continue to cook in the hot pan. For best texture, cool completely before cutting. Store in an airtight container at room temperature for up to 5 days or freeze for up to 3 months.
- Prep Time: 15 minutes
- Cook Time: 30 minutes
- Category: Dessert
- Cuisine: American
Nutrition
- Serving Size: 1 bar
- Calories: 280
- Sugar: 26
- Sodium: 180
- Fat: 14
- Saturated Fat: 8
- Carbohydrates: 38
- Fiber: 1
- Protein: 3
Keywords: brown butter, snickerdoodle, blondies, fall baking, easy dessert, cinnamon sugar, bar cookies