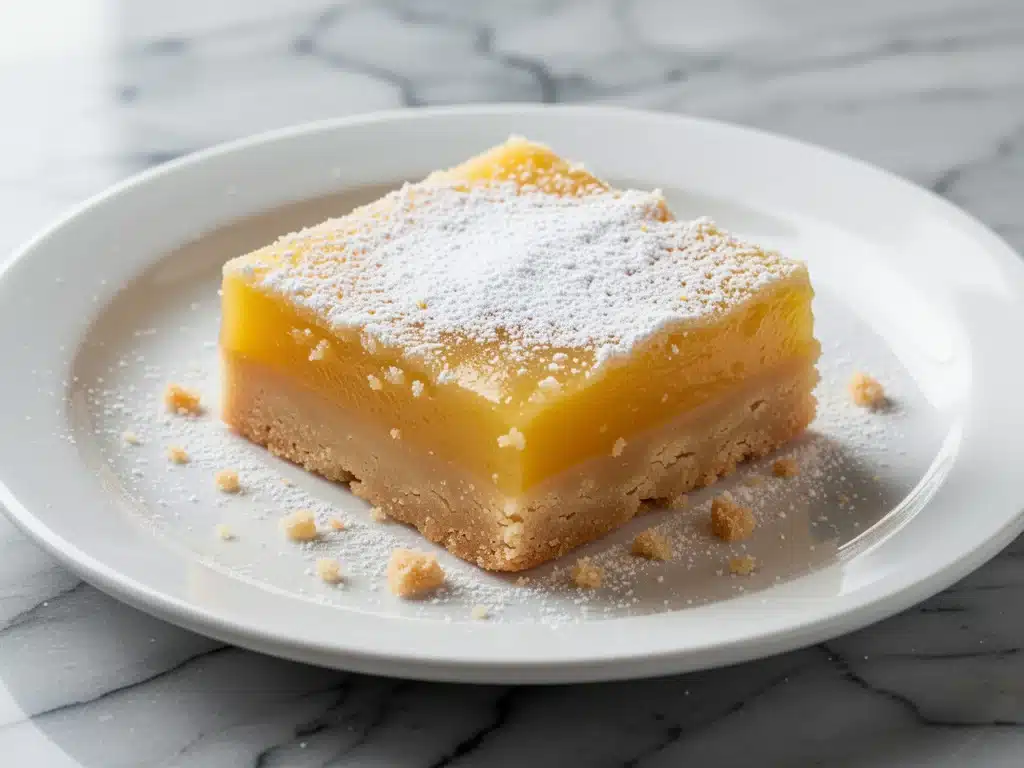
It was 6:30 PM on a Tuesday, and the house was quiet in that specific, slightly chaotic way that only happens when three kids are all doing their own thing in different rooms. My husband had just texted from work asking if dinner was “under control.” I looked at the clock, then at the half-eaten bag of chips on the counter, and realized I had zero energy for anything complex. No chopping vegetables, no monitoring a simmering pot, no stress.
But I also knew that takeout was a bad idea. We’d been eating too much of it, and I wanted something that felt like home, even if it was just a simple dessert to round out the meal. That’s when I reached for the lemons. Specifically, I decided to make these Classic Lemon Bars with Buttery Shortbread Crust. Not because I was feeling fancy, but because I knew they came together in under 45 minutes, tasted like sunshine, and required almost zero skill to execute.
I’ve made this recipe dozens of times over the last five years, and it has become my secret weapon for busy weeknights. When the kids ask for “something sweet” right before bed, or when I need to distract myself while waiting for the lasagna to boil, these bars are my go-to. They’re bright, tangy, and impossibly rich. The shortbread crust is buttery and crisp, contrasting perfectly with the custard-like lemon filling that melts in your mouth.
Here’s the thing about dessert on a weeknight: it shouldn’t be another chore. It should be a little moment of joy that doesn’t require a degree in pastry arts. This Classic Lemon Bars with Buttery Shortbread Crust recipe is exactly that. It’s foolproof, it’s affordable, and it makes your kitchen smell incredible without you having to stand over the stove for hours. Plus, they’re great for meal prep, meaning you can make a batch on Sunday and have fresh dessert ready for the rest of the week. Let’s get baking.
Why You’ll Love This Recipe
There are about a dozen reasons I keep coming back to this specific lemon bar recipe, but if I had to narrow it down to the biggest wins, they’d look something like this:
- Stupid Simple Technique — Seriously, if you can whisk eggs and press dough into a pan, you can make this. I’ve walked my teenage daughter through it over FaceTime while she was away at college. She nailed it the first time. No mixer required for the filling.
- Lightning Fast — From preheating the oven to pulling the pan out, you’re looking at about 45 minutes. But here’s the magic: most of that time is just waiting for the crust to bake and the bars to cool. You only have to actively do things for about 15 minutes.
- Pantry-Friendly Ingredients — You probably have almost everything you need right now. Flour, butter, sugar, eggs, and lemons. If you don’t have fresh lemons, you can use juice, but fresh is so much better. I keep a bag of lemons in the fridge specifically for this.
- Meal Prep Friendly — These bars actually taste better the next day. The flavors meld together, and the crust sets up even more firmly. I make one batch on Sunday, cut them into squares, and store them in the fridge. It’s like having a personal bakery on standby.
- Budget-Smart — Feeds 12-16 people for under $10. That is less than the cost of a single slice of cake at a coffee shop, and these are homemade with real ingredients.
This is my answer to “what’s for dessert?” when I’m tired, broke, and want something that feels special. It’s reliable, delicious, and always a crowd-pleaser.
Ingredients You’ll Need
Here’s the best part: you probably have most of this already. This isn’t a recipe that requires a trip to three different specialty stores. Here is exactly what you need and why it matters.
For the Buttery Shortbread Crust
All-purpose flour (1 cup / 125g) — The base of your crust. Don’t try to substitute with almond flour unless you want a completely different texture. All-purpose gives you that classic, crisp shortbread bite.
Unsalted butter (½ cup / 115g, softened) — This is non-negotiable. Use real butter, not margarine. It needs to be softened to room temperature so it mixes easily with the sugar. I usually take it out of the fridge when I start prepping the other ingredients.
Granulated sugar (¼ cup / 50g) — Just enough to sweeten the crust without making it a cookie. It helps create that crumbly, tender texture.
Pinch of salt — Enhances the butter flavor. Don’t skip it.
For the Tangy Lemon Filling
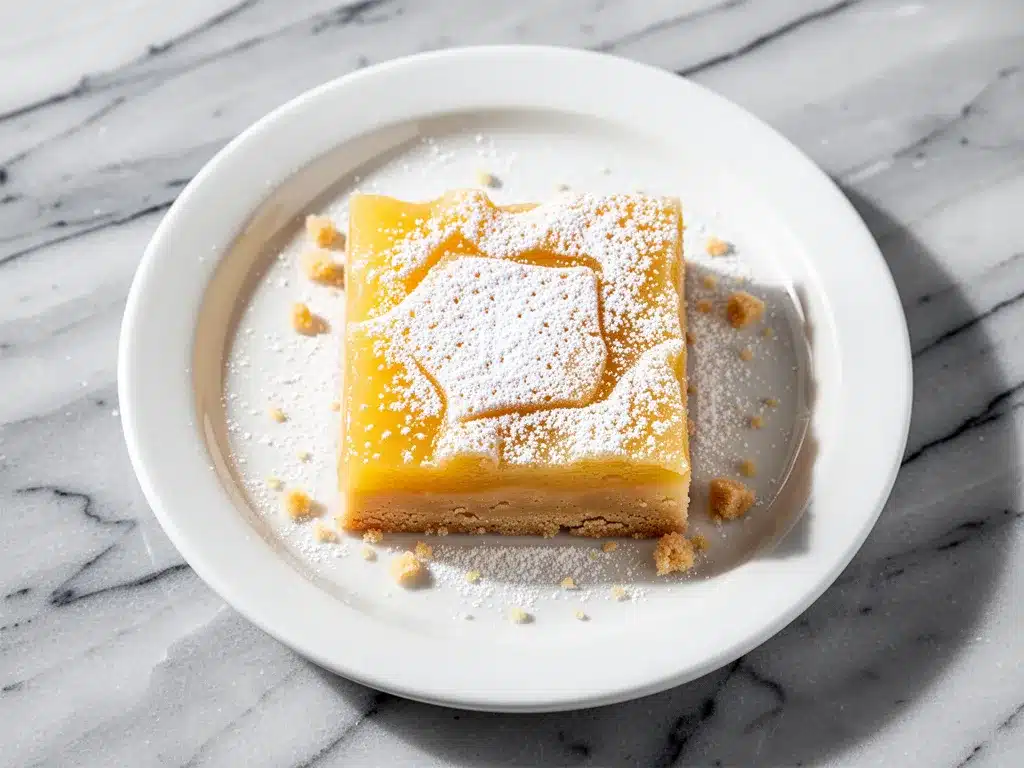
Granulated sugar (1 cup / 200g) — Yes, a whole cup. The tartness of the lemons balances it out perfectly. If you like sweeter bars, you can bump this to 1¼ cups, but I recommend sticking to the recipe.
Large eggs (3 large) — These provide the structure and richness. Room temperature eggs mix more evenly, but cold eggs work fine too. Just don’t use tiny ones.
Fresh lemon juice (½ cup / 120ml) — This is the star. Squeeze at least 3-4 large lemons. Bottled lemon juice has a metallic, preservative taste that ruins the brightness of these bars. Fresh is worth the extra two minutes.
Lemon zest (2 teaspoons) — This is where the intense lemon flavor lives. The oils in the peel are pure lemon essence. Use a microplane or fine grater. Make sure to get the yellow part only, not the white pith, which is bitter.
All-purpose flour (¼ cup / 30g) — Just a little bit to thicken the custard. It keeps the filling from being too runny.
Confectioners’ (powdered) sugar (for dusting) — Optional, but it makes them look fancy. I always do it because it looks pretty against the bright yellow filling.
Equipment Needed
You don’t need fancy gadgets for this. Here’s what I actually use:
8×8 inch baking pan — This is the standard size for these bars. Line it with parchment paper leaving an overhang on the sides. This is crucial for lifting the bars out later. I use non-stick spray on the paper to be safe.
Medium mixing bowl — For the crust. A large bowl works too, but medium is fine.
Large mixing bowl — For the filling. You’ll be whisking vigorously.
Fork or pastry cutter — To mix the crust dough. A fork is easiest.
Whisk — Essential for the filling. You need to incorporate air and ensure no lumps of flour remain.
Microplane or grater — For the lemon zest. If you don’t have one, a regular cheese grater works, but a microplane is so much easier and safer.
Offset spatula or butter knife — For spreading the crust evenly into the pan.
How to Make It: Step-by-Step
Alright, let’s make this! I’m walking you through exactly how I do it, including the little tricks I’ve picked up over the years.
Step 1: Prep Your Pan and Oven (5 minutes)
Preheat your oven to 350°F (175°C). Line your 8×8 inch baking pan with parchment paper. Leave a good overhang on the long sides—this is your handle for lifting the bars out later. It makes cutting them so much cleaner. Lightly spray the parchment with non-stick spray.
Step 2: Make the Crust (5 minutes)
In a medium bowl, combine the 1 cup flour, ¼ cup sugar, and a pinch of salt. Add the softened ½ cup butter. Use a fork or your fingers to mix it until it looks like coarse sand or wet crumbs. It shouldn’t be a smooth dough ball; it should be crumbly. Press this mixture firmly and evenly into the bottom of your prepared pan. Use the bottom of a measuring cup to pack it down tight. If it’s loose, the crust will fall apart later.
Step 3: Blind Bake the Crust (15-18 minutes)
Place the pan in the oven and bake for 15-18 minutes. You want the edges to be lightly golden brown, but not dark. The center might still look slightly soft, and that’s okay. Remove from the oven and set aside. Keep the oven on. We’re going to pour the filling right onto this hot crust.
Step 4: Make the Filling (5 minutes)
In a large bowl, whisk together 1 cup sugar and 3 eggs until well combined and slightly pale. Add the ½ cup fresh lemon juice and 2 teaspoons lemon zest. Whisk vigorously to incorporate the zest. Finally, add the ¼ cup flour and whisk until the batter is smooth and no lumps remain. The mixture should be thin and bright yellow.
Step 5: Assemble and Bake (20-25 minutes)
Pour the lemon filling over the hot, pre-baked crust. It will bubble up around the edges, which is normal. Return the pan to the oven and bake for 20-25 minutes. The bars are done when the edges are set and puffed, and the center has a slight jiggle (like Jell-O, not water). It should not look liquid. If you see ripples when you shake the pan, give it 2 more minutes.
Step 6: Cool Completely (Crucial Step!)
Remove from the oven and place on a wire rack. Let them cool in the pan for at least 30 minutes. Then, move them to the fridge. You need to chill them for at least 2 hours, preferably overnight. If you try to cut them warm, they will be a soupy mess. Patience is key here. The filling needs to set into a firm, sliceable custard.
Step 7: Cut and Serve
Once fully chilled, lift the bars out of the pan using the parchment overhang. Place on a cutting board. Use a sharp knife to cut into squares. Wipe the knife clean between cuts for clean edges. Dust with powdered sugar if you’re feeling fancy.
Expert Tips & Tricks
Here’s everything I’ve learned from making these dozens of times. These tips will save you from my mistakes.
- Don’t Skip the Pre-Bake — Some recipes skip baking the crust first. I don’t recommend it. Pre-baking ensures the bottom is crisp and not soggy. It creates that essential shortbread texture.
- Room Temperature Eggs — While not strictly required, room temperature eggs emulsify better with the sugar. If you’re in a rush, just run them under warm water for a minute.
- Zest Before You Juice — Always zest your lemons before you cut them open to juice them. It’s so much easier, and you won’t get seeds in your juice.
- The Jiggle Test — This is the hardest part for beginners. The center should jiggle like a set pudding, not slosh like water. If it’s still very liquidy, leave it in for another 5 minutes. Overbaking makes them dry; underbaking makes them runny.
- Chill, Don’t Rush — I know you want to eat them now. But if you cut them warm, you’ll get a mess. Put them in the fridge. It speeds up the setting process and makes cutting infinitely easier.
Variations & Substitutions
Once you’ve nailed the basic version, here’s how you can mix it up. I’ve tried all of these.
Lemon Blueberry Bars — Sprinkle ½ cup fresh blueberries over the hot crust before pouring the filling. They bake right in and add pops of tartness.
Lavender Lemon Bars — Add 1 teaspoon of culinary lavender to the crust dough. It adds a subtle floral note that pairs beautifully with citrus.
Gluten-Free Version — Use a 1:1 gluten-free flour blend in both the crust and filling. The texture is almost identical. I’ve used King Arthur’s blend with great success.
Vegan Option — This is trickier because of the eggs and butter. You can use flax eggs and vegan butter, but the texture will be different. I recommend using a cornstarch-based filling instead of eggs for a firmer set. It’s not quite the same, but it’s decent.
Alternative Citrus — You can substitute the lemon juice with lime juice for key lime bars, or use a mix of lemon and orange for a more complex flavor. Just adjust the sugar slightly if you use sweeter citrus.
Serving & Storage
How to Serve: I usually serve these straight from the fridge. They are best cold, with the crust firm and the filling set. Pair them with a cup of tea or coffee. I also like to serve them with a dollop of whipped cream for special occasions.
Storage: Store in an airtight container in the refrigerator for up to 5 days. They actually taste better on day two. If you need to transport them, keep them chilled in a cooler bag.
Freezing: Yes, you can freeze them! Cut them into squares, wrap each one individually in plastic wrap, then place them in a freezer bag. They’ll last for up to 3 months. Thaw in the fridge overnight before serving. The texture remains good after thawing.
Nutrition Information
I’m not a nutritionist, but here’s the breakdown if you’re tracking. Keep in mind this is an estimate based on 16 bars.
Per Serving (1 bar):
- Calories: 180
- Protein: 2g
- Carbs: 28g
- Fiber: 0g
- Sugar: 22g
- Fat: 8g
- Saturated Fat: 5g
- Cholesterol: 35mg
- Sodium: 65mg
Look, this is a dessert. It’s sweet, it’s buttery, and it’s meant to be enjoyed. It’s not a health food, but it’s better than store-bought because you control the sugar and use real butter. When I make these, I enjoy one or two and share the rest with the family. Balance is key!
Final Thoughts
So that’s my go-to Classic Lemon Bars with Buttery Shortbread Crust! I’ve probably talked your ear off at this point, but when you make a recipe this often, you have a lot to say about it.
This has saved weeknight dessert duties more times than I can count. It’s my answer to “what’s for dessert?” when I’m tired, don’t want to order out, and still want something that tastes really good. My kids are happy, my husband’s happy, and I’m happy because I’m not stressed about cooking.
Make it yours! Try different add-ins, swap in your favorite citrus, or adjust the sugar to your taste. The best recipes are the ones you adapt to your family’s tastes. If you make this, drop a comment and let me know what you think! I love hearing how recipes turn out in your kitchen. And if something doesn’t work, tell me that too—I’m here to help troubleshoot.
Happy baking! And I hope your kitchen smells half as good as mine does right now.
Frequently Asked Questions
Can I use bottled lemon juice?
You can, but I strongly recommend against it. Bottled lemon juice often contains preservatives that give it a flat, metallic taste. Fresh lemon juice is bright, vibrant, and makes a huge difference in the final flavor. If you absolutely must use bottled, choose a brand that says “from concentrate” with no added preservatives, but fresh is best.
Why are my lemon bars runny?
This usually happens for two reasons: either the filling wasn’t baked long enough, or the bars weren’t chilled long enough. The filling needs to set completely. If you cut them warm, they will be soft. Also, make sure you’re not underbaking the crust. A soggy crust can make the whole bar feel wet. If they’re still runny after chilling, you may need to bake them a minute longer next time.
Can I make this ahead for a party?
Absolutely! These are perfect for make-ahead desserts. You can make them 2-3 days in advance and store them in the fridge. In fact, they often taste better after sitting for a day because the flavors meld together. Just keep them covered to prevent them from drying out or absorbing fridge smells.
How do I get clean cuts?
The key is a sharp knife and wiping it between cuts. Use a long, serrated knife if you have one. Dip the knife in hot water, wipe it dry, then cut. This prevents the filling from sticking to the blade and tearing the bars. Also, make sure the bars are completely chilled before cutting.
Can I double the recipe?
Yes, but you’ll need a 9×13 inch pan. Double the ingredients and bake in the larger pan. The baking time might be slightly shorter since the layer is thinner, so check them a few minutes early. Keep an eye on the edges to ensure they don’t burn.
What if I don’t have a microplane?
A regular box grater works fine. Just be careful with your fingers! You can also buy pre-zested lemon in the produce section, but it’s often more expensive and may have lost some of its oil potency. Freshly grated is always best.
Pin This Recipe!
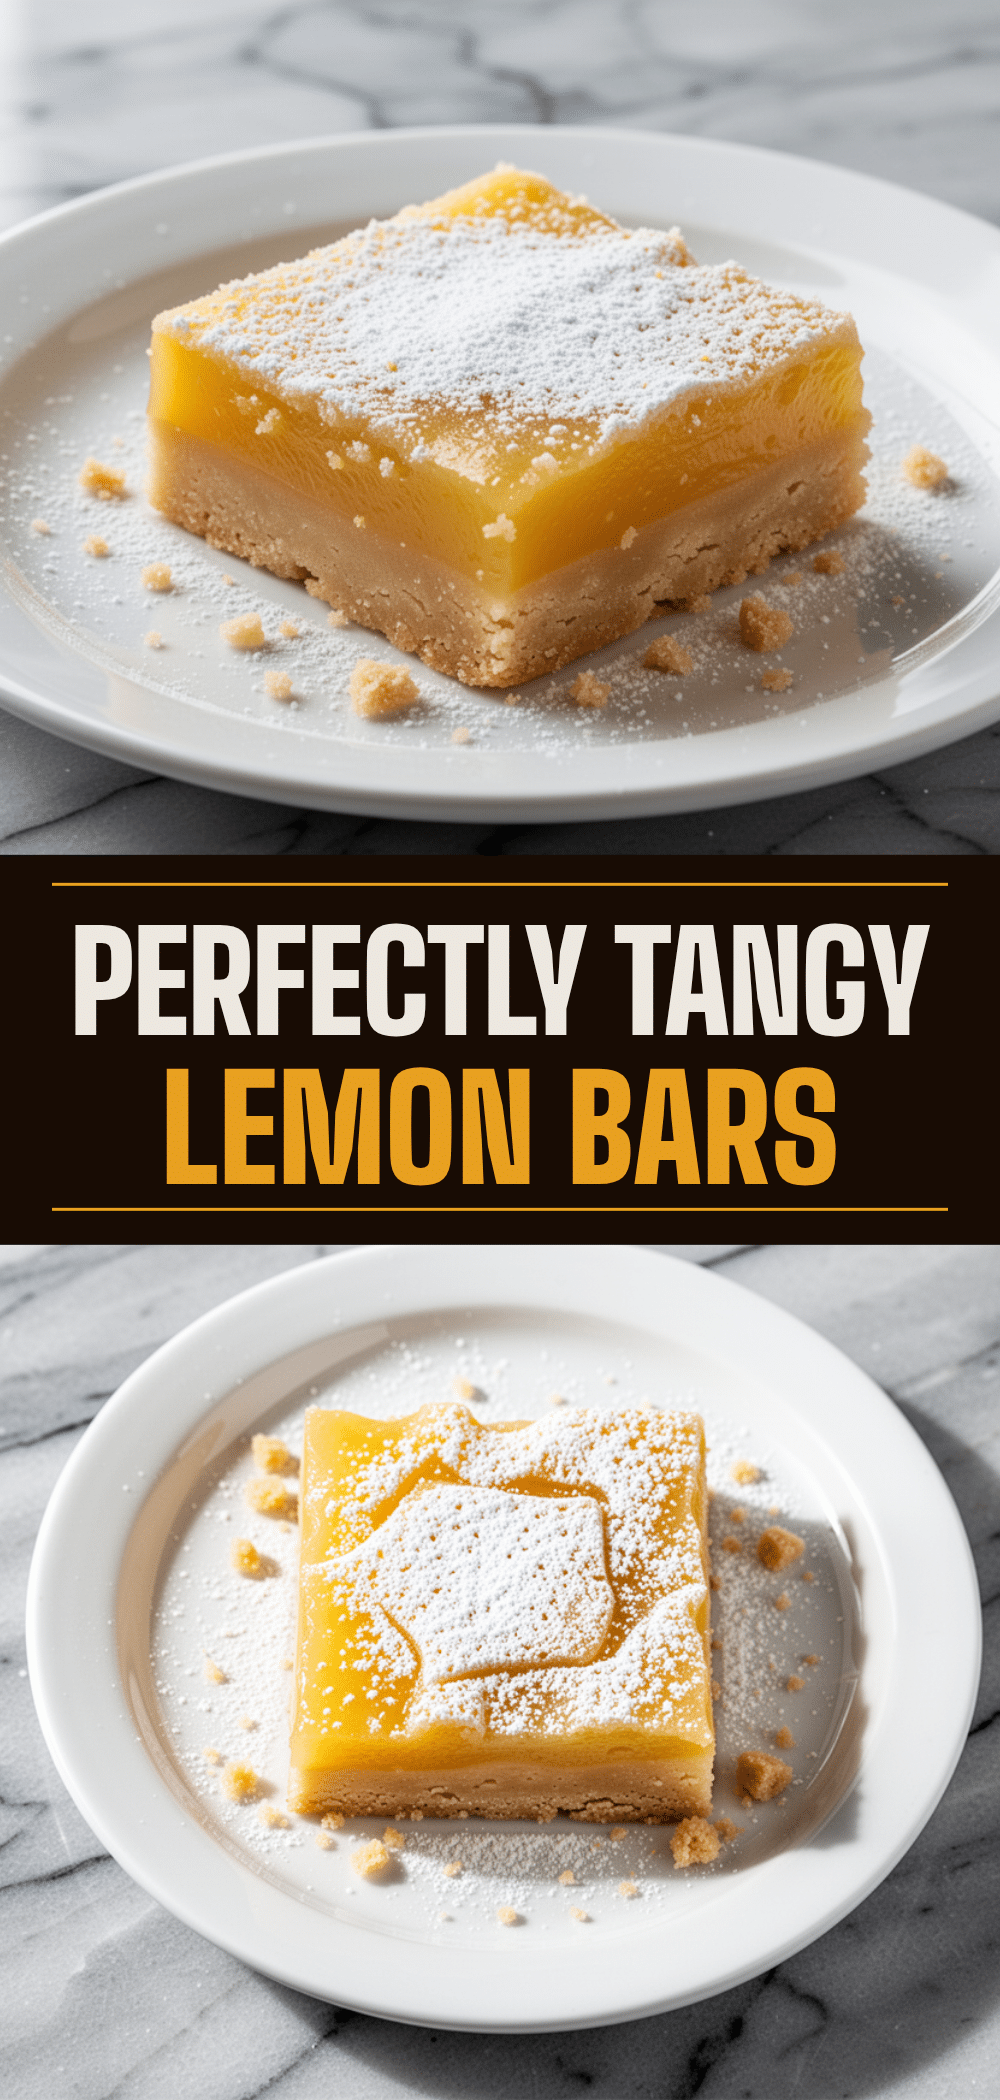

Classic Lemon Bars with Buttery Shortbread Crust
- Total Time: 45 minutes (plus 2 hours chilling)
- Yield: 16 servings 1x
Description
A foolproof, weeknight-friendly dessert featuring a crisp, buttery shortbread crust and a tangy, custard-like lemon filling. Ready in under 45 minutes of active time.
Ingredients
- 1 cup (125g) all-purpose flour
- 1/2 cup (115g) unsalted butter, softened
- 1/4 cup (50g) granulated sugar
- Pinch of salt
- 1 cup (200g) granulated sugar
- 3 large eggs
- 1/2 cup (120ml) fresh lemon juice
- 2 teaspoons lemon zest
- 1/4 cup (30g) all-purpose flour
- Confectioners’ (powdered) sugar, for dusting
Instructions
- Preheat oven to 350°F (175°C). Line an 8×8 inch baking pan with parchment paper, leaving an overhang on the long sides, and lightly spray with non-stick spray.
- In a medium bowl, combine 1 cup flour, 1/4 cup sugar, and a pinch of salt. Add softened butter and mix with a fork or fingers until the mixture resembles coarse sand or wet crumbs.
- Press the crust mixture firmly and evenly into the bottom of the prepared pan, packing it down tight.
- Blind bake the crust for 15-18 minutes until edges are lightly golden brown. Remove from oven and keep the oven on.
- In a large bowl, whisk 1 cup sugar and 3 eggs until well combined and slightly pale.
- Add fresh lemon juice and lemon zest to the egg mixture and whisk vigorously.
- Add 1/4 cup flour to the filling and whisk until smooth with no lumps.
- Pour the lemon filling over the hot, pre-baked crust.
- Bake for 20-25 minutes until edges are set and puffed, and the center has a slight jiggle (like Jell-O, not water).
- Cool in the pan on a wire rack for at least 30 minutes.
- Transfer to the refrigerator and chill for at least 2 hours, preferably overnight, until the filling is firm.
- Lift bars out of the pan using the parchment overhang. Cut into squares with a sharp knife, wiping the blade between cuts. Dust with powdered sugar if desired.
Notes
Do not skip pre-baking the crust to ensure a crisp texture. Room temperature eggs emulsify better. Zest lemons before juicing. Bars must be completely chilled before cutting to prevent a soupy mess. They taste better the next day as flavors meld.
- Prep Time: 15 minutes
- Cook Time: 35-43 minutes
- Category: Dessert
- Cuisine: American
Nutrition
- Serving Size: 1 bar
- Calories: 180
- Sugar: 22
- Sodium: 65
- Fat: 8
- Saturated Fat: 5
- Carbohydrates: 28
- Protein: 2
Keywords: lemon bars, shortbread crust, easy dessert, weeknight baking, citrus bars, homemade lemon bars, meal prep dessert


