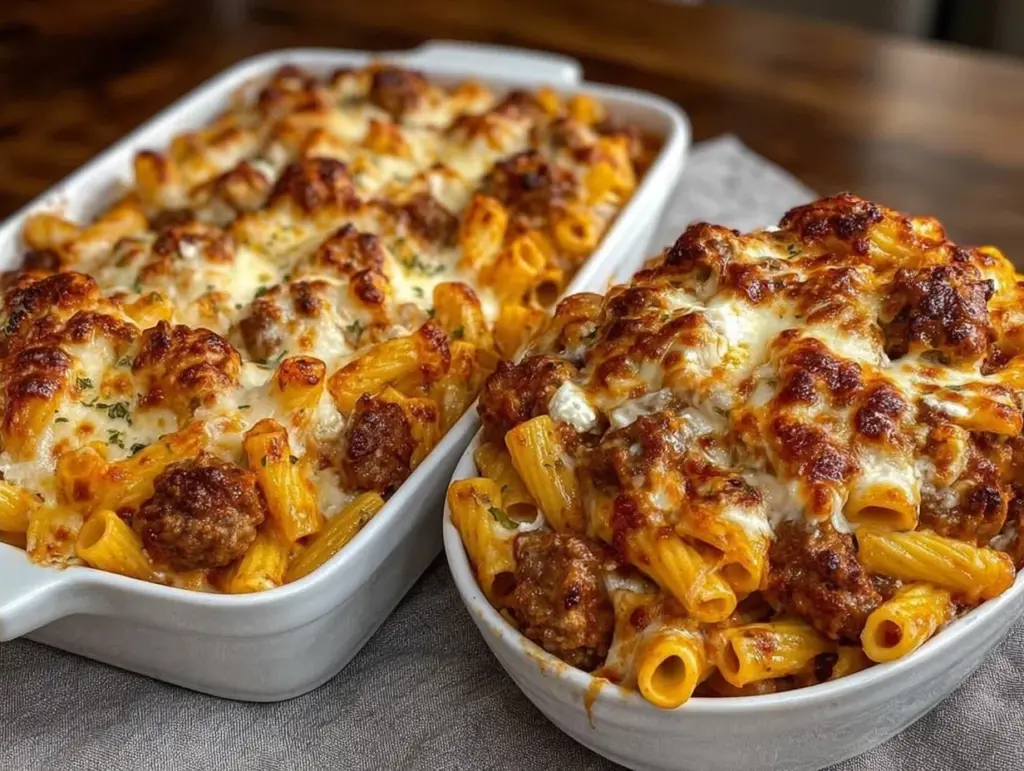
I have a confession to make. For years, I avoided baked ziti like the plague. Not because I didn’t love pasta, but because I was terrified of the “baked” part. I had this irrational belief that if you put cheese on top and put it in the oven, it was either going to turn into a rock-hard brick or burn to a crisp before the middle even warmed up. I stuck to stovetop pasta. It was safe. It was easy. It was also boring.
Then, a few years ago, I was at a friend’s house for a casual Sunday dinner. She pulled a massive, bubbling casserole dish out of the oven. The smell hit me first—garlic, tomatoes, and that specific, mouth-watering scent of melting mozzarella. I took one bite, and it was creamy, cheesy, and comforting in a way that stovetop just can’t be. I asked for the recipe, expecting a complicated list of seven different cheeses and three hours of prep time.
She laughed. “It’s just ziti, ricotta, and sauce,” she said. “You really can’t mess this up.”
I went home skeptical. I made it that night. And you know what? She was right. It was stupidly simple. I didn’t need to boil the pasta perfectly al dente first (though you can if you want). I didn’t need to make a béchamel from scratch. I just mixed some ricotta with an egg and herbs, layered it with jarred sauce and pasta, and popped it in the oven. The result? A creamy, bubbly, restaurant-quality meal that tasted like I’d spent all day in the kitchen, but actually took me 45 minutes from start to finish.
This creamy ricotta baked ziti has become my go-to “if you can only make one thing” dinner. It’s the perfect bridge for beginners who want to feel like pros without the stress. It’s forgiving, it’s cheap, and it freezes like a dream. If you’ve been intimidated by baking pasta, this is your entry point. Trust me, once you try this, you’ll wonder why you ever stuck to plain pasta.
Why You’ll Love This Beginner-Friendly Baked Ziti
There are about ten reasons I keep making this, but let’s be real—it’s the simplicity that keeps me coming back. Here’s why this recipe is a total game-changer, especially if you’re just starting out in the kitchen:
Zero Fancy Techniques — Seriously, if you can mix a bowl and layer ingredients, you can make this. No whisking sauces, no tempering eggs, no complicated knife skills. It’s literally just assembly. I’ve walked my teenage nephew through it over video call, and he made it perfectly on his first try.
Jarred Sauce Is Your Friend — I know, purists might cringe, but using a good-quality jarred marinara is the ultimate cheat code. It saves you hours of simmering and guarantees consistent flavor. This baked ziti tastes homemade because of the fresh ricotta layer, not because you spent all day making sauce.
Creamy Without the Headache — Many baked pasta recipes rely on béchamel or heavy cream, which can split or curdle if you’re not careful. This recipe uses ricotta mixed with an egg. It creates a rich, creamy interior that stays soft and luxurious. You really can’t mess this up because ricotta is incredibly forgiving.
Leftovers That Actually Taste Better — I don’t know if it’s the cheese setting overnight or the flavors melding, but this dish is somehow better the next day. I deliberately make a double batch on Sundays so I have lunch sorted for the week. It reheats beautifully in the microwave or oven.
Feeds a Crowd for Cheap — Pasta is affordable. Ricotta is affordable. Sauce is affordable. You can feed four hungry adults or six hungry kids for under $20. That’s a lot of comfort food for the price of two takeout pizzas.
Freezer-Friendly — This is my secret weapon for busy weeks. I often bake half of it and freeze the other half unbaked. When I’m tired, I just thaw it and bake it. It saves my bacon more times than I can count.
This is my answer to “what’s for dinner” when I want something that feels special but requires zero effort. It’s reliable, delicious, and incredibly easy to customize.
Ingredients You’ll Need
Here’s the best part: you probably have most of this already in your pantry or fridge. This recipe relies on simple, accessible ingredients. I’m particular about the ricotta and cheese, but the rest is pretty standard.
For the Pasta Base
Ziti or Penne Pasta (1 pound / 450g) — Ziti is traditional, but penne works just as well. I use tube-shaped pasta because the sauce gets inside the tubes. Avoid flat noodles like linguine; they don’t hold up as well to baking. I always buy Barilla because it cooks evenly and doesn’t get mushy.
Marinara Sauce (24-28 oz / 680-790g) — One or two jars, depending on your brand. Look for one with low sugar and real tomatoes. I like Rao’s or Classico, but any decent supermarket brand works. Don’t overthink this—it’s the base, not the star.
Water or Broth (½ cup / 120ml) — I sometimes add a splash of water or vegetable broth to the sauce to thin it out slightly, ensuring the pasta cooks through in the oven without drying out.
For the Creamy Ricotta Layer
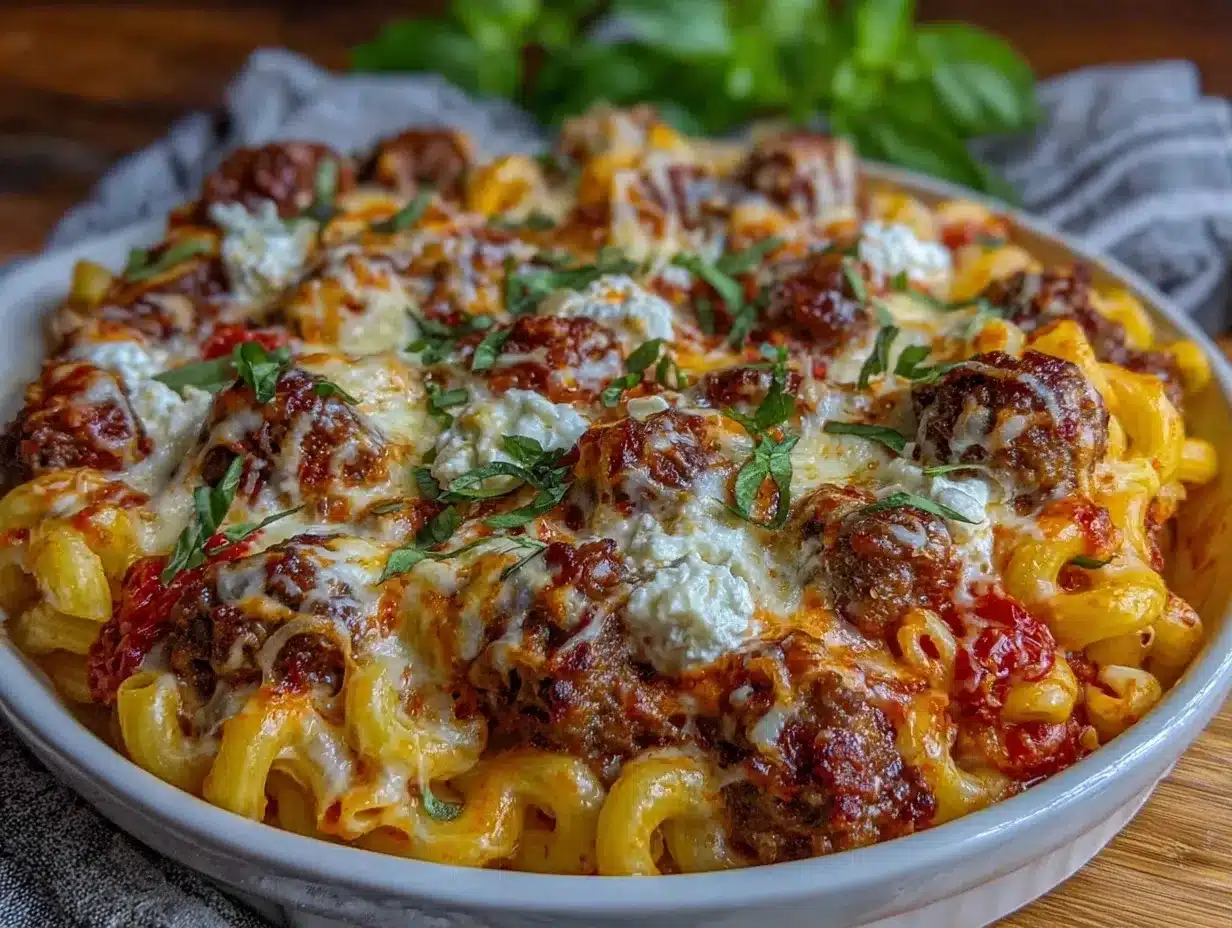
Ricotta Cheese (15 oz / 425g) — Buy the tub, not the block. Tub ricotta is creamier and easier to mix. Drain any excess liquid if it looks watery. This is the secret to the creamy texture.
Egg (1 large) — Just one egg. It acts as a binder to keep the ricotta from separating while baking. Don’t skip it.
Garlic Powder (1 teaspoon) — Fresh garlic can burn in the oven, so garlic powder is safer and distributes evenly. If you must use fresh, mince it very finely.
Dried Oregano (1 teaspoon) — Adds that classic Italian flavor. If you don’t have it, dried basil works too.
Salt and Black Pepper — To taste. Ricotta is mild, so it needs a good kick of seasoning.
For the Topping
Shredded Mozzarella (2 cups / 200g) — I buy pre-shredded for convenience, but if you have time, grate a block yourself. Pre-shredded has anti-caking agents, but it melts fine for this recipe. Look for low-moisture mozzarella for better melting.
Grated Parmesan (½ cup / 50g) — Adds a salty, savory finish. Freshly grated is best, but the jarred stuff works in a pinch.
Fresh Basil (Optional) — Chopped, for garnish. It makes it look fancy, but it’s optional.
Equipment Needed
You don’t need fancy gadgets for this. Here’s what I actually use:
9×13 Inch Baking Dish — A standard ceramic or glass dish works best. I use a Pyrex dish because I can see the cheese bubbling. Metal pans work too but brown faster.
Large Pot — For boiling the pasta. Any big pot works.
Colander — To drain the pasta.
Mixing Bowls — One medium bowl for the ricotta mixture. A small one for the sauce if you’re thinning it.
Wooden Spoon or Spatula — For mixing and layering.
Fork — To fluff the ricotta and mix it with the egg.
Aluminum Foil — Optional, but helpful if you’re worried about the top burning.
That’s it. No stand mixer, no food processor, no fancy thermometers. Just basic kitchen staples.
How to Make It: Step-by-Step
Alright, let’s make this! I’m walking you through exactly how I do it. It’s straightforward, and I’ll tell you the little tricks that make the difference between good and great.
Step 1: Preheat and Prep (5 minutes)
Preheat your oven to 375°F (190°C). While it heats, grab your baking dish. I don’t bother greasing it if I’m using a non-stick dish, but a quick spray of cooking oil ensures nothing sticks. Set it aside.
Step 2: Cook the Pasta (10 minutes)
Bring a large pot of salted water to a boil. The water should taste like the ocean. Add the ziti and cook according to the package directions, but here’s the trick: cook it for 1-2 minutes *less* than the package says. It should be slightly undercooked (al dente) because it will finish cooking in the oven. Drain the pasta and set it aside. Don’t rinse it! That starchy coating helps the sauce stick.
Step 3: Make the Ricotta Mixture (5 minutes)
In a medium bowl, combine the ricotta cheese, egg, garlic powder, oregano, salt, and pepper. Mix it with a fork until it’s smooth and creamy. Taste it. Does it need more salt? Add it now. This mixture is the heart of the dish, so get the seasoning right.
Step 4: Combine Pasta and Sauce (3 minutes)
In a large bowl (or right in your pot before draining, if you’re feeling lazy), pour in the jarred marinara sauce. Add the cooked pasta. Toss everything together until the pasta is evenly coated. If the sauce looks too thick, add that ½ cup of water or broth. You want it loose enough to spread, not like a paste.
Step 5: Layer It Up (5 minutes)
Here’s where it gets fun. Pour half of the sauced pasta into the bottom of your baking dish. Spread it out evenly. Then, dollop spoonfuls of the ricotta mixture over the pasta. Don’t worry about making it perfect; use a knife or spatula to gently swirl and spread it. You want pockets of ricotta, not a solid block. Top with the remaining pasta, spreading it out. Finally, sprinkle the shredded mozzarella and parmesan evenly over the top.
Step 6: Bake (25-30 minutes)
Place the dish in the preheated oven. Bake uncovered for 25-30 minutes. You’ll know it’s done when the cheese is bubbly and golden brown, and the sauce is bubbling around the edges. If the top is browning too fast, loosely tent it with aluminum foil for the last 10 minutes.
Step 7: Rest and Serve (10 minutes)
This is the hardest part: let it rest for 10 minutes before cutting. If you cut it immediately, it’ll be soupy. Resting allows the layers to set, making it easier to serve neat squares. Sprinkle with fresh basil if you have it. Dig in.
Expert Tips & Tricks
Here’s everything I’ve learned from making this dozens of times. These tips will save you from my early mistakes.
Don’t Overcook the Pasta — This is the #1 mistake beginners make. If you boil the pasta until it’s perfectly soft, it will turn into mush in the oven. Undercook it slightly. It will finish cooking in the sauce.
Drain the Ricotta — If your ricotta looks watery in the tub, drain it in a sieve for 10 minutes before mixing. Excess water makes the baked ziti soggy. I learned this the hard way with a soupier-than-expected casserole.
Use Low-Moisture Mozzarella — Fresh mozzarella balls have too much water and can make the dish watery. Stick to low-moisture, pre-shredded or block-shredded mozzarella for that perfect stretch and melt.
Let It Rest — I know, you want to eat it. But waiting 10 minutes makes a huge difference in texture. It’s worth the wait. Trust me.
Freezing Hack — If you’re freezing this, don’t add the mozzarella topping until you’re ready to bake. Cover the unbaked dish tightly with foil and freeze. When you’re ready to bake, add the cheese and bake as directed, adding 10-15 minutes if it’s still cold from the freezer.
Garlic Power — If you’re a garlic lover, add an extra teaspoon of garlic powder to the ricotta. It’s subtle but adds depth. Or, sauté one clove of fresh minced garlic in the sauce before layering.
Variations & Substitutions
Once you’ve nailed the basic version, here’s how you can mix it up. I’ve tried all of these.
Meat Lover’s — Brown up 1 pound of Italian sausage or ground beef before mixing with the sauce. This is my husband’s favorite version. It makes it heartier and more filling.
Veggie-Packed — Stir in 1 cup of chopped spinach or diced mushrooms into the ricotta mixture. The spinach wilts during baking and adds color. It’s an easy way to sneak in vegetables.
Spicy Kick — Add ½ teaspoon of red pepper flakes to the ricotta mixture or use a spicy arrabbiata sauce instead of plain marinara. It adds a nice heat that cuts through the richness.
Gluten-Free — Use gluten-free ziti or penne. Everything else is naturally gluten-free. Just check your sauce label to ensure it’s GF. Barilla makes a great GF pasta that holds up well to baking.
Dairy-Free — This is trickier, but you can use a dairy-free ricotta alternative (like tofu-based ricotta) and dairy-free mozzarella. It won’t be exactly the same, but it’s still tasty. I’ve made this for lactose-intolerant friends, and they loved it.
Other Pasta Shapes — Rigatoni, manicotti, or even rotini work fine. Just stick to tube or shell shapes that hold sauce well.
Serving & Storage
How to Serve: I usually serve this straight from the baking dish at the dinner table—it looks rustic and stays warm. It pairs perfectly with a simple green salad with balsamic vinaigrette and some crusty garlic bread. If you want a drink pairing, a glass of homemade peach iced tea is refreshing and balances the rich pasta.
Refrigerator: Store leftovers in an airtight container for up to 4 days. The sauce will thicken in the fridge—totally normal.
Reheating: The best method is in the oven. Cover with foil and bake at 350°F for 20 minutes, or until heated through. You can microwave individual portions, but add a splash of water or sauce to keep it from drying out. Stir halfway through.
Freezing: As mentioned, you can freeze the unbaked dish. If you’ve already baked it, freeze individual portions in freezer-safe containers. Thaw overnight in the fridge before reheating. The texture might be slightly softer, but it’s still delicious.
Pro Tip: If your leftovers are drying out, stir in a tablespoon of cream or milk when reheating. It brings back that creamy texture.
Nutrition Information
I’m not a nutritionist, but here’s the breakdown if you’re tracking. Keep in mind that this is comfort food, so it’s richer than a light salad.
Per Serving (based on 6 servings):
| Calories | 450 |
| Protein | 22g |
| Carbs | 55g |
| Fiber | 3g |
| Fat | 16g |
| Sodium | 600mg |
What’s Good: Good source of protein from the ricotta and cheese. Calcium from the dairy. It’s filling and satisfying.
What to Know: Higher in calories and sodium due to cheese and sauce. You can reduce the sodium by using low-sodium sauce and less salt in the ricotta. If you’re watching carbs, use zucchini noodles or a low-carb pasta alternative.
My Take: Look, this is baked pasta with cheese. It’s not diet food. But it’s way better than takeout, costs less, and I know exactly what’s in it. When I want to make it lighter, I use part-skim ricotta and add extra veggies. But usually? I just enjoy a reasonable portion and love it.
Final Thoughts
So that’s my go-to creamy ricotta baked ziti! I’ve probably talked your ear off at this point, but when you make a recipe this often, you have a lot to say about it. This has saved weeknight dinners more times than I can count. It’s my answer to “what’s for dinner” when I want something that feels special but requires zero effort. My kids are happy, my husband’s happy, and I’m happy because I’m not stressed about cooking.
Make it yours! Try different add-ins, swap in your favorite vegetables, or adjust the cheese. The best recipes are the ones you adapt to your family’s tastes. If you make this, drop a comment and let me know what you think! I love hearing how recipes turn out in your kitchen. And if something doesn’t work, tell me that too—I’m here to help troubleshoot.
Happy cooking! And I hope your kitchen smells half as good as mine does right now.
Frequently Asked Questions
Can I use fresh ricotta instead of tub ricotta?
You can, but tub ricotta is creamier and easier to mix. Fresh ricotta from a cheesemonger can be grainy. If you use fresh, blend it in a food processor first to smooth it out. It will work, but the texture might be slightly different.
Why did my baked ziti turn out watery?
This usually happens if the ricotta was too wet or if you used too much sauce. Make sure to drain the ricotta before mixing. Also, don’t add too much extra liquid to the sauce. If it’s already watery, let it rest longer before cutting, or bake it uncovered for a few more minutes to evaporate excess moisture.
Can I make this ahead of time?
Yes! Assemble the dish up to 24 hours ahead. Cover it tightly with plastic wrap and refrigerate. When you’re ready to bake, take it out of the fridge 30 minutes before baking to take the chill off. You might need to add 5-10 minutes to the baking time.
Can I freeze baked ziti after it’s cooked?
You can, but the texture of the ricotta might change slightly. It’s better to freeze it unbaked. If you must freeze it cooked, let it cool completely, portion it, and freeze in airtight containers. Thaw overnight and reheat gently.
What’s the best pasta shape for baked ziti?
Traditional ziti is ideal, but penne, rigatoni, or manicotti work great too. Avoid small pastas like orzo or macaroni, as they can get lost in the sauce. Tube shapes are best because they hold the ricotta and sauce inside.
Can I use no-boil noodles instead?
Yes! No-boil lasagna noodles can be used. Just layer them with the sauce and ricotta. Make sure there’s enough liquid in the sauce to cook the noodles. You might need to add a little extra water or broth to the sauce layer.
Is this recipe similar to other baked pasta dishes?
It’s similar to creamy beef and shells but with ricotta instead of a cream sauce. It’s also like enchiladas in terms of layering, but with Italian flavors. It’s a unique comfort food that stands on its own.
Pin This Recipe!
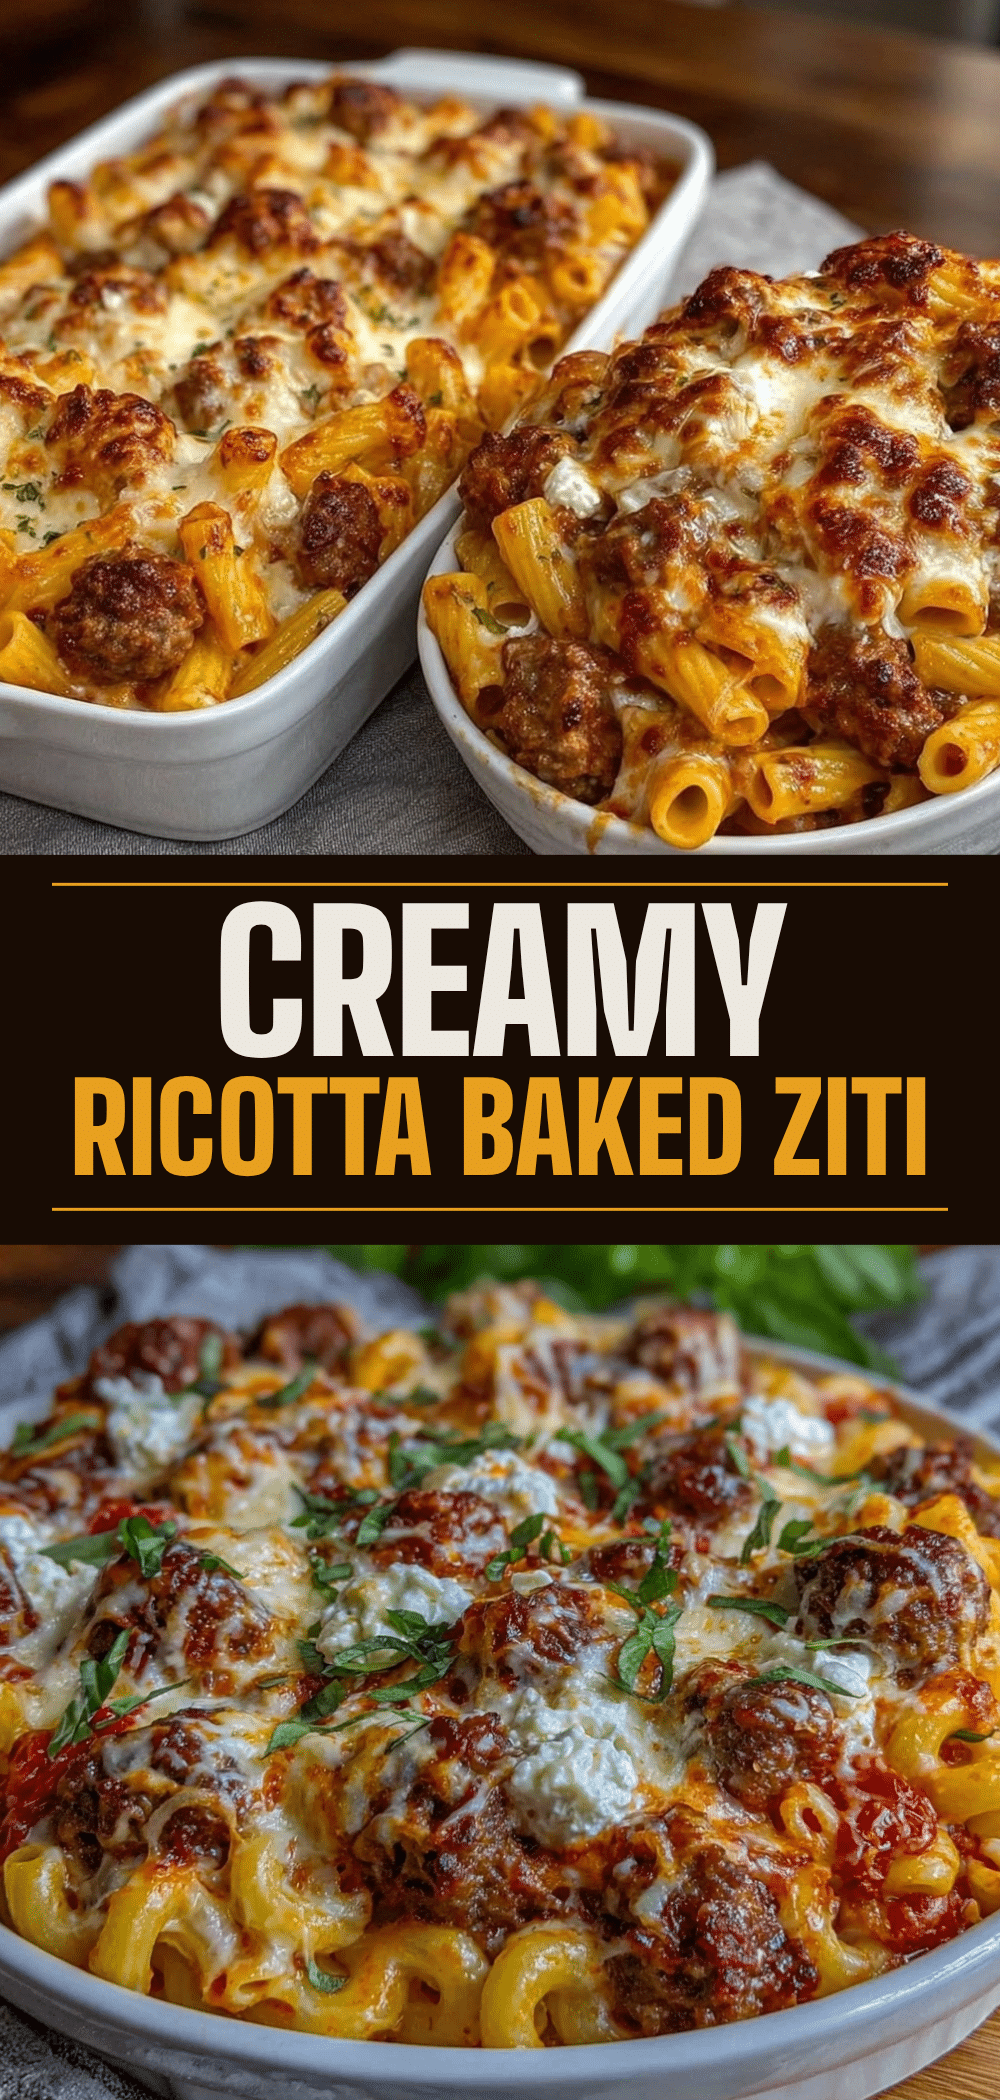
Creamy Ricotta Baked Ziti: No-Fuss Beginner Recipe
- Total Time: 45 minutes
- Yield: 6 servings 1x
Description
A simple, forgiving baked ziti recipe that uses jarred sauce and a creamy ricotta-egg mixture for a restaurant-quality meal in just 45 minutes. Perfect for beginners and great for freezing.
Ingredients
- 1 pound (450g) Ziti or Penne Pasta
- 24–28 oz (680-790g) Marinara Sauce
- 1/2 cup (120ml) Water or Vegetable Broth
- 15 oz (425g) Ricotta Cheese (tub variety, drained if watery)
- 1 large Egg
- 1 teaspoon Garlic Powder
- 1 teaspoon Dried Oregano
- Salt and Black Pepper to taste
- 2 cups (200g) Shredded Low-Moisture Mozzarella
- 1/2 cup (50g) Grated Parmesan
- Fresh Basil for garnish (optional)
Instructions
- Preheat oven to 375°F (190°C). Lightly grease a 9×13 inch baking dish.
- Bring a large pot of salted water to a boil. Cook pasta for 1-2 minutes less than package directions (slightly undercooked). Drain and do not rinse.
- In a medium bowl, mix ricotta, egg, garlic powder, oregano, salt, and pepper until smooth.
- In a large bowl, toss cooked pasta with marinara sauce. Add water or broth if sauce is too thick.
- Spread half the sauced pasta in the baking dish. Dollop and swirl ricotta mixture over the pasta. Top with remaining pasta.
- Sprinkle shredded mozzarella and parmesan evenly over the top.
- Bake uncovered for 25-30 minutes until cheese is bubbly and golden. Tent with foil if browning too fast.
- Let rest for 10 minutes before serving to allow layers to set.
Notes
Do not overcook the pasta as it will finish cooking in the oven. Drain ricotta if watery to prevent a soggy casserole. Let the dish rest for 10 minutes before cutting to ensure clean slices. Can be frozen unbaked (add cheese before baking) or reheated in the oven.
- Prep Time: 15 minutes
- Cook Time: 30 minutes
- Category: Main Course
- Cuisine: Italian
Nutrition
- Serving Size: 1 slice
- Calories: 450
- Sugar: 6
- Sodium: 600
- Fat: 16
- Saturated Fat: 8
- Carbohydrates: 55
- Fiber: 3
- Protein: 22
Keywords: baked ziti, ricotta pasta, beginner recipe, easy dinner, comfort food, freezer friendly, creamy pasta


