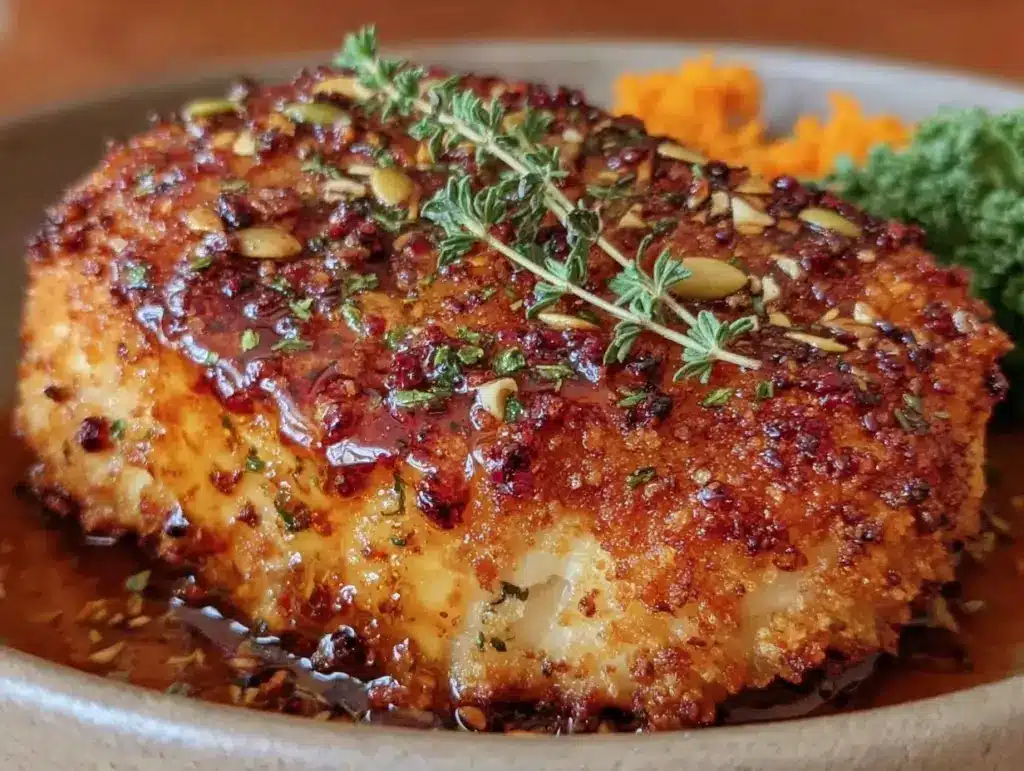
The air changed this morning. You know that feeling when you step outside and the air doesn’t just feel cooler, it feels… crisp? Like the universe finally hit the reset button after a long, sticky summer. That’s when I knew it was time to pull the oven out of retirement.
There’s something about the first real day of fall that makes me crave warmth without the heaviness. I don’t want to stand over a stove for an hour stirring a pot. I don’t want to fire up the grill when it’s too breezy for that. I want something simple, something that smells like comfort, and something that actually has a little crunch to it. Enter the crispy baked chicken breast with maple dijon glaze.
I stumbled onto this version of the recipe last week, half-asleep, scrolling through my notes from previous attempts. I’d been making the same dry, boring chicken for years. Then I remembered a trick I learned from a friend who cooks for a living: a little bit of cornstarch in the coating, and a glaze that’s sweet, tangy, and sharp all at once. I threw it together on a whim. The house smelled like a bakery and a French bistro had a baby. My husband took one bite, looked at me, and said, “Okay, that’s the fall chicken.”
It’s become our go-to. Not because it’s fancy, but because it’s foolproof. If you can toss chicken in a bowl, bake it, and whisk two ingredients together, you can master this. It’s the kind of recipe that builds your confidence. You walk away from the kitchen feeling like a pro, even if you just followed instructions from a blog.
Why You’ll Love This Crispy Baked Chicken Breast with Maple Dijon Glaze
There are a lot of chicken recipes out there. Some are complicated. Some require ingredients you have to drive to three different stores to find. This one? It’s different. Here’s why I keep coming back to this crispy baked chicken breast with maple dijon glaze week after week:
- Zero Frying Required — I hate the smell of fried oil lingering in the house for days. This gets crispy in the oven. No splatter, no mess, no grease fires. Just golden, crunchy chicken straight from the baking sheet.
- The Glaze is Magic — Most chicken recipes rely on salt and pepper. This glaze adds a layer of flavor that’s complex but easy. The maple brings the sweetness, the dijon brings the kick, and the garlic brings the savory depth. It’s a flavor bomb in every bite.
- It’s Forgiving — Let’s be real. Chicken breasts are notorious for drying out. They’re lean, they’re unforgiving, and they can go from perfect to shoe leather in five minutes. But this method? The glaze actually keeps the meat moist while the coating crisps up. Even if you slightly overcook it, it stays tender. I’ve tested this on myself multiple times (oops).
- Minimal Cleanup — Line your baking sheet with parchment paper. That’s it. When you’re done, you just throw the paper away. No scrubbing baked-on chicken bits off your pan. This is what I call “easy dinner” done right.
- Perfect for Any Season — Sure, the maple screams fall, but I make this in July when I’m too hot to cook, and I make it in January when I need a hug on a plate. It’s versatile. It works.
This isn’t just dinner. It’s a win. It’s the kind of meal that makes you feel like you planned ahead, even though you threw it together in 20 minutes.
Ingredients You’ll Need
Here’s the best part: you probably have most of this already in your pantry and fridge. I’m not asking you to buy anything weird. This is real food, simple ingredients, big flavor.
For the Chicken
Chicken breasts (1.5 lbs / 680g) — I use boneless, skinless breasts. If yours are huge, pound them to an even thickness so they cook at the same rate. I like to buy the family pack and freeze half for later. Look for plump, pink breasts, not dry or yellow ones.
Cornstarch (2 tablespoons) — This is the secret weapon. Flour makes a coating, but cornstarch makes it *crispy*. It creates a light, shatteringly crunchy shell that stays crisp even after the glaze hits it. Don’t skip it.
All-purpose flour (2 tablespoons) — Just a little bit helps the cornstarch stick. It’s the binder. You don’t need much.
Garlic powder (1 teaspoon) — I always use the powder for the coating. It distributes evenly. Fresh garlic would burn in the oven before the chicken cooked.
Smoked paprika (1 teaspoon) — This adds that subtle smoky depth that makes it taste like it was cooked over a fire, even though it’s in the oven. If you only have regular paprika, use that, but smoked is better.
Salt and black pepper — Generous amounts. Season the chicken well before it even goes in the oven. I use about 1 teaspoon of kosher salt.
Olive oil (1 tablespoon) — Just enough to help the coating stick and brown. You don’t need to drown it.
For the Maple Dijon Glaze
Dijon mustard (3 tablespoons) — Use a good quality Dijon. Not the cheap yellow stuff. You want that sharp, vinegary bite. Grey Poupon or French’s Grey are my go-tos.
Pure maple syrup (2 tablespoons) — Real maple syrup, not pancake syrup. Check the label. If it says “corn syrup” first, put it back. The flavor difference is huge.
Apple cider vinegar (1 teaspoon) — This cuts through the sweetness of the maple and the richness of the chicken. It brightens everything up. If you don’t have apple cider vinegar, white wine vinegar works too.
Garlic (1 clove, minced) — Fresh garlic in the glaze adds a punch that powder can’t match. Mince it fine so it doesn’t burn.
Butter (1 tablespoon, melted) — This rounds out the glaze, adding a silky texture and richness. It’s optional if you’re dairy-free, but I recommend it.
Optional Add-ins: I sometimes add a pinch of red pepper flakes to the glaze if I want a little heat. Or a splash of soy sauce for umami. But honestly? The basic combo is perfect.
Equipment Needed
You don’t need fancy gadgets for this. Here’s what I actually use.
- Baking sheet — I use a standard half-sheet pan (18×13 inches). It fits four breasts comfortably with space between them. If you have a smaller pan, cook in two batches. Crowding is the enemy of crispiness.
- Parchment paper — Non-negotiable for easy cleanup. It also helps the chicken brown evenly on the bottom. I don’t use foil because the glaze sticks to it.
- Two shallow bowls — One for the dry mix, one for the wet chicken. Or just one large bowl if you’re lazy (like me). I use a pie dish for the dry mix because the wide surface area helps the chicken get coated.
- Small mixing bowl — For whisking the glaze. A ramekin works too.
- Pastry brush — For applying the glaze. I use a silicone one because it’s easy to wash. A regular brush works fine.
- Meat mallet or rolling pin — Optional, but I highly recommend pounding the chicken to an even ½-inch thickness. Uneven chicken means uneven cooking.
That’s it. No deep fryer, no special pans, no weird tools. Just basic kitchen stuff you probably already own.
How to Make It: Step-by-Step
Alright, let’s make this! I’m walking you through exactly how I do it, including the little tricks I’ve picked up over the years. This is the crispy baked chicken breast with maple dijon glaze method that never fails.
Step 1: Prep the Chicken (5 minutes)
Start by preheating your oven to 400°F (200°C). This is a hot enough temperature to crisp the coating without drying out the meat. While the oven heats, take your chicken breasts out of the fridge. If they’re thick in the middle, place them between two sheets of plastic wrap and pound them with a meat mallet or rolling pin until they’re about ½-inch thick all over. This ensures they cook evenly. Pat them dry with paper towels. Moisture is the enemy of crispiness, so get them as dry as possible.
Step 2: Make the Dry Coating (2 minutes)
In a shallow bowl, mix together the cornstarch, flour, garlic powder, smoked paprika, salt, and pepper. Whisk it all together so there are no clumps. It should look like pale yellow sand. This is your crunch factory.
Step 3: Coat the Chicken (3 minutes)
Drizzle the olive oil over the chicken breasts and rub it in. You just want a light sheen. Then, press each chicken breast into the dry mixture. Flip it over and press again. You want a good coating, but you don’t need a thick layer of flour. Shake off any excess. Place the coated chicken on the parchment-lined baking sheet. Leave space between each piece. Air needs to circulate for crispiness.
Step 4: The First Bake (15 minutes)
Put the chicken in the oven and bake for 15 minutes. Don’t touch it. Don’t peek. Just let it do its thing. You’ll start to smell the garlic and paprika, which is a good sign.
Step 5: Make the Glaze (2 minutes)
While the chicken bakes, whisk together the Dijon mustard, maple syrup, apple cider vinegar, minced garlic, and melted butter in a small bowl. It should be smooth and glossy. Taste it. It should be sweet, tangy, and a little spicy. Adjust if needed, but it’s usually perfect as is.
Step 6: Glaze and Finish (10 minutes)
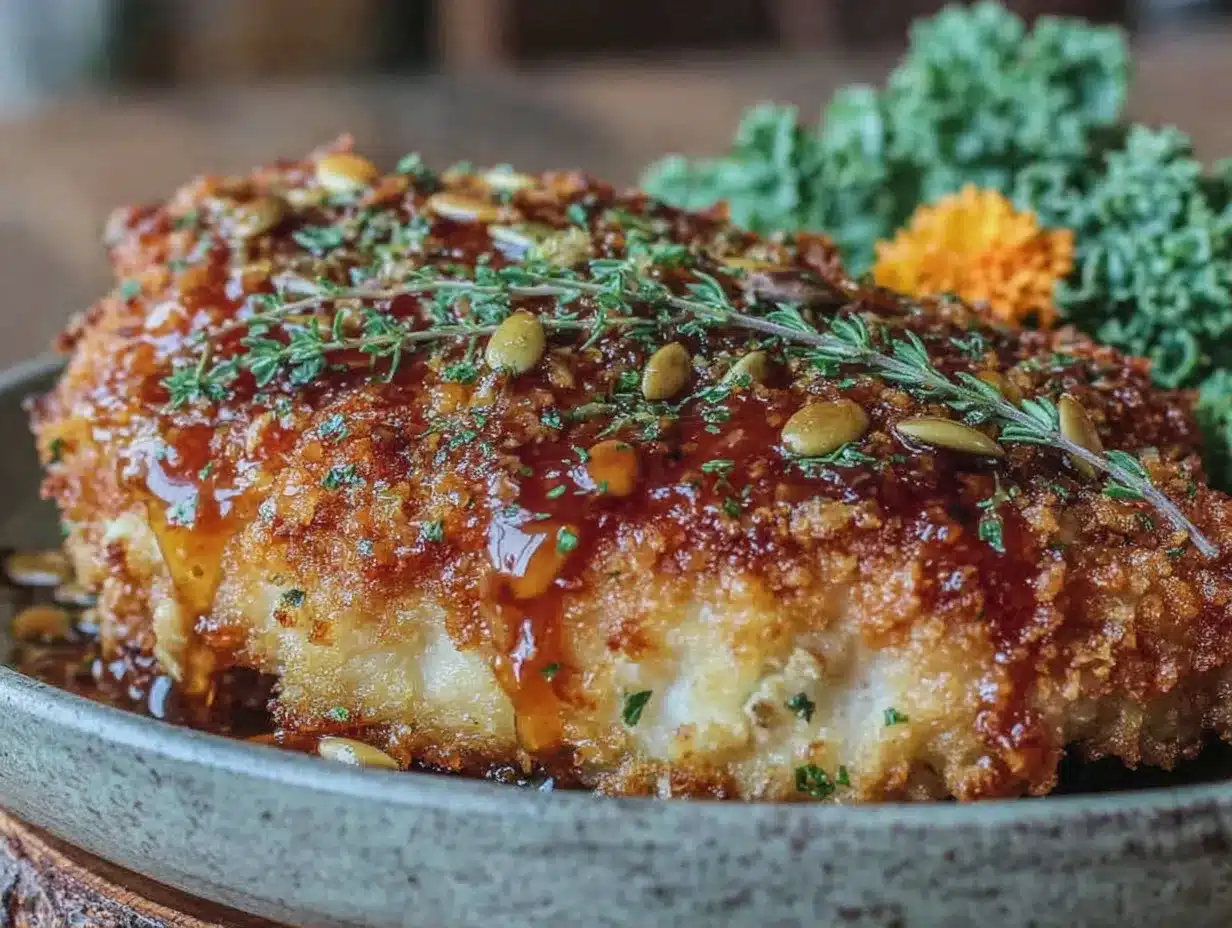
Take the chicken out of the oven. The coating should be lightly golden. Brush the glaze generously over the top of each breast. You want to cover most of the surface, but let some of the crispy coating show through. Put it back in the oven for another 10 minutes. The glaze will bubble, caramelize, and turn a beautiful amber color. The chicken is done when it reaches an internal temperature of 165°F (74°C).
Step 7: Rest and Serve (5 minutes)
Take the chicken out and let it rest for 5 minutes. This is crucial. If you cut into it immediately, all the juices run out, and the meat gets dry. Resting lets the juices redistribute. Slice it against the grain and serve immediately. The glaze will be sticky and sweet, the coating will still have a bit of crunch, and the inside will be juicy.
Expert Tips & Tricks
Here’s everything I’ve learned from making this dozens of times. These tips will save you from my mistakes.
Pound the Chicken — I can’t stress this enough. Uneven chicken breasts are the #1 reason for dry chicken. Pounding them to an even thickness means they cook at the same rate. No more thin ends that are dry and thick middles that are raw.
Don’t Skip the Cornstarch — I tried this recipe with just flour once. It was okay. With cornstarch, it’s *great*. The cornstarch creates a lighter, crispier crust that doesn’t get soggy as quickly. It’s the difference between “good” and “amazing.”
Use Parchment, Not Foil — Foil can cause the bottom of the chicken to steam instead of bake. Parchment allows for better air circulation and browning. Plus, cleanup is a dream.
Brush, Don’t Dip — When applying the glaze, use a brush. If you dip the chicken in the glaze, you’ll lose the dry coating and it’ll be mushy. Brushing lets you control the amount and keeps the coating intact.
Let It Rest — I know it’s tempting to cut into it right away. Don’t. Wait those 5 minutes. Your patience will be rewarded with juicier chicken.
Variations & Substitutions
Once you’ve nailed the basic version, here’s how you can mix it up. I’ve tried all of these.
Spicy Version — Add ½ teaspoon of cayenne pepper or red pepper flakes to the dry coating, and a pinch of cayenne to the glaze. This is great if you like a kick.
Herb-Infused — Add 1 teaspoon of dried thyme or rosemary to the dry mix. It adds an earthy, savory note that pairs well with the maple.
Honey Swap — If you don’t have maple syrup, honey works too. It’s slightly less complex in flavor, but still delicious. Use the same amount.
Dijon Swap — If you hate mustard, you can use whole-grain mustard or even honey mustard. Whole-grain gives a different texture, but the flavor profile is similar.
Veggie Side Pairings — This chicken goes great with roasted Brussels sprouts, glazed carrots, or a simple green salad. I also love it with creamy beef and shells if I’m in the mood for carbs, or one-pot creamy cajun chicken pasta if I want something heartier.
Serving & Storage
How to Serve
I usually serve this straight from the cutting board. It looks rustic and inviting. Pair it with roasted vegetables, mashed potatoes, or crusty bread to soak up the extra glaze. It’s also great in sandwiches or salads if you have leftovers.
Storage Instructions
Refrigerator: Store leftovers in an airtight container for up to 3 days. The glaze might soften the coating a bit, but the flavor is still great.
Reheating: Reheat in the oven at 350°F for 10-15 minutes to crisp up the coating again. The microwave will make it soggy, so avoid that if you care about texture.
Freezing: You can freeze the cooked chicken for up to 3 months. Thaw in the fridge overnight and reheat in the oven.
Nutrition Information
I’m not a nutritionist, but here’s the breakdown if you’re tracking. This is per serving (1 chicken breast with glaze).
- Calories: 320
- Protein: 35g
- Carbs: 18g
- Fat: 10g
- Sugar: 14g (from the maple syrup)
- Sodium: 450mg
It’s a high-protein, relatively low-carb meal. The sugar comes from the maple syrup, but it’s real sugar with real flavor. If you’re watching sugar, you can reduce the maple syrup to 1 tablespoon.
Final Thoughts
So that’s my go-to crispy baked chicken breast with maple dijon glaze! It’s simple, it’s delicious, and it’s incredibly forgiving. I’ve made this for dinner parties, for quick weeknight meals, and just for myself on lazy Sundays. It never fails to impress.
Make it yours! Try different herbs, adjust the spice level, or pair it with your favorite sides. The best recipes are the ones you adapt to your tastes. If you make this, drop a comment and let me know what you think! I love hearing how recipes turn out in your kitchen.
Happy cooking! And I hope your kitchen smells half as good as mine does right now.
Frequently Asked Questions
Can I use chicken thighs instead of breasts?
Yes! Chicken thighs are actually juicier and more forgiving. You’ll need to adjust the cooking time slightly—they might take 5 minutes longer. The glaze works beautifully with thighs too.
Why did my chicken coating get soggy?
This usually happens if the chicken was too wet before coating, or if the pieces were touching on the pan. Make sure you pat the chicken dry, and leave space between the pieces so air can circulate.
Can I make the glaze ahead of time?
Absolutely. Whisk it together and store it in the fridge for up to 3 days. Just bring it to room temperature before brushing it on the chicken.
Is this recipe gluten-free?
Not as written, because of the flour. To make it gluten-free, swap the all-purpose flour for a gluten-free flour blend or just use extra cornstarch (3 tablespoons total). The rest of the ingredients are naturally gluten-free.
Can I double this recipe?
Yes, but you’ll need to use two baking sheets or cook in batches. Don’t overcrowd the pan, or the chicken will steam instead of bake. If you double it, you might need to add 5 minutes to the cooking time.
Pin This Recipe!
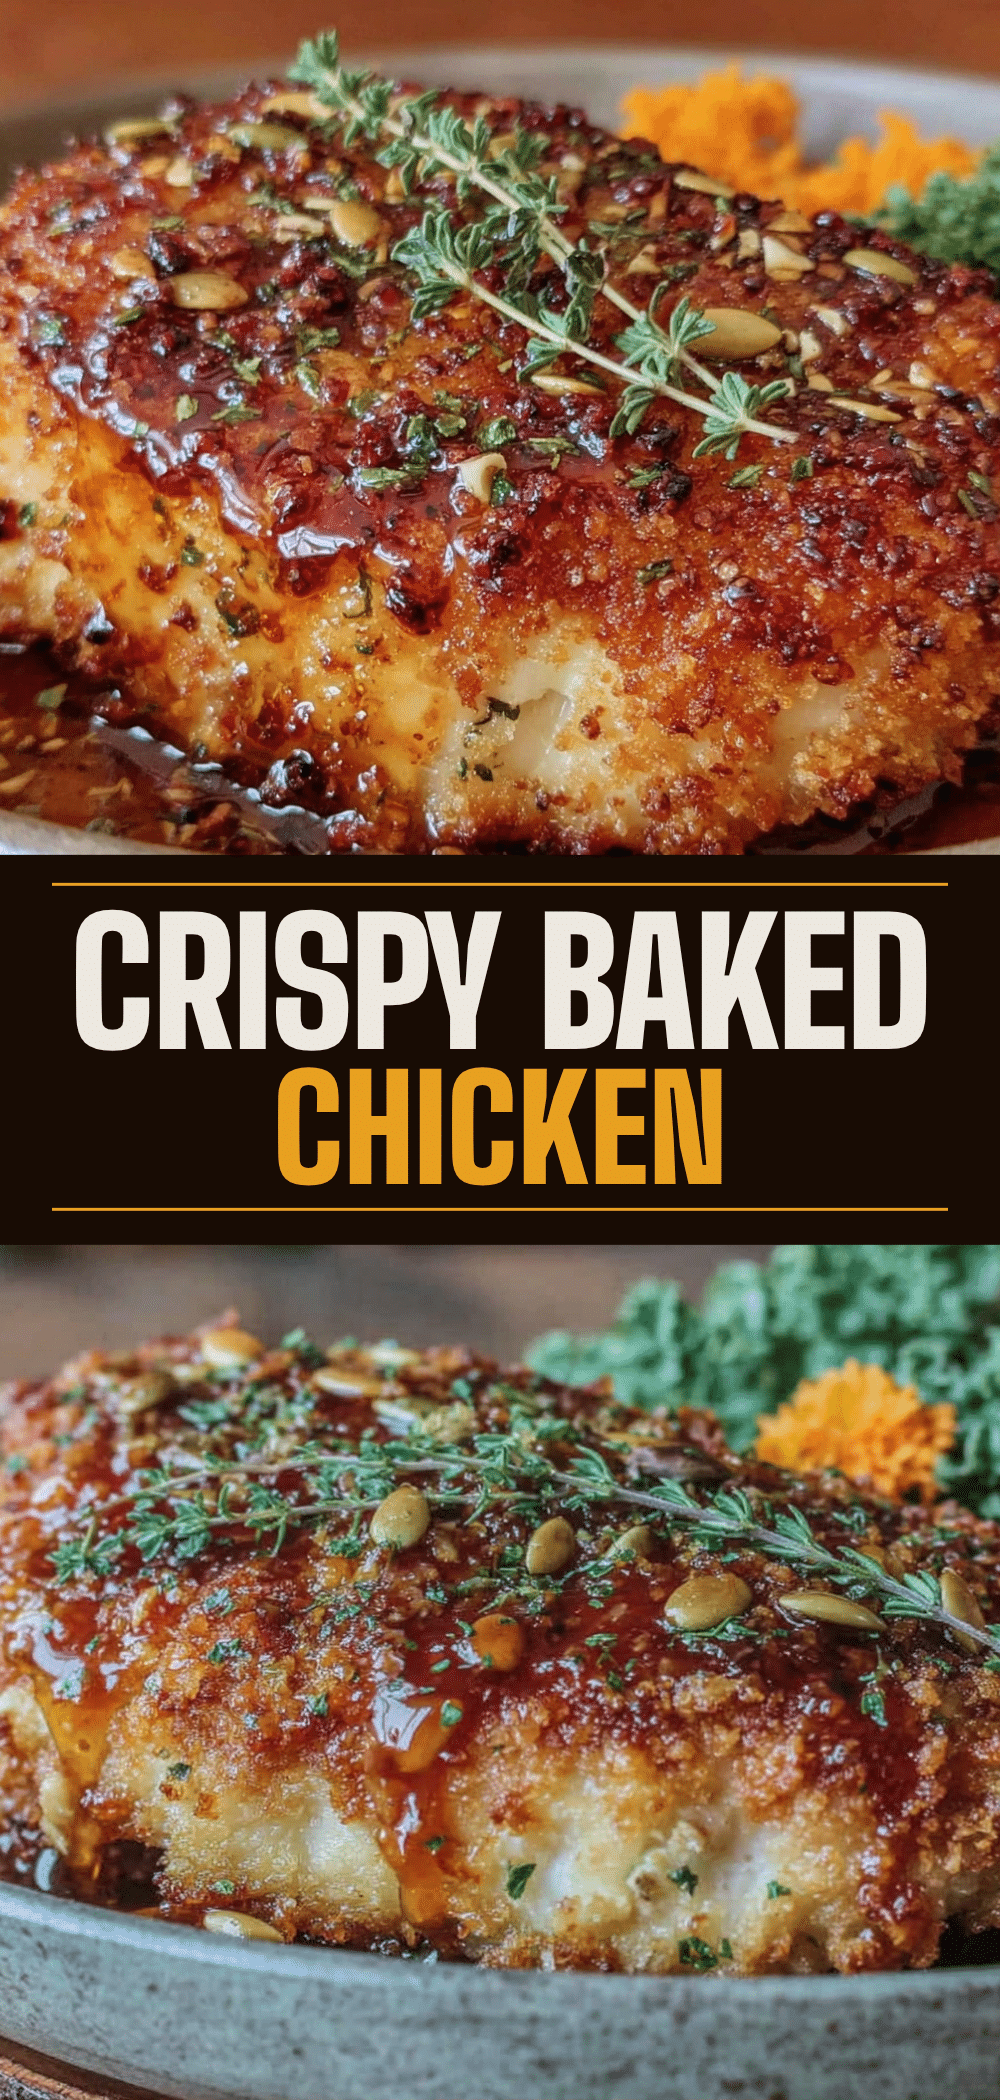
Crispy Baked Chicken Breast with Maple Dijon Glaze
- Total Time: 35 minutes
- Yield: 4 servings 1x
Description
A foolproof, oven-baked chicken recipe featuring a cornstarch coating for extra crispiness and a sweet, tangy maple dijon glaze. It’s simple to make, requires minimal cleanup, and delivers juicy, flavorful results every time.
Ingredients
- 1.5 lbs boneless, skinless chicken breasts
- 2 tablespoons cornstarch
- 2 tablespoons all-purpose flour
- 1 teaspoon garlic powder
- 1 teaspoon smoked paprika
- 1 teaspoon kosher salt
- Black pepper, to taste
- 1 tablespoon olive oil
- 3 tablespoons Dijon mustard
- 2 tablespoons pure maple syrup
- 1 teaspoon apple cider vinegar
- 1 clove garlic, minced
- 1 tablespoon butter, melted
Instructions
- Preheat oven to 400°F (200°C). Line a baking sheet with parchment paper.
- Pound chicken breasts to an even ½-inch thickness and pat dry with paper towels.
- In a shallow bowl, whisk together cornstarch, flour, garlic powder, smoked paprika, salt, and pepper.
- Drizzle olive oil over chicken and rub in. Press each breast into the dry mixture to coat, shaking off excess.
- Place chicken on the prepared baking sheet, ensuring space between pieces.
- Bake for 15 minutes.
- While chicken bakes, whisk together Dijon mustard, maple syrup, apple cider vinegar, minced garlic, and melted butter.
- Remove chicken from oven, brush generously with the glaze, and return to oven.
- Bake for another 10 minutes or until internal temperature reaches 165°F (74°C).
- Let chicken rest for 5 minutes before slicing and serving.
Notes
Pounding the chicken to an even thickness ensures even cooking. Do not skip the cornstarch for maximum crispiness. Use parchment paper instead of foil to prevent steaming and aid browning. Let the chicken rest after baking to retain juices. For a spicy version, add red pepper flakes to the glaze or coating.
- Prep Time: 10 minutes
- Cook Time: 25 minutes
- Category: Main Course
- Cuisine: American
Nutrition
- Serving Size: 1 chicken breast wit
- Calories: 320
- Sugar: 14
- Sodium: 450
- Fat: 10
- Saturated Fat: 3
- Carbohydrates: 18
- Fiber: 1
- Protein: 35
Keywords: crispy baked chicken, maple dijon glaze, easy chicken dinner, fall recipes, healthy chicken breast, oven baked chicken, gluten-free option


