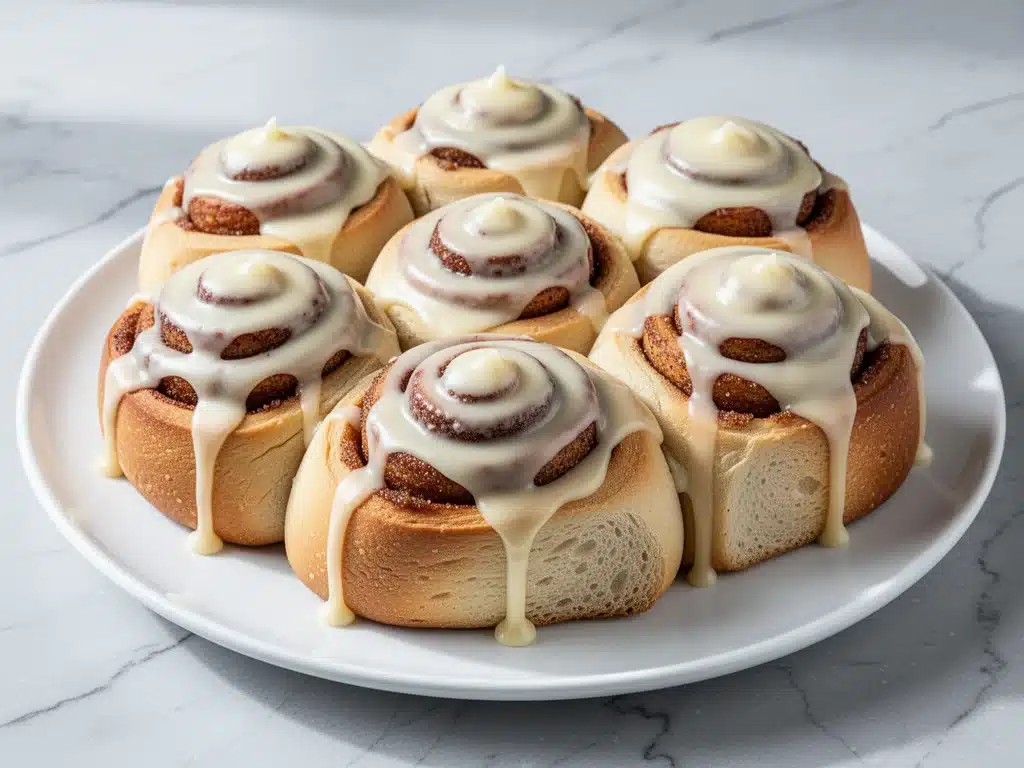
It was 5:30 a.m. on a Saturday, and the house was still dead quiet. My partner was passed out in the other room, the kids hadn’t woken up yet, and I had that familiar, nagging urge to prove I wasn’t just a “toast and coffee” person. I wanted something that smelled like a bakery. Something warm, yeasty, and dangerously sweet. So I put on my apron, fired up the oven, and decided to finally tackle the recipe that had intimidated me for years: homemade cinnamon rolls.
Here’s the thing about cinnamon rolls. Most people think they’re hard. They think you need a degree in dough science or a commercial mixer to get the texture right. But after years of trial, error, and eating my way through a dozen different methods, I’ve found the sweet spot. These Easy Homemade Cinnamon Rolls with Cream Cheese Icing are the answer. They’re pillowy soft, swirling with brown sugar and cinnamon, and topped with a tangy, velvety cream cheese glaze that actually stays put instead of running off the sides.
I’ve made this batch at least a dozen times since that first ambitious morning. Some weeks I double the recipe because my family treats them like currency. Other times, I’m just making a small batch for myself and a cup of black coffee. The beauty of this recipe is that it’s forgiving. You don’t need to be a perfectionist. You just need a little patience, a warm kitchen, and the willingness to let the dough do its thing. By the time these come out of the oven, your whole house will smell like Thanksgiving, and you’ll wonder why you ever bought the frozen tube kind again.
Why You’ll Love This Cinnamon Roll Recipe
I’ve been making these cinnamon rolls for years, and they’ve become my secret weapon for weekends. Whether I’m trying to impress in-laws or just need a hug in food form, this recipe delivers. Here’s why it keeps earning a spot in my weekly rotation:
- Actually Homemade — I know, it’s obvious. But there’s a difference between store-bought and this. The dough is tender, not dense. It rises properly and has that airy, cloud-like texture that makes you want to eat three in a row (don’t worry, I won’t tell).
- Weekend Brunch Hero — I make these on Saturday mornings to pair with a pot of coffee or maybe one of my pumpkin spice cinnamon rolls when the season changes. They’re the centerpiece of any lazy morning.
- Cream Cheese Icing That Doesn’t Run — Most glazes for cinnamon rolls are just powdered sugar and milk. This one uses cream cheese, which adds a savory tang that cuts through the sweetness. It’s thick enough to spread but creamy enough to drizzle.
- Freezer Friendly — I often make the dough on Friday night and let it rise slowly in the fridge overnight. Then I bake them Saturday morning. Or, I bake them and freeze the extras for a quick Tuesday breakfast.
- Family Approved — My kids usually have strong opinions about breakfast. They love these because they’re sweet but not cloying. Plus, the smell alone wakes them up faster than an alarm clock.
Real talk: once you try these, you’ll never go back to the refrigerated dough. It’s worth the extra thirty minutes of prep time. Trust me on this.
Ingredients You’ll Need
Before we get to the mixing bowl, let’s talk about what goes in. I’m particular about a few things here, mostly because I’ve learned the hard way what works and what doesn’t. You don’t need fancy ingredients, just good ones.
For the Dough
Warm Milk (1 cup / 240ml) — This needs to be warm, not hot. Think baby bottle temperature. If it’s too hot, it’ll kill the yeast. If it’s too cold, the yeast won’t wake up. I use whole milk for the best texture, but 2% works fine.
Active Dry Yeast (2 packets / 14g) — I use standard packets, but you can use instant yeast too. Just skip the proofing step if you use instant. Make sure your yeast isn’t expired; I’ve wasted a whole batch of dough before because I used old yeast.
Granulated Sugar (¼ cup / 50g) — Feeds the yeast and adds a little sweetness to the dough itself. Brown sugar works too if you want a deeper flavor, but I stick to white for a softer crumb.
Unsalted Butter (4 tablespoons / 57g, melted) — Adds richness and helps keep the rolls tender. Let it cool slightly before adding so you don’t cook the yeast.
Eggs (2 large) — Room temperature eggs mix better into the dough. I take them out of the fridge while the milk warms up.
All-Purpose Flour (4 to 4½ cups / 500-560g) — This is where technique matters. You don’t need all the flour at once. Start with 4 cups and add more only if the dough is still sticky. Over-flouring is the #1 reason homemade cinnamon rolls turn out dense.
Salt (1 teaspoon) — Essential for flavor. Don’t skip it.
For the Filling
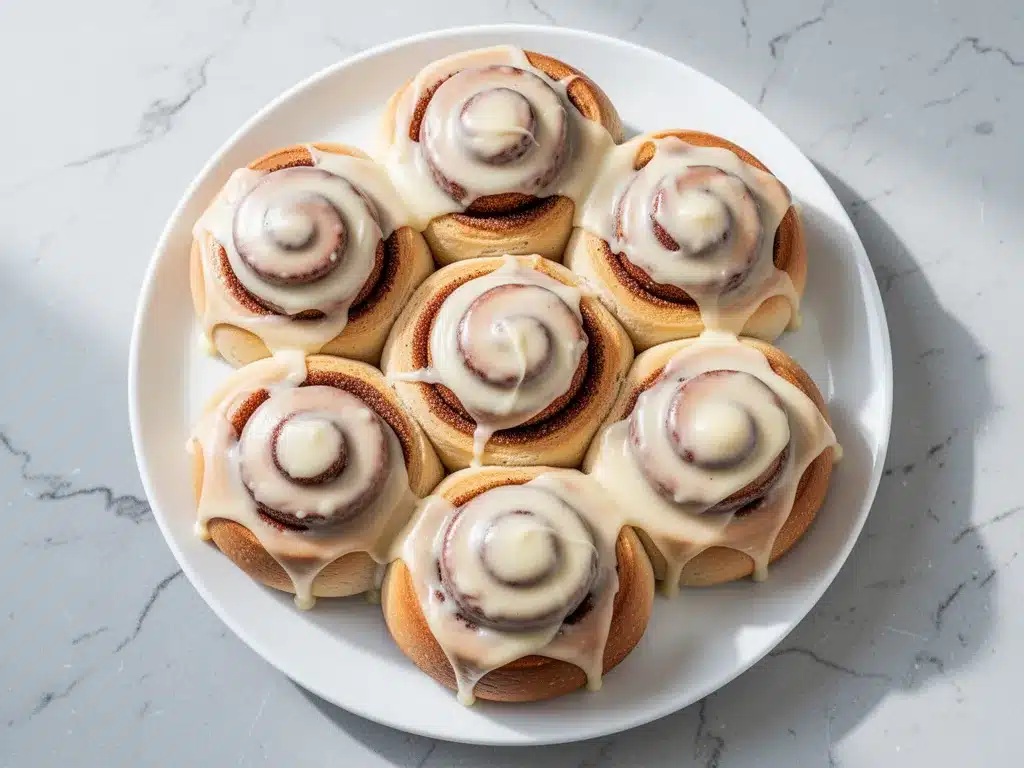
Unsalted Butter (½ cup / 113g, softened) — This needs to be soft enough to spread, not melted. Melted butter leaks out during baking and makes a mess.
Brown Sugar (1 cup / 200g) — Dark brown sugar gives a molasses depth that I love. Light brown works too.
Ground Cinnamon (2 tablespoons) — Use fresh cinnamon. Old cinnamon tastes dusty and flat. If your jar has been sitting since last Christmas, toss it and buy new.
For the Cream Cheese Icing
Cream Cheese (4 oz / 113g, softened) — Full-fat block cream cheese only. The tub stuff has too much water and won’t whip up right.
Powdered Sugar (1 to 1½ cups / 120-180g) — Sifted, obviously. Lumps in icing are a nightmare.
Vanilla Extract (1 teaspoon) — Pure vanilla, not imitation. It makes a huge difference in the flavor profile.
Milk or Cream (1-2 tablespoons) — Just enough to thin the icing to your preferred consistency.
Equipment Needed
You don’t need a fancy stand mixer for this, though it helps. Here’s what I actually use in my kitchen:
Large Bowl — For mixing the dough. I use a big glass bowl because I can see the dough rise easily.
Stand Mixer or Hand Mixer — A stand mixer with a dough hook is great for kneading. If you’re using a hand mixer, you’ll need to switch to hand-kneading for a few minutes, which is fine. It’s a good workout.
9×13 Inch Baking Dish — Standard size. I use a glass dish because it heats evenly. Metal works too, just keep an eye on the bottoms so they don’t burn.
Rolling Pin — To roll out the dough. A wooden one is classic, but a silicone one works if you don’t want it to stick.
Sharp Knife or Dental Floss — For cutting the rolls. I prefer dental floss! It slides under the roll, pulls up, and crosses over the top. No squishing the dough like a knife can do. Just pull the ends tight, and the roll cuts cleanly.
Pro Tip: If you’re feeling fancy, grab a pastry brush for the melted butter. It makes spreading easier.
How to Make It: Step-by-Step
Alright, let’s make these! I’m walking you through exactly how I do it, including the little tricks I’ve picked up over the years. Don’t stress about perfection—just follow the steps.
Step 1: Proof the Yeast (5 minutes)
In a small bowl, combine the warm milk, yeast, and a teaspoon of the sugar from the recipe. Stir gently and let it sit for 5-10 minutes. You’re looking for a foamy, bubbly layer on top. If it doesn’t foam, your yeast is dead. Start over with fresh yeast. This step ensures your dough will rise properly.
Step 2: Mix the Dough (5 minutes)
In a large bowl (or mixer bowl), combine the remaining sugar, melted butter, eggs, and salt. Pour in the yeast mixture and stir to combine. If using a mixer, switch to the dough hook. Add the flour, one cup at a time, mixing on low speed. Stop adding flour when the dough starts to pull away from the sides of the bowl. It should be soft and slightly tacky, not sticky.
Step 3: Knead the Dough (8-10 minutes)
Transfer the dough to a lightly floured surface. Knead by hand for 8-10 minutes, or use the mixer on medium-low for 5-7 minutes. The dough is done when it’s smooth, elastic, and passes the “windowpane test.” To test, tear off a small piece and stretch it thin. If you can see light through it without it tearing, it’s ready. This develops the gluten that gives the rolls their chew.
Step 4: First Rise (1-2 hours)
Place the dough in a greased bowl, turning once to coat. Cover with plastic wrap or a damp towel. Let it rise in a warm spot until doubled in size. This usually takes 1-2 hours. If your kitchen is cold, put the bowl in a turned-off oven with just the light on for warmth.
Step 5: Roll and Fill (10 minutes)
Punch down the risen dough and transfer it to a floured surface. Roll it out into a 12×18 inch rectangle. Spread the softened butter evenly over the surface, leaving a small border at the top edge. Sprinkle the brown sugar and cinnamon mixture evenly over the butter. Starting from the long edge closest to you, roll the dough up tightly into a log. Pinch the seam to seal.
Step 6: Cut the Rolls (5 minutes)
Place the log seam-side down. Cut into 12 equal rolls. I use dental floss for this: slide it under the roll, cross it over the top, and pull tight. Place the rolls in your greased 9×13 baking dish, leaving a little space between them so they can expand.
Step 7: Second Rise (30-45 minutes)
Cover the dish loosely and let the rolls rise again until puffy. This is crucial for softness. While they rise, preheat your oven to 350°F (175°C).
Step 8: Bake (25-30 minutes)
Bake the rolls until they are golden brown on top and cooked through. If you’re worried about the tops browning too fast, tent them with foil after 20 minutes. The internal temperature should reach about 190°F (88°C) if you have a thermometer.
Step 9: Make the Icing and Finish (10 minutes)
While the rolls bake, make the icing. Beat the softened cream cheese until smooth. Gradually add the powdered sugar, vanilla, and milk. Beat until creamy and spreadable. Let the rolls cool for 10 minutes in the pan. Then, spread the icing over the warm rolls. The warmth helps the icing melt slightly into the crevices.
Total Time: About 3-3.5 hours (mostly hands-off rising time). Active time is about 45 minutes.
Expert Tips & Tricks
Here’s everything I’ve learned from making this dozens of times. These tips will save you from my mistakes.
- Don’t Over-Flour — This is the biggest mistake. The dough should be soft and slightly sticky. If it’s too dry, the rolls will be dense. Use less flour than you think you need.
- Soft Butter is Key — For the filling, the butter must be soft enough to spread. If it’s cold, it will tear the dough. If it’s melted, it will soak in and make the filling greasy. Aim for spreadable.
- Roll Tight — When rolling the dough, keep it tight. Loose rolls will unroll in the oven and make a mess. Tuck the ends under slightly to help them hold shape.
- Use Dental Floss — I know it sounds weird, but it’s the best way to cut rolls without squishing them. Just pull the floss tight and it cuts clean.
- Room Temperature Cream Cheese — For the icing, make sure the cream cheese is fully softened. Lumps in the icing are hard to fix once the sugar is added.
Common Mistakes (and how to avoid them):
- Mistake: Rolls are flat. Fix: You didn’t let them rise enough the second time. Be patient. They need to look puffy before baking.
- Mistake: Dough didn’t rise. Fix: Your milk was too hot and killed the yeast, or your yeast was old. Always proof the yeast first.
- Mistake: Icing is runny. Fix: You added too much milk. Add more powdered sugar, one tablespoon at a time, until it thickens.
Variations & Substitutions
Once you’ve nailed the basic version, here’s how you can mix it up. I’ve tried all of these.
Classic Glaze
If you prefer a traditional icing, skip the cream cheese. Mix 1 cup powdered sugar with 2-3 tablespoons milk and ½ teaspoon vanilla. It’s simpler but less tangy.
Maple Pecan Cinnamon Rolls
Add ½ cup chopped pecans to the filling. Drizzle the icing with a little maple syrup for a fall vibe. This is similar to my fall maple pecan sticky buns, but with a cream cheese twist.
Cherry-Almond Cinnamon Rolls
Swap the cinnamon for almond extract in the icing. Sprinkle dried cherries into the filling. It’s a bit more fancy but delicious.
Dairy-Free Option
Use plant-based milk and butter for the dough. For the icing, use vegan cream cheese (like Kite Hill) and vegan powdered sugar. It works surprisingly well.
Mini Cinnamon Rolls
Cut the rolls in half for bite-sized versions. Great for parties or if you want to control portions. Bake time will be shorter—check at 15 minutes.
Serving & Storage
How to Serve: These are best served warm, right after icing. They’re perfect for weekend brunch, paired with coffee or one of my iced vanilla chai lattes for a cozy treat. I also serve them with fresh berries on the side to cut the sweetness.
Storage: Store leftovers in an airtight container at room temperature for up to 2 days. If your kitchen is hot, refrigerate them. They’ll last up to 5 days in the fridge.
Reheating: Warm them in the microwave for 20-30 seconds. Or, pop them in a 350°F oven for 5-10 minutes to refresh the texture. The icing will soften, which is fine.
Freezing: You can freeze baked rolls for up to 3 months. Let them thaw at room temperature, then warm slightly before serving. You can also freeze the unbaked rolls after the second rise. Wrap the pan tightly in plastic and foil. When ready to bake, let them thaw and rise, then bake as usual.
Nutrition Information
I’m not a nutritionist, but here’s the breakdown if you’re tracking. This is comfort food, so it’s rich!
Per Roll (based on 12 rolls):
- Calories: 380
- Protein: 6g
- Carbs: 52g
- Fat: 15g
- Sugar: 28g
- Fiber: 1g
What’s Good: It’s a decent source of carbohydrates for energy. The cream cheese adds some protein and fat, which helps keep you full.
What to Know: High in sugar and calories. It’s a treat, not an everyday breakfast. If you’re watching sugar, reduce the filling sugar slightly, though it might affect the texture.
Dietary Notes: Contains gluten, dairy, and eggs. Not suitable for vegan or gluten-free diets without modifications.
Final Thoughts
So that’s my go-to Easy Homemade Cinnamon Rolls with Cream Cheese Icing! I’ve probably talked your ear off at this point, but when you make a recipe this often, you have a lot to say about it. These rolls have saved my weekend mornings more times than I can count. They’re my answer to “what’s for brunch” when I want to feel fancy but don’t want to leave the house.
Make it yours! Try different fillings, swap the icing, or just enjoy them plain. The best recipes are the ones you adapt to your family’s tastes. If you make these, drop a comment and let me know what you think! I love hearing how recipes turn out in your kitchen. And if something doesn’t work, tell me that too—I’m here to help troubleshoot.
Happy baking! And I hope your kitchen smells half as good as mine does right now.
Frequently Asked Questions
Can I use instant yeast instead of active dry yeast?
Yes! Instant yeast doesn’t need to be proofed in milk first. You can mix it directly with the dry ingredients. Just reduce the liquid slightly if needed, as instant yeast absorbs less water. The result is the same.
Why did my dough not rise?
Usually, this means the yeast was dead (expired or killed by hot milk) or the kitchen was too cold. Always check the expiration date on your yeast. If your kitchen is drafty, put the dough in a turned-off oven with the light on for warmth.
Can I make these ahead of time?
Absolutely. After shaping the rolls and placing them in the pan, cover them tightly with plastic wrap and refrigerate overnight. In the morning, let them sit on the counter for 30-60 minutes to rise while the oven preheats, then bake as directed. This is my favorite method for busy mornings.
Why is my icing runny?
The cream cheese was probably too warm, or you added too much milk. Chill the icing in the fridge for 15 minutes to thicken it. If it’s still too thin, add more powdered sugar, one tablespoon at a time, until it reaches a spreadable consistency.
Can I freeze the dough?
You can, but it’s tricky. It’s better to freeze the baked rolls. If you must freeze the dough, let it rise once, then punch it down, wrap it tightly, and freeze. Thaw in the fridge overnight, let it rise again, then shape and bake.
What’s the best way to cut the rolls?
I highly recommend using dental floss. Slide it under the roll, cross it over the top, and pull tight. It cuts cleanly without squishing the dough like a knife can. Just make sure the floss is unwaxed for food safety.
Can I add other ingredients to the filling?
Yes! Chopped walnuts, pecans, or dried cherries work great. Just sprinkle them evenly over the butter and sugar mixture before rolling. Be careful not to add too much, or the rolls might fall apart.
Pin This Recipe!
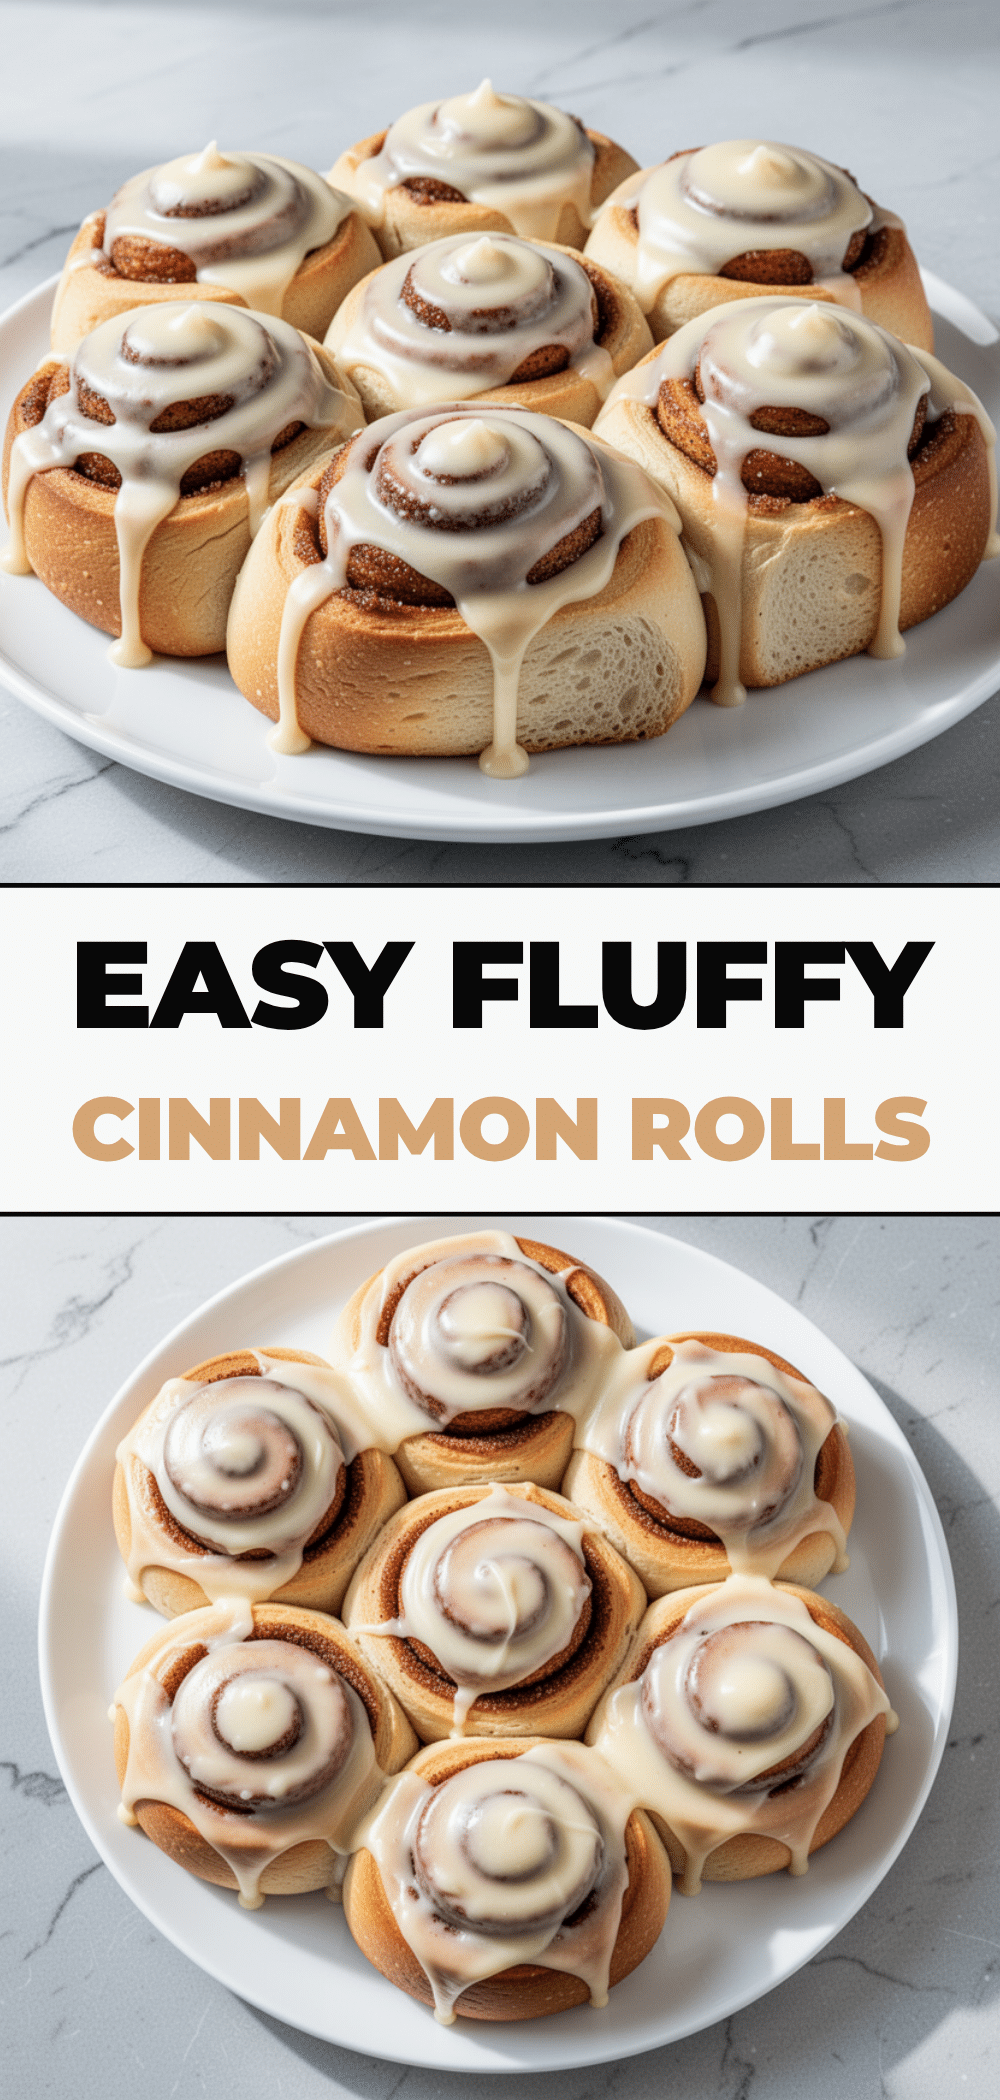

Easy Homemade Cinnamon Rolls with Cream Cheese Icing
- Total Time: 3 hours 30 minutes
- Yield: 12 servings 1x
Description
Pillowy soft homemade cinnamon rolls swirled with brown sugar and cinnamon, topped with a tangy, velvety cream cheese glaze that stays put. A forgiving, family-approved weekend brunch recipe.
Ingredients
- 1 cup warm whole milk (baby bottle temperature)
- 2 packets (14g) active dry yeast
- 1/4 cup granulated sugar
- 4 tablespoons unsalted butter, melted and cooled
- 2 large eggs, room temperature
- 4 to 4 1/2 cups all-purpose flour
- 1 teaspoon salt
- 1/2 cup unsalted butter, softened (for filling)
- 1 cup brown sugar
- 2 tablespoons ground cinnamon
- 4 oz (113g) full-fat block cream cheese, softened (for icing)
- 1 to 1 1/2 cups powdered sugar, sifted (for icing)
- 1 teaspoon pure vanilla extract
- 1–2 tablespoons milk or cream (for icing)
Instructions
- Proof the yeast: In a small bowl, combine warm milk, yeast, and 1 teaspoon of sugar. Let sit for 5-10 minutes until foamy.
- Mix the dough: In a large bowl or mixer, combine remaining sugar, melted butter, eggs, and salt. Add yeast mixture. Add flour one cup at a time, mixing on low until dough pulls away from sides and is soft/tacky.
- Knead the dough: Knead by hand for 8-10 minutes or mixer on medium-low for 5-7 minutes until smooth and elastic (passes windowpane test).
- First rise: Place dough in a greased bowl, cover, and let rise in a warm spot for 1-2 hours until doubled in size.
- Roll and fill: Punch down dough and roll into a 12×18 inch rectangle. Spread softened butter over surface, leaving a border. Sprinkle with brown sugar and cinnamon. Roll tightly into a log and pinch seam to seal.
- Cut the rolls: Cut log into 12 equal rolls using dental floss or a sharp knife. Place in a greased 9×13 inch baking dish.
- Second rise: Cover rolls loosely and let rise for 30-45 minutes until puffy. Preheat oven to 350°F (175°C) during this time.
- Bake: Bake for 25-30 minutes until golden brown. Tent with foil if browning too fast. Internal temperature should reach 190°F.
- Make icing: Beat cream cheese until smooth. Gradually add powdered sugar, vanilla, and milk. Beat until creamy.
- Finish: Let rolls cool for 10 minutes in pan. Spread icing over warm rolls.
Notes
Do not over-flour the dough; it should be soft and slightly tacky. Ensure butter for filling is softened, not melted. Use dental floss to cut rolls cleanly without squishing. If kitchen is cold, rise dough in an oven with just the light on.
- Prep Time: 45 minutes
- Cook Time: 30 minutes
- Category: Breakfast
- Cuisine: American
Nutrition
- Serving Size: 1 roll
- Calories: 380
- Sugar: 28
- Sodium: 350
- Fat: 15
- Saturated Fat: 9
- Carbohydrates: 52
- Fiber: 1
- Protein: 6
Keywords: cinnamon rolls, homemade cinnamon rolls, cream cheese icing, weekend brunch, easy baking, yeast dough, breakfast recipe


