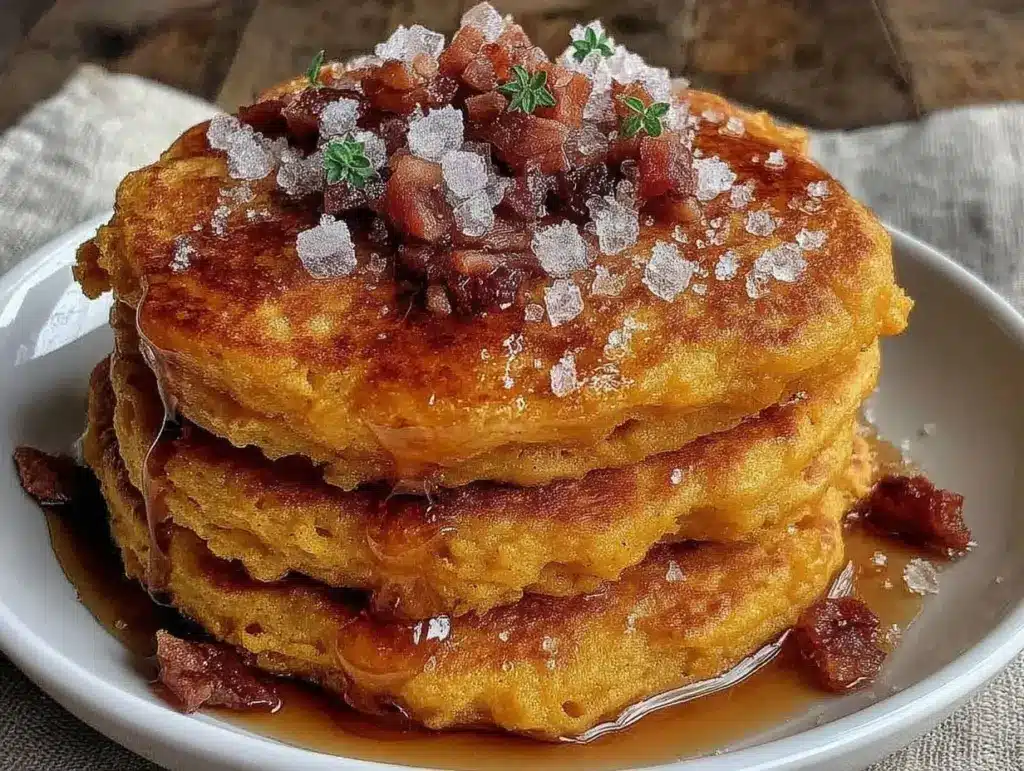
There was a period last winter when I was running on three hours of sleep and a reliance on gas station coffee that would make a truck driver blush. It was 6:45 AM, my alarm was screaming, and I had exactly twelve minutes to get out the door. In the past, this meant grabbing a stale bagel or skipping breakfast entirely, leading to the inevitable 10 AM crash. But then I made a decision: I was going to reclaim my mornings. Not by waking up earlier—that’s a battle for another day—but by preparing my breakfast the night before.
I tried the usual suspects. Overnight oats? Too mushy by Wednesday. Egg muffins? Great, but I got tired of eating them by Friday. Then I stumbled onto the idea of freezing pancakes. I know, revolutionary, right? But here’s the thing: most pancake recipes turn into rubbery bricks when you freeze them. They lose their lift. They dry out. They taste like regret.
That’s when I started testing this extra-fluffy pumpkin spice pancake recipe specifically for meal prep. I needed something that could survive the freeze-thaw cycle without losing its soul. I needed something that tasted like autumn even in the dead of January. After about seven failed batches (yes, seven, and yes, the freezer took a hit), I cracked the code. The secret isn’t just the pumpkin puree; it’s the ratio of wet to dry ingredients and a specific resting time that allows the flour to hydrate fully before cooking. Now, I make a massive batch on Sunday, portion them out, and I have four days of breakfast that actually tastes homemade. It’s my “make it once, eat it four times this week” holy grail.
Why You’ll Love This Pumpkin Pancake Meal Prep
If you’re someone who values efficiency in the kitchen as much as I do, this recipe is going to change your life. It’s not just about saving time; it’s about removing the decision fatigue that comes with a busy morning. Here is exactly why this batch of pumpkin spice pancake meal prep is worth your Sunday afternoon:
- Zero Morning Stress — Seriously. You wake up, throw two frozen pancakes in the toaster or microwave, and you’re eating in five minutes. No batter mixing, no flipping, no cleanup. I’ve even done this while getting my kids ready for school. It’s that fast.
- Actually Stays Fluffy — I’ve tested frozen pancakes from scratch, and they’re usually sad, dense discs. This recipe uses a specific leavening technique that keeps the crumb light even after freezing. They reheat with a texture that’s surprisingly close to fresh.
- Portion Control Built-In — Because I make them in a standard 1/4 cup measure, I know exactly what I’m eating. No guessing if I had too many or too few. It’s perfect for tracking macros or just keeping things balanced.
- Freezer-Friendly for Weeks — Unlike spinach and feta egg muffins which are best eaten within three days, these pancakes hold up beautifully for up to three months in the freezer. I make a double batch in October and finish it in December.
- Versatile Toppings — Because the base is mildly spiced and not overly sweet, you can customize every morning. Maple syrup on Monday, Greek yogurt and berries on Tuesday, peanut butter and banana on Wednesday. It keeps things interesting.
This is my go-to when I need breakfast to just work. It’s reliable, it’s tasty, and it keeps me fueled without requiring me to be a morning person.
Ingredients You’ll Need
Here’s the best part: you probably have most of this already. This isn’t a recipe that requires a trip to three different specialty stores. It’s pantry staples with a few seasonal additions.
For the Batter
All-purpose flour (2 cups / 250g) — The foundation. Don’t use whole wheat if you want that light, bakery-style fluffiness. Cake flour is too delicate for freezing; AP flour holds up best.
Baking powder (2 teaspoons) — Crucial. Make sure it’s fresh. Old baking powder is the #1 reason pancakes turn out flat. If it’s been in your cabinet for six months, toss it and buy new. Trust me.
Baking soda (1/2 teaspoon) — Works with the buttermilk to create lift. This combination is what gives them that extra height.
Salt (1/2 teaspoon) — Enhances the flavor. Don’t skip it, even if you’re watching sodium. It makes the sweet taste sweeter.
Pumpkin puree (1 cup / 240g) — Use canned 100% pure pumpkin, NOT pumpkin pie filling. Pie filling has sugar and spices added, which will mess up your balance. Look for the plain orange can.
Buttermilk (1 1/2 cups / 360ml) — This is the secret weapon. The acidity reacts with the baking soda. If you don’t have buttermilk, make your own: add 1 tablespoon of white vinegar or lemon juice to a measuring cup, then fill with milk to the 1.5 cup line. Let it sit for 5 minutes. It curdles slightly. Perfect.
Eggs (2 large) — Room temperature eggs mix into the batter more evenly. I take them out of the fridge while I measure the dry ingredients.
Unsalted butter (1/4 cup / 56g, melted) — Adds richness and helps with browning. Let it cool slightly before adding so you don’t cook the eggs.
Pure vanilla extract (2 teaspoons) — Real vanilla. No imitation stuff. It rounds out the pumpkin flavor.
For the Spice Blend
Cinnamon (1 1/2 teaspoons) — The star of the show.
Ground ginger (1/2 teaspoon) — Adds a little zing. Don’t use fresh ginger; it has too much water.
Nutmeg (1/4 teaspoon) — Freshly grated is best, but pre-ground works fine. Just a pinch.
Ground cloves (1/8 teaspoon) — This is the pro tip. It adds depth without tasting like “pumpkin spice” explicitly. It just makes it taste complex.
For Cooking
Butter or oil — For greasing the pan. I use a paper towel dipped in neutral oil (like canola or vegetable) to grease the skillet. It prevents burning better than melting butter directly on the heat.
Equipment Needed
You don’t need fancy gadgets for this. Here’s what I actually use, based on years of meal prep Sunday battles:
Large mixing bowl — I use a 5-quart stainless steel bowl. It’s big enough to whisk everything without spilling. Plastic works too, just make sure it’s heavy-bottomed so it doesn’t tip.
Whisk — A standard balloon whisk is fine. I prefer the one with the rubber grip because it doesn’t slip.
Measuring cups and spoons — For dry ingredients, I use the dip-and-level method. For liquids, I use a glass measuring cup. Accuracy matters here, especially with the leavening agents.
Non-stick skillet or griddle — I use a 12-inch non-stick skillet. It’s the easiest to clean and the pancakes release easily. If you have a flat electric griddle, even better, but a skillet is fine.
Spatula — A thin, flexible silicone spatula is best for flipping. It gets under the pancake without tearing it.
Cooling rack — Essential. Never stack warm pancakes on a plate. They’ll steam and get soggy. You need air circulation.
Freezer bags or containers — I use gallon-sized Ziploc bags. They’re cheap, take up less space, and you can lay them flat in the freezer. Parchment paper squares are also helpful if you want to separate layers.
How to Make It: Step-by-Step
Alright, let’s make this! I’m walking you through exactly how I do it, including the little tricks I’ve picked up over the last year of Sunday meal prepping.
Step 1: Mix the Dry Ingredients (5 minutes)
In your large bowl, whisk together the flour, baking powder, baking soda, salt, cinnamon, ginger, nutmeg, and cloves. Whisking them together ensures that the spices are evenly distributed. If you don’t do this, you’ll end up with a spicy bite in one pancake and a bland one in the next. It’s a small step that makes a big difference.
Step 2: Whisk the Wet Ingredients (3 minutes)
In a separate medium bowl or large measuring cup, whisk the buttermilk, eggs, melted butter, vanilla, and pumpkin puree until smooth. The pumpkin can be thick, so make sure you break it up well. If you have lumps, your batter will be uneven. I usually whisk this vigorously for about 30 seconds.
Step 3: Combine and Rest (10 minutes)
Pour the wet ingredients into the dry ingredients. Use a spatula or whisk to gently combine them. STOP when the flour is just moistened. It’s okay if there are a few lumps. Overmixing develops gluten, which makes pancakes tough and chewy instead of fluffy. This is the most important rule in pancake making.
Now, let the batter rest for 10 minutes. This allows the flour to absorb the liquid and the baking powder to start activating. You’ll see tiny bubbles form on the surface. Don’t skip this rest! It’s what gives them that extra fluffiness.
Step 4: Cook the Pancakes (15-20 minutes)
Heat your skillet over medium heat. Test it by sprinkling a few drops of water on the surface—if they dance and evaporate quickly, it’s ready. Lightly grease the pan.
Pour about 1/4 cup of batter for each pancake. Don’t crowd the pan; leave space between them. Cook for 2-3 minutes. You’ll know they’re ready to flip when the edges look set, the surface is covered in bubbles, and the bubbles start to pop and stay open. Flip gently and cook for another 1-2 minutes on the other side, until golden brown.
Transfer to a cooling rack. Repeat with the remaining batter. You should get about 16-18 pancakes, depending on your size.
Step 5: Cool Completely (30 minutes)
This is non-negotiable. Let the pancakes cool completely on the rack. If you try to freeze them while they’re warm, you’ll create ice crystals and sogginess. I usually let them cool while I clean the kitchen. They should be room temperature before bagging.
Expert Tips & Tricks for Freezing
Here’s everything I’ve learned from making this dozens of times. These tips will save you from my mistakes.
Flash Freeze for Easy Bagging
Once the pancakes are cool, lay them in a single layer on a baking sheet and put them in the freezer for 30 minutes. Once they’re hard, transfer them to bags. This prevents them from sticking together in a giant clump. You can pull out exactly two pancakes at a time.
Label and Date
I know it’s tempting to just throw them in there, but write the date on the bag. Freezer burn is real. These are best eaten within 3 months for optimal texture. After that, they’re still safe, but the flavor fades.
Don’t Overcook Them Initially
Since you’re going to reheat them later, slightly undercook them by 30 seconds on each side. This prevents them from drying out in the microwave.
Use Parchment Paper
If you don’t want to flash freeze, place a square of parchment paper between each pancake before bagging. This creates a barrier so they don’t stick together.
The Toaster Trick
For the best texture, reheat frozen pancakes in a toaster or toaster oven. It crisps the edges and keeps the center soft. Microwave only if you’re in a rush, and add a damp paper towel over them to keep them moist.
Variations & Substitutions
Once you’ve nailed the basic version, here’s how you can mix it up. I’ve tried all of these.
Chai Spice Version
Swap the pumpkin pie spices for chai spices: cardamom, cinnamon, ginger, cloves, and black pepper. It’s warmer and more aromatic. Great with chai tea.
Maple Walnut
Add 1/2 cup chopped walnuts to the batter. Toast them first for extra flavor. This adds crunch and healthy fats.
Gluten-Free
Use a 1:1 gluten-free flour blend. The texture will be slightly denser, but still good. I’ve used Bob’s Red Mill and King Arthur, and both work.
Dairy-Free
Use coconut milk yogurt instead of buttermilk (thinned with water) and coconut oil instead of butter. The coconut flavor will be subtle but present. It’s surprisingly delicious.
Protein Boost
Stir in 1 scoop of unflavored or vanilla protein powder. You’ll need to add an extra 2-3 tablespoons of buttermilk because protein powder absorbs moisture. They’ll be slightly denser but more filling.
Serving & Storage
How to Serve
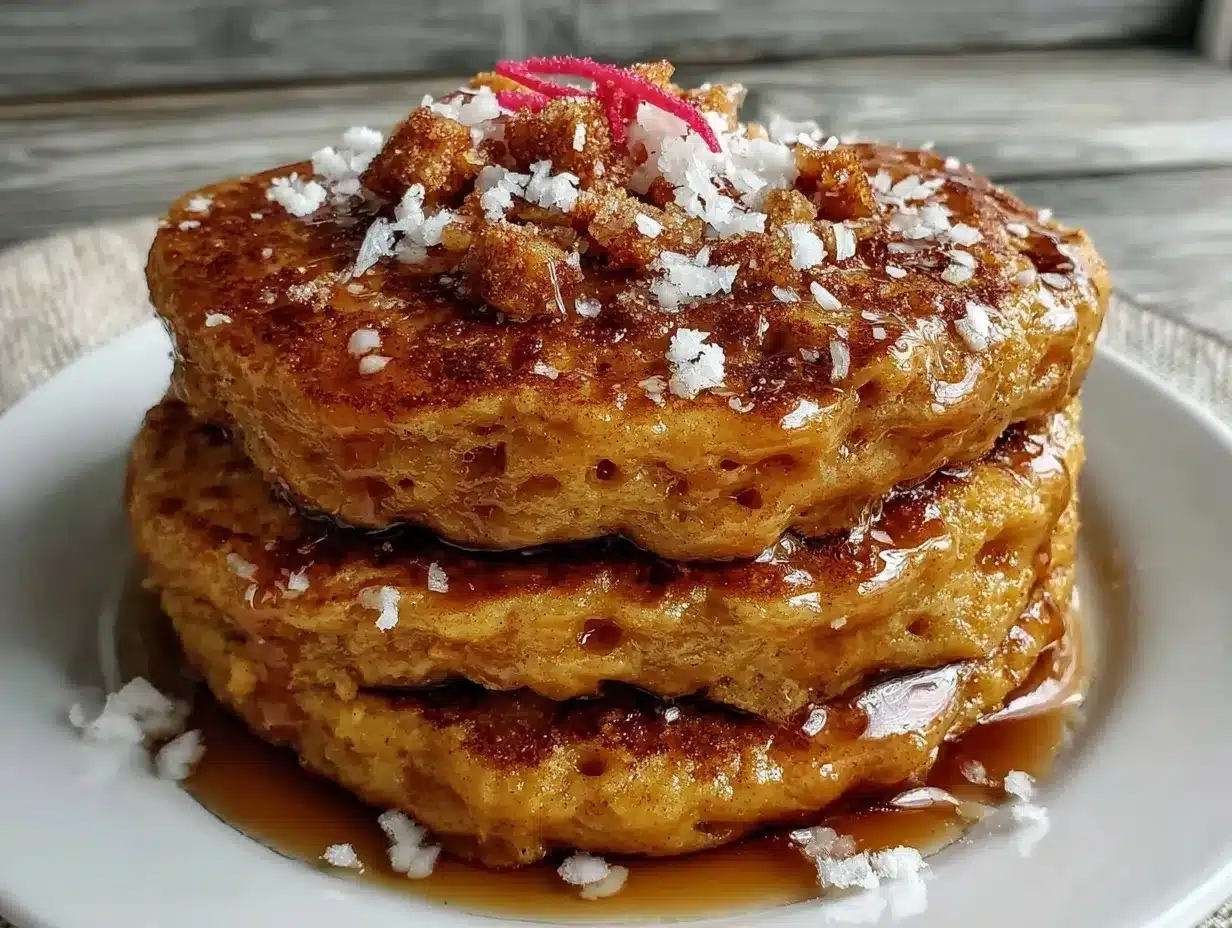
I usually serve these with a drizzle of pure maple syrup and a dollop of Greek yogurt. But they’re also great with peanut butter and banana slices, or just plain with a little butter.
Reheating Methods
Toaster: 2-3 minutes on medium. Best texture.
Microwave: 30-45 seconds with a damp paper towel. Fastest, but softer texture.
Oven: 350°F for 5-7 minutes. Good for reheating a whole batch.
Storage
Freezer: Up to 3 months in airtight bags.
Fridge: Up to 3 days in an airtight container. Reheat in toaster.
Meal Prep Strategy
I portion them into bags of 4 (two per person for my family). This way, I only grab what I need. I also keep a separate bag of “emergency” pancakes for days when I’m really running late.
Nutrition Information
I’m not a nutritionist, but here’s the breakdown if you’re tracking. These are estimates per pancake (makes 16 pancakes, based on 1/4 cup batter each).
| Nutrient | Per Pancake |
|---|---|
| Calories | 140 |
| Protein | 4g |
| Carbs | 22g |
| Fiber | 1g |
| Fat | 4g |
Look, this is comfort food. It’s not a diet recipe. But it’s way better than takeout, costs less, and I know exactly what’s in it. When I want to make it lighter, I use the half-and-half version and load up on vegetables. But usually? I just eat a reasonable portion and enjoy it.
Final Thoughts
So that’s my go-to extra-fluffy pumpkin spice pancake meal prep! I’ve probably talked your ear off at this point, but when you make a recipe this often, you have a lot to say about it.
This has saved my mornings more times than I can count. It’s my answer to “what’s for breakfast” when I’m tired, don’t want to cook, and still want something that tastes really good. My kids are happy, my husband’s happy, and I’m happy because I’m not stressed about cooking.
Make it yours! Try different add-ins, swap in your favorite spices, adjust the sweetness. The best recipes are the ones you adapt to your family’s tastes.
If you make this, drop a comment and let me know what you think! I love hearing how recipes turn out in your kitchen. And if something doesn’t work, tell me that too—I’m here to help troubleshoot.
Happy cooking! And I hope your kitchen smells half as good as mine does right now.
Frequently Asked Questions
Can I freeze the batter instead of the cooked pancakes?
No, I don’t recommend it. The baking powder loses its potency when frozen in liquid, so your pancakes will be flat when you cook them later. Always freeze the cooked pancakes.
Why are my pancakes dense?
Usually, this means you overmixed the batter. Once you add the wet to the dry, mix until just combined. Lumps are good! Also, check your baking powder. If it’s old, it won’t leaven properly.
Can I use pumpkin pie filling?
No. Pumpkin pie filling has sugar, spices, and thickeners added. It will make your pancakes too sweet and the texture will be wrong. Use plain canned pumpkin puree.
How do I prevent sticking in the freezer?
Flash freeze them first! Lay them on a baking sheet in the freezer for 30 minutes until hard, then bag them. This prevents them from fusing into one giant pancake brick.
Can I reheat these in the air fryer?
Yes! 350°F for 2-3 minutes works great. They come out crispy and warm. I actually prefer this method to the microwave.
Do these work for gluten-free diets?
Yes, if you swap the flour for a 1:1 gluten-free blend. The texture will be slightly different, but still tasty.
Pin This Recipe!
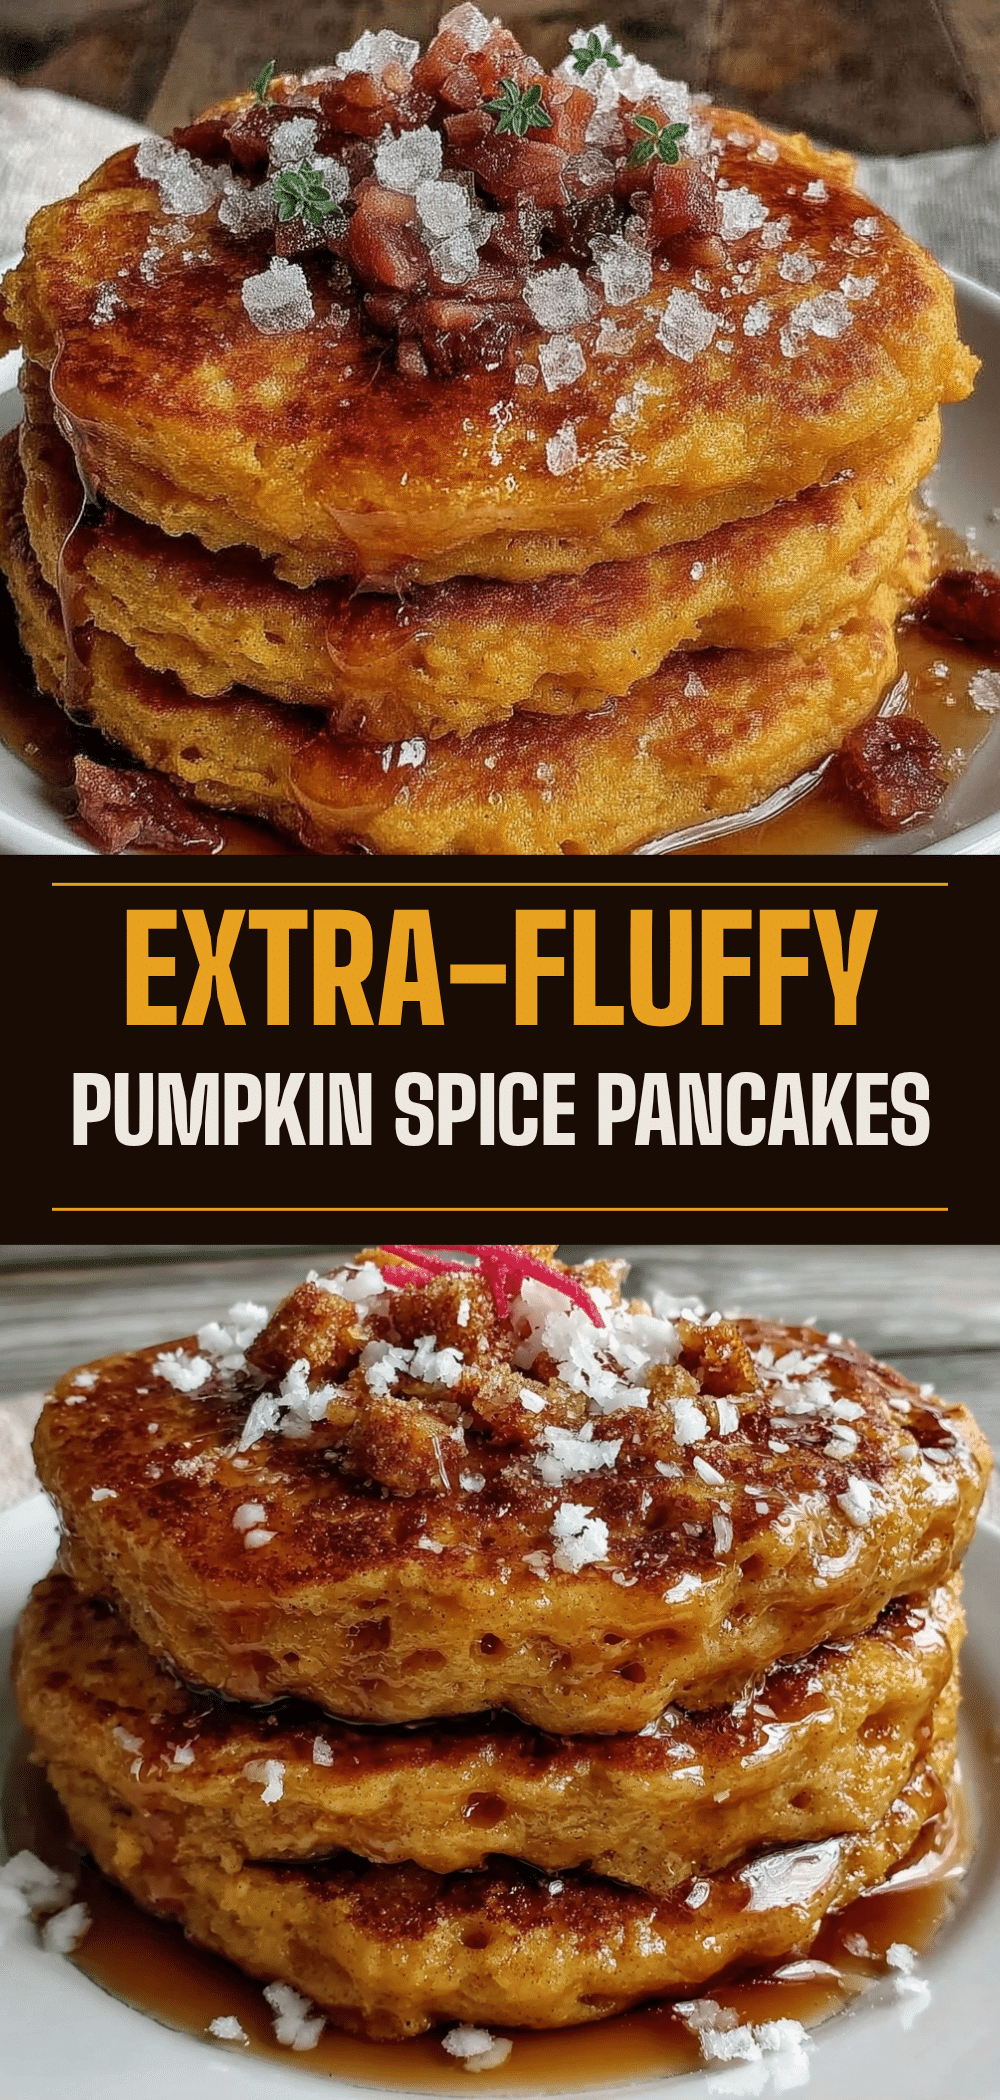
Extra-Fluffy Pumpkin Spice Pancakes: Make It Once
- Total Time: 35 minutes
- Yield: 16 servings 1x
Description
A meal-prep friendly pumpkin spice pancake recipe designed to stay fluffy after freezing. Perfect for busy mornings, these pancakes can be made once and eaten for four days.
Ingredients
- 2 cups (250g) all-purpose flour
- 2 teaspoons baking powder
- 1/2 teaspoon baking soda
- 1/2 teaspoon salt
- 1 cup (240g) canned 100% pure pumpkin puree
- 1 1/2 cups (360ml) buttermilk
- 2 large eggs, room temperature
- 1/4 cup (56g) unsalted butter, melted and cooled
- 2 teaspoons pure vanilla extract
- 1 1/2 teaspoons cinnamon
- 1/2 teaspoon ground ginger
- 1/4 teaspoon nutmeg
- 1/8 teaspoon ground cloves
- Butter or neutral oil for greasing the pan
Instructions
- In a large bowl, whisk together the flour, baking powder, baking soda, salt, cinnamon, ginger, nutmeg, and cloves.
- In a separate medium bowl or large measuring cup, whisk the buttermilk, eggs, melted butter, vanilla, and pumpkin puree until smooth.
- Pour the wet ingredients into the dry ingredients and gently combine until just moistened. Do not overmix; a few lumps are okay.
- Let the batter rest for 10 minutes to allow the flour to hydrate and baking powder to activate.
- Heat a non-stick skillet or griddle over medium heat and lightly grease with butter or oil.
- Pour about 1/4 cup of batter per pancake onto the skillet. Cook for 2-3 minutes until bubbles form and pop, then flip and cook for another 1-2 minutes until golden brown.
- Transfer cooked pancakes to a cooling rack and let them cool completely to room temperature.
- Flash freeze the cooled pancakes on a baking sheet for 30 minutes, then transfer to freezer bags or containers for storage.
Notes
Ensure baking powder is fresh for maximum lift. Do not use pumpkin pie filling; use plain pure pumpkin puree. Cool pancakes completely before freezing to prevent sogginess. For best texture, reheat in a toaster or toaster oven.
- Prep Time: 15 minutes
- Cook Time: 20 minutes
- Category: Breakfast
- Cuisine: American
Nutrition
- Serving Size: 1 pancake
- Calories: 140
- Sugar: 6
- Sodium: 300
- Fat: 4
- Saturated Fat: 2
- Carbohydrates: 22
- Fiber: 1
- Protein: 4
Keywords: pumpkin spice pancakes, meal prep breakfast, freezeable pancakes, fluffy pancakes, pumpkin breakfast, batch cooking


