It’s 9:30 PM on a Tuesday in August. The house is quiet, which is suspicious, and I’m staring into the open fridge like it holds the secrets to the universe. My daughter, who is currently a nervous wreck about starting fourth grade, is asleep upstairs. Tomorrow morning, the chaos begins again. But tonight, I have one last task before the school year officially kicks off: I need to bake something for the teacher’s lounge. Not a pie. Not cookies that might get crushed in a Tupperware. I need something that says, “I appreciate you,” but also, “I have my life together (mostly).”
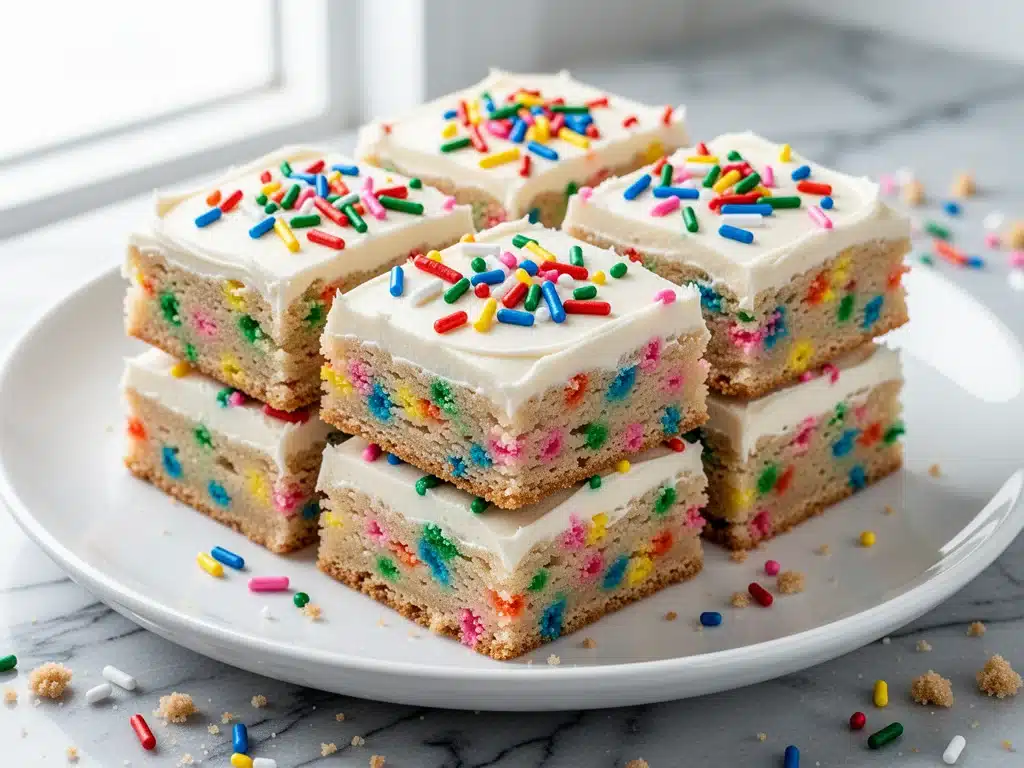
That’s when I remembered the Frosted Confetti Sugar Cookie Bars. These aren’t just any bars. They’re the edible equivalent of a party favor bag. They’re bright, they’re cheerful, and they’re impossible to eat just one of. I’ve made these for every school event since my oldest started kindergarten—class parties, PTA meetings, bake sales, and yes, teacher appreciation. They are the backbone of my back-to-school survival kit. And honestly? They’re the only baked good that consistently gets cleared from the table within twenty minutes.
There’s something magical about a sugar cookie bar. It has the best of both worlds: the tender, cake-like crumb of a bar cookie with the structural integrity to hold up under a mountain of buttercream frosting. Plus, the confetti sprinkles? They’re nostalgic. They trigger that specific childhood memory of Saturday mornings and cereal box prizes. When you pull a pan of these out, the room lights up. Kids go crazy. Teachers smile. And you, the baker, get to sit back and watch everyone have a good time without having spent three hours piping intricate designs.
If you’re looking for easy back-to-school party ideas that don’t involve a Pinterest-perfect tutorial that takes all weekend, you’re in the right place. These bars are forgiving. They’re delicious. And they’re the secret weapon I use to stay on the good side of the PTA. Let me show you how to make them.
Why These Bars Are Your New Party Staple
I’ve tried everything. I’ve made cut-out cookies that lose their shapes in the oven. I’ve made brownies that are too dense for the kids. I’ve made blondies that are just… okay. But these Frosted Confetti Sugar Cookie Bars? They’re the gold standard. Here’s why they’ve earned a permanent spot in my rotation:
- Zero Cutting Required — Seriously. This is the biggest selling point. You mix the batter, press it into a pan, bake it, frost it, and cut it into squares. No rolling pins. No chilled dough. No worrying about jagged edges. I’ve made these while helping my son with his math homework, and they turned out perfect every time.
- Make-Ahead Friendly — This is crucial for back-to-school season when your calendar is a mess. You can bake these two days in advance. In fact, they taste even better the next day because the flavors have time to meld and the frosting sets up. I usually bake them on Sunday night so they’re ready for Monday morning’s teacher drop-off.
- Universal Appeal — I’ve served these to picky eaters who only eat white bread, to health-conscious parents who judge bake sale items, and to teachers who claim they “don’t have a sweet tooth.” Everyone loves them. The vanilla flavor is familiar, the texture is soft, and the frosting is irresistible.
- Cost-Effective — Feeds a classroom of 25-30 kids for about $10-12. That’s less than $0.50 per serving. Compare that to the $3 cookie you’d buy at the bakery, and you’re saving money while providing a better product.
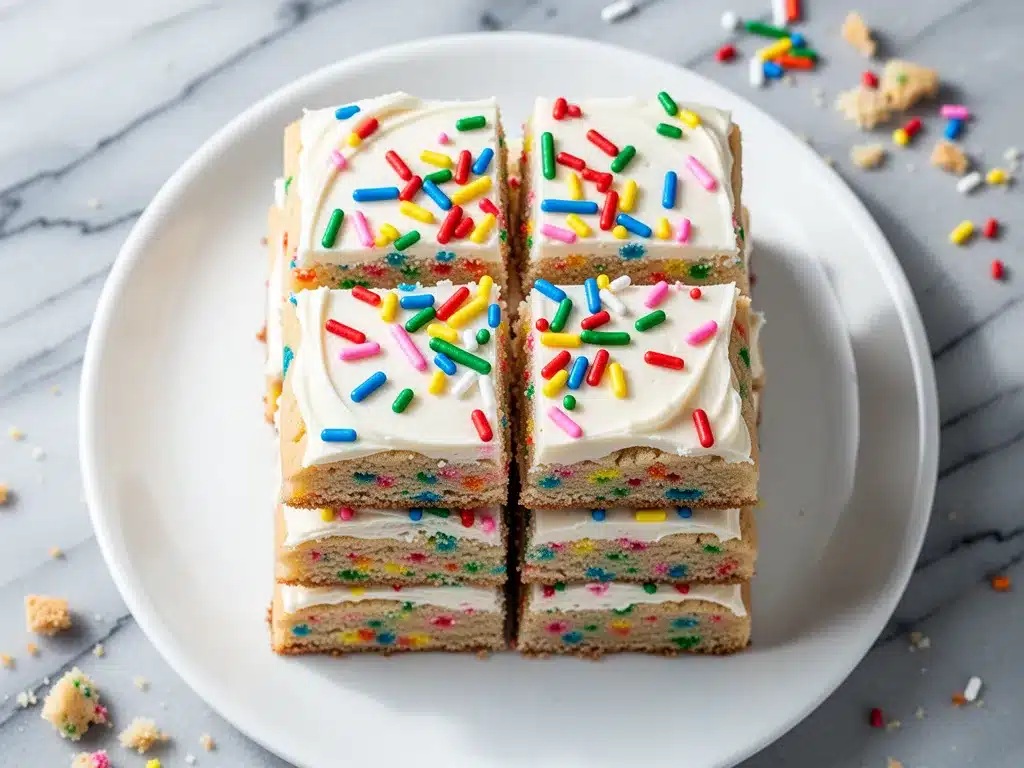
- Visually Stunning — For Pinterest and Instagram (because let’s be real, we all take photos), these bars are a dream. The bright white frosting contrasted with the rainbow sprinkles looks festive without being over-the-top. They photograph beautifully in natural light.
So basically, if you want to be the hero of the school year without spending your entire weekend in the kitchen, these are the bars to make. They’re reliable, delicious, and totally stress-free.
Ingredients You’ll Need
Here’s the best part: you probably have most of this already. This isn’t a recipe that requires a special trip to a specialty store. It’s pantry-friendly, which is exactly what you need when you’re juggling school schedules and sports practices.
For the Cookie Bars
Unsalted butter (1 cup / 226g) — I use salted butter if I’m in a rush, but I reduce the added salt by half. Room temperature is key here. If your butter is cold, it won’t cream properly, and your bars will be dense. Soften it on the counter for 30 minutes.
Granulated sugar (1 ½ cups / 300g) — This gives the bars their sweetness and structure. Don’t try to substitute with brown sugar here; you want that light, airy texture, not a chewy, molasses flavor.
Eggs (2 large) — Room temperature eggs incorporate better into the batter. I take them out of the fridge when I start prepping the oven.
Vanilla extract (2 teaspoons) — Use real vanilla. I know it’s more expensive, but in a simple recipe like this, the vanilla flavor is the star. I use pure vanilla extract, not imitation.
All-purpose flour (2 ½ cups / 315g) — Spoon and level your flour. Don’t scoop it directly from the bag, or you’ll pack it down and end up with dry, cakey bars. I use Gold Medal flour because it’s consistent and affordable.
Baking powder (2 teaspoons) — Check your expiration date! Old baking powder makes bars flat and tough. I keep a fresh can in my pantry specifically for baking.
Salt (½ teaspoon) — Even with unsalted butter, you need salt to balance the sweetness. It makes the vanilla pop.
Confetti sprinkles (½ cup / 50g) — I use standard jimmies. The large “sprinkles” sometimes sink, and the tiny nonpareils dissolve into the batter. Jimmies stay suspended and give that classic party look.
For the Vanilla Buttercream Frosting
Unsalted butter (1 cup / 226g) — Again, room temperature. It should be soft enough to indent when you press your finger into it, but not melted.
Confectioners’ sugar (4-5 cups / 480-600g) — Sift this if you can. It removes lumps and ensures your frosting is silky smooth. I usually sift twice for the best texture.
Heavy cream (3-4 tablespoons) — Adjust for consistency. I start with 3 tablespoons and add more if the frosting is too stiff.
Vanilla extract (2 teaspoons) — More vanilla never hurts.
Salt (¼ teaspoon) — Just a pinch to cut the sweetness.
Extra sprinkles — For topping. I always save a little bag for the final garnish.
Equipment Needed
You don’t need fancy gadgets for this. Here’s what I actually use:
9×13 inch baking pan — Grease it well. I use a little butter and a dusting of flour, or just cooking spray. Non-stick pans are great, but regular pans work fine if you prep them.
Electric mixer — Hand mixer or stand mixer. You can do this by hand, but it takes 10 minutes of arm fatigue. I’m lazy; I use a mixer.
Rubber spatula — For scraping the bowl and folding in the sprinkles.
Offset spatula — For spreading the frosting evenly. This is the tool that makes the difference between “home baker” and “bakery quality.” It’s cheap, too.
Sharp knife — For cutting the bars. I use a chef’s knife and wipe it clean between cuts for clean edges.
Cooling rack — Essential. Never frost warm bars. The frosting will melt and slide off.
How to Make Them: Step-by-Step
Alright, let’s make these! I’m walking you through exactly how I do it, including the little tricks I’ve picked up over the years.
Step 1: Prep the Oven and Pan (5 minutes)
Preheat your oven to 350°F (175°C). Grease your 9×13 inch baking pan. I like to line it with parchment paper for easy removal, but it’s not strictly necessary. Just make sure the corners are greased well.
Step 2: Cream the Butter and Sugar (3-4 minutes)
In a large bowl, beat the softened butter and granulated sugar together on medium-high speed until light and fluffy. This takes about 3 minutes. You’re looking for a pale yellow color and a creamy texture. This step incorporates air, which makes the bars tender. Don’t rush it.
Step 3: Add Eggs and Vanilla (2 minutes)
Add the eggs one at a time, beating well after each addition. Mix in the vanilla extract. Scrape down the sides of the bowl with a spatula to ensure everything is incorporated.
Step 4: Mix Dry Ingredients (1 minute)
In a separate medium bowl, whisk together the flour, baking powder, and salt. Gradually add the dry ingredients to the wet ingredients, mixing on low speed until just combined. Do not overmix! Stop as soon as you no longer see streaks of flour. Overmixing leads to tough bars.
Step 5: Fold in Sprinkles (1 minute)
Gently fold in the confetti sprinkles with a rubber spatula. Distribute them evenly throughout the batter. If you use a mixer here, the sprinkles will break and turn your batter gray.
Step 6: Bake (20-25 minutes)
Pour the batter into the prepared pan and spread it evenly. Bake for 20-25 minutes, or until the edges are lightly golden and a toothpick inserted into the center comes out clean. The center might still look slightly soft, but it will firm up as it cools.
Step 7: Cool Completely (30 minutes)
Let the bars cool in the pan for 10 minutes, then transfer them to a cooling rack to cool completely. This is the hardest part. You want to frost them, but if they’re even slightly warm, the frosting will melt. Be patient.
Step 8: Make the Frosting (5 minutes)
While the bars cool, make the buttercream. Beat the softened butter until creamy. Gradually add the confectioners’ sugar, one cup at a time, on low speed. Once all sugar is added, add the vanilla, salt, and heavy cream. Beat on high for 2-3 minutes until fluffy and smooth. Add more cream if it’s too thick, or more sugar if it’s too thin.
Step 9: Frost and Garnish (5 minutes)
Spread the frosting evenly over the cooled bars using an offset spatula. Sprinkle extra confetti sprinkles on top while the frosting is still wet so they stick.
Step 10: Cut and Serve
Use a sharp knife to cut into squares. I cut them into 24 squares for a standard class party. Wipe the knife clean between cuts for neat edges.
Expert Tips & Tricks
Here’s everything I’ve learned from making these dozens of times. These tips will save you from my mistakes.
Don’t Overbake — Sugar bars continue to cook in the pan after you take them out. Pull them when the toothpick has a few moist crumbs, not when it’s completely clean. Overbaked bars are dry and crumbly.
Room Temperature Ingredients — This is non-negotiable for buttercream. Cold butter creates lumps that are impossible to fix. If you forget to soften your butter, microwave it in 5-second bursts until it’s soft.
White Frosting is Best — If you want that bright white look, add a tiny drop of white food coloring. It doesn’t change the taste, just the appearance. It looks so professional.
Storage is Key — Store these in an airtight container at room temperature for up to 3 days. They stay moist and fresh. If you need to keep them longer, freeze them (without frosting) for up to 2 months.
Transport Tips — If you’re bringing these to school, line the container with parchment paper between layers. Sprinkles will stick to the frosting, so don’t stack them directly on top of each other.
Variations & Substitutions
Once you’ve nailed the basic version, here’s how you can mix it up. I’ve tried all of these.
Strawberry Confetti — Replace ¼ cup of flour with strawberry pudding mix. Add pink sprinkles. It’s a subtle strawberry flavor that kids love.
Lemon Confetti — Add 1 tablespoon of lemon zest to the batter and swap vanilla extract for lemon extract in the frosting. Bright and refreshing.
Chocolate Sprinkles — Swap confetti for chocolate jimmies. It’s like a birthday cake bar. My husband prefers this version.
Gluten-Free — Use a 1:1 gluten-free flour blend. The texture is slightly different, but still good. I use Bob’s Red Mill.
Dairy-Free — Use dairy-free butter and milk alternatives. The frosting might be slightly softer, so chill it before serving.
Serving & Storage
How to Serve: I usually serve these at room temperature. They’re best enjoyed fresh, but they hold up well for a day or two. Pair them with a simple green salad or fruit for a balanced party spread.
Refrigerator: Store in an airtight container for up to 4 days. The frosting may soften in the fridge, so let them sit out for 15 minutes before serving.
Freezing: Freeze the baked bars (without frosting) in an airtight container for up to 2 months. Thaw overnight, then frost. Do not freeze frosted bars; the frosting will become icy and grainy.
Pro Tip: If you’re transporting these, wrap the whole pan in plastic wrap, then foil. It protects them from bumps and keeps them fresh.
Nutrition Information
I’m not a nutritionist, but here’s the breakdown if you’re tracking. One bar (1/24 of the pan) contains approximately:
- Calories: 220
- Protein: 2g
- Carbs: 32g
- Fat: 10g
- Sugar: 24g
- Sodium: 80mg
Look, this is a treat. It’s sugar, butter, and flour. It’s not a health food. But it’s better than store-bought cupcakes, and you know exactly what’s in it. Enjoy it in moderation and share the joy.
Final Thoughts
So that’s my go-to Frosted Confetti Sugar Cookie Bars! I’ve probably talked your ear off at this point, but when you make a recipe this often, you have a lot to say about it. These bars have saved me more times than I can count. They’re my answer to “what do I bring to the party” when I’m tired, don’t want takeout, and still want something that tastes really good. My kids are happy, the teachers are happy, and I’m happy because I’m not stressed about cooking.
Make it yours! Try different sprinkles, add a hint of almond extract, or drizzle with chocolate. The best recipes are the ones you adapt to your family’s tastes. If you make this, drop a comment and let me know what you think! I love hearing how recipes turn out in your kitchen. And if something doesn’t work, tell me that too—I’m here to help troubleshoot.
Happy baking! And I hope your kitchen smells half as good as mine does right now.
Frequently Asked Questions
Can I use box mix instead of scratch?
You absolutely can! I’ve done it when I’m desperate. Use a yellow cake mix, add the eggs, oil, and water as directed, but add an extra egg for structure. Then add the sprinkles. It’s not quite as good as scratch, but it’s fast and tasty. I only do this when time is tight.
Why did my bars turn out dry?
Usually, this means they were overbaked. Sugar bars cook quickly. Start checking at 18 minutes. Also, make sure you’re measuring your flour correctly. Scooping it packs it down, leading to dry bars. Spoon and level your flour.
Can I make these ahead for a party?
Yes! Bake them 2 days in advance. Let them cool completely, then wrap tightly in plastic wrap. Frost them the day before or the morning of the party. They actually taste better after sitting overnight.
How do I keep the frosting from sticking to the sprinkles?
It’s hard to avoid entirely, but using a thicker layer of frosting helps. Also, press the sprinkles gently into the frosting rather than just scattering them on top. If they stick, just pick them off with a fork.
Can I freeze these bars?
Freeze the baked bars without frosting for up to 2 months. Thaw them overnight in the fridge, then bring to room temperature and frost. Do not freeze frosted bars.
What kind of sprinkles work best?
Standard jimmies are best. They hold their shape and color. Avoid nonpareils (tiny balls) as they dissolve into the batter. Avoid large pearls as they can sink. Jimmies are the sweet spot.
Can I use margarine instead of butter?
I don’t recommend it. Margarine has a higher water content, which can affect the texture of the bars and the stability of the frosting. Real butter tastes better and performs better. If you must use margarine, choose a high-fat stick margarine, not tub margarine.
Pin This Recipe!
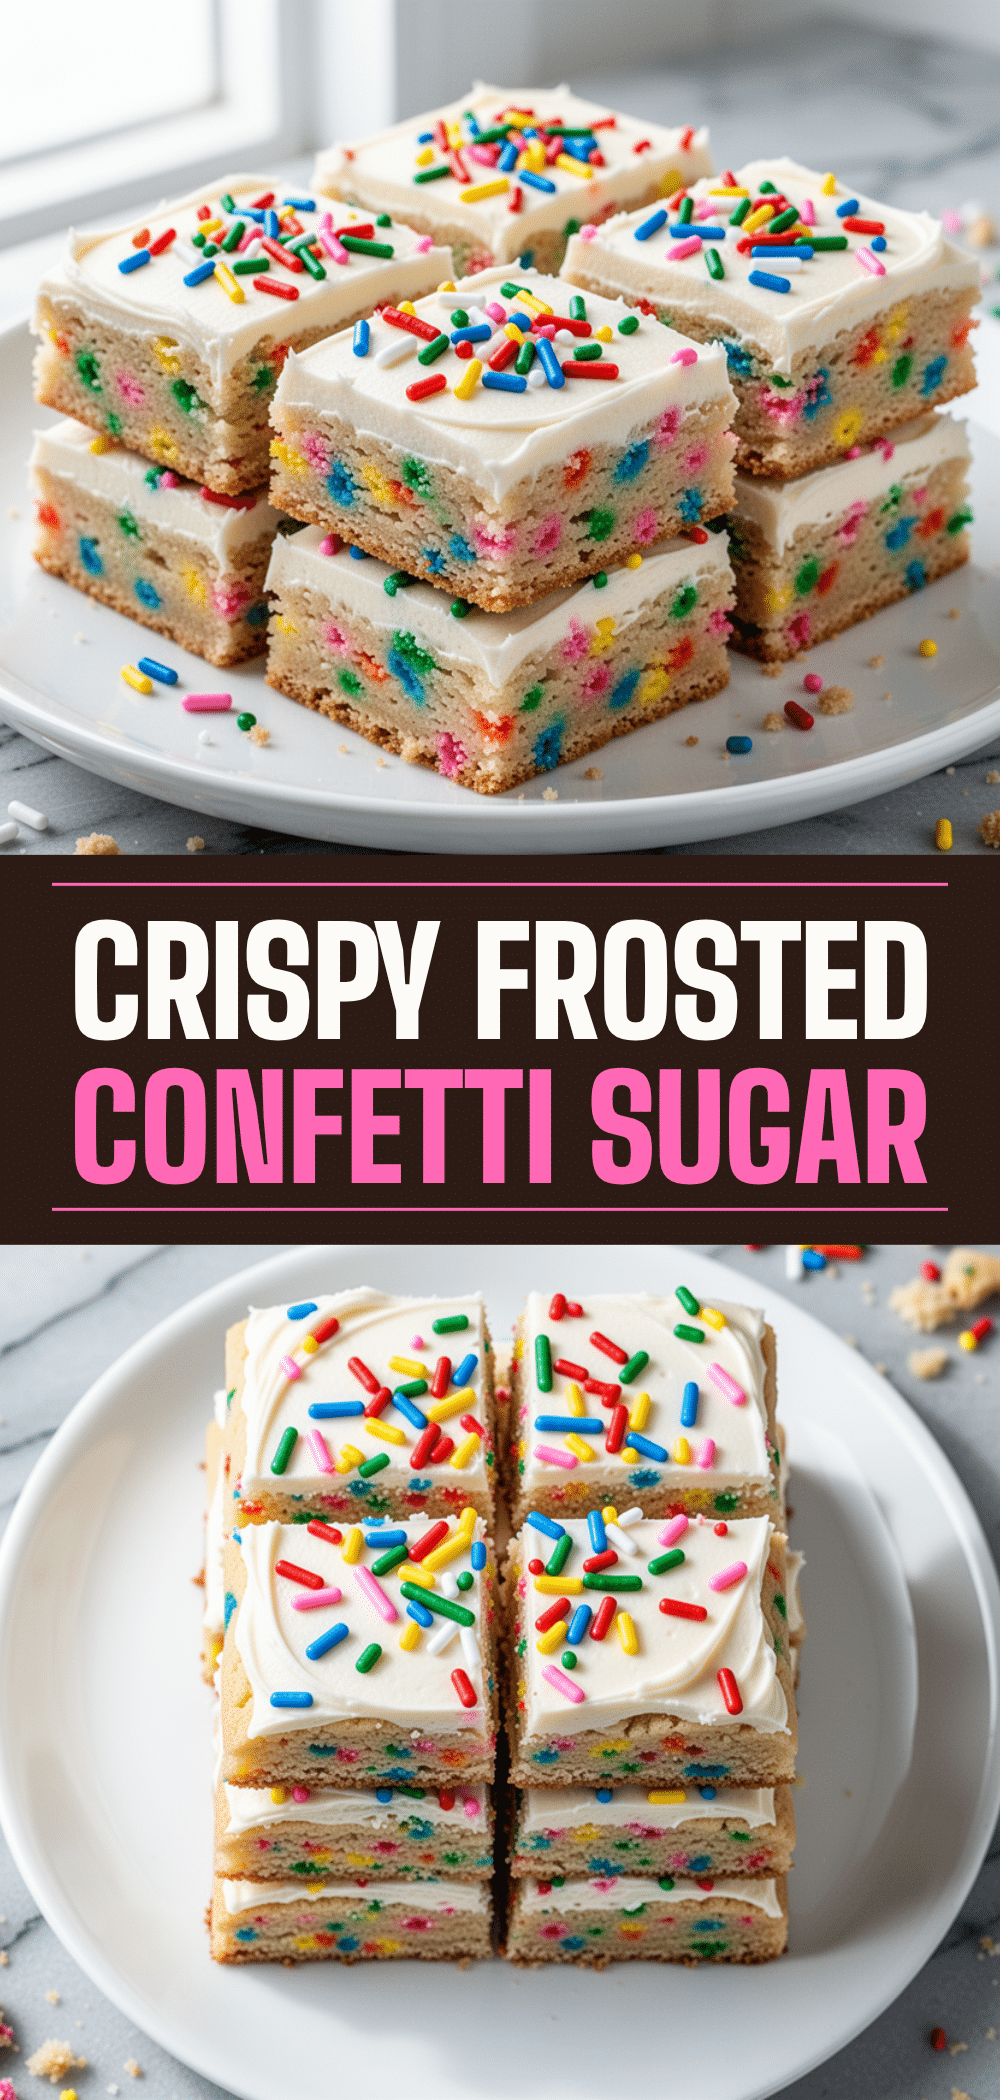
Frosted Confetti Sugar Cookie Bars
- Total Time: 40 minutes
- Yield: 24 servings 1x
Description
These tender, cake-like sugar cookie bars are studded with confetti sprinkles and topped with a fluffy vanilla buttercream. They are the perfect, stress-free treat for back-to-school parties, teacher appreciation, and bake sales.
Ingredients
- 1 cup (226g) unsalted butter, room temperature
- 1 ½ cups (300g) granulated sugar
- 2 large eggs, room temperature
- 2 teaspoons vanilla extract
- 2 ½ cups (315g) all-purpose flour
- 2 teaspoons baking powder
- ½ teaspoon salt
- ½ cup (50g) confetti sprinkles (standard jimmies)
- 1 cup (226g) unsalted butter, room temperature (for frosting)
- 4–5 cups (480-600g) confectioners’ sugar, sifted
- 3–4 tablespoons heavy cream
- 2 teaspoons vanilla extract (for frosting)
- ¼ teaspoon salt (for frosting)
- Extra sprinkles for topping
Instructions
- Preheat oven to 350°F (175°C). Grease a 9×13 inch baking pan and line with parchment paper if desired.
- In a large bowl, beat the softened butter and granulated sugar on medium-high speed for 3-4 minutes until light and fluffy.
- Add eggs one at a time, beating well after each addition. Mix in 2 teaspoons of vanilla extract. Scrape down the sides of the bowl.
- In a separate medium bowl, whisk together the flour, baking powder, and salt.
- Gradually add the dry ingredients to the wet ingredients on low speed, mixing only until just combined. Do not overmix.
- Gently fold in the confetti sprinkles with a rubber spatula.
- Pour batter into the prepared pan and spread evenly. Bake for 20-25 minutes until edges are lightly golden and a toothpick inserted in the center comes out clean.
- Let bars cool in the pan for 10 minutes, then transfer to a cooling rack to cool completely.
- While bars cool, make the frosting: Beat 1 cup of softened butter until creamy. Gradually add confectioners’ sugar on low speed. Add vanilla, salt, and heavy cream. Beat on high for 2-3 minutes until fluffy.
- Spread frosting evenly over cooled bars using an offset spatula. Sprinkle extra confetti sprinkles on top while frosting is wet.
- Cut into 24 squares and serve.
Notes
Ensure all ingredients, especially butter and eggs, are at room temperature for the best texture. Do not overbake the bars as they continue to cook in the pan. For white frosting, add a tiny drop of white food coloring. Store in an airtight container at room temperature for up to 3 days. Bars can be frozen without frosting for up to 2 months.
- Prep Time: 15 minutes
- Cook Time: 25 minutes
- Category: Dessert
- Cuisine: American
Nutrition
- Serving Size: 1 bar (1/24 of pan)
- Calories: 220
- Sugar: 24
- Sodium: 80
- Fat: 10
- Saturated Fat: 6
- Carbohydrates: 32
- Protein: 2
Keywords: sugar cookie bars, confetti cake bars, back to school party food, teacher appreciation gifts, easy bake sale recipes, vanilla buttercream, kid-friendly desserts


