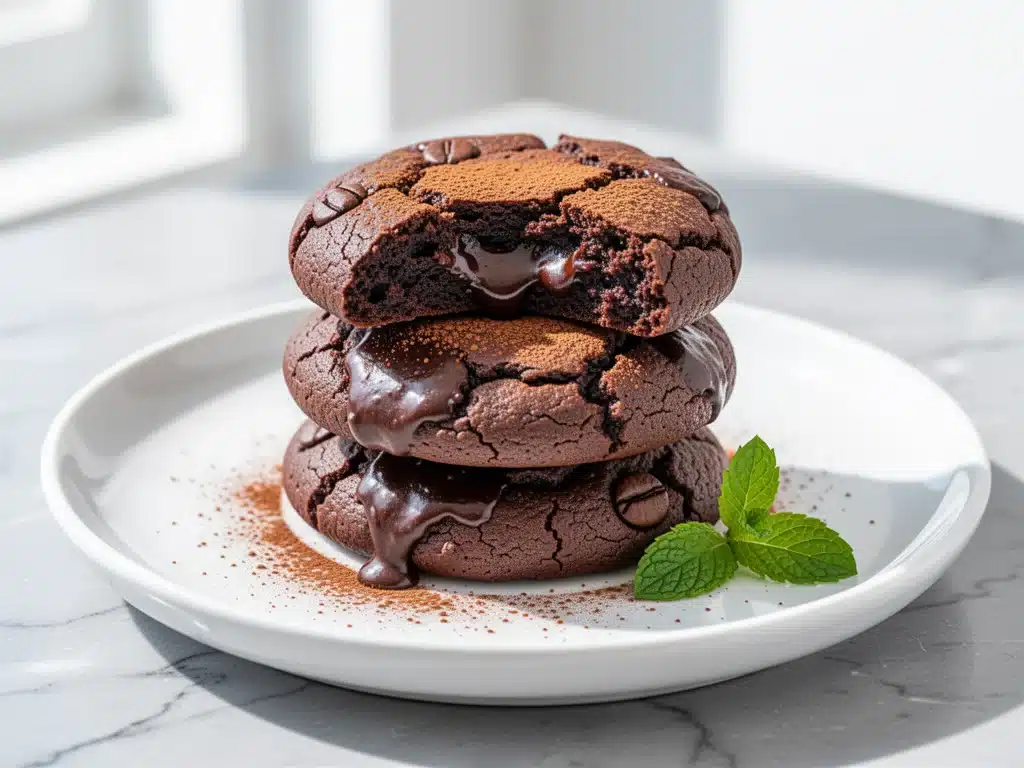
It was 11:30 PM on a Tuesday, and I was staring into the open fridge like it held the secrets to the universe. My kids were asleep. The house was quiet. And I had a sudden, violent craving for something chocolate that didn’t involve digging through the cereal box for the last stale granola bar. I didn’t want a full cake. I didn’t want a complicated dessert that required three bowls and a whisk attachment. I wanted something fudgy, something with a kick, and something I could make in the time it takes to boil water.
So I threw together what I thought would be a mediocre cookie. I had some espresso powder lying around from a morning rush that never ended, and I had brownie mix (don’t judge me, some nights you just need the shortcut) plus a few pantry staples. I rolled them into balls, threw them in the oven, and went to bed. When I woke up, the smell hit me first. That deep, roasted coffee scent mixed with melting chocolate. It was intoxicating. I ate one cold from the jar. Then another. Then I had to hide the rest from my husband, who has a sweet tooth that rivals a professional golfer’s.
That accidental midnight snack turned into a recipe I’ve tested at least a dozen times since. These fudgy espresso brownie cookies are the perfect intersection of brownie and cookie. They’re chewy in the middle, crisp on the edges, and have that sophisticated coffee flavor that makes them feel fancy enough for a dinner party but easy enough for a Tuesday night treat. I’ve learned exactly how to get that fudgy texture without them turning into dry hockey pucks. If you’re looking for a dessert that actually impresses people without making you look like you spent all day in the kitchen, this is it. Trust me, once you make these, you’ll be wondering why you ever bought plain chocolate chips again.
Why You’ll Love This Recipe
There are a lot of cookie recipes out there. Seriously, thousands. But these fudgy espresso brownie cookies have completely changed our dessert routine. I’ve made them for everything from school bake sales (where they vanished in minutes) to last-minute potlucks. Here’s why they keep ending up in my oven:
- They Taste Like a Bakery Dessert — The espresso powder isn’t just for show. It deepens the chocolate flavor in a way that regular cocoa powder can’t. It’s the same trick top bakeries use. You won’t taste “coffee” per se, but the chocolate will taste richer and more complex. It’s subtle, but it makes all the difference.
- Stupid Simple Ingredients — You probably have 90% of this in your pantry right now. Flour, sugar, butter, eggs, cocoa powder, espresso powder. No weird flours you’ve never heard of. No special equipment. Just basic baking staples that work together.
- Perfect Texture Every Time — I’ve struggled with cookies that are too cakey or too crispy for years. These hit the sweet spot. They spread just enough to get those lacy, crispy edges, but stay thick and fudgy in the center. It’s the brownie-cookie hybrid we didn’t know we needed.
- Ready in Under 30 Minutes — From mixing to the first warm bite, it’s about 20 minutes. That’s faster than ordering takeout. I make these on nights when I need a win in the kitchen and don’t have the energy for a soufflé.
- Freezes Like a Dream — I bake a double batch and freeze the extras. They thaw out in about 10 minutes and taste just as good as fresh. Perfect for having dessert ready for unexpected guests or when the kids come home from practice.
These cookies are my answer to “what’s for dessert?” when I want something special but don’t want to stress. They’re reliable, delicious, and always get a second helping.
Ingredients You’ll Need
Here’s the best part: this recipe relies on high-quality basics rather than obscure ingredients. The flavor comes from how these simple items interact. I’m particular about a few things here, so pay attention to the notes.
For the Cookie Base
Unsalted butter (½ cup / 115g) — This gives the cookies their richness. I use unsalted so I can control the saltiness. Melt it completely; no need to cream it like a sugar cookie. Let it cool slightly so it doesn’t cook the eggs.
Granulated sugar (½ cup / 100g) — This helps create those crisp edges. Don’t substitute with brown sugar alone if you want that specific fudgy-crisp contrast. The white sugar draws out moisture from the edges.
Light brown sugar (½ cup / 110g, packed) — This is the key to the chew. It adds moisture and a hint of caramel flavor. If you skip this, the cookies will be too cakey. Don’t skip it.
Large egg (1) — Just one egg. It binds everything together without making the cookie dry. Room temperature eggs incorporate better, but cold works in a pinch.
Vanilla extract (1 teaspoon) — Pure vanilla, please. I’ve used imitation before and it leaves a weird chemical aftertaste that clashes with the coffee. It’s worth the few extra dollars.
For the Chocolate Depth
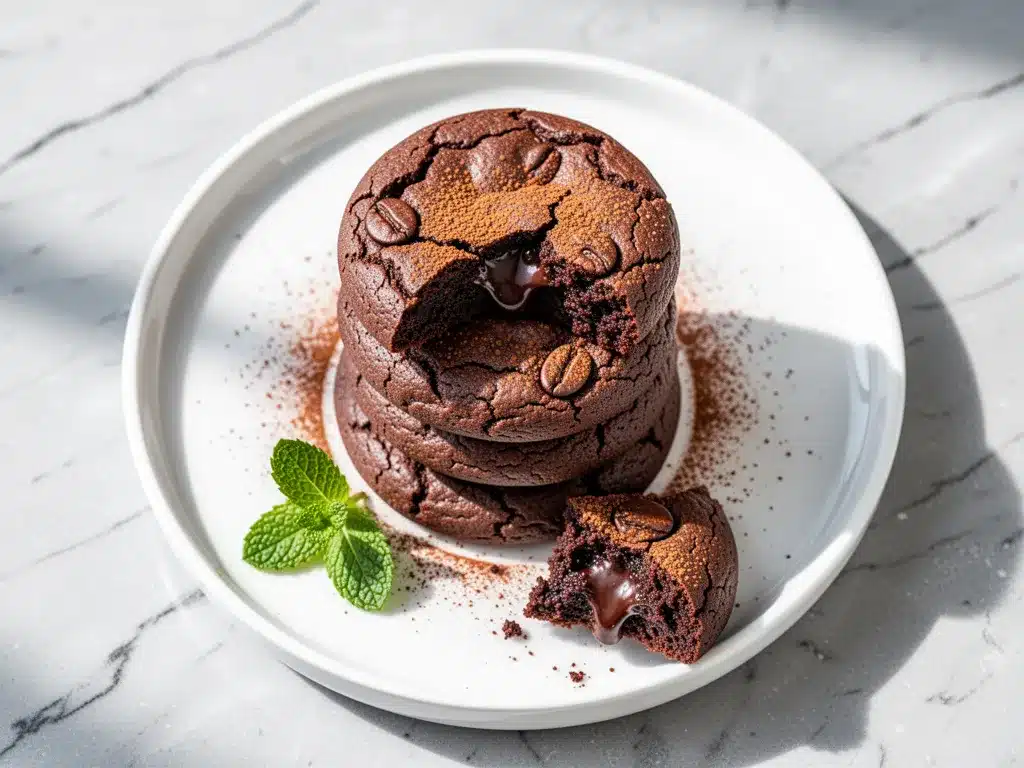
Unsweetened cocoa powder (¼ cup / 20g) — This is the main chocolate flavor. Use good quality cocoa. I like Hershey’s Special Dark or Ghirardelli. Avoid “Dutch-processed” if you can help it, as it can make the texture denser. Natural cocoa powder reacts better with the leavening here.
Instant espresso powder (1 tablespoon) — This is the secret weapon. It doesn’t make the cookies taste like coffee; it amplifies the chocolate. If you don’t have espresso powder, you can use instant coffee granules, but espresso powder dissolves better and has a stronger flavor. Don’t use ground coffee beans.
Chocolate chips (½ cup / 90g) — Semi-sweet or dark chocolate chips. I use Ghirardelli 60% Cacao. They melt into gooey pockets. You can chop up a chocolate bar instead for a more artisanal look, but chips hold their shape better.
For Structure
All-purpose flour (¾ cup / 95g) — Just enough to hold the cookie together. Don’t over-measure! Spoon it into the cup and level it off. Packing it down will make the cookies tough.
Baking powder (½ teaspoon) — A little lift to keep them from being too dense.
Salt (¼ teaspoon) — Essential. It balances the sweetness and makes the chocolate pop. If you use salted butter, reduce this to a pinch.
Optional Add-ins
Flaky sea salt — Sprinkle on top right after baking. It’s not just for looks; the salt crystals contrast beautifully with the sweet, fudgy interior.
White chocolate chips — If you want a little sweetness contrast, toss in a few. I personally stick to dark, but my kids love the mix.
Equipment Needed
You don’t need fancy gadgets for this. Here’s what I actually use in my kitchen:
Large mixing bowl — I use a 4-quart ceramic bowl. It’s heavy enough not to tip over when I’m stirring. A glass bowl works too, but make sure it’s big enough to handle the melted butter.
Whisk — For mixing the wet ingredients. A silicone whisk is easier to clean, but a wire whisk works fine.
Spatula — A sturdy rubber spatula is crucial for folding in the flour and chocolate chips. You need to scrape the sides of the bowl to get all the batter.
Baking sheets — Two standard 13×18 inch sheets. I prefer light-colored aluminum sheets because they prevent the bottoms from burning. Dark sheets conduct heat too aggressively for these fudgy cookies.
Parchment paper — Line your sheets. Trust me. Cleaning baked-on chocolate is the worst. Parchment makes cleanup instant and helps the cookies release easily.
Cooling rack — Not strictly necessary, but helpful if you’re baking two batches. Let the first batch cool on the sheet for 5 minutes, then move to the rack.
Cookie scoop — I use a 2-tablespoon scoop for uniform size. This ensures they all bake at the same rate. If you don’t have one, use two spoons to drop rounded tablespoons of dough.
Microwave-safe bowl — For melting the butter. If you don’t have one, use a small saucepan on low heat, but be careful not to burn it.
How to Make It: Step-by-Step
Alright, let’s make these! I’m walking you through exactly how I do it, including the little tricks I’ve picked up over a dozen tests.
Step 1: Melt the Butter (3 minutes)
Melt the butter in a microwave-safe bowl or saucepan. Microwave in 30-second intervals, stirring in between, until completely liquid. Do not let it brown. Let it cool for about 5 minutes. It should be warm but not hot—if you put your finger in it, it should feel like a warm bath, not a hot tub. If it’s too hot, it will scramble the eggs.
Step 2: Mix the Wet Ingredients (2 minutes)
In your large mixing bowl, whisk together the melted butter, granulated sugar, and brown sugar. Whisk vigorously for about 1-2 minutes. This step is important; it helps dissolve the sugar slightly and creates that crisp edge. Add the egg and vanilla extract. Whisk until the mixture is smooth and glossy. It should look like thick, dark syrup.
Step 3: Add the Dry Ingredients (1 minute)
Add the cocoa powder, espresso powder, flour, baking powder, and salt. Stir with a spatula or wooden spoon just until combined. Do not overmix! Once the flour disappears, stop mixing. Overmixing develops gluten, which makes cookies tough instead of fudgy. The batter will look thick and dense.
Step 4: Fold in the Chocolate (1 minute)
Gently fold in the chocolate chips. Use a folding motion, lifting the batter from the bottom and turning it over. This preserves the air you’ve incorporated and keeps the texture tender. You want every chip evenly distributed.
Step 5: Chill the Dough (Optional but Recommended)
If you have time, chill the dough in the fridge for 30 minutes. This solidifies the butter, which helps the cookies hold their shape and become thicker and fudgier. If you’re in a rush, you can skip this, but the cookies will spread more and be thinner. I usually chill them if I’m baking for guests.
Step 6: Scoop and Bake (10-12 minutes)
Preheat your oven to 350°F (175°C). Line your baking sheets with parchment paper. Scoop the dough into balls (about 2 tablespoons each) and place them 2 inches apart on the sheets. They will spread, so give them room. Bake for 10-12 minutes. They are done when the edges look set and slightly crisp, but the centers still look soft and underbaked. This is crucial. They will continue to cook on the hot baking sheet after you take them out.
Step 7: Cool and Serve (5 minutes)
Let the cookies cool on the baking sheet for 5 minutes. This is when the magic happens—they firm up just enough to handle but stay fudgy inside. Transfer to a wire rack to cool completely if you can wait, or eat them warm straight off the pan (I won’t tell). Sprinkle with flaky sea salt if using.
Expert Tips & Tricks
Here’s everything I’ve learned from making these dozens of times. These tips will save you from my mistakes.
Don’t Overbake — This is the #1 mistake. These cookies are supposed to look slightly underdone when you take them out. If they look fully set in the oven, they will be dry and cakey once cooled. Pull them when the edges are firm but the middle jiggles slightly.
Measure Flour Correctly — Spoon the flour into your measuring cup and level it off. Never scoop directly from the bag. Scooping packs the flour down, leading to dry, crumbly cookies. I measure by weight if I have a scale, but spoon-and-level works great too.
Use Good Chocolate — The chocolate chips are a major part of the flavor. Cheap chocolate chips often contain vegetable oils that don’t melt as smoothly. Invest in a decent brand like Ghirardelli, Lindt, or Guittard. It makes a noticeable difference.
Espresso Powder Dissolves — Make sure the espresso powder is fully dissolved into the butter mixture. If you have visible granules, whisk a bit longer. Undissolved powder can create bitter spots.
Chill for Thickness — I can’t stress this enough. Chilling the dough for even 15 minutes makes a huge difference in texture. It prevents excessive spreading and concentrates the flavors. If you’re impatient, put the dough balls in the freezer for 10 minutes while the oven heats up.
Storage Hack — Store cookies in an airtight container with a slice of bread. The bread keeps them soft and fudgy for days. Replace the bread slice every other day.
Variations & Substitutions
Once you’ve nailed the basic version, here’s how you can mix it up. I’ve tried all of these.
Double Chocolate — Add ¼ cup of cocoa powder to the dry ingredients and use dark chocolate chips. This makes them incredibly intense. Perfect for serious chocolate lovers.
Mocha Chip — Substitute half the chocolate chips with white chocolate chips. The contrast of dark chocolate, white chocolate, and coffee is amazing.
Espresso Beans — Sprinkle crushed espresso beans on top before baking for a crunchy, coffee-forward twist.
Nutty Version — Fold in ½ cup of chopped walnuts or pecans. The crunch adds a nice texture contrast to the fudgy center.
Gluten-Free — Use a 1:1 gluten-free flour blend. The texture might be slightly more delicate, but it works well. Add an extra ½ teaspoon of xanthan gum if your blend doesn’t include it.
Vegan — Replace butter with vegan butter (like Earth Balance), use a flax egg (1 tbsp ground flax + 3 tbsp water), and use dairy-free chocolate chips. The texture will be slightly less fudgy but still delicious.
Coffee Lovers — Increase the espresso powder to 2 tablespoons. These will have a noticeable coffee kick.
Serving & Storage
How to Serve: I usually serve these warm, right after they come out of the oven. They’re best with a cold glass of milk or a cup of black coffee. The coffee complements the espresso in the cookies perfectly. I also love them with a dollop of whipped cream or a scoop of vanilla ice cream for a “brownie sundae” vibe.
Side Dishes: These are rich enough to stand alone, but if you’re serving a larger group, pair them with fresh berries or fruit salad to cut the richness.
Refrigerator: Store in an airtight container at room temperature for up to 5 days. They stay fresh longer if you keep them in a cool, dry place.
Freezing: You can freeze the baked cookies for up to 3 months. Let them thaw at room temperature for 10 minutes. You can also freeze the dough balls on a baking sheet, then transfer to a bag. Bake from frozen, adding 1-2 minutes to the baking time.
Pro Tip: If your cookies seem a bit dry after a few days, microwave them for 10 seconds. It restores that fresh-baked fudgy texture instantly.
Nutrition Information
I’m not a nutritionist, but here’s the breakdown if you’re tracking. Keep in mind these are rich cookies, so portion control is key.
Per Cookie (makes approx. 18 cookies):
| Nutrient | Amount |
|---|---|
| Calories | 140 |
| Total Fat | 8g |
| Saturated Fat | 5g |
| Cholesterol | 20mg |
| Sodium | 65mg |
| Total Carbs | 17g |
| Dietary Fiber | 1g |
| Sugars | 12g |
| Protein | 2g |
What’s Good: They provide a quick energy boost from the sugar and caffeine. The cocoa powder has some antioxidants.
What to Know: Higher in sugar and saturated fat due to the butter and chocolate. Use them as an occasional treat rather than a daily snack.
My Take: Look, this is a dessert. It’s meant to be enjoyed. Don’t stress over the calories. Pair it with a healthy dinner or activity, and you’ll be fine. The joy of eating a warm, fudgy cookie is worth it.
Final Thoughts
So that’s my fudgy espresso brownie cookie recipe! I’ve probably talked your ear off at this point, but when you make a recipe this often, you have a lot to say about it. These cookies have saved me on more than one occasion when I needed a quick win in the kitchen. They’re my answer to “what’s for dessert?” when I want something special but don’t want to stress. My kids are happy, my husband’s happy, and I’m happy because I’m not stressed about cooking.
Make it yours! Try different add-ins, swap in your favorite chocolate, or adjust the espresso. The best recipes are the ones you adapt to your family’s tastes. If you make these, drop a comment and let me know what you think! I love hearing how recipes turn out in your kitchen. And if something doesn’t work, tell me that too—I’m here to help troubleshoot.
Happy baking! And I hope your kitchen smells half as good as mine does right now.
Frequently Asked Questions
Can I use instant coffee instead of espresso powder?
Yes, you can. Instant coffee granules work, but espresso powder is finer and dissolves more easily. If you use instant coffee, make sure it’s finely ground and dissolve it well into the butter mixture. Espresso powder has a stronger, more concentrated flavor, so you might need to use a bit more instant coffee to get the same effect.
Why did my cookies spread too much?
This usually happens if the butter was too warm when you mixed it, or if you didn’t chill the dough. Warm butter melts faster in the oven, causing the cookies to spread before they set. Next time, let the butter cool completely and chill the dough for at least 30 minutes. Also, make sure you’re not over-creaming the butter and sugar, which can incorporate too much air.
Can I make the dough ahead of time?
Absolutely! You can store the dough in the fridge for up to 3 days. Or, scoop the dough balls and freeze them on a baking sheet. Once frozen, transfer them to a zip-top bag. They’ll keep in the freezer for up to 3 months. Bake from frozen, adding 1-2 minutes to the baking time.
My cookies are dry. What happened?
They were likely overbaked. Remember, these cookies should look slightly underdone when you take them out of the oven. They continue to cook on the hot baking sheet. Try pulling them out when the edges are set but the centers still look soft. Also, check your flour measurement—too much flour can make them dry.
Can I double this recipe?
Yes, you can double everything. Just make sure you have a large enough bowl to mix the dough. You’ll need two baking sheets or bake in batches. The cooking time stays the same. I often double this recipe when I have company coming over.
What kind of chocolate chips should I use?
I recommend semi-sweet or dark chocolate chips. They balance the sweetness of the sugar and the bitterness of the cocoa. Milk chocolate chips will make the cookies sweeter and less “brownie-like.” If you want a more intense chocolate flavor, use chopped chocolate bars instead of chips, as they melt more unevenly and create gooey pockets.
Can I make these gluten-free?
Yes! Use a 1:1 gluten-free flour blend. The texture might be slightly more delicate, but it works well. If your blend doesn’t contain xanthan gum, add ½ teaspoon to help bind the dough. The rest of the ingredients are naturally gluten-free.
Pin This Recipe!
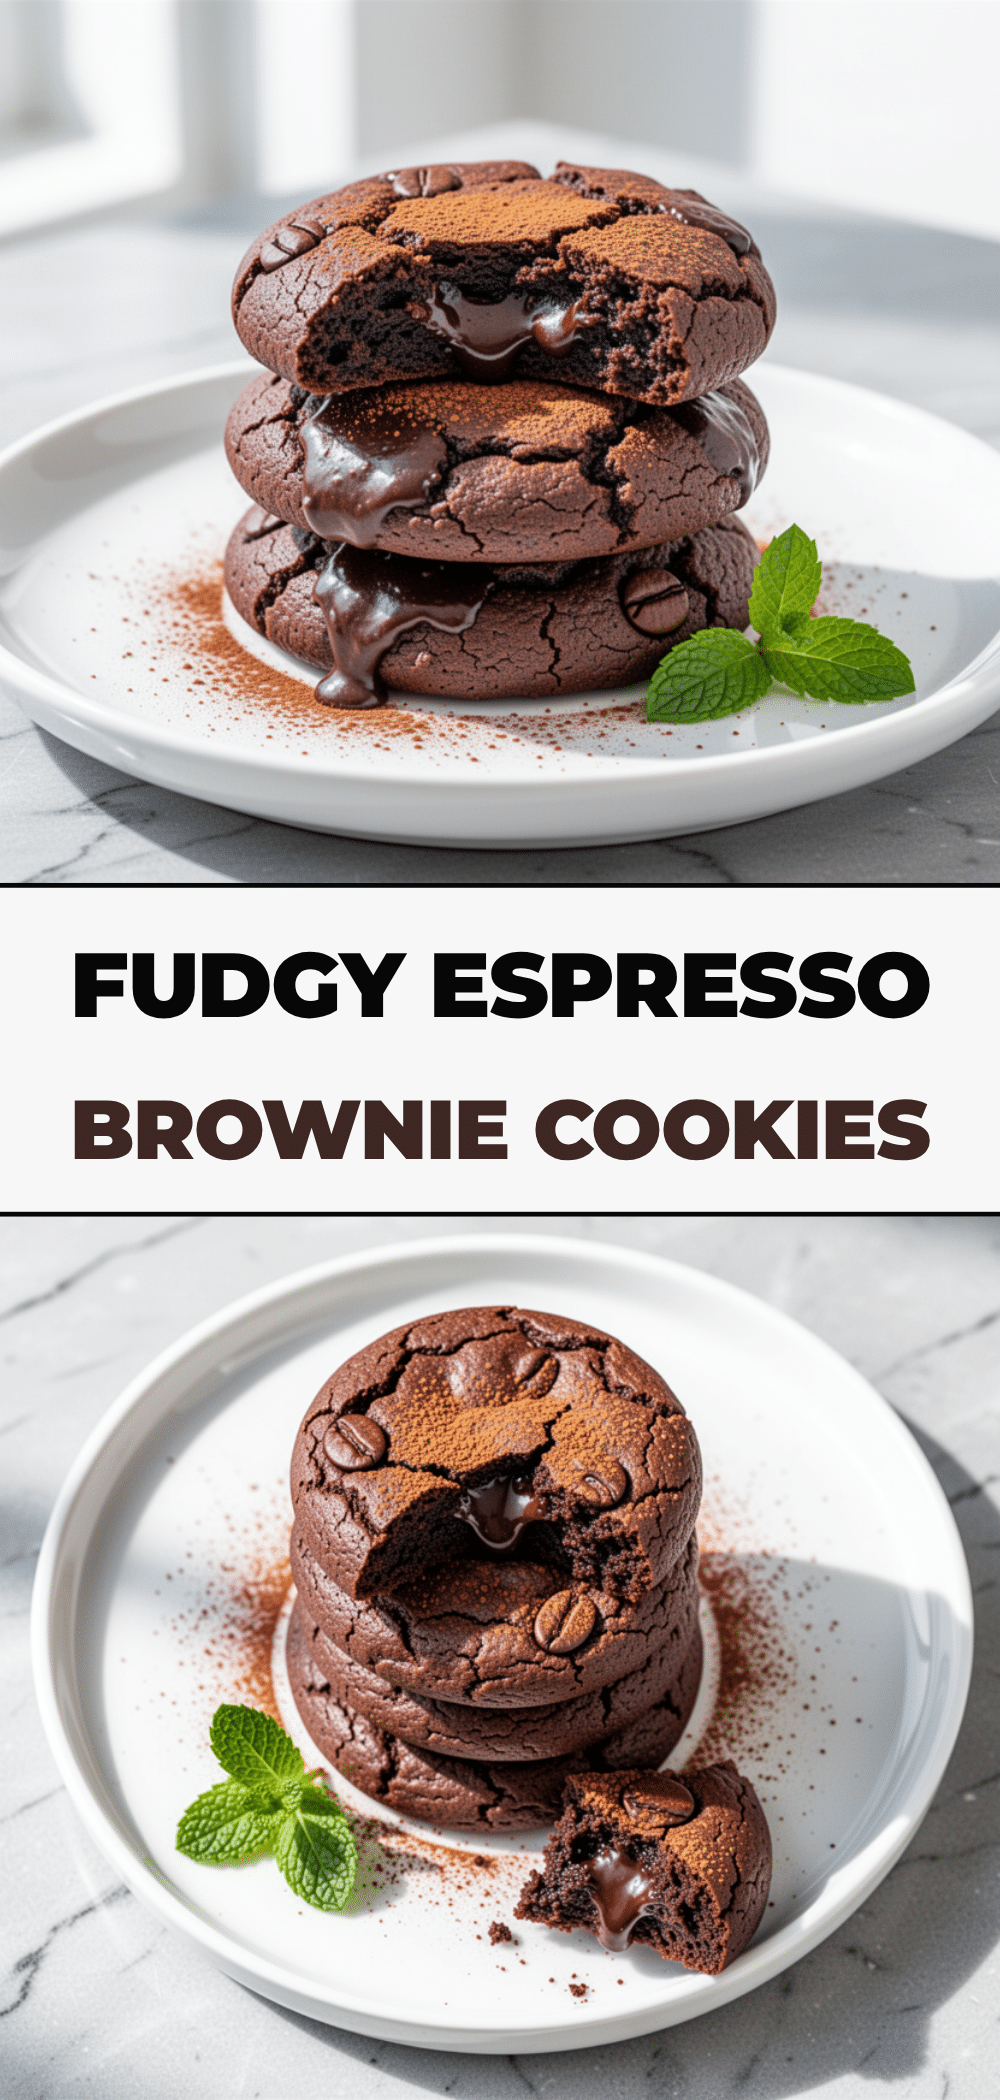
Fudgy Espresso Brownie Cookies
- Total Time: 22 minutes
- Yield: 18 cookies 1x
Description
These fudgy espresso brownie cookies are the perfect intersection of brownie and cookie. They’re chewy in the middle, crisp on the edges, and have a sophisticated coffee flavor that deepens the chocolate taste.
Ingredients
- ½ cup (115g) unsalted butter
- ½ cup (100g) granulated sugar
- ½ cup (110g) light brown sugar, packed
- 1 large egg
- 1 teaspoon vanilla extract
- ¼ cup (20g) unsweetened cocoa powder
- 1 tablespoon instant espresso powder
- ½ cup (90g) semi-sweet or dark chocolate chips
- ¾ cup (95g) all-purpose flour
- ½ teaspoon baking powder
- ¼ teaspoon salt
- Flaky sea salt (optional, for topping)
Instructions
- Melt the butter in a microwave-safe bowl or saucepan. Let it cool for about 5 minutes until warm but not hot.
- In a large mixing bowl, whisk together the melted butter, granulated sugar, and brown sugar vigorously for 1-2 minutes. Add the egg and vanilla extract, whisking until the mixture is smooth and glossy.
- Add the cocoa powder, espresso powder, flour, baking powder, and salt. Stir with a spatula just until combined. Do not overmix.
- Gently fold in the chocolate chips until evenly distributed.
- Optional: Chill the dough in the fridge for 30 minutes for thicker cookies.
- Preheat oven to 350°F (175°C). Line baking sheets with parchment paper.
- Scoop dough into 2-tablespoon balls and place them 2 inches apart on the sheets.
- Bake for 10-12 minutes. The edges should look set and slightly crisp, but the centers should still look soft.
- Let cookies cool on the baking sheet for 5 minutes before transferring to a wire rack. Sprinkle with flaky sea salt if desired.
Notes
Do not overbake; cookies continue to cook on the hot baking sheet. Spoon flour into measuring cup and level off to avoid dry cookies. Chilling dough helps prevent excessive spreading. Store in an airtight container with a slice of bread to keep soft.
- Prep Time: 10 minutes
- Cook Time: 12 minutes
- Category: Dessert
- Cuisine: American
Nutrition
- Serving Size: 1 cookie
- Calories: 140
- Sugar: 12
- Sodium: 65
- Fat: 8
- Saturated Fat: 5
- Carbohydrates: 17
- Fiber: 1
- Protein: 2
Keywords: brownie cookies, espresso cookies, fudgy cookies, chocolate dessert, easy baking, midnight snack


