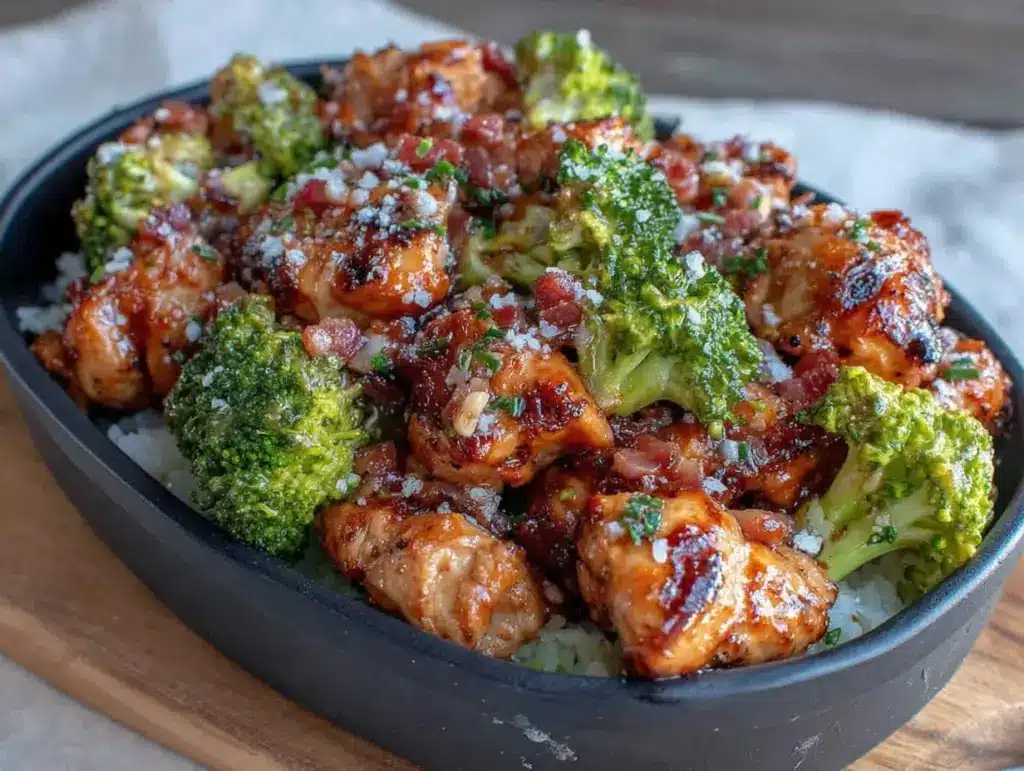
I used to think meal prep was just a fancy word for eating sad, lukewarm leftovers every day for the next five days. And honestly? I wasn’t entirely wrong. For years, my Sunday routine involved cooking a giant pot of something, portioning it into plastic containers, and then opening them on Tuesday with a profound sense of regret. The chicken was dry. The rice was mushy. The broccoli had turned a depressing shade of olive green.
Then I realized the problem wasn’t the concept of meal prep. It was the recipe. I was trying to make elaborate dishes that lost their magic after sitting in a fridge for 72 hours. I needed something sturdy. Something that actually tasted good reheated. Something with enough protein to keep me full without making me sleepy at 2 PM.
That’s when I started making this high protein chicken and broccoli meal prep bowl. I’ve tested it dozens of times, tweaking the sauce, the cooking method, and the ratios until I landed on a version that is genuinely better than takeout. It’s not just “good for meal prep.” It’s just good. Period.
The secret isn’t complicated. It’s about keeping the chicken juicy, the broccoli crisp-tender, and the sauce flavorful enough to stand up to the reheating process. I’ve stopped buying $15 salads from the place down the street because I can make this in under an hour on Sunday, and it tastes fresh all week long. If you’re looking for a way to eat well without spending hours in the kitchen, this is it. You really can’t mess this up.
Why You’ll Love This High Protein Chicken and Broccoli Meal Prep Bowl
There are a few reasons this bowl has taken over my weekly rotation, but let’s be real—it’s mostly about how good it tastes and how easy it is to make. Here’s why it works:
Stays Juicy After Reheating — Most chicken dishes dry out in the fridge. Not this one. By marinating the chicken first and cooking it gently, it stays tender even after being microwaved on Wednesday. I’ve never had a dry bite.
Under 30 Minutes Active Time — You might think meal prep takes forever, but this recipe is surprisingly fast. I have about 20 minutes of actual hands-on work. The rest is just waiting for the water to boil or the chicken to cook. It’s foolproof.
Packed With Protein — Each bowl has roughly 35-40 grams of protein. That’s huge. It keeps me satisfied for hours. I used to snack at 3 PM; now I don’t even think about food until dinner. It’s a game-changer for energy levels.
Simple Ingredients — You don’t need a pantry full of exotic spices. This relies on soy sauce, ginger, garlic, and sesame oil. Things you probably already have. If you can make a stir-fry, you can make this.
Customizable Base — While I love this with rice, it works just as well with quinoa, brown rice, or even cauliflower rice if you’re watching carbs. I’ve made it with every grain I have in my cupboard, and it always turns out great.
This is my go-to when I want to eat healthy but don’t want to feel like I’m on a diet. It’s hearty, flavorful, and actually fun to eat. No more sad desk lunches.
Ingredients You’ll Need
Here’s the best part: you probably have most of this already. This isn’t a recipe that requires a trip to three different specialty stores. It’s simple, honest food.
For the Chicken & Marinade
Chicken Breast (1.5 lbs / 680g) — Boneless, skinless. I prefer chicken breast for the protein content, but thighs work too if you want more flavor. Just adjust cooking time slightly. I always buy the fresh kind, not the pre-trimmed ones that feel weirdly soft.
Soy Sauce (3 tablespoons) — Low sodium is best so you can control the saltiness. Regular soy sauce works, but you’ll want to reduce the added salt in the recipe.
Sesame Oil (1 tablespoon) — Toasted sesame oil is key here. It gives that nutty, restaurant-style aroma. Don’t use the cheap kind; spend the extra dollar for the real stuff. It makes a huge difference.
Garlic (4 cloves, minced) — Fresh only. No jarred garlic for this. It needs to be bright and pungent. Mince it finely so it distributes evenly.
Fresh Ginger (1 tablespoon, grated) — Or 1 teaspoon ground ginger in a pinch. Fresh ginger adds a zesty kick that ground ginger just can’t match. I keep a knob of ginger in the fridge specifically for this recipe.
Cornstarch (1 teaspoon) — This is the secret weapon. It coats the chicken, helping it get a little crispy and keeping the marinade clinging to the meat. It also helps thicken the sauce later.
Black Pepper (½ teaspoon) — Freshly cracked is best.
For the Bowl
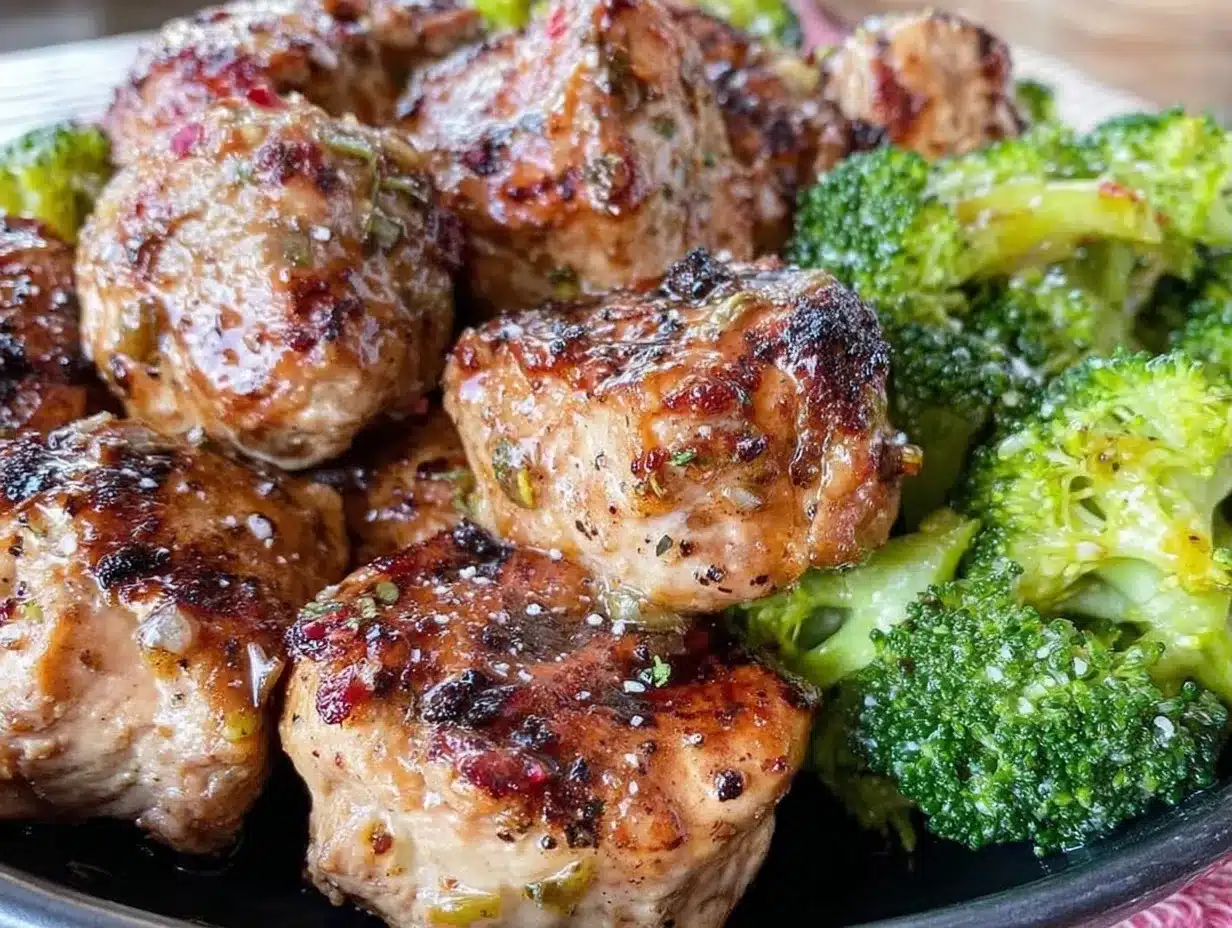
Broccoli Florets (3 cups / about 1 large head) — Cut into bite-sized pieces. I buy a whole head and cut it myself because it’s fresher and cheaper than the pre-cut bags. Save the stems! Peel them and slice them thinly—they’re sweet and crunchy.
Carrots (1 medium, julienned or grated) — Adds color and a bit of sweetness. I usually just grate them with a box grater for speed.
Cooked Rice (3-4 cups, cooled) — Jasmine or basmati works best. I always cook extra rice on Sunday so I have it ready. Brown rice works too, but it has a chewier texture that some people find less satisfying in a bowl.
Sesame Seeds (1 tablespoon, for garnish) — Toasted sesame seeds add a nice crunch and visual appeal. You can buy them pre-toasted or toast them in a dry pan for 2 minutes.
For the Sauce
Oyster Sauce (2 tablespoons) — This adds that deep, savory umami flavor. If you don’t have it, you can use hoisin sauce or extra soy sauce, but oyster sauce is authentic and delicious. It’s not fishy; it’s savory.
Honey or Maple Syrup (1 tablespoon) — Balances the saltiness of the soy sauce. Honey gives it a richer flavor, maple syrup gives it a lighter taste. I use honey.
Rice Vinegar (1 teaspoon) — Adds a little brightness. If you don’t have rice vinegar, white wine vinegar works. Just use less.
Red Pepper Flakes (½ teaspoon, optional) — For a little heat. I add this if I’m feeling spicy.
Green Onions (2, sliced) — For garnish and fresh onion flavor. The white parts can go in the sauce; the green parts go on top.
Equipment Needed
You don’t need fancy gadgets for this. Here’s what I actually use:
Large Skillet or Wok — A 12-inch skillet works perfectly. I prefer stainless steel or cast iron because they get hot and keep the heat steady. Non-stick is fine too, just don’t use metal utensils.
Large Pot — For boiling the broccoli and blanching it. Any big pot works.
Sharp Knife — For chopping the chicken and veggies. A dull knife is dangerous and makes quick work of this recipe impossible.
Measuring Cups and Spoons — Standard stuff. Dollar store versions work fine.
Meal Prep Containers — Glass containers are best because they don’t stain and heat evenly. I use 3-compartment containers to keep the sauce separate until I’m ready to eat, but that’s optional.
Whisk — For mixing the sauce and marinade. A fork works in a pinch.
How to Make It: Step-by-Step
Alright, let’s make this! I’m walking you through exactly how I do it, including the little tricks I’ve picked up.
Step 1: Prep the Chicken (5 minutes)
Start by slicing the chicken breast into thin, bite-sized strips. This helps it cook faster and ensures every bite has sauce. In a bowl, combine the soy sauce, sesame oil, minced garlic, grated ginger, cornstarch, and black pepper. Add the chicken and toss to coat. Let it sit while you prep the veggies. The cornstarch will help create a slight coating that protects the chicken from drying out.
Step 2: Cook the Rice
If you haven’t already, cook your rice. I usually make a big batch on Sunday morning. Let it cool completely before using it. Warm rice can make the broccoli soggy if you assemble the bowls while everything is still hot. Cool rice is key for texture.
Step 3: Blanch the Broccoli (3 minutes)
Bring a large pot of salted water to a boil. Add the broccoli florets and cook for 2-3 minutes until bright green and tender-crisp. Don’t overcook it! You want it to still have a bite. Drain immediately and rinse under cold water to stop the cooking. This keeps the color vibrant and the texture perfect. Pat dry with a paper towel if you can—it helps the sauce cling better later.
Step 4: Sear the Chicken (8-10 minutes)
Heat a large skillet over medium-high heat with a splash of oil. Once the oil is shimmering, add the marinated chicken in a single layer. Don’t crowd the pan—if you do, the chicken will steam instead of sear. Cook for 3-4 minutes without moving it too much, until golden brown. Flip and cook for another 2-3 minutes until cooked through. Remove from the pan and set aside on a plate.
Step 5: Make the Sauce
In the same skillet (don’t clean it! that flavor is gold), add a little more oil if needed. Pour in the oyster sauce, honey, rice vinegar, and red pepper flakes. Stir well and let it simmer for 1 minute. The sauce will thicken slightly. If it’s too thick, add a splash of water. If it’s too thin, let it bubble for another minute.
Step 6: Combine and Assemble
Return the chicken to the skillet with the sauce. Toss to coat. Add the blanched broccoli and julienned carrots. Toss everything together for 1 minute until heated through and coated in sauce. Taste and adjust seasoning if needed. Add the sliced green onions.
Now, assemble your bowls. Place a scoop of rice in the bottom, top with the chicken and broccoli mixture, and drizzle any remaining sauce from the pan over the top. Sprinkle with sesame seeds.
Expert Tips & Tricks
Here’s everything I’ve learned from making this dozens of times. These tips will save you from my mistakes.
Don’t Overcook the Broccoli — This is the most common mistake. Mushy broccoli is sad broccoli. Blanch it for just 2-3 minutes. It should still have a slight crunch. It will continue to cook a bit when you reheat it later.
Slice Chicken Against the Grain — Look at the direction of the muscle fibers on the chicken breast and cut perpendicular to them. This makes the chicken more tender and easier to chew.
Use a Hot Pan for the Chicken — If your pan isn’t hot enough, the chicken will release water and boil in its own juices. Get that pan good and hot before adding the chicken. You should hear a sizzle when it hits the pan.
Toast Your Sesame Seeds — Raw sesame seeds are fine, but toasted ones have a nutty flavor and better texture. Just throw them in a dry pan for 2 minutes until they smell fragrant and turn golden.
Cool the Rice — As mentioned, warm rice makes the whole dish soggy. Let the rice cool to room temperature before assembling. You can even spread it on a baking sheet to cool faster.
Make-Ahead Sauce — You can mix the sauce ingredients ahead of time and store them in the fridge. Just give it a quick stir before using.
Variations & Substitutions
Once you’ve nailed the basic version, here’s how you can mix it up. I’ve tried all of these.
Protein Swap — Instead of chicken, try tofu, shrimp, or beef strips. Tofu works great if you press it first and use cornstarch to crisp it up. Shrimp cooks much faster—just 2-3 minutes in the pan.
Vegetable Load — Add bell peppers, snap peas, or mushrooms. I love adding sliced mushrooms; they soak up the sauce beautifully. Just sauté them first before adding the chicken.
Spicy Version — Add sriracha or gochujang to the sauce for a Korean-inspired twist. It’s delicious and adds a nice kick.
Low-Carb Option — Skip the rice and use cauliflower rice. It’s a great way to cut carbs without losing flavor. Just sauté the cauliflower rice separately and add it at the end.
Gluten-Free — Use tamari instead of soy sauce and ensure your oyster sauce is gluten-free (some brands contain wheat). Everything else is naturally gluten-free.
Serving & Storage
How to Serve: I usually serve this straight from the container at my desk. It’s easy to eat with a fork and doesn’t make a mess. But you can also serve it over noodles or in lettuce cups for a different texture.
Sides: I usually just have this as a complete meal. But if I’m hungry, I’ll have some edamame or a side of miso soup. A simple cucumber salad with rice vinegar dressing also pairs well.
Storage: Store in airtight containers in the fridge for up to 4 days. The flavors actually get better after day 2 as they meld together. I usually eat 2-3 bowls during the week and save the rest for freezing (see below).
Reheating: Microwave for 2-3 minutes, stirring halfway through. If it looks dry, add a splash of water or broth before heating. This helps revive the sauce. Don’t overheat—it can make the chicken tough.
Freezing: This recipe freezes well for up to 3 months. I portion it into freezer-safe containers. Thaw in the fridge overnight before reheating. The texture of the broccoli might soften slightly, but it’s still good.
Nutrition Information
I’m not a nutritionist, but here’s the breakdown if you’re tracking. This is per serving (based on 4 servings).
| Nutrient | Amount |
|---|---|
| Calories | 450 |
| Protein | 38g |
| Carbs | 45g |
| Fiber | 5g |
| Fat | 12g |
| Sodium | 650mg |
What’s Good: High protein, good fiber from the veggies and rice, and healthy fats from the sesame oil. It’s a balanced meal that keeps you full.
What to Know: Sodium content can vary based on the soy sauce used. Use low-sodium soy sauce to reduce salt. The carb count is mainly from the rice; reduce or swap for cauliflower rice to lower it.
My Take: This is a solid, nutritious meal. It’s not “diet food” in the sense of being tiny portions, but it’s wholesome and energizing. I feel good eating this.
Final Thoughts
So that’s my high protein chicken and broccoli meal prep bowl! I’ve probably talked your ear off at this point, but when you make a recipe this often, you have a lot to say about it.
This has saved my weeknight dinners more times than I can count. It’s my answer to “what’s for lunch” when I don’t want to cook but still want to eat well. My energy levels are up, my wallet is happier, and I’m not stressed about food anymore.
Make it yours! Try different veggies, swap the protein, adjust the spice. The best recipes are the ones you adapt to your tastes. If you make this, drop a comment and let me know what you think! I love hearing how recipes turn out in your kitchen.
Happy cooking! And I hope your kitchen smells half as good as mine does right now.
Frequently Asked Questions
Can I use chicken thighs instead of breast?
Absolutely. Chicken thighs are juicier and have more flavor. Just note that they have slightly more fat and calories. Cook them for the same amount of time, but make sure they’re cooked through (165°F internal temperature).
Why is my chicken dry?
This usually happens if you overcook it or don’t use the cornstarch. The cornstarch creates a protective layer. Also, don’t cook the chicken on high heat for too long. Medium-high is best. Remove it from the pan as soon as it’s cooked through.
Can I make this ahead of time?
Yes! That’s the point. Assemble the bowls and store them in the fridge for up to 4 days. The flavors meld together, so it often tastes better on day 2 or 3.
What if I don’t have oyster sauce?
You can substitute with hoisin sauce, soy sauce mixed with a little brown sugar, or even just extra soy sauce with a pinch of garlic powder. It won’t be exactly the same, but it will still be delicious.
Can I freeze this recipe?
Yes, for up to 3 months. Freeze in individual portions. Thaw in the fridge overnight. The broccoli might be softer after freezing, but the flavor remains great.
Is this recipe gluten-free?
Not as written, because of the soy sauce and oyster sauce. To make it gluten-free, use tamari instead of soy sauce and check your oyster sauce label (some brands contain wheat). Everything else is naturally gluten-free.
How do I keep the broccoli green?
Blanch it in boiling water for just 2-3 minutes, then immediately plunge it into ice water. This stops the cooking process and locks in the bright green color. Pat it dry before adding to the bowl.
Can I add other vegetables?
Of course! Bell peppers, snap peas, mushrooms, and carrots all work well. Just make sure to cook harder vegetables (like carrots) first, and add softer ones (like snap peas) later so they don’t get mushy.
Pin This Recipe!
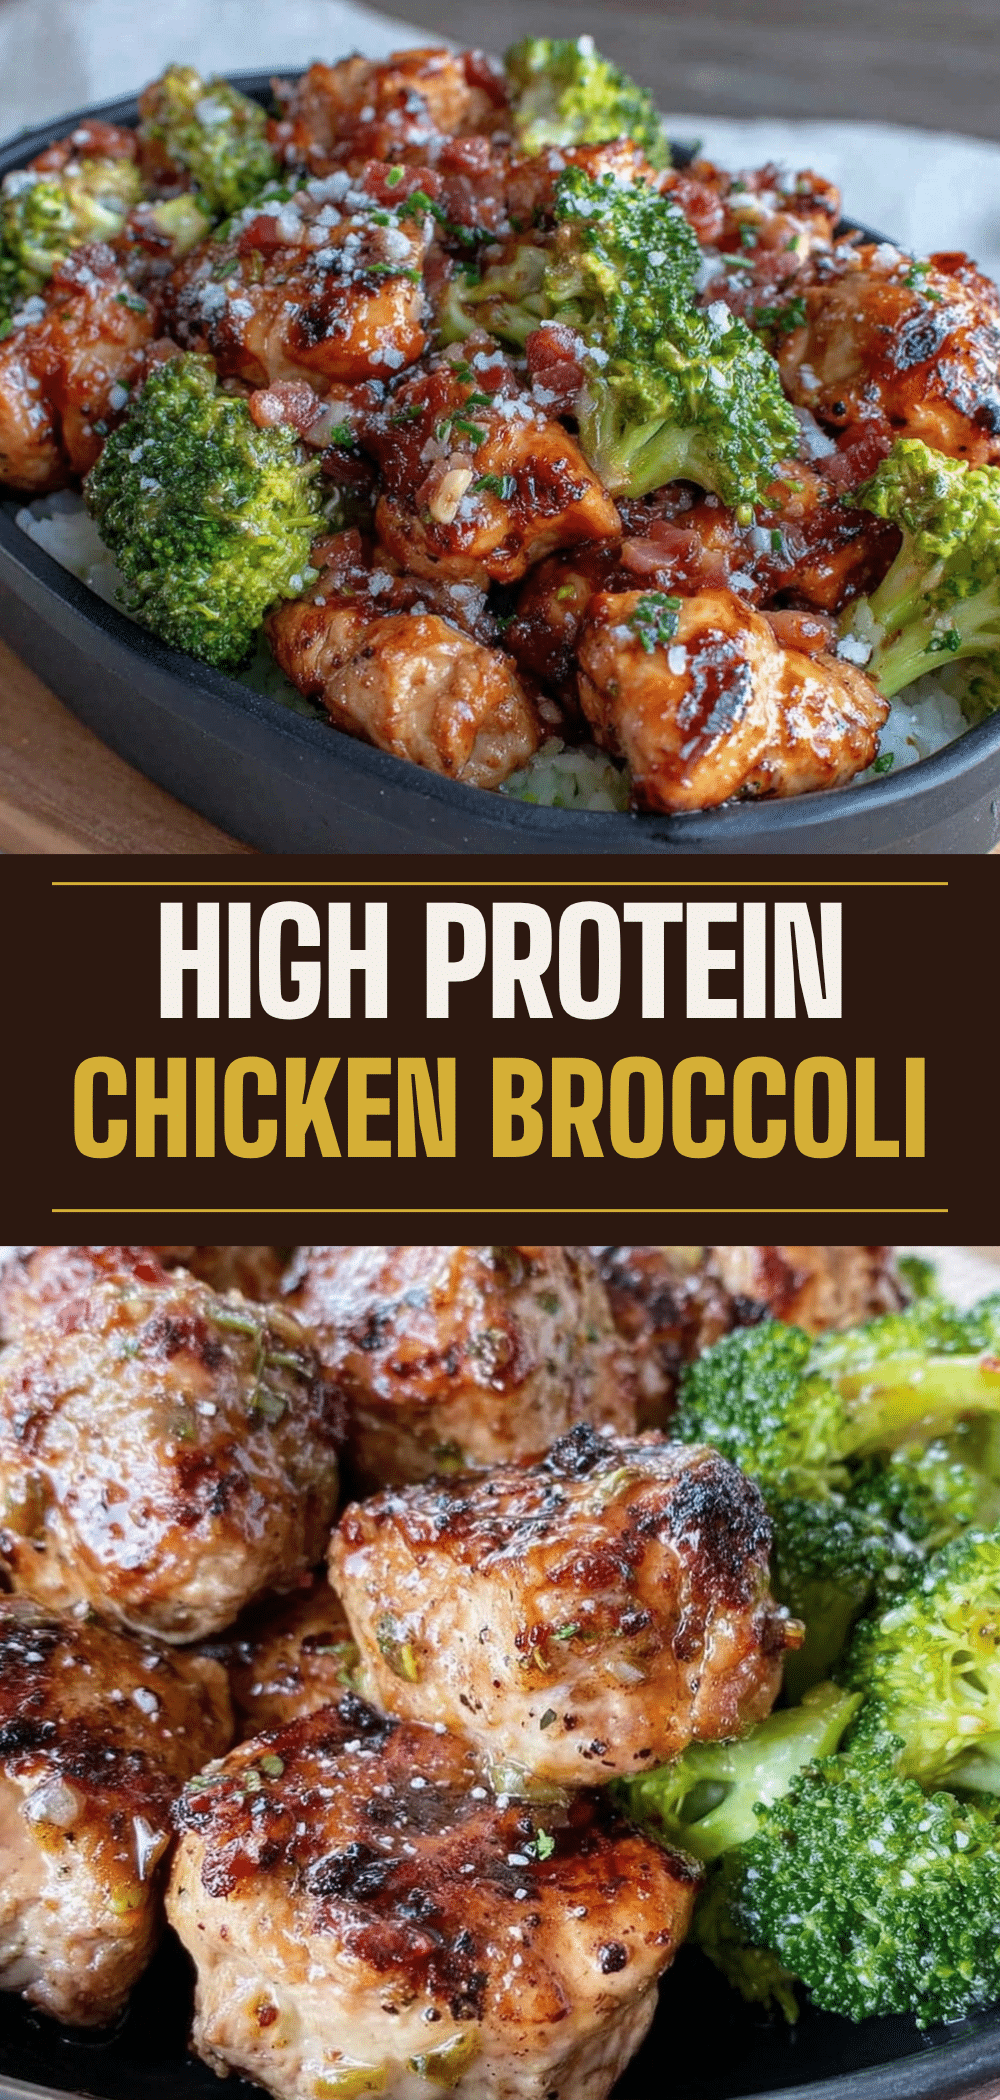

High Protein Chicken and Broccoli Meal Prep Bowl
- Total Time: 30 minutes
- Yield: 4 servings 1x
Description
A sturdy, flavorful meal prep bowl featuring juicy marinated chicken, crisp-tender broccoli, and a savory sauce that stays delicious after reheating. Packed with protein and ready in under 30 minutes of active time.
Ingredients
- 1.5 lbs (680g) boneless, skinless chicken breast, sliced into thin strips
- 3 tablespoons soy sauce (low sodium preferred)
- 1 tablespoon toasted sesame oil
- 4 cloves garlic, minced
- 1 tablespoon fresh ginger, grated
- 1 teaspoon cornstarch
- 1/2 teaspoon black pepper
- 3 cups broccoli florets, cut into bite-sized pieces
- 1 medium carrot, julienned or grated
- 3–4 cups cooked rice (jasmine or basmati), cooled
- 1 tablespoon toasted sesame seeds
- 2 tablespoons oyster sauce
- 1 tablespoon honey or maple syrup
- 1 teaspoon rice vinegar
- 1/2 teaspoon red pepper flakes (optional)
- 2 green onions, sliced
Instructions
- Slice chicken breast into thin strips. In a bowl, combine soy sauce, sesame oil, garlic, ginger, cornstarch, and black pepper. Add chicken and toss to coat. Let marinate while prepping vegetables.
- Cook rice according to package directions and let it cool completely to room temperature.
- Bring a large pot of salted water to a boil. Add broccoli florets and blanch for 2-3 minutes until bright green and tender-crisp. Drain immediately and rinse under cold water to stop cooking. Pat dry.
- Heat a large skillet or wok over medium-high heat with a splash of oil. Add marinated chicken in a single layer. Cook for 3-4 minutes without moving until golden brown, then flip and cook for another 2-3 minutes until cooked through. Remove chicken and set aside.
- In the same skillet, add a little more oil if needed. Add oyster sauce, honey, rice vinegar, and red pepper flakes. Simmer for 1 minute until the sauce thickens slightly.
- Return chicken to the skillet with the sauce. Add blanched broccoli and carrots. Toss everything together for 1 minute until heated through and coated.
- Assemble bowls by placing cooled rice at the bottom, topping with the chicken and broccoli mixture, and drizzling with remaining sauce. Garnish with green onions and toasted sesame seeds.
Notes
Slice chicken against the grain for tenderness. Do not overcook the broccoli; it should remain crisp-tender. Cool rice completely before assembling to prevent sogginess. For a gluten-free version, use tamari instead of soy sauce and ensure oyster sauce is gluten-free. The dish freezes well for up to 3 months.
- Prep Time: 15 minutes
- Cook Time: 15 minutes
- Category: Main Course
- Cuisine: Asian
Nutrition
- Serving Size: 1 bowl
- Calories: 450
- Sugar: 8
- Sodium: 650
- Fat: 12
- Saturated Fat: 2
- Carbohydrates: 45
- Fiber: 5
- Protein: 38
Keywords: chicken and broccoli, meal prep, high protein, healthy lunch, stir fry, quick dinner, gluten-free option