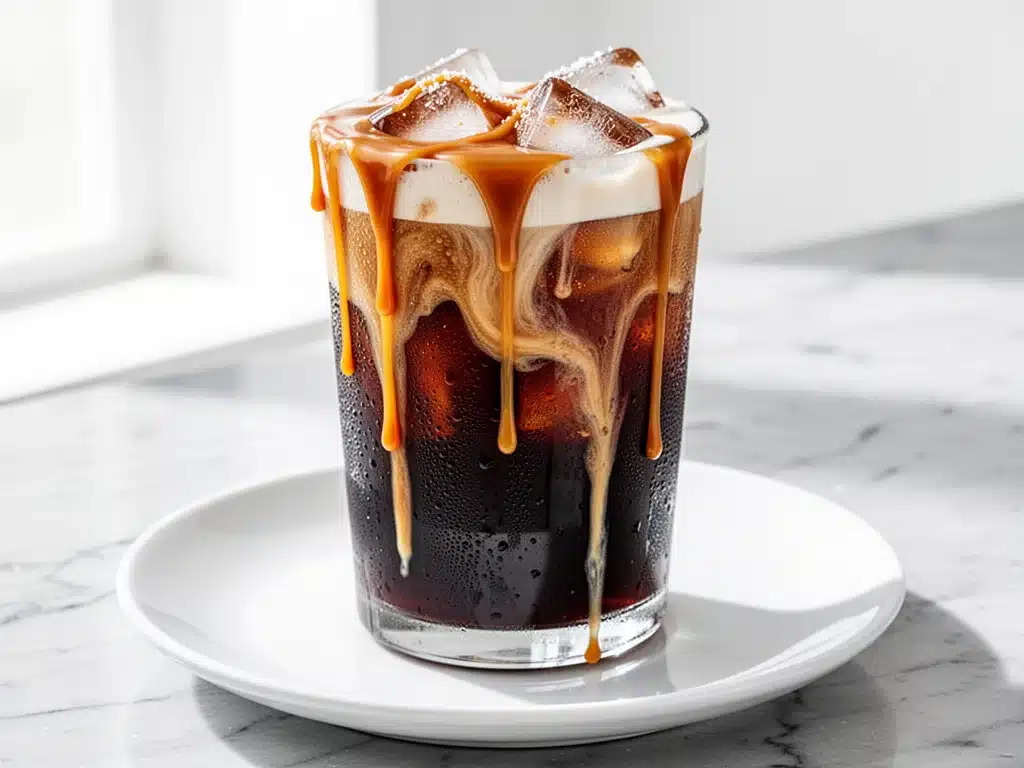
I have a confession to make. For the better part of last year, I was essentially a ATM with legs. Every morning on the way to work, I stopped at that trendy coffee shop on the corner, ordered their “secret menu” iced salted caramel cold brew, paid $7.50 for it, and drank it standing up in my car while scrolling through emails. It was a expensive habit, and honestly? It wasn’t even that good.
The coffee was always watered down. The caramel syrup was just sugar syrup with a hint of vanilla. And the salt? Nonexistent. I was paying premium prices for a lukewarm, sugary drink that made me feel sluggish by 10 AM.
Then, one rainy Tuesday, I ran out of my usual morning routine. My car wouldn’t start, I missed my usual stop, and I was stuck at home with nothing but a bag of dark roast beans and a sense of desperation. I remembered reading somewhere about making cold brew at home. I figured, how hard can it be? Throw beans in water, wait, drink.
Well, it turns out, it’s not just about throwing beans in water. It’s about getting the balance right. It’s about that specific moment when the bitterness of the coffee meets the sweetness of caramel and the savory kick of salt. It’s about texture, temperature, and timing.
I spent the next three weekends tweaking this Iced Salted Caramel Cold Brew. I tried different ratios. I burnt the sugar. I used the wrong cream. I wasted a lot of good coffee. But eventually, I cracked the code. I found a five-ingredient version that tastes better than the $8 shop version, takes less than five minutes to assemble, and keeps me awake without the jitters. It’s become my weekend ritual. It’s the drink I make when I want to treat myself. And it’s the drink I make when I need to impress a friend who thinks they know everything about coffee.
Here’s the thing about cold brew: it’s forgiving. It’s low-acid. It’s smooth. But when you add salted caramel, you’re playing with fire (in a good way). You’re balancing sweet, salty, bitter, and cold. If you get it wrong, it’s just sweet coffee. If you get it right? It’s liquid comfort in a glass. And the best part? You don’t need a fancy machine. You don’t need a barista degree. You just need patience, a jar, and a little bit of love for your morning cup.
Why You’ll Love This Cold Brew Recipe
There are about ten reasons I keep making this, but let’s be real—you don’t need ten reasons. You need three solid ones to convince you to spend your Saturday morning making a drink instead of sleeping in. Here’s why this Iced Salted Caramel Cold Brew has taken over my kitchen:
It’s Actually Healthy-ish — Look, I’m not saying this is a health food. But compared to the loaded sugary drinks at the coffee shop, this is light years ahead. By making the caramel yourself with just sugar, butter, cream, and salt, you control the quality. No weird syrups with high-fructose corn syrup or artificial flavors. It’s clean, it’s simple, and your body will thank you for the lack of chemical aftertaste.
Zero Equipment Needed — You don’t need a French press (though they work). You don’t need a specialized cold brew maker that costs $50 and leaks. You need a mason jar or a pitcher and a coffee filter (or a fine-mesh sieve). If you can open a jar and pour water, you can make this. I’ve made it in camping mugs, in office pitchers, and even in a big glass bowl when I was being dramatic. It works everywhere.
It Tastes Better the Next Day — Cold brew is weird like that. It’s meant to steep. The longer it sits, the smoother it gets. But here’s the kicker: the caramel flavor melds with the coffee over time. I’ve made this on Sunday morning for Monday brunch, and it’s always better on Monday. It’s the ultimate meal-prep drink. Make a big batch, keep it in the fridge, and grab a glass whenever the craving hits.
It Impresses People — I’ve served this to friends who claim they “don’t like cold coffee” or “hate sweet drinks.” They always come back for seconds. It’s the perfect conversation starter. It’s fancy enough for a brunch party but casual enough for a lazy Sunday. Plus, the presentation is gorgeous. The layers of dark coffee, white cream, and amber caramel look like something from a high-end café. (Spoiler: It’s just you in your kitchen in pajamas.)
It’s Customizable — Want it stronger? Add more coffee. Want it sweeter? Add more caramel. Want it saltier? Sprinkle a pinch on top. This recipe is a canvas. I’ve made it with oat milk, almond milk, and regular heavy cream. Each version is delicious. It’s your drink, your rules.
So basically, this is my go-to when I want to feel fancy without leaving my house. It’s reliable, it’s delicious, and it’s saved me hundreds of dollars this year alone. Let’s make some.
Ingredients You’ll Need
Here’s the best part: you probably have most of this already. I’m not asking you to go to three different stores for obscure ingredients. This is pantry-friendly coffee magic. Here’s what you need for the Iced Salted Caramel Cold Brew:
Coarse Ground Coffee (1 cup / 100g) — This is the most important ingredient. Use a dark roast or medium-dark roast. Coarse grind is non-negotiable. If you use fine grind, your coffee will be muddy and bitter. I love using beans from a local roaster, but a good bag from the grocery store works fine too. Look for labels like “French Roast” or “Espresso Roast” for that rich, bold flavor.
Cold or Room Temperature Water (4 cups / 950ml) — Filtered water tastes best. If your tap water tastes like chlorine, your cold brew will too. Use filtered or bottled water for the smoothest result. The water-to-coffee ratio is 1:4 for a concentrate. If you want a ready-to-drink strength, use a 1:8 ratio.
Granulated Sugar (½ cup / 100g) — For the caramel sauce. White sugar gives that classic caramel color and flavor. Brown sugar can be used, but it makes the caramel darker and more molasses-heavy. I stick to white for that clean, sweet taste.
Heavy Cream (½ cup / 120ml) — For the caramel sauce. Full-fat cream makes the sauce rich and glossy. Don’t skimp here. Half-and-half will work, but the sauce will be thinner and less luxurious.
Unsalted Butter (2 tablespoons / 30g) — Adds richness and body to the caramel. It also helps stabilize the sauce so it doesn’t separate. Use real butter, not margarine. Your taste buds will notice the difference.
Flaky Sea Salt (½ teaspoon) — For the caramel sauce. Flaky salt has a nice crunch and bursts of salinity that balances the sweetness. Kosher salt works too, but use slightly less since it’s denser. This is the “salted” part of the salted caramel.
Optional Toppings: — Whipped cream, extra flaky salt, a drizzle of caramel sauce. I usually keep it simple, but sometimes I go all out when I’m feeling fancy.
Pro Tip: — I always buy my coffee beans in small batches. Coffee goes stale fast. If your beans are more than a month old, your cold brew might taste flat. Fresh beans make a huge difference in flavor clarity.
Equipment Needed
You don’t need fancy equipment for this. Here’s what I actually use:
A Large Jar or Pitcher — I use a 1-quart mason jar. It’s wide-mouthed, which makes it easy to stir and strain. A glass pitcher with a lid works too. Just make sure it’s clean and dry.
A Coffee Filter or Fine-Mesh Sieve — To strain the grounds. Paper coffee filters give the clearest result. A fine-mesh sieve works, but you might get some sediment. I prefer filters for a smooth, clean cup.
A Small Saucepan — For making the caramel sauce. Non-stick is easiest to clean. Stainless steel works too, but watch the heat closely.
A Whisk — For mixing the caramel. A small whisk is perfect for the saucepan.
A Spoon or Stirrer — For stirring the cold brew. A long spoon works best.
Glasses — I love using tall, clear glasses to show off the layers. But any glass works.
Ice Cubes — Lots of them. The colder, the better.
Tool Tip: — Don’t have a mason jar? Any clean glass container with a lid works. Just make sure it’s large enough to hold the coffee and water without overflowing.
How to Make It: Step-by-Step
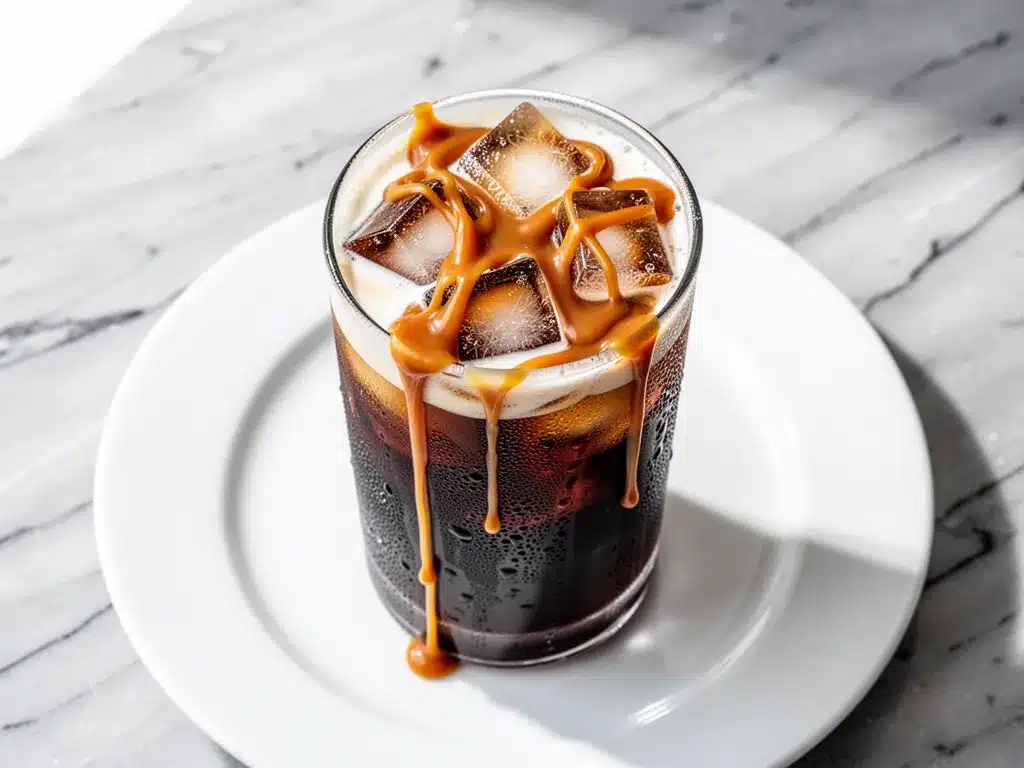
Alright, let’s make this! I’m walking you through exactly how I do it, including the little tricks I’ve picked up. This process has two parts: making the cold brew concentrate and making the salted caramel sauce. You can make them on the same day or spread them out.
Part 1: Make the Cold Brew Concentrate (24 Hours Ahead)
Step 1: Combine Coffee and Water — In your jar or pitcher, add the coarse ground coffee. Pour in the cold or room temperature water. Stir gently to make sure all the grounds are saturated. You want every bit of coffee wet. If there are dry pockets, you’ll get uneven extraction.
Step 2: Steep — Cover the jar or pitcher and place it in the fridge. Let it steep for 18-24 hours. I usually do this on Friday evening so it’s ready by Saturday morning. The longer it steeps, the stronger and smoother it gets. Don’t steep it for more than 24 hours, or it might start to taste bitter.
Step 3: Strain — After 18-24 hours, it’s time to strain. Place a coffee filter over a clean bowl or pitcher. Pour the coffee mixture through the filter. This takes a while, so be patient. If you’re using a sieve, you might need to strain it twice to get rid of all the fine grounds. Once strained, you have your cold brew concentrate. Store it in the fridge for up to two weeks.
Step 4: Dilute (Optional) — If you made a 1:4 concentrate, you’ll want to dilute it before drinking. Mix 1 part concentrate with 1 part water or milk. Taste and adjust to your preference. Some people like it stronger, some like it weaker. This is your guide.
Part 2: Make the Salted Caramel Sauce (15 Minutes)
Step 5: Melt the Sugar — In your small saucepan, add the granulated sugar. Heat over medium heat. Don’t stir! Just swirl the pan occasionally. The sugar will melt and turn into a amber-colored liquid. This takes about 5-7 minutes. Watch it closely. If it starts to smoke, it’s burning. Pull it off the heat immediately.
Step 6: Add Butter and Cream — Once the sugar is fully melted and amber-colored, carefully add the butter. It will bubble up vigorously. Stir until the butter is melted. Then, slowly pour in the heavy cream while stirring constantly. The mixture will bubble again. Keep stirring until the sauce is smooth and glossy.
Step 7: Add Salt — Remove from heat and stir in the flaky sea salt. Taste the sauce. It should be sweet, salty, and rich. If it’s too sweet, add a pinch more salt. If it’s too salty, add a little more sugar. Adjust to your liking.
Step 8: Cool — Let the caramel sauce cool for 10-15 minutes. It will thicken as it cools. You can use it warm or cold. I prefer it slightly warm for that gooey texture.
Part 3: Assemble the Drink
Step 9: Build the Glass — Fill a tall glass with ice cubes. Pour in the cold brew concentrate (diluted if necessary) until the glass is about ¾ full. Drizzle the salted caramel sauce over the ice. You can swirl it in or let it settle at the bottom for layers. Top with a splash of cold milk or cream if you like it lighter.
Step 10: Serve — Stir gently to mix the caramel with the coffee. Take a sip. Enjoy. You’ve just made a drink that costs pennies to make but tastes like $8. Share it with someone, or keep it all to yourself. I won’t tell.
Total Time: About 20 minutes active, plus 18-24 hours of steeping. The actual work is minimal, which is why this is perfect for weekends.
Expert Tips & Tricks
Here’s everything I’ve learned from making this dozens of times. These tips will save you from my mistakes.
Use Coarse Grind — I can’t stress this enough. Fine grind = muddy coffee. Coarse grind = smooth coffee. If you can’t find coarse grind, buy whole beans and grind them yourself. A burr grinder is best, but a blade grinder works if you pulse it until it looks like sea salt.
Don’t Rush the Caramel — When melting the sugar, low and slow is key. If you crank the heat, the sugar will burn before it melts evenly. Amber color is the goal. If it turns dark brown, it’s bitter. Start over. It’s just sugar.
Watch the Bubble — When you add cream to the melted sugar, it will bubble up violently. Stand back. Use a deep pan. This is the most dangerous part of the recipe. I’ve had splashes on my arm. It hurts.
Store Caramel Properly — The caramel sauce can be stored in an airtight jar in the fridge for up to two weeks. Reheat it gently in the microwave or on the stove to thin it out. It will harden in the fridge, which is normal.
Experiment with Milks — I’ve tried oat milk, almond milk, and coconut milk with this drink. Oat milk is the creamiest and pairs best with the caramel. Almond milk is lighter. Coconut milk adds a tropical twist. Try them all to find your favorite.
Add a Pinch of Salt to the Coffee — Sometimes I add a tiny pinch of salt directly to the cold brew before adding ice. It enhances the coffee flavor and balances the sweetness. It’s a small trick, but it makes a big difference.
Variations & Substitutions
Once you’ve nailed the basic version, here’s how you can mix it up. I’ve tried all of these.
Mocha Cold Brew — Add a tablespoon of cocoa powder to the caramel sauce. Or stir a shot of espresso into the cold brew. It’s like a mocha latte, but cold and smoother.
Vanilla Cold Brew — Skip the caramel sauce and use vanilla syrup instead. Or add a teaspoon of vanilla extract to the cold brew. It’s simpler but still delicious.
Coconut Salted Caramel — Use coconut cream instead of heavy cream in the caramel sauce. Add a pinch of coconut flakes on top. It’s tropical and rich.
Decaf Version — Use decaf coffee beans. Everything else stays the same. Perfect for evenings or if you’re sensitive to caffeine.
Lighter Version — Use skim milk or water instead of cream in the caramel sauce. It’s less rich but still tasty. I make this when I’m watching my calories.
Dairy-Free — Use coconut cream and vegan butter in the caramel sauce. Use oat milk or almond milk in the drink. It’s completely dairy-free and still indulgent.
Spicy Salted Caramel — Add a pinch of cayenne pepper or chili powder to the caramel sauce. It’s a surprising twist that adds warmth. Great for fall.
Serving & Storage
How to Serve: — I usually serve this in tall, clear glasses with a straw. It looks great on Instagram. But honestly, just drink it. The presentation is nice, but the taste is what matters.
Side Dishes: — This drink pairs well with breakfast pastries, banana bread, or even savory breakfast sandwiches. I’ve had it with soft-baked banana oatmeal cookies and it was a dream combo. The sweetness of the cookies matches the caramel perfectly.
Storage Instructions:
- Cold Brew Concentrate: Store in an airtight container in the fridge for up to two weeks. It gets stronger over time, so taste before diluting.
- Caramel Sauce: Store in an airtight jar in the fridge for up to two weeks. Reheat before using.
- Assembled Drink: Best consumed immediately. If you store it, the ice will melt and dilute the drink. Make it fresh for the best taste.
Reheating: — You don’t need to reheat the cold brew. It’s meant to be cold. But if you want a warm version, heat the cold brew concentrate and add the caramel sauce. It’s basically a warm caramel coffee. Also delicious.
Nutrition Information
I’m not a nutritionist, but here’s the breakdown if you’re tracking. This is per serving (one glass with ½ cup cold brew, 2 tablespoons caramel sauce, and ¼ cup milk).
- Calories: 180
- Protein: 3g
- Carbs: 22g
- Fiber: 0g
- Sugar: 18g
- Fat: 9g
- Saturated Fat: 5g
- Cholesterol: 25mg
- Sodium: 120mg
What’s Good: — It’s a treat, but not overly heavy. The caffeine gives you a boost. The caramel is homemade, so you know what’s in it.
What to Know: — Higher in sugar from the caramel. Use less caramel or sugar-free syrup to reduce calories. Contains dairy.
My Take: — Look, this is a treat. Enjoy it as such. It’s better than the sugary syrups at the coffee shop, and it’s made with real ingredients. When I want to make it lighter, I use less caramel and more ice. But usually? I just enjoy it and move on.
Final Thoughts
So that’s my go-to Iced Salted Caramel Cold Brew! I’ve probably talked your ear off at this point, but when you make a recipe this often, you have a lot to say about it.
This has saved my mornings more times than I can count. It’s my answer to “what’s for breakfast?” when I want something sweet but also want to feel productive. It’s fancy, it’s easy, and it’s delicious. My friends love it, my family loves it, and I love it because it’s better than anything I can buy.
Make it yours! Try different milks, adjust the sweetness, add spices. The best recipes are the ones you adapt to your tastes.
If you make this, drop a comment and let me know what you think! I love hearing how recipes turn out in your kitchen. And if something doesn’t work, tell me that too—I’m here to help troubleshoot.
Happy brewing! And I hope your kitchen smells half as good as mine does right now.
Frequently Asked Questions
Can I use instant coffee for cold brew?
Not really. Cold brew is about steeping whole beans. Instant coffee is pre-brewed and dried. It won’t give you the same smooth, low-acid result. If you’re in a pinch, you can make strong coffee with instant coffee and chill it, but it won’t be true cold brew. I recommend getting a bag of coarse ground beans for the best experience.
How strong is cold brew concentrate?
It’s very strong. It’s meant to be diluted. I use a 1:1 ratio of concentrate to water or milk. But taste it first. Some people like it stronger. If you find it too strong, add more water. If it’s too weak, add more concentrate. It’s all about personal preference.
Can I make the caramel sauce ahead of time?
Yes! The caramel sauce can be made up to two weeks in advance. Store it in an airtight jar in the fridge. It will harden, so reheat it gently before using. You can also freeze it for up to a month. Thaw in the fridge and reheat before using.
Why is my cold brew bitter?
Usually, this means the coffee steeps too long or the grind is too fine. If you steep it for more than 24 hours, it can start to taste bitter. Also, if you use fine grind, the coffee extracts too quickly and becomes bitter. Use coarse grind and steep for 18-20 hours for the smoothest result.
Can I use almond milk instead of heavy cream in the caramel?
You can, but the sauce will be thinner and less rich. Heavy cream gives the caramel its glossy, thick texture. If you use almond milk, the caramel will be more like a syrup. It’s still tasty, but it won’t have the same luxurious mouthfeel. Coconut cream is a better substitute for heavy cream if you want to keep it dairy-free.
How long does cold brew last in the fridge?
The cold brew concentrate lasts up to two weeks in the fridge. After that, it starts to lose flavor and can develop off-tastes. The caramel sauce also lasts up to two weeks. If you make a big batch, it’s worth it because it saves time during the week.
Can I make this with hot water?
No, that’s just regular iced coffee. Cold brew is made with cold or room temperature water. The cold extraction process brings out different flavors and reduces acidity. If you use hot water, you’re making a different drink entirely. Stick to cold water for true cold brew.
Pin This Recipe!
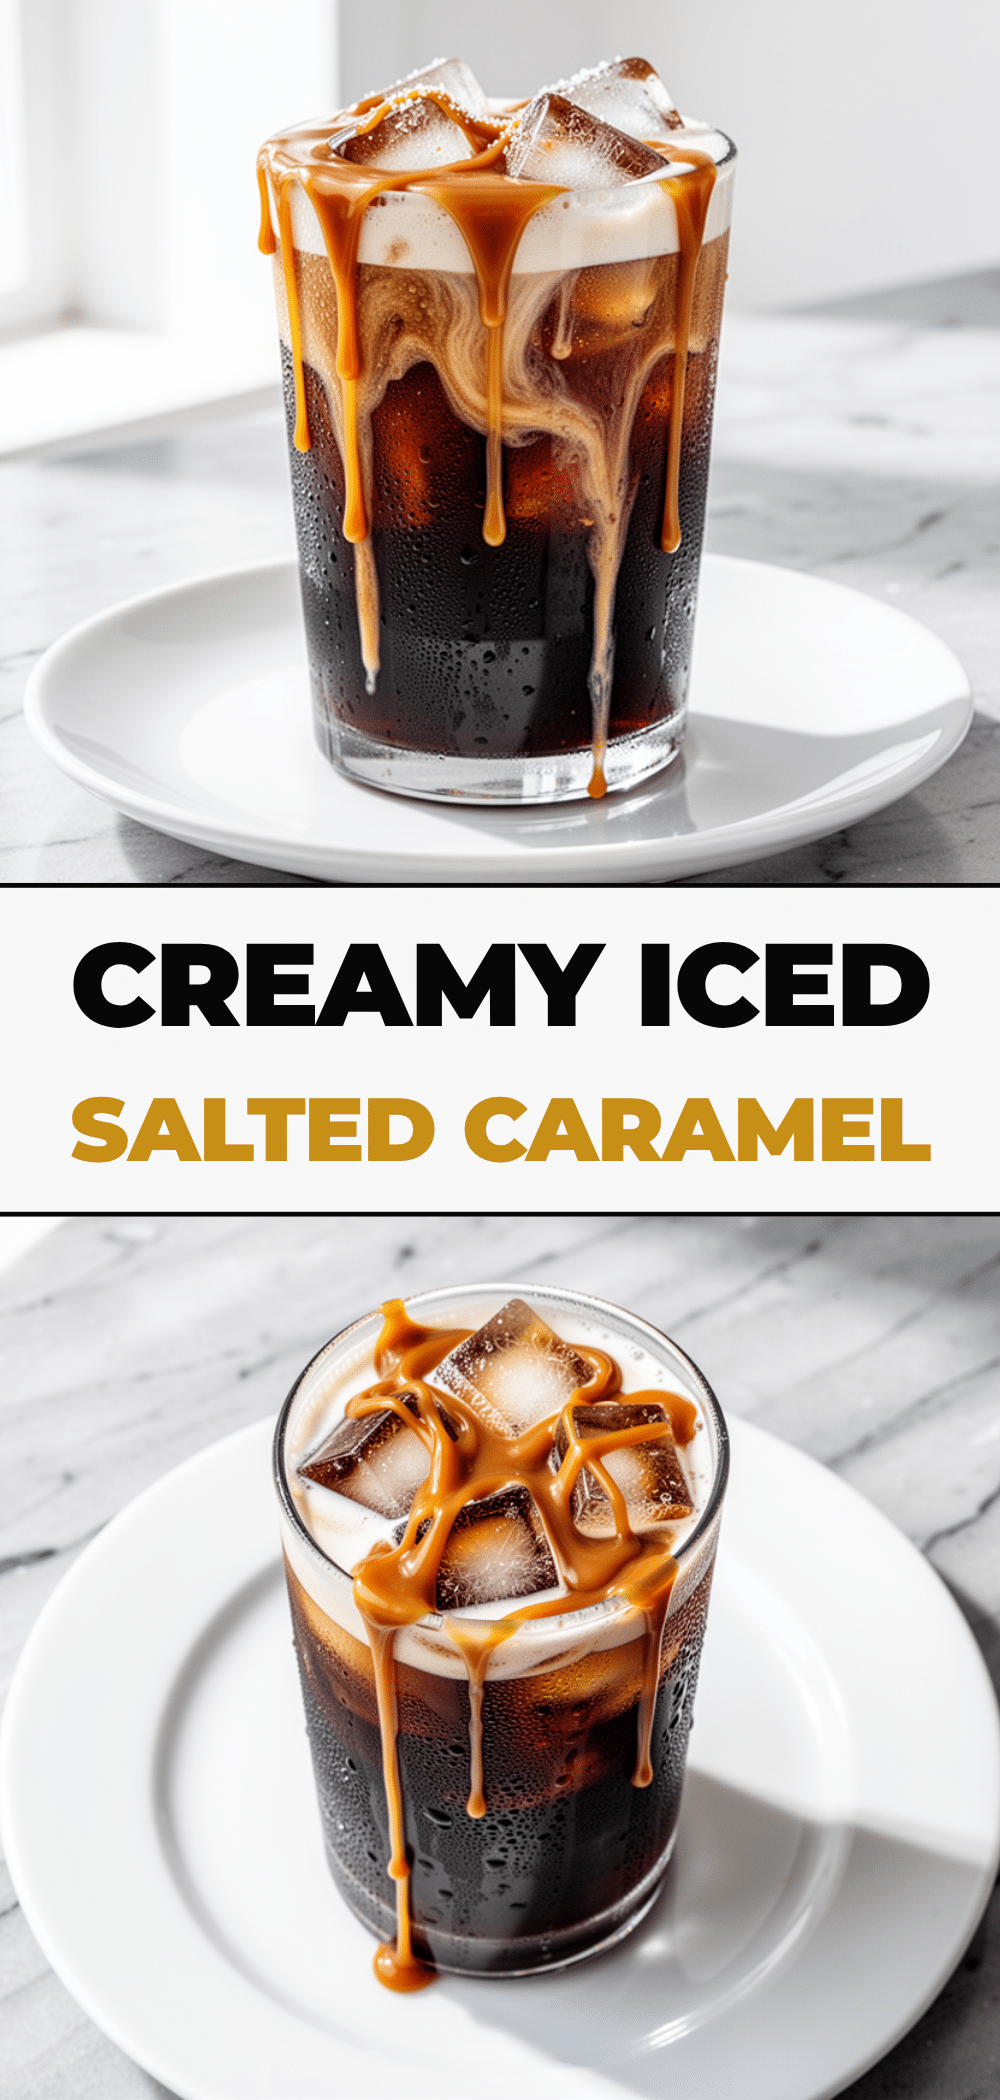

Iced Salted Caramel Cold Brew: 5-Ingredient Coffee
- Total Time: 24 hours
- Yield: 4 servings 1x
Description
A homemade iced salted caramel cold brew that tastes better than coffee shop versions, using just five ingredients and requiring no fancy equipment.
Ingredients
- 1 cup coarse ground coffee (dark or medium-dark roast)
- 4 cups cold or room temperature water (filtered)
- ½ cup granulated sugar
- ½ cup heavy cream
- 2 tablespoons unsalted butter
- ½ teaspoon flaky sea salt
- Ice cubes
- Optional: Whipped cream, extra flaky salt, milk or cream for serving
Instructions
- Combine coarse ground coffee and water in a large jar or pitcher. Stir gently to ensure all grounds are saturated.
- Cover and steep in the refrigerator for 18-24 hours.
- Strain the mixture through a coffee filter or fine-mesh sieve into a clean container to remove grounds. Store concentrate in the fridge for up to two weeks.
- In a small saucepan over medium heat, melt the granulated sugar without stirring, swirling occasionally until it turns amber-colored (5-7 minutes).
- Carefully add butter to the melted sugar; stir until melted.
- Slowly pour in heavy cream while stirring constantly. The mixture will bubble vigorously.
- Stir until the sauce is smooth and glossy, then remove from heat and stir in flaky sea salt.
- Let the caramel sauce cool for 10-15 minutes until it thickens slightly.
- Fill a tall glass with ice cubes.
- Pour cold brew concentrate over the ice (dilute with water or milk if using a 1:4 concentrate ratio).
- Drizzle salted caramel sauce over the drink. Stir gently to mix and serve.
Notes
Use coarse ground coffee to avoid bitterness. Do not steep for more than 24 hours. The caramel sauce can be made ahead and stored in the fridge for up to two weeks. Reheat gently before using. For a dairy-free version, use coconut cream and vegan butter.
- Prep Time: 15 minutes
- Cook Time: 15 minutes
- Category: Beverage
- Cuisine: American
Nutrition
- Serving Size: 1 glass (approx. ½ c
- Calories: 180
- Sugar: 18
- Sodium: 120
- Fat: 9
- Saturated Fat: 5
- Carbohydrates: 22
- Protein: 3
Keywords: cold brew, iced coffee, salted caramel, homemade caramel, coffee recipe, 5-ingredient recipe, dairy-free option


