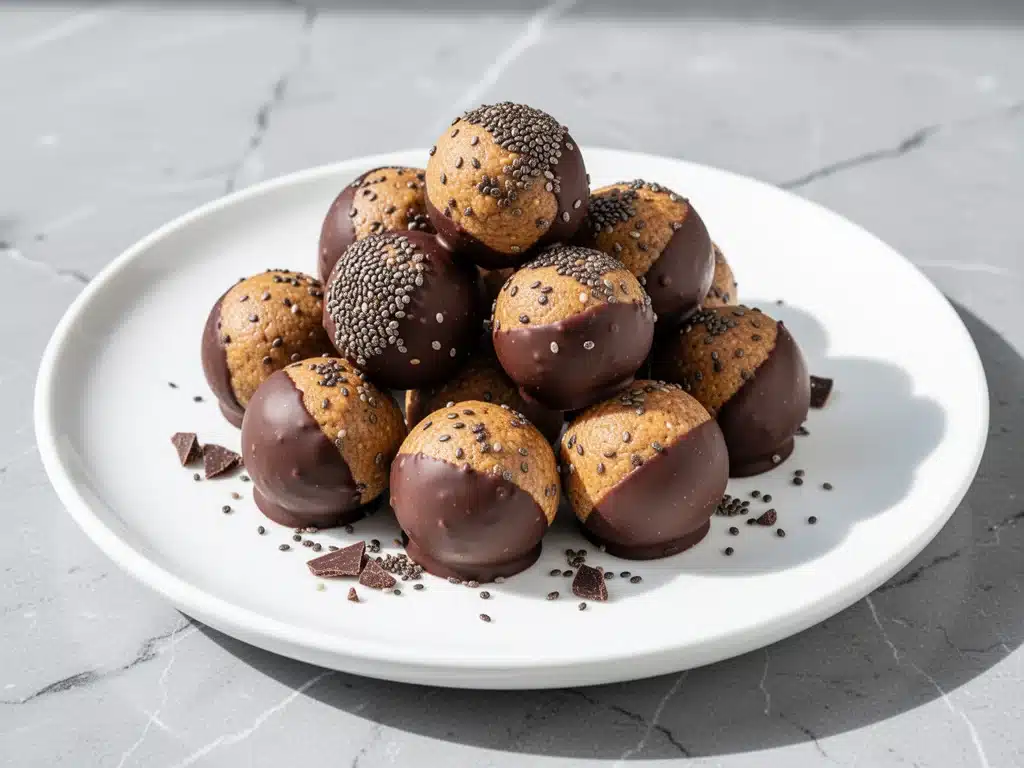
Last October, I was standing in the snack aisle of a big-box grocery store, staring at a $6 plastic container of “energy bites.” They looked like little brown snowballs, which sounded fine until I turned the container over and read the ingredients. Sugar syrup. Corn syrup. Palm oil. And somehow, they claimed to be “healthy.”
I put them back. Then I stared at them for another minute. Then I put them back again. Because let’s be honest—my 4:30 PM hunger is real, and sometimes I just need something sweet, fast, and not made of industrial waste.
That night, I dug into my pantry. I had almond butter (obviously), some dark chocolate chips I’d bought for the fudgy mint chocolate brownies recipe, and a bag of chia seeds that had been sitting in the back of my cupboard since summer. I mixed them up, rolled them into balls, and stuck them in the freezer. By the time my kids got off the bus, I had a container of snacks that actually tasted like food.
That was two years ago. Since then, I’ve made these no-bake almond butter energy balls with dark chocolate and chia seeds probably fifty times. Maybe more. They’ve survived school drop-offs, post-workout slumps, and those weird 3 PM office meetings where everyone pretends not to be starving. They are stupid simple, genuinely healthy, and they take exactly five minutes of active time. No baking. No oven. No stress.
If you’ve been looking for a way to stop buying overpriced, sugar-loaded snacks, this is the recipe. It’s my go-to for busy weeknights, meal prep Sundays, and honestly, just keeping my sanity intact when dinner is an hour away and the kids are raiding the fridge.
Why You’ll Love This Recipe
There are a million reasons to keep almond butter energy balls in your freezer, but here are the ones that actually keep me coming back to this recipe.
- Actually Takes 5 Minutes — Seriously. I time myself. It’s 5 minutes of mixing and rolling. The rest is chilling time. I’ve made these while helping with homework and while the kettle boiled for tea. It’s that easy.
- Pantry Staples — You likely have most of this already. Almond butter? Check. Oats? Check. Chia seeds? Check. Dark chocolate? Check. You don’t need to go to the store. This is a true “what’s in my cabinet” recipe.
- Meal Prep Champion — I make a double batch on Sunday, freeze them in portions, and I’m set for the week. They don’t get soggy. They don’t melt (if you keep them frozen). They just sit there, ready to be grabbed. This has saved me from buying lunch at least a dozen times.
- Real Ingredients — No mystery powders. No weird preservatives. Just nuts, seeds, oats, and chocolate. It’s clean eating that doesn’t taste like cardboard. My kids think they’re getting a treat, but they’re actually getting protein and fiber.
- Customizable — Ran out of almond butter? Peanut butter works. Hate chia seeds? Use flax. Want more chocolate? Add another handful. This recipe is forgiving. It’s not a delicate soufflé. It’s a sturdy, reliable snack.
This is the snack that stopped me from ordering takeout on those nights when I’m too tired to cook but too proud to eat cereal for dinner. It’s reliable, it’s delicious, and it makes me feel like a competent adult.
Ingredients You’ll Need
Here’s the best part: the ingredient list is short. Like, really short. I’m particular about quality here, but not price. You don’t need organic, artisanal, gold-flake anything. Just good, simple stuff.
The Base
Almond Butter (1 cup / 250g) — Use natural, unsweetened almond butter. The kind where the oil separates is fine, but stir it well before measuring. If it’s too runny, the balls will be sticky. If it’s too stiff, warm it up slightly. I love the texture of almond butter here, but you can swap this for peanut butter if that’s what you have. Cashew butter is also great if you want a milder flavor.
Old-Fashioned Rolled Oats (1 ½ cups / 120g) — Do not use instant oats. They’re too fine and will turn your balls into mush. Do not use steel-cut oats. They’re too hard. Old-fashioned rolled oats give that chewy, substantial texture. If you need gluten-free, make sure your oats are certified gluten-free, as oats are often processed in facilities with wheat.
Chia Seeds (2 tablespoons / 20g) — This is the secret weapon. Chia seeds add omega-3s, fiber, and a little bit of crunch. They also help bind the mixture together as it sits. Don’t skip them. If you don’t like the texture, you can grind them into a powder first, but I like the little pop.
The Sweeteners & Flavor
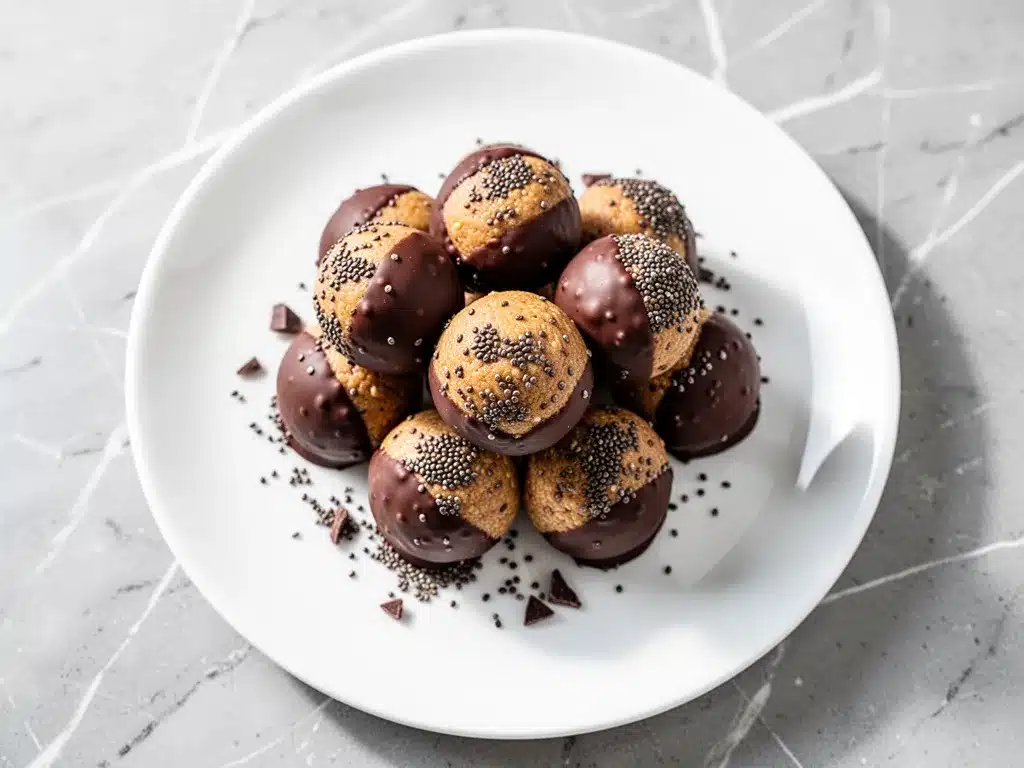
Maple Syrup (¼ cup / 60ml) — I use pure maple syrup, not pancake syrup. It adds a rich, caramel-like flavor that pairs beautifully with the almond butter. Honey works too, but it has a stronger floral taste that might clash with the chocolate. Agave is another option, but maple is my favorite for this.
Vanilla Extract (1 teaspoon) — Don’t skimp on this. A good splash of vanilla makes everything taste like dessert. It’s the difference between “nutty snack” and “chocolatey treat.”
Salt (½ teaspoon) — A pinch of salt is non-negotiable. It balances the sweetness and makes the almond butter taste more intense. I use sea salt or kosher salt. If you’re using salted almond butter, reduce this to a quarter teaspoon.
The Mix-Ins
Dark Chocolate Chips (½ cup / 85g) — I use semi-sweet or dark chocolate chips. They add pockets of melty goodness. If you want it less sweet, use 70% cacao chocolate. If you want it sweeter, use milk chocolate chips. I’ve also chopped up a chocolate bar instead of using chips, which gives bigger chunks. Your call.
Optional Add-ins — I sometimes add a handful of dried cranberries or chopped walnuts. Dried cranberries add a tartness that cuts through the richness. Walnuts add extra crunch. But the basic version is perfect on its own.
Equipment Needed
You don’t need any fancy gadgets. Here’s what I actually use.
Large Mixing Bowl — I use a big ceramic bowl. You need enough space to mix everything without it spilling over. A 4-quart bowl is perfect.
Wooden Spoon or Spatula — For mixing. The mixture gets thick, so you need something sturdy. A silicone spatula works great for scraping the sides.
Measuring Cups and Spoons — Standard stuff. I measure the almond butter by scooping it into the cup and packing it down slightly. For the maple syrup, I lightly oil the cup so it slides out easily.
Baking Sheet — I line it with parchment paper. This makes cleanup instant. You’ll roll the balls on this sheet, then transfer them to a container.
Airtight Container or Freezer Bags — For storage. I use glass containers for the fridge and zip-top bags for the freezer. Label them with the date, just in case.
How to Make It: Step-by-Step
Alright, let’s make these. I’m walking you through exactly how I do it, including the little tricks I’ve picked up over the years.
Step 1: Prep Your Station (1 minute)
Grab your large bowl and line a baking sheet with parchment paper. Have all your ingredients measured and within reach. The mixture comes together fast, and you don’t want to be digging for oats while you’re holding a spoonful of almond butter.
Step 2: Mix the Wet Ingredients (1 minute)
Add the almond butter and maple syrup to the bowl. Stir them together until they’re well combined. If your almond butter is very stiff, you might need to microwave it for 10-15 seconds to soften it up. It should be pourable but not liquid. Add the vanilla extract and salt. Stir again.
Step 3: Add the Dry Ingredients (1 minute)
Pour in the rolled oats and chia seeds. Stir vigorously. This is where your arms come in. The mixture will look dry and crumbly at first. Keep stirring until every oat is coated in the almond butter mixture. It should look like damp sand. If it’s too dry, add another teaspoon of maple syrup. If it’s too sticky, add a couple more oats.
Step 4: Fold in the Chocolate (1 minute)
Stir in the dark chocolate chips. Save a small handful to press on top of the balls later if you want them to look fancy. For now, just mix them in evenly.
Step 5: Roll the Balls (2 minutes)
Take a tablespoon of the mixture and roll it between your palms to form a ball. Don’t press too hard—just enough to hold its shape. Place it on the parchment-lined baking sheet. Repeat until all the mixture is used. You should get about 20-24 balls, depending on how big you make them. I like them golf-ball sized. If you want mini bites, make them smaller.
Step 6: Chill (20 minutes)
Place the baking sheet in the freezer for 20 minutes. This firms them up so they don’t stick together in storage. You can also put them in the fridge for 30 minutes, but the freezer is faster. While they chill, clean your bowl. It’s almost done!
Step 7: Store and Enjoy
Once firm, transfer the energy balls to an airtight container. They’re ready to eat immediately, but they taste even better after they’ve had a few hours to meld together. Store in the fridge for up to two weeks or in the freezer for up to three months.
Expert Tips & Tricks
Here’s everything I’ve learned from making these dozens of times. These tips will save you from my mistakes.
The Almond Butter Matters
Use natural almond butter, but stir it WELL. If there’s a layer of oil on top and you don’t mix it in, your balls will be greasy. If the butter is too hard to stir, warm it slightly. But don’t melt it into liquid. You want a thick, spreadable consistency.
Don’t Skip the Chia Seeds
I know they look weird. But they absorb moisture and help bind the oats and almond butter together. Without them, the balls might fall apart. If you hate the texture, grind them into a powder first. They’ll disappear into the mix.
Roll Them Tight
When you’re rolling the balls, press them firmly. Loose balls will crumble when you try to eat them. Tight balls hold their shape and feel satisfying to bite into. It’s all about the texture.
Chocolate on Top
I always press an extra chocolate chip on top of each ball before chilling. It looks professional and ensures every bite has chocolate. It’s a small detail that makes a big difference in presentation.
Portion Control
Use a cookie scoop or a tablespoon to measure the mixture. This ensures all the balls are the same size, which makes them look neat and helps with portion control. I like to make them small enough that I can eat three without feeling guilty.
Variations & Substitutions
Once you’ve nailed the basic version, here’s how you can mix it up. I’ve tried all of these.
Peanut Butter Power
Swap the almond butter for creamy peanut butter. This is cheaper and has a stronger flavor. It’s my husband’s favorite version. Add a pinch of cinnamon for a peanut butter cookie vibe.
Treble Chocolate
Add 2 tablespoons of cocoa powder to the dry ingredients. Use dark chocolate chips. It’s rich, fudgy, and intense. Great for chocolate lovers.
Tropical Twist
Use coconut oil instead of half the almond butter (be careful, it’s softer). Add dried mango and white chocolate chips. It’s like a candy bar.
Protein Boost
Add a scoop of unflavored or vanilla protein powder. Start with 2 tablespoons and add more if needed. This makes them more filling and great for post-workout.
Gluten-Free
Just use certified gluten-free oats. Everything else is naturally gluten-free. Check your chocolate chips to ensure they’re processed in a gluten-free facility.
Vegan
This recipe is already vegan, as long as your chocolate chips are vegan. Check the label for milk derivatives. Most dark chocolate chips are vegan, but some contain milk fat.
Serving & Storage
How to Serve:
Eat them straight out of the container. They’re perfect for grabbing on the go. I keep a bag in my car for road trips and another in my gym bag. They don’t melt easily if they’re frozen solid.
Storage Instructions:
Refrigerator: Store in an airtight container for up to 2 weeks. They’ll firm up in the fridge. If they get too hard, let them sit at room temperature for 5 minutes before eating.
Freezer: Store in a freezer-safe bag or container for up to 3 months. They thaw quickly. I usually eat them frozen—it’s like a mini ice cream treat.
Room Temperature: Not recommended. The almond butter can go rancid, and the chocolate might melt. Keep them cool.
Pro Tip: If you’re making these for a party, arrange them on a platter with some fresh fruit. They look like little gourmet bites. I’ve served these at school bake sales (when they allow no-bake items) and people always ask for the recipe.
Nutrition Information
I’m not a nutritionist, but here’s the breakdown if you’re tracking. These are estimates based on 20 balls.
Per Ball (approx. 35g):
- Calories: 120
- Protein: 4g
- Carbs: 12g
- Fiber: 2g
- Sugar: 6g
- Fat: 7g
- Saturated Fat: 1g
- Cholesterol: 0mg
- Sodium: 30mg
What’s Good:
- Good source of healthy fats from almond butter
- Fiber from oats and chia seeds
- Protein to keep you full
- No refined sugars (just maple syrup)
What to Know:
These are calorie-dense because of the nuts and chocolate. They’re a snack, not a meal replacement. One or two balls are perfect. If you’re watching calories, stick to the smaller size. If you’re an athlete, go for the larger size. It’s all about balance.
Final Thoughts
So that’s my go-to no-bake almond butter energy balls! I’ve probably talked your ear off at this point, but when you make a recipe this often, you have a lot to say about it.
This has saved me from so many bad snack decisions. It’s my answer to “what’s for a snack?” when I’m tired, don’t want to cook, and still want something that tastes really good. My kids are happy, my husband’s happy, and I’m happy because I’m not stressed about finding something healthy.
Make it yours! Try different nut butters, swap in your favorite chocolate, adjust the sweetness. The best recipes are the ones you adapt to your family’s tastes. If you make this, drop a comment and let me know what you think! I love hearing how recipes turn out in your kitchen. And if something doesn’t work, tell me that too—I’m here to help troubleshoot.
Happy snacking! And I hope your kitchen smells half as good as mine does right now (which is mostly just almond butter and chocolate).
Frequently Asked Questions
Can I use peanut butter instead of almond butter?
Absolutely. Peanut butter is cheaper and has a stronger flavor. It works just as well. If you use creamy peanut butter, the balls will be softer. If you use chunky, you’ll get extra texture. Just make sure it’s natural peanut butter without added sugar.
Why are my energy balls too sticky?
This usually means there’s too much almond butter or maple syrup. Add more oats, a quarter cup at a time, until the mixture is manageable. If it’s still sticky, chill it in the fridge for 15 minutes before rolling. Cold mixture is easier to handle.
Why are my energy balls too crumbly?
Not enough binder. Add more almond butter or maple syrup, a teaspoon at a time. Mix well and let it sit for 5 minutes. The oats will absorb the moisture. If it’s still crumbly, add another teaspoon.
Can I make these ahead of time?
Yes! This is the best part. Make them up to 3 months in advance and keep them in the freezer. They thaw quickly. I make a big batch on Sunday and I’m set for the whole week. It’s the ultimate meal prep hack.
Are these gluten-free?
Yes, if you use certified gluten-free oats. Almond butter, chia seeds, maple syrup, and chocolate chips are naturally gluten-free. Just double-check your chocolate chips to ensure they’re processed in a gluten-free facility.
Can I freeze them?
Yes! They freeze beautifully. Store them in a freezer-safe bag or container. They’ll last up to 3 months. You can eat them frozen or let them thaw for 5 minutes. I prefer them frozen—it’s like a mini treat.
Do I have to use chia seeds?
No, but they help bind the mixture and add nutrition. If you don’t have them, you can use ground flaxseed or just omit them. The balls might be slightly looser, but they’ll still work. It’s not a dealbreaker.
Pin This Recipe!
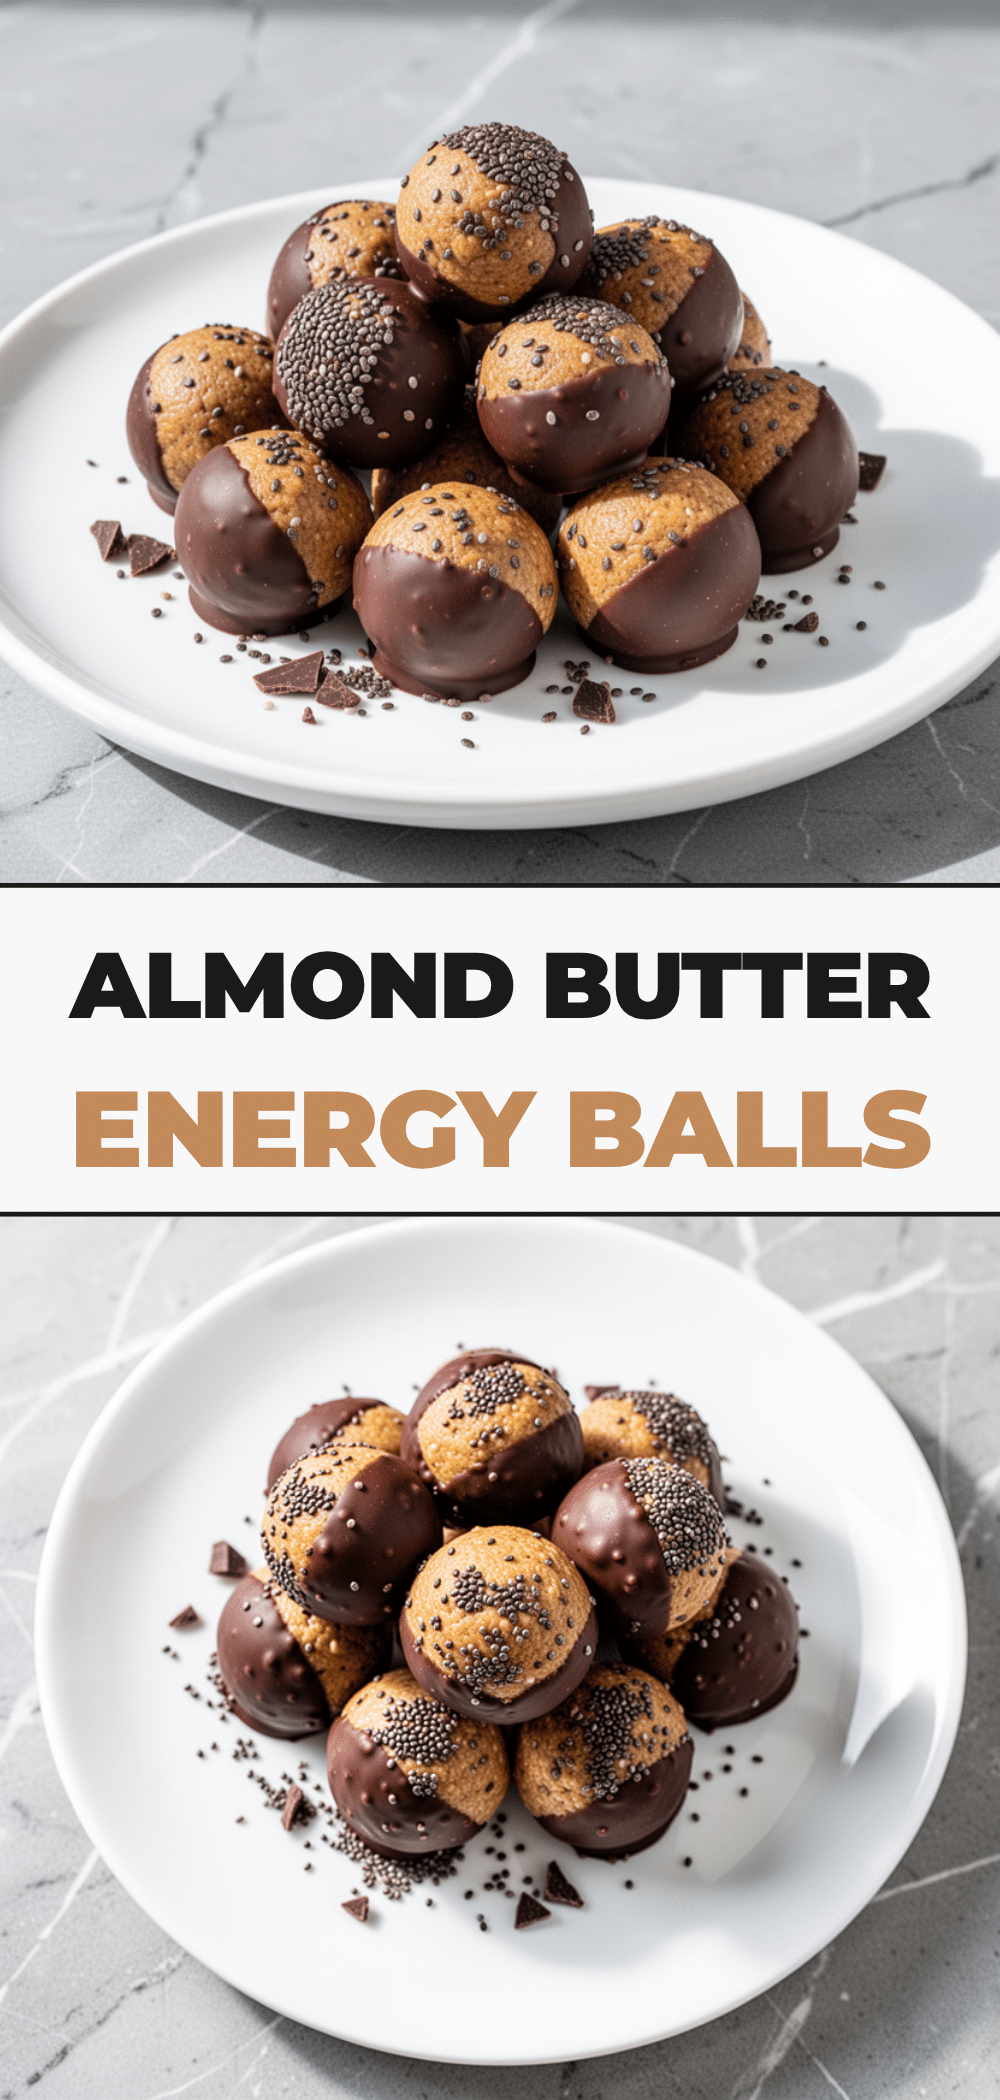
No-Bake Almond Butter Energy Balls
- Total Time: 25 minutes
- Yield: 20-24 servings 1x
Description
A simple, healthy, and customizable no-bake snack made with almond butter, oats, chia seeds, and dark chocolate. Ready in just 5 minutes of active time.
Ingredients
- 1 cup (250g) natural almond butter
- 1 ½ cups (120g) old-fashioned rolled oats
- 2 tablespoons (20g) chia seeds
- ¼ cup (60ml) pure maple syrup
- 1 teaspoon vanilla extract
- ½ teaspoon salt
- ½ cup (85g) dark chocolate chips
Instructions
- Line a baking sheet with parchment paper and ensure all ingredients are measured and ready.
- In a large mixing bowl, combine the almond butter and maple syrup. Stir until well combined. If the almond butter is stiff, microwave for 10-15 seconds to soften. Add vanilla extract and salt, and stir again.
- Add the rolled oats and chia seeds to the bowl. Stir vigorously until every oat is coated and the mixture resembles damp sand. Adjust consistency with more oats or syrup if needed.
- Fold in the dark chocolate chips, reserving a small handful for topping if desired.
- Take a tablespoon of the mixture and roll it between your palms to form a firm ball. Place on the prepared baking sheet. Repeat until all mixture is used (yields 20-24 balls).
- Press an extra chocolate chip on top of each ball for presentation.
- Freeze the baking sheet for 20 minutes to firm up the balls.
- Transfer the chilled energy balls to an airtight container. Store in the refrigerator for up to 2 weeks or in the freezer for up to 3 months.
Notes
Use natural almond butter and stir well to incorporate separated oil. Do not use instant or steel-cut oats. Ensure chocolate chips are vegan if following a strict vegan diet. Balls can be eaten frozen or thawed slightly.
- Prep Time: 5 minutes
- Cook Time: 0 minutes
- Category: Snack
- Cuisine: American
Nutrition
- Serving Size: 1 ball (approx. 35g)
- Calories: 120
- Sugar: 6
- Sodium: 30
- Fat: 7
- Saturated Fat: 1
- Carbohydrates: 12
- Fiber: 2
- Protein: 4
Keywords: no-bake, energy balls, almond butter, healthy snack, meal prep, gluten-free, vegan, quick snack


