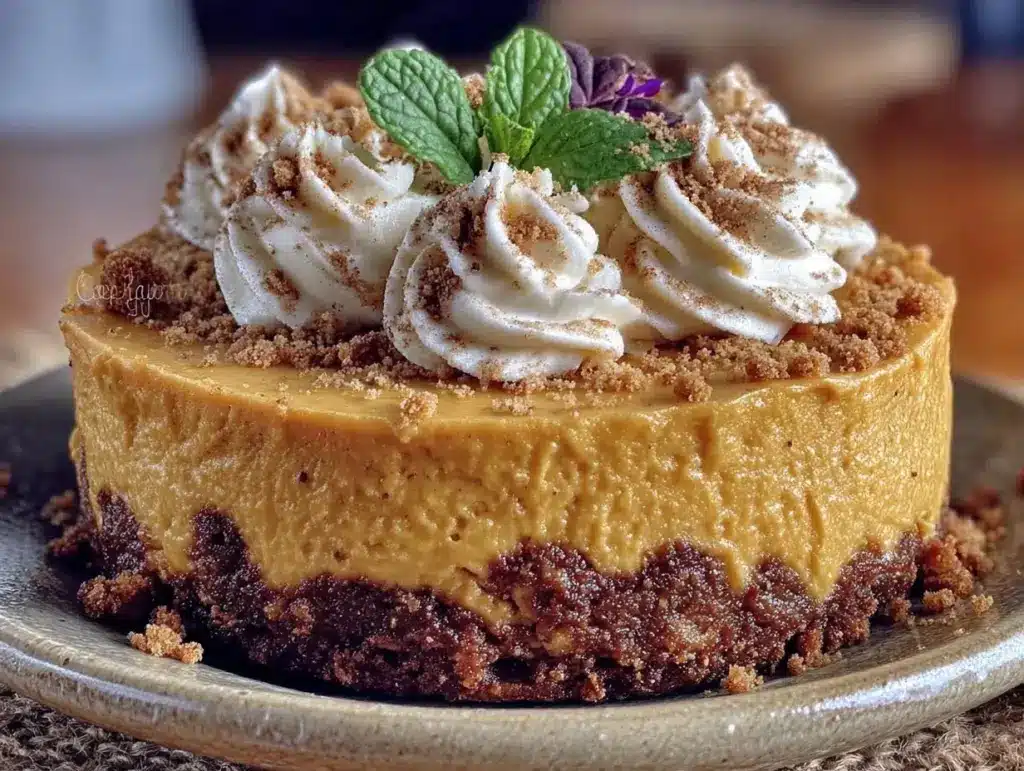
Last November, I stood in my kitchen at 9 PM on Thanksgiving night, staring at a empty countertop and a panic rising in my chest. The turkey was resting. The stuffing was done. The green bean casserole was bubbling away in the oven. But dessert? I had nothing. I had completely forgotten to bake a pie, and my usual backup, store-bought ice cream, felt like a total betrayal of the effort I’d put into the rest of the meal.
I needed something that looked impressive, tasted like autumn, and—crucially—didn’t require me to turn on the oven at midnight when the house was already stiflingly hot from the main course. That’s when I remembered I had a block of cream cheese, a can of pumpkin puree, and a package of gingersnap cookies in the pantry. I threw them together on a whim, assuming it would be a quick, mediocre fix. It wasn’t mediocre. It was the best thing on the table.
Since then, this no-bake pumpkin cheesecake has been my secret weapon for every holiday gathering, potluck, and last-minute dinner party. I’ve made it so many times that I can probably do it blindfolded (though I wouldn’t recommend trying that with a springform pan). It’s creamy, spiced, and requires zero oven time. If you’ve ever been in my shoes—stressed, tired, and desperate for a dessert that doesn’t involve baking—this is your new best friend.
I tested this recipe at least six times before writing it down. I tried different crusts, played with the spice levels, and figured out exactly how to keep the texture silky rather than grainy. The result is a dessert that tastes like it took all day, but only takes about twenty minutes of active effort. Let’s get into why this is the ultimate holiday shortcut.
Why You’ll Love This No-Bake Pumpkin Cheesecake
There are a dozen reasons I keep coming back to this pumpkin cheesecake, but if I had to narrow it down to the big wins, they’re these:
- Zero Oven Heat — This is the #1 reason I make it in November and December. Your kitchen stays cool, and you don’t have to wait for the oven to preheat or cool down. It’s a game-changer when you’re hosting a big dinner.
- Make-Ahead Magic — You need to chill it for at least four hours, which means you can make it the day before. I actually prefer making it 24 hours in advance because the flavors meld and get deeper. It’s the only dessert I actively look forward to prepping early.
- Gingersnap Crust Perfection — Most no-bake crusts are just crushed cookies mixed with butter. This one is better. The gingersnaps add a spicy kick that cuts through the richness of the cream cheese. It’s the kind of crunch that makes people ask for the recipe immediately.
- Gluten-Free Friendly Base — If you swap the gingersnaps for gluten-free ginger cookies, the whole thing is naturally gluten-free (just check your cream cheese and pumpkin puree labels). I’ve served this to my celiac sister, and she thinks it’s the best dessert she’s ever had.
- Looks Fancy, Costs Pennies — You don’t need expensive ingredients. Pumpkin puree is cheap in the fall. Cream cheese is standard. This looks like something you’d order at a high-end restaurant for $12, but it costs about $8 to make for eight people.
This is my go-to when I want to impress without stressing. It’s reliable, delicious, and lets you focus on your guests instead of watching a cake rise in the oven.
Ingredients You’ll Need
Here’s the thing about this recipe: it’s incredibly simple. You don’t need a mixer if you don’t want one (though a hand mixer makes it faster). You just need a few quality ingredients. I’m particular about the pumpkin and the cookies, so pay attention to those details.
For the Gingersnap Crust
Gingersnap cookies (2 cups / about 200g, crushed) — This is non-negotiable. Don’t use gingerbread men; they’re too soft and cakey. You want crisp, dry gingersnaps. I buy the standard store brand, but if you find a local bakery brand, even better. Crush them into fine crumbs.
Unsalted butter (6 tablespoons / 85g, melted) — This binds the crust. Use real butter, not margarine. It makes a huge difference in flavor and texture.
Granulated sugar (2 tablespoons) — The cookies are already sweet, but this helps them crisp up a bit in the crust. If your cookies are very sweet, you can skip this or reduce to 1 tablespoon.
Ginger powder (½ teaspoon) — Optional, but I add this for an extra spicy punch. It amplifies the gingersnap flavor.
For the Pumpkin Cheesecake Filling
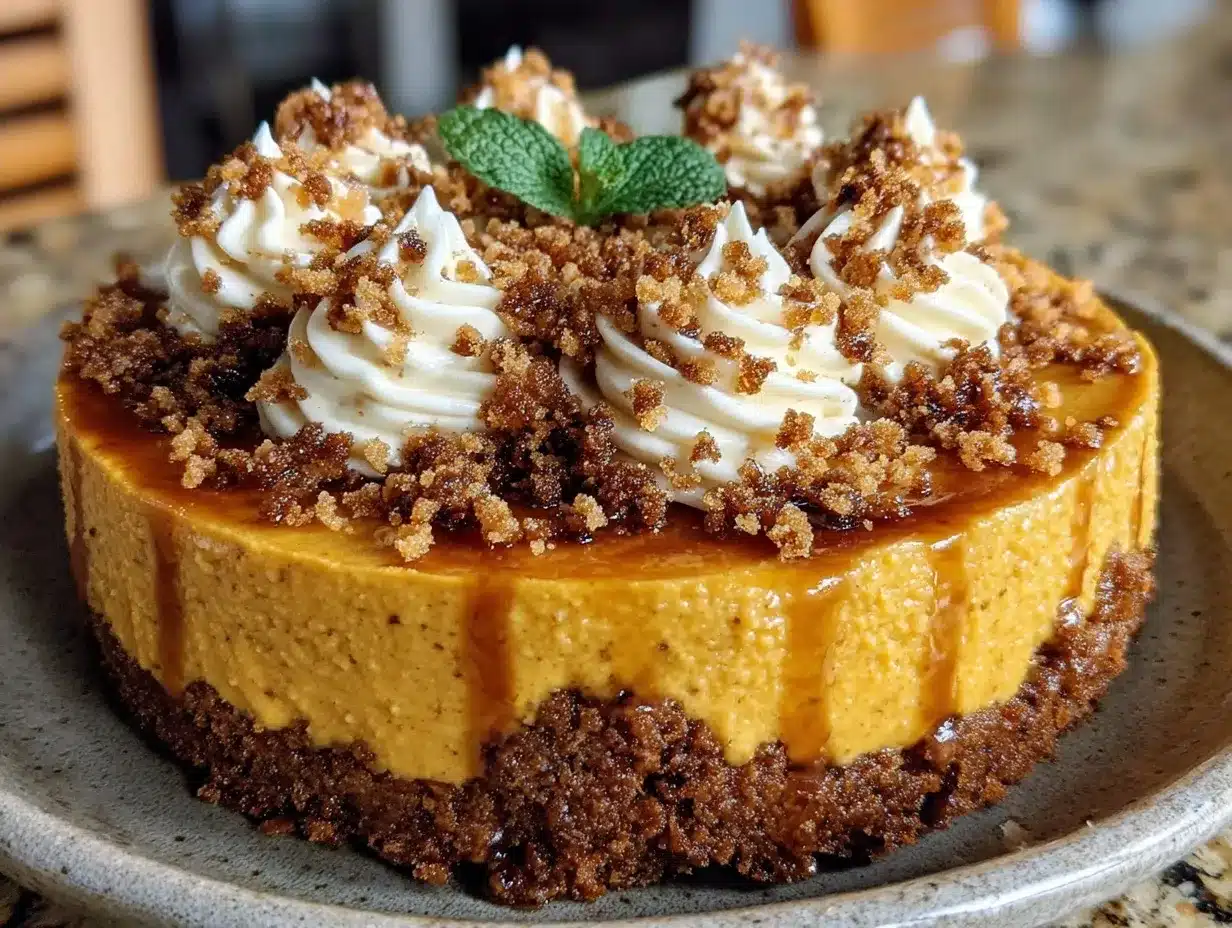
Full-fat cream cheese (24 ounces / 680g, softened) — This is the base. Use room temperature cream cheese. If it’s cold, you’ll get lumps that are impossible to smooth out. I take it out of the fridge the night before.
Granulated sugar (½ cup / 100g) — Sweetens the filling. You can use brown sugar for a deeper molasses flavor, but white sugar keeps the color bright orange and the taste clean.
Heavy cream (1 cup / 240ml, cold) — This gives it that airy, mousse-like texture. Do not use whipped cream from a can. Whip this yourself. It’s easier than you think.
Pumpkin puree (15 ounces / 425g can) — Make sure it’s 100% pure pumpkin, NOT pumpkin pie filling. Pie filling has sugar and spices already added, which will mess up the balance. Puree is just cooked pumpkin.
Pumpkin pie spice (2 teaspoons) — Check the freshness. If your spice jar has been sitting since last Christmas, it’s probably flavorless. Buy a new small jar if needed. It’s cheap and makes all the difference.
Cinnamon (1 teaspoon) — Adds warmth.
Nutmeg (½ teaspoon, freshly grated if possible) — Fresh nutmeg is way better than pre-ground. If you don’t have a grater, pre-ground is fine, but it won’t be as aromatic.
Vanilla extract (1 teaspoon) — Pure vanilla, not imitation. It rounds out the spices.
Salt (½ teaspoon) — Crucial. It balances the sweetness and enhances the pumpkin flavor. Don’t skip it.
For the Topping (Optional but Recommended)
Whipped cream — Homemade is best, but store-bought works in a pinch.
Crushed gingersnaps — For garnish.
Pumpkin seeds (pepitas) — Adds a nice crunch and looks beautiful.
Equipment Needed
You don’t need fancy gear for this. Here’s what I actually use:
9-inch springform pan — This is essential. The sides come off, making it easy to slice and serve. If you don’t have one, you can use a 9-inch round cake pan lined with parchment, but serving will be messier.
Food processor or Ziploc bag + rolling pin — To crush the cookies. I prefer the food processor for fine crumbs, but the bag method works if you’re trying to avoid extra dishes.
Electric hand mixer or stand mixer — I use a hand mixer because it’s easier to scrape the bowl. A whisk works, but you’ll need strong arms. I don’t recommend doing this by hand unless you want a workout.
Large mixing bowls — One for the cream cheese mixture, one for whipping the cream.
Paper towels — For wiping the rim of the pan. It keeps the presentation clean.
How to Make It: Step-by-Step
Alright, let’s make this! It’s straightforward, but there are a few tricks to keep it silky.
Step 1: Prep Your Pan and Crust (5 minutes)
Line the bottom of your springform pan with a circle of parchment paper. This ensures the cake never sticks, even if you forget to grease it. Crush your gingersnaps into fine crumbs. If you’re using a food processor, pulse until they look like wet sand. Mix in the melted butter and sugar until it looks like damp sand. Press this firmly into the bottom of the pan. Use the bottom of a measuring cup to pack it down tight. If the crust is loose, it will crumble when you slice it. Put the crust in the fridge while you make the filling.
Step 2: Beat the Cream Cheese (3 minutes)
In a large bowl, beat the softened cream cheese and sugar until completely smooth. This is the most important step. Scrape down the sides and bottom of the bowl. You should not see any lumps. If there are lumps, your cheesecake will be grainy. Take your time here. It should look like frosting.
Step 3: Add the Pumpkin and Spices (2 minutes)
Add the pumpkin puree, pumpkin pie spice, cinnamon, nutmeg, vanilla, and salt to the cream cheese mixture. Beat on low speed just until combined. Overmixing at this stage can incorporate too much air, which might cause cracks later (though less likely with no-bake, it’s still good practice). Scrape the bowl again.
Step 4: Whip the Cream (2 minutes)
In a separate cold bowl, whip the heavy cream until it forms stiff peaks. This means when you lift the beaters, the cream stands up straight. Don’t over-whip it into butter, just stiff peaks.
Step 5: Fold It Together (3 minutes)
Now, the magic happens. Add one-third of the whipped cream to the pumpkin mixture and fold it in gently with a spatula. This lightens the dense pumpkin mixture. Then, add the rest of the whipped cream and fold until just combined. You want to keep as much air in there as possible. It should look fluffy and orange.
Step 6: Chill and Set (4+ hours)
Spread the filling evenly over the crust. Smooth the top with a spatula. Cover the pan with plastic wrap or a dome lid. Refrigerate for at least 4 hours, but ideally overnight. The longer it chills, the firmer it gets and the better the flavors meld. I usually make it the day before the party.
Step 7: Garnish and Serve
Before serving, top with a dollop of whipped cream, a sprinkle of crushed gingersnaps, and a few pumpkin seeds. Slice with a sharp knife dipped in hot water for clean cuts.
Expert Tips & Tricks
Here’s everything I’ve learned from making this dozens of times. These tips will save you from my mistakes.
Room Temperature is Key
I can’t stress this enough. Your cream cheese MUST be room temperature. Cold cream cheese creates lumps that you cannot fix. If you forgot to take it out, cut the blocks into small cubes and microwave them in 10-second bursts until they’re soft but not melted.
Don’t Skip the Salt
Pumpkin and cream cheese are rich and sweet. Salt cuts through that. It makes the pumpkin taste more like pumpkin and less like sugar. I use kosher salt, but table salt works too.
Whip the Cream Cold
If your cream isn’t cold, it won’t whip. Put your mixing bowl in the fridge for 15 minutes before whipping. This ensures stiff peaks every time.
Gentle Folding
When combining the cream and pumpkin, use a spatula and fold gently. You’re trying to keep the air bubbles in the whipped cream. If you mix too vigorously, you’ll deflate it, and the texture will be dense and heavy.
Chill the Knife
For clean slices, dip your knife in hot water and wipe it dry between each cut. This prevents the cheesecake from sticking to the blade.
Variations & Substitutions
Once you’ve nailed the basic version, here’s how you can mix it up. I’ve tried all of these.
Maple Pecan Version
Add ½ cup chopped toasted pecans to the crust. In the filling, swap the vanilla for maple extract and add 2 tablespoons of real maple syrup. It’s richer and more rustic.
Chocolate Pumpkin
Add ¼ cup cocoa powder to the cream cheese mixture. It’s like a pumpkin brownie in cheesecake form. My kids love this version.
Coconut Cream Version
For a dairy-free option, use full-fat coconut cream instead of heavy cream, and use coconut cream cheese (like Kite Hill). It’s tangy and delicious, though the texture is slightly different.
Spiced Latte Twist
Add 1 tablespoon of instant espresso powder to the filling. It enhances the pumpkin flavor without tasting like coffee. Great for holiday mornings.
Gluten-Free Crust
Use gluten-free gingersnap cookies. Most brands work well. Just check the label to ensure they’re crisp enough to form a crust.
Serving & Storage
How to Serve:
I usually serve this straight from the springform pan. It looks rustic and elegant. Pair it with a simple green salad or roasted Brussels sprouts if you’re serving it as part of a larger meal. It also goes well with a cup of hot tea or coffee.
Storage:
Store leftovers in the refrigerator, covered, for up to 5 days. The crust may soften slightly over time, but it’s still good. Do not freeze this cheesecake. The whipped cream and cream cheese will separate and become grainy when thawed. It’s best fresh from the fridge.
Make-Ahead:
This is the best part. You can make this 2 days in advance. In fact, I think it tastes better on day 2 because the spices have had time to infuse the cream cheese. Plan your timeline accordingly.
Nutrition Information
I’m not a nutritionist, but here’s the breakdown if you’re tracking. This is a rich dessert, so a little goes a long way.
Per Serving (based on 12 slices):
- Calories: 380
- Protein: 6g
- Carbs: 28g
- Fiber: 1g
- Sugar: 22g
- Fat: 28g
- Saturated Fat: 17g
- Cholesterol: 85mg
- Sodium: 220mg
Look, this is a dessert with cream cheese and sugar. It’s not a health food. But it’s homemade, so you know exactly what’s in it. When I want to make it lighter, I use less sugar and add more whipped cream to increase the volume. But usually? I just enjoy a slice and move on. Life is short, eat the pumpkin cheesecake.
Final Thoughts
So that’s my go-to no-bake pumpkin cheesecake! I’ve probably talked your ear off at this point, but when you make a recipe this often, you have a lot to say about it. This has saved my holiday dinners more times than I can count. It’s my answer to “what’s for dessert” when I’m tired, don’t want to bake, and still want something that tastes amazing.
Make it yours! Try different toppings, swap in your favorite spices, or add a layer of caramel. The best recipes are the ones you adapt to your family’s tastes. If you make this, drop a comment and let me know what you think! I love hearing how recipes turn out in your kitchen.
Happy cooking! And I hope your kitchen smells half as good as mine does right now.
Frequently Asked Questions
Can I use canned pumpkin pie filling instead of pure pumpkin?
No, please don’t. Pumpkin pie filling already has sugar, spices, and thickeners added. If you use it, your cheesecake will be too sweet and the texture will be wrong. Always use 100% pure pumpkin puree from a can.
Why did my cheesecake turn out watery?
This usually happens if the cream cheese wasn’t fully softened before mixing, or if you overmixed the whipped cream and deflated it. Make sure your cream cheese is smooth and your whipped cream is stiff. Also, don’t skip the chilling time. It needs at least 4 hours to set properly.
Can I make this in a different pan?
Yes, but a springform pan is best because it releases easily. If you use a regular round cake pan, line it well with parchment paper and use a knife to loosen the edges before serving. It won’t be as clean, but it’ll work.
How long does the crust stay crisp?
The crust stays crisp for about 2-3 days in the fridge. After that, it may soften slightly from the moisture in the filling. If you’re making it ahead, it’s best to eat it within 3 days for the best texture.
Can I add chocolate chips?
Absolutely! Fold ½ cup of mini chocolate chips into the filling before pouring it over the crust. It adds a nice surprise in every bite. My kids love this version.
Is this recipe gluten-free?
The filling is naturally gluten-free. For the crust, you need to use gluten-free gingersnap cookies. Check the labels of your cream cheese and pumpkin puree to ensure they’re processed in a gluten-free facility if you have celiac disease.
Can I use coconut cream instead of heavy cream?
Yes, for a dairy-free version. Use full-fat coconut cream from a can (chill the can overnight, then scoop out the solid cream). Whip it just like heavy cream. The flavor will be coconutty, which pairs well with pumpkin.
Pin This Recipe!
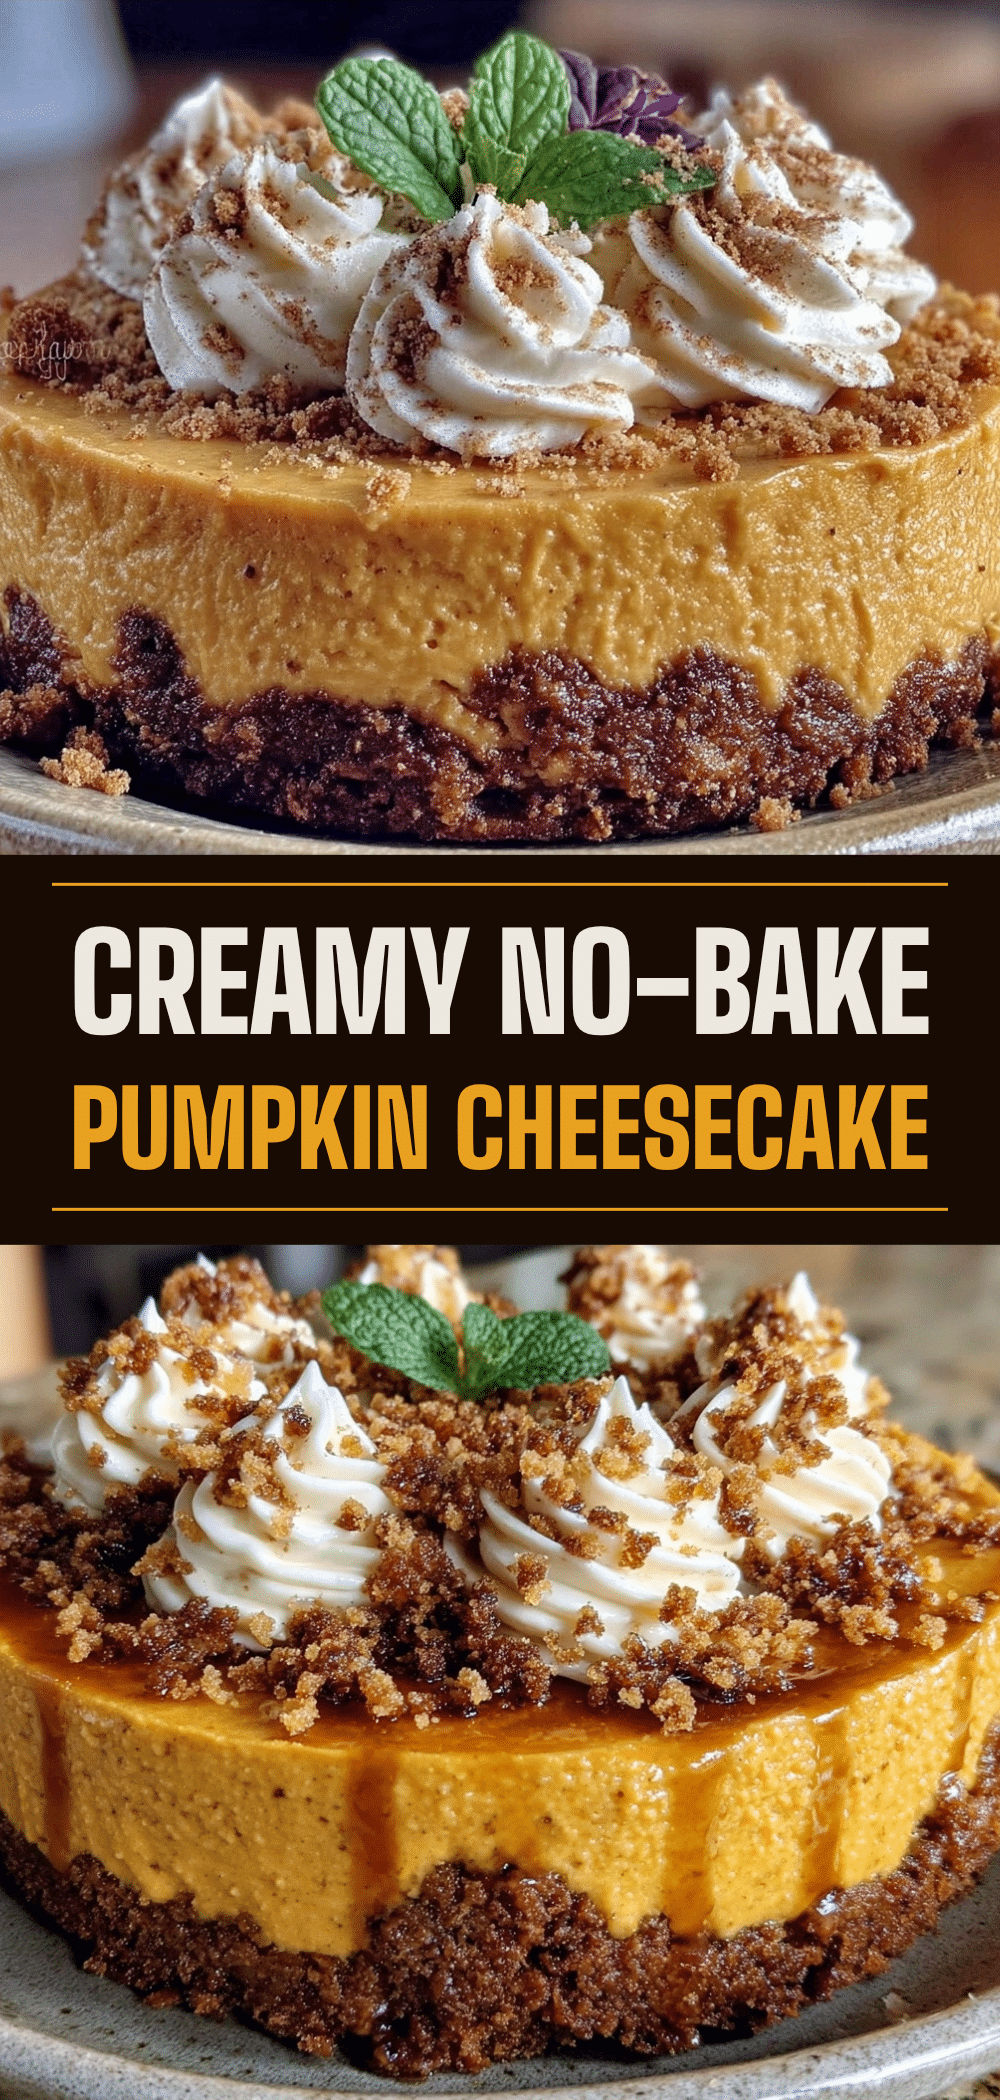
No-Bake Pumpkin Cheesecake: Best Easy Holiday Recipe
- Total Time: 4 hours 20 minutes
- Yield: 8 servings 1x
Description
A creamy, spiced no-bake pumpkin cheesecake with a gingersnap crust that requires zero oven time. Perfect for holidays, this make-ahead dessert is easy to prepare and impressive enough for any gathering.
Ingredients
- 2 cups (about 200g) gingersnap cookies, crushed
- 6 tablespoons (85g) unsalted butter, melted
- 2 tablespoons granulated sugar
- 1/2 teaspoon ginger powder
- 24 ounces (680g) full-fat cream cheese, softened
- 1/2 cup (100g) granulated sugar
- 1 cup (240ml) heavy cream, cold
- 15 ounces (425g) can 100% pure pumpkin puree
- 2 teaspoons pumpkin pie spice
- 1 teaspoon cinnamon
- 1/2 teaspoon nutmeg
- 1 teaspoon vanilla extract
- 1/2 teaspoon salt
- Whipped cream (for topping)
- Crushed gingersnaps (for garnish)
- Pumpkin seeds/pepitas (for garnish)
Instructions
- Line the bottom of a 9-inch springform pan with parchment paper. Crush gingersnaps into fine crumbs and mix with melted butter and sugar until resembling damp sand. Press firmly into the bottom of the pan and refrigerate.
- In a large bowl, beat softened cream cheese and 1/2 cup sugar until completely smooth and lump-free.
- Add pumpkin puree, pumpkin pie spice, cinnamon, nutmeg, vanilla, and salt to the cream cheese mixture. Beat on low speed just until combined.
- In a separate cold bowl, whip heavy cream until stiff peaks form.
- Gently fold one-third of the whipped cream into the pumpkin mixture to lighten it, then fold in the remaining whipped cream until just combined.
- Spread the filling evenly over the chilled crust. Cover and refrigerate for at least 4 hours, ideally overnight.
- Before serving, top with whipped cream, crushed gingersnaps, and pumpkin seeds. Slice with a hot, dry knife for clean cuts.
Notes
Ensure cream cheese is at room temperature to avoid lumps. Use 100% pure pumpkin puree, not pumpkin pie filling. For gluten-free version, use gluten-free gingersnap cookies. Do not freeze as texture may become grainy.
- Prep Time: 20 minutes
- Cook Time: 0 minutes
- Category: Dessert
- Cuisine: American
Nutrition
- Serving Size: 1 slice
- Calories: 380
- Sugar: 22
- Sodium: 220
- Fat: 28
- Saturated Fat: 17
- Carbohydrates: 28
- Fiber: 1
- Protein: 6
Keywords: no-bake, pumpkin cheesecake, holiday dessert, gingersnap crust, make-ahead, gluten-free option, easy dessert


