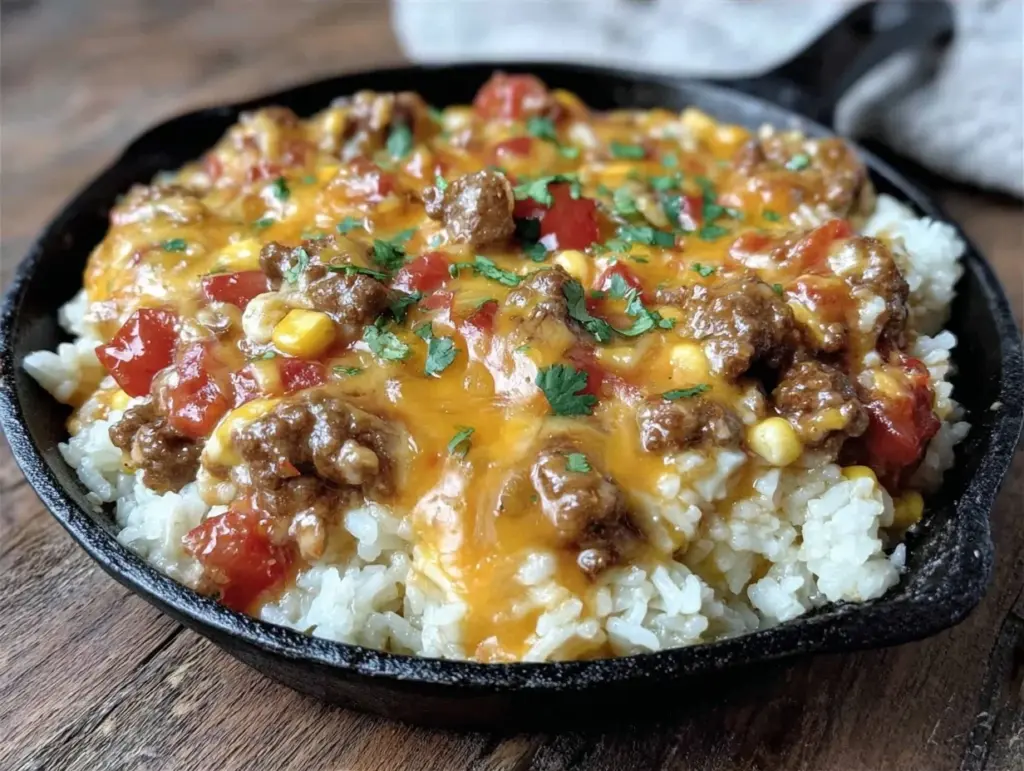
I have a confession to make. For years, I avoided ground beef recipes because I thought they were messy. You know the kind—browning meat, draining grease, washing three pans, chopping onions, dealing with spices that get lost in the bottom of the cupboard. I wanted dinner to be easy, but my definition of “easy” kept getting more complicated. I wanted the flavor of a taco night without the twenty-minute cleanup.
Then I discovered the one-pan skillet method, and honestly? It changed my relationship with weeknight dinners. This One-Pan Cheesy Ground Beef Taco Skillet With Fluffy Rice is the recipe that proved to me that you really can’t mess this up. It’s not just simple; it’s forgiving. It’s the kind of meal where if you burn the garlic slightly, it still tastes amazing. If you use a different cheese, it still works. If your rice is a little mushy, it’s still delicious.
I’ve made this at least a dozen times since I first figured it out. Sometimes I add extra beans. Sometimes I leave out the jalapeños because my kids are being picky. But the core recipe? It stays the same. It’s become my go-to “if you can only make one thing, make this” dinner. It’s hearty, it’s cheesy, and it cooks entirely in one skillet. No fancy techniques, no special equipment. Just good food that tastes like you tried really hard, even though you didn’t.
Why You’ll Love This Recipe
There are a lot of reasons I keep coming back to this skillet, but they all boil down to one thing: confidence. You know that feeling when you’re tired and you’re worried you’ll make something mediocre? This recipe kills that anxiety before you even start cooking.
- One Pan, Zero Stress — Seriously. One skillet for the rice, one for the beef, and one for the final mix. One pan to wash. One pot to dry. It’s the cleanest dinner I make all week. I’ve tried other one-pot meals that leave me with a crusty rice cooker and a greasy stove, but this one is actually clean.
- Beginner-Proof Ingredients — You don’t need hard-to-find spices or exotic vegetables. Ground beef, rice, taco seasoning, cheese, and a few pantry staples. If you can buy these items, you can make this dinner. It’s as simple as that.
- Flavor That Feels Fancy — Despite the simplicity, the smell of this cooking fills the house and makes everyone stop what they’re doing. The cheese pulls, the beef is seasoned perfectly, and the rice absorbs all that flavor. It tastes like restaurant food, but it’s made in your kitchen for pennies.
- Super Forgiving — I’ve made this with brown rice (took longer, still good). I’ve made it with leftover chicken instead of beef (still good). I’ve even made it with just beans and rice when I was broke (still good). The recipe bends to your life, not the other way around.
- Kid-Approved — My kids are the ultimate judges. They usually ask for seconds, then thirds. The cheese factor is high, and the texture is soft enough for little eaters but satisfying enough for hungry adults.
This isn’t just a meal; it’s a reliability system. When you need dinner to just work, this is the one. It’s my answer to “I don’t know what to make” when I’m staring into the fridge with no energy. It’s comfort food that doesn’t feel heavy or complicated.
Ingredients You’ll Need
Here’s the best part: you probably have most of this already. I’m not asking you to run to the store for five different types of exotic herbs. This is pantry-friendly cooking at its finest. Let’s break down what you need and why I pick what I pick.
For the Base
Ground beef (1.5 pounds / 680g) — I use 80/20 lean-to-fat ratio. Yes, it has more fat, but that fat is flavor. If you use 90/10, the dish will be drier. If you’re worried about grease, just drain it well after browning. I’ve tried both, and the 80/20 wins every time for taste. You can also use ground turkey or chicken if you prefer, but beef has that rich taco flavor that’s hard to beat.
Long-grain white rice (1 cup / 200g) — I use standard long-grain rice like Jasmine or Basmati. It stays fluffy and doesn’t get sticky like short-grain rice. Do not use instant rice; it will turn to mush. Do not use brown rice unless you adjust the liquid (I’ll note that below). The texture is crucial here.
Chicken broth (2 cups / 480ml) — Use low-sodium broth so you can control the saltiness. The rice absorbs the broth, so if your broth is salty, your rice will be too. I keep a carton of low-sodium broth in my fridge specifically for rice dishes like this.
Butter (2 tablespoons / 30g) — This adds richness to the rice and helps brown the beef slightly. Unsalted butter is best so you don’t over-salt the dish.
For the Flavor
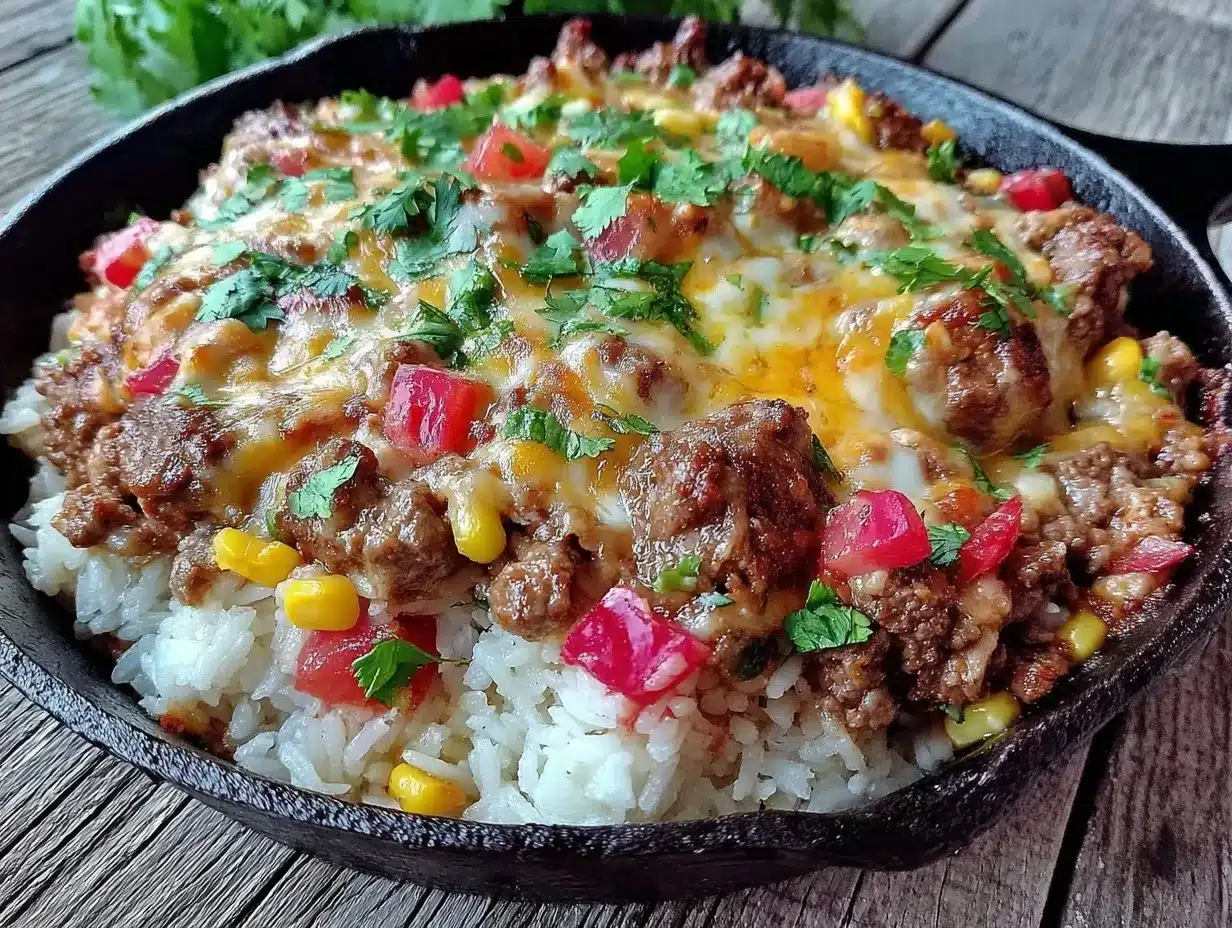
Taco seasoning (1 packet / 28g) — I usually use a standard packet like Old El Paso or McCormick. It’s convenient and consistent. But if you’re a spice nerd, you can make your own mix (see below). The packet gives that familiar, comforting taco flavor that everyone recognizes.
Onion (1 medium, diced / about 150g) — Yellow onion is standard. It adds sweetness and depth. I dice it small so it cooks evenly and doesn’t have big chunks in the final dish. If you hate onions, you can skip them, but I don’t recommend it. They melt into the background.
Garlic (3 cloves, minced / about 1 tablespoon) — Fresh garlic is non-negotiable here. Jarred garlic tastes metallic in this dish. Three cloves is the sweet spot. It’s aromatic and adds that punch of flavor that makes the beef taste seasoned, not just salty.
Black beans (1 can / 15oz, drained and rinsed) — This adds protein and texture. I use low-sodium canned beans and rinse them thoroughly. If you’re in a rush, you can use pinto beans, but black beans hold their shape better and look nicer in the skillet.
Corn kernels (1 cup / 150g, frozen or canned) — Frozen corn is easier because you don’t have to drain it. It adds a pop of sweetness that balances the savory beef. I throw in a whole cup because I love corn, but you can use half if you prefer.
For the Cheese Topping
Cheddar cheese (1.5 cups / 170g, shredded) — Use a block and shred it yourself. Pre-shredded cheese has anti-caking agents that prevent it from melting smoothly. I use a sharp cheddar for flavor, but mild cheddar works too if you’re serving kids. The goal is a gooey, melted layer on top.
Optional toppings — Sour cream, diced tomatoes, fresh cilantro, sliced jalapeños. I keep these on the side so everyone can customize their bowl. It’s like a mini taco bar at the dinner table.
Equipment Needed
You don’t need fancy equipment for this. Here’s what I actually use.
Large skillet or Dutch oven — I use a 12-inch non-stick skillet. It needs to be big enough to hold the rice, beef, and vegetables without overcrowding. A non-stick surface makes cleanup easier, but if you have a well-seasoned cast iron skillet, that works too. Just make sure it has a lid.
Lid — The skillet needs a tight-fitting lid to steam the rice properly. If your lid is loose, the rice might not cook through. I sometimes use a baking sheet as a makeshift lid if my skillet lid doesn’t fit snugly.
Wooden spoon or spatula — For stirring the beef and mixing the ingredients. A wooden spoon is gentle on non-stick surfaces.
Measuring cups and spoons — Standard stuff. Dollar store versions work fine.
Colander — For rinsing the beans and corn. Or you can drain them in the skillet if you’re being lazy.
Sharp knife and cutting board — For dicing the onion and mincing the garlic. A dull knife makes you cry more—learned this the hard way.
How to Make It: Step-by-Step
Alright, let’s make this! I’m walking you through exactly how I do it, including the little tricks I’ve picked up. It’s simple, so don’t overthink it.
Step 1: Prep Your Ingredients (5 minutes)
Before you turn on the stove, chop your onion and mince your garlic. Measure out your rice and broth. Drain and rinse your beans. I know it seems fussy, but it makes the actual cooking way less stressful. Once you start cooking, things move fast, and you don’t want to be chopping while the beef is browning.
Step 2: Brown the Beef (8-10 minutes)
Heat your large skillet over medium-high heat. Add the ground beef. Break it up with your wooden spoon as it cooks. You want small crumbles, not big chunks. Cook until the beef is no longer pink, about 8-10 minutes. If there’s a lot of grease, drain it now. I usually drain it, then return the beef to the pan. This step is crucial for flavor. You want the beef to have a little bit of browning, not just gray meat.
Step 3: Add Aromatics and Seasoning (3 minutes)
Reduce the heat to medium. Add the diced onion and minced garlic to the beef. Stir and cook for 2-3 minutes until the onion is soft and translucent. The garlic should smell amazing. Then, add the taco seasoning. Stir well to coat the beef and vegetables. The spices will bloom in the fat, releasing their flavor. This is where the magic happens. You’ll smell like a taco shop.
Step 4: Add Rice and Liquid (2 minutes)
Add the uncooked rice to the skillet. Stir it into the beef mixture for 1 minute. This toasts the rice slightly, which adds a nutty flavor. Then, pour in the chicken broth. Stir to combine. The liquid should come up to about halfway up the side of the skillet. Add the drained black beans and corn. Stir everything together.
Step 5: Simmer the Rice (18-20 minutes)
Bring the mixture to a boil. Once it boils, reduce the heat to low. Cover the skillet with the lid. Let it simmer gently for 18-20 minutes. Do not lift the lid! I know it’s tempting to peek, but lifting the lid releases steam, and the rice won’t cook properly. After 18 minutes, check the rice. It should be tender and the liquid should be absorbed. If it’s still crunchy, add a splash more water and cook for 5 more minutes.
Step 6: Add Cheese and Rest (5 minutes)
Once the rice is cooked, remove the skillet from the heat. Sprinkle the shredded cheddar cheese evenly over the top. Cover the skillet again and let it sit for 5 minutes. The residual heat will melt the cheese perfectly. This resting time is important. It lets the rice finish absorbing any remaining moisture and makes the cheese gooey.
Step 7: Serve
Fluff the rice with a fork. The cheese will be melted and stringy. Serve immediately with your favorite toppings. I usually add a dollop of sour cream and some fresh cilantro. It’s ready to eat.
Total Time: About 40 minutes (10 minutes active, 30 minutes mostly hands-off)
Expert Tips & Tricks
Here’s everything I’ve learned from making this dozens of times. These tips will save you from my mistakes.
Don’t Skimp on Draining
If you don’t drain the grease from the beef, the rice will be oily and heavy. Drain it well. I usually pour the grease into a measuring cup and save it for frying potatoes later. Waste not, want not.
Use the Right Rice
Long-grain white rice is key. Short-grain rice is sticky and gummy. Brown rice takes longer to cook and requires more liquid. If you use brown rice, add 1 cup more broth and cook for 45 minutes. But honestly? White rice is better for this dish.
Toast the Rice
Stirring the rice into the beef fat for 1 minute before adding liquid adds a layer of flavor. It’s a small step, but it makes the rice taste nutty and rich. Don’t skip it.
Keep the Lid On
I can’t stress this enough. Do not lift the lid while the rice is simmering. Steam is what cooks the rice. If you lift the lid, you lose steam, and you’ll end up with crunchy rice. Trust the process.
Room Temperature Cheese
If your cheese is cold, it might not melt evenly. Take it out of the fridge 10 minutes before cooking. Or just grate it fresh. Freshly grated cheese melts better than pre-shredded.
Variations & Substitutions
Once you’ve nailed the basic version, here’s how you can mix it up. I’ve tried all of these.
Vegetarian Version
Swap the ground beef for a can of black beans and a can of pinto beans. Add an extra cup of broth. It’s surprisingly filling and delicious. I make this when I’m trying to eat less meat.
Chicken Version
Use diced cooked chicken instead of beef. Add the chicken in Step 3, just with the onions. It’s lighter and still tastes great. This is my go-to when I have leftover rotisserie chicken.
Spicy Version
Add a diced jalapeño with the onions. Add a teaspoon of cayenne pepper to the taco seasoning. Top with hot sauce. I like it spicy, so I always add extra heat.
Cheese Swap
Use Monterey Jack or Pepper Jack cheese instead of cheddar. Pepper Jack adds a nice kick. Or use a Mexican blend cheese for variety.
Gluten-Free
Most taco seasoning packets are gluten-free, but check the label. Some contain wheat flour. Use a homemade spice mix to be safe. Everything else is naturally gluten-free.
Serving & Storage
How to Serve:
I serve this straight from the skillet at the dinner table. It looks rustic and stays warm. Put out bowls of toppings: sour cream, diced tomatoes, cilantro, jalapeños. Let everyone customize their bowl.
Side Dishes:
This is a complete meal, so you don’t need much on the side. But I sometimes serve it with a simple green salad or some warm tortillas. Tortillas are great for scooping up the rice and beef.
Storage:
Store leftovers in an airtight container in the fridge for up to 4 days. The rice will harden in the fridge. This is normal.
Reheating:
Microwave with a splash of water or broth. Cover and heat in 1-minute intervals, stirring in between. The liquid rehydrates the rice and makes it creamy again. Don’t microwave it dry—it will be hard as a rock.
Freezing:
This doesn’t freeze well. The rice gets mushy when thawed. Make it fresh or store in the fridge for up to 4 days.
Nutrition Information
I’m not a nutritionist, but here’s the breakdown if you’re tracking. This is per serving (based on 6 servings).
| Nutrient | Amount |
|---|---|
| Calories | 520 |
| Protein | 28g |
| Carbs | 55g |
| Fiber | 6g |
| Sugar | 4g |
| Fat | 20g |
| Sodium | 850mg |
It’s a hearty meal with good protein from the beef and beans. The sodium is moderate, so use low-sodium broth and beans if you’re watching salt. It’s not a diet food, but it’s better than takeout.
Final Thoughts
So that’s my One-Pan Cheesy Ground Beef Taco Skillet With Fluffy Rice! I’ve probably talked your ear off at this point, but when you make a recipe this often, you have a lot to say about it. This has saved weeknight dinners more times than I can count. It’s my answer to “what’s for dinner” when I’m tired, don’t want takeout, and still want something that tastes really good. My kids are happy, my husband’s happy, and I’m happy because I’m not stressed about cooking.
Make it yours! Try different add-ins, swap in your favorite vegetables, adjust the spices. The best recipes are the ones you adapt to your family’s tastes. If you make this, drop a comment and let me know what you think! I love hearing how recipes turn out in your kitchen. And if something doesn’t work, tell me that too—I’m here to help troubleshoot.
Happy cooking! And I hope your kitchen smells half as good as mine does right now.
Frequently Asked Questions
Can I use brown rice instead of white rice?
You can, but you need to adjust the cooking time and liquid. Brown rice takes longer to cook. Use 1 cup more broth and cook for 45 minutes instead of 20. The texture will be chewier, but it still works. I prefer white rice for this dish because it’s fluffier.
My rice is still crunchy—what happened?
You probably lifted the lid too early, or the heat was too high. The rice needs steam to cook. Make sure the lid is tight and the heat is low. If it’s still crunchy, add a splash of water and cook for 5 more minutes.
Can I make this ahead for a dinner party?
Sort of. You can prep the ingredients ahead, but cook the rice fresh. The rice tastes best when it’s hot and fresh. If you reheat it, add a splash of broth to keep it moist.
Can I use ground turkey instead of beef?
Yes! Ground turkey is leaner, so add a little extra butter or oil to the pan. It’s still delicious, just lighter. I use turkey when I’m trying to eat less red meat.
How do I reheat leftovers without it getting dry?
Add a splash of water or broth to the skillet or microwave. Cover and heat gently. The liquid rehydrates the rice. Don’t microwave it dry—it will be hard.
Can I double this recipe?
Absolutely! Double everything and use your biggest skillet. The cooking times stay the same. I do this when I’m feeding a crowd. Just make sure your skillet is big enough.
Pin This Recipe!
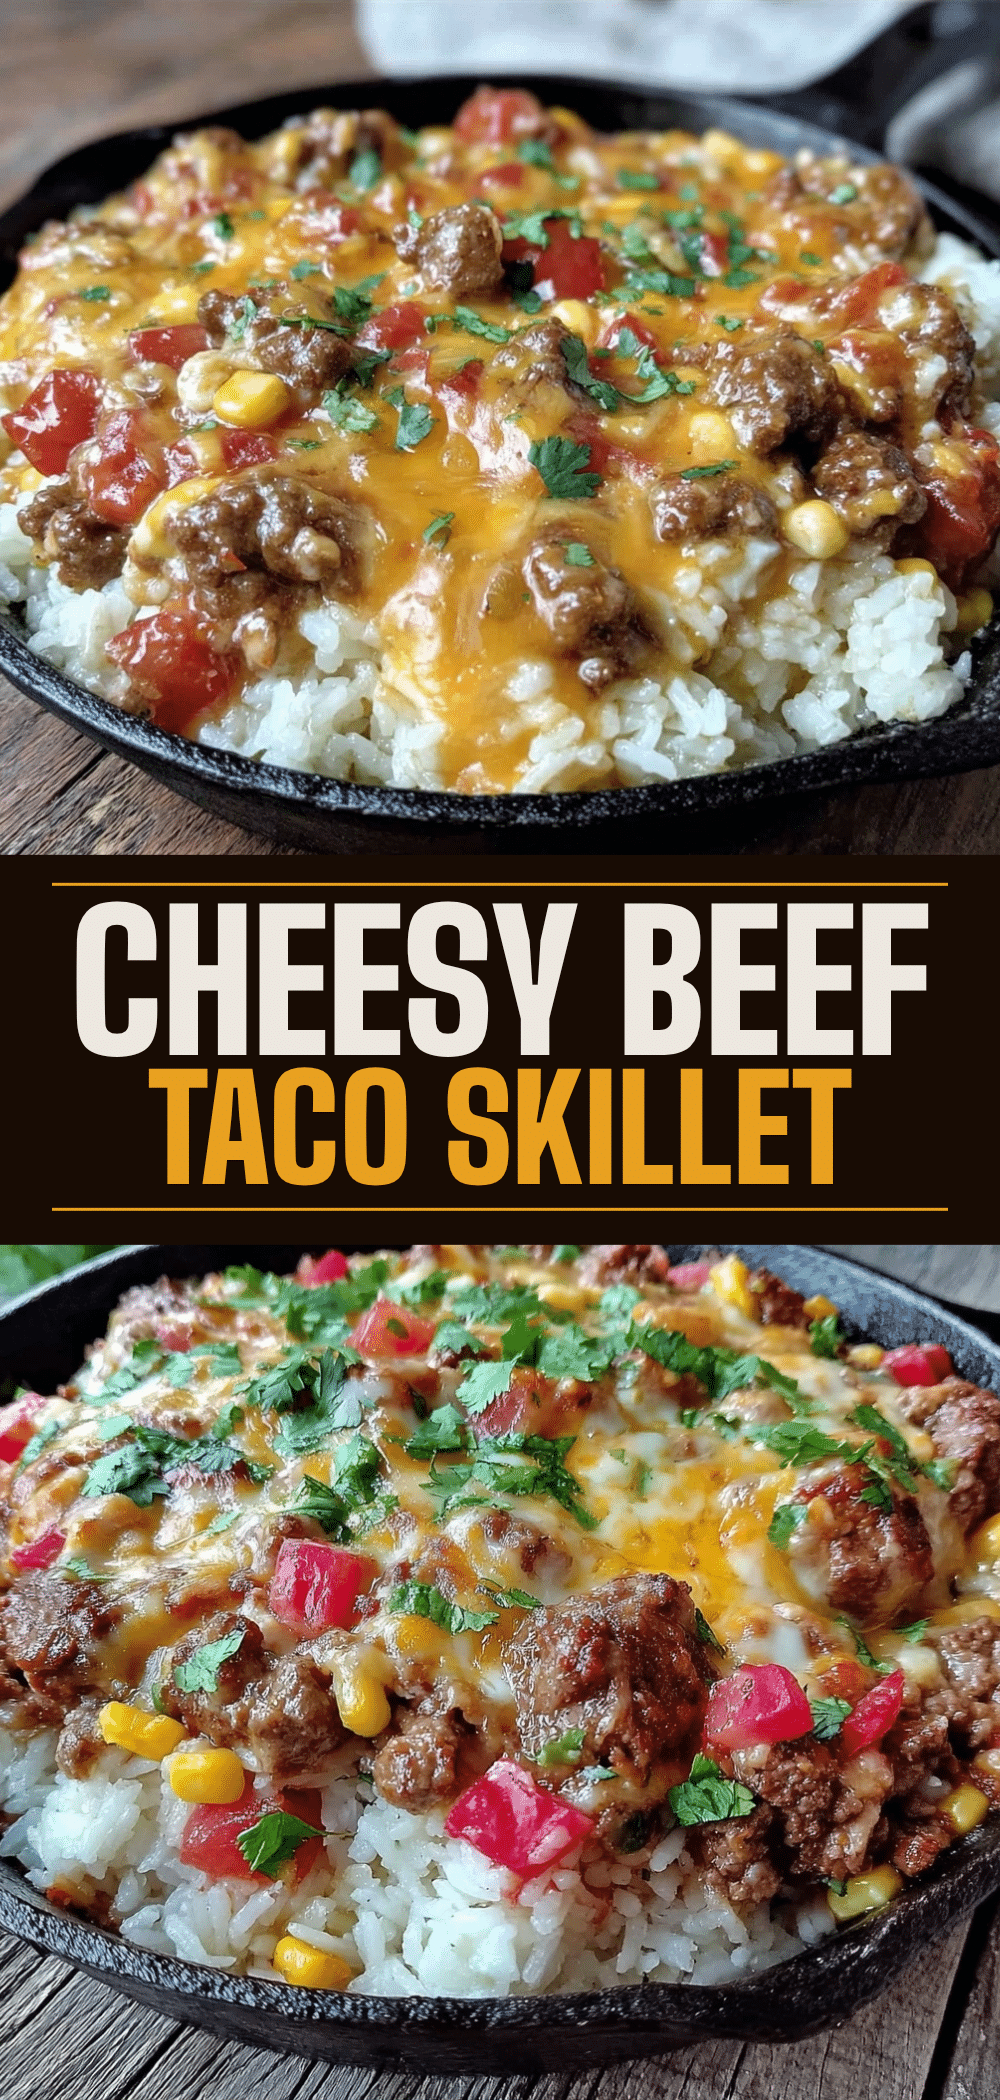

One-Pan Cheesy Ground Beef Taco Skillet With Fluffy Rice
- Total Time: 40 minutes
- Yield: 6 servings 1x
Description
A forgiving, beginner-proof weeknight dinner that cooks entirely in one skillet. This hearty meal combines seasoned ground beef, fluffy long-grain rice, black beans, and corn, topped with melted cheddar cheese for a comforting, restaurant-quality taste with minimal cleanup.
Ingredients
- 1.5 pounds ground beef (80/20 lean-to-fat ratio)
- 1 cup long-grain white rice (Jasmine or Basmati)
- 2 cups low-sodium chicken broth
- 2 tablespoons unsalted butter
- 1 packet taco seasoning (28g)
- 1 medium yellow onion, diced
- 3 cloves garlic, minced
- 1 can (15oz) black beans, drained and rinsed
- 1 cup corn kernels (frozen or canned)
- 1.5 cups shredded cheddar cheese
- Optional toppings: sour cream, diced tomatoes, fresh cilantro, sliced jalapeños
Instructions
- Prep ingredients: Dice onion, mince garlic, measure rice and broth, and drain/rinse beans.
- Heat a large skillet over medium-high heat. Add ground beef and break into small crumbles. Cook for 8-10 minutes until no longer pink. Drain excess grease if necessary.
- Reduce heat to medium. Add diced onion and minced garlic to the beef. Cook for 2-3 minutes until onion is soft. Add taco seasoning and stir to coat.
- Add uncooked rice to the skillet and stir into the beef mixture for 1 minute to toast. Pour in chicken broth and stir. Add black beans and corn.
- Bring mixture to a boil, then reduce heat to low. Cover tightly with a lid and simmer for 18-20 minutes without lifting the lid. Check for tenderness; add a splash of water if needed.
- Remove skillet from heat. Sprinkle shredded cheddar cheese evenly over the top. Cover and let rest for 5 minutes to melt cheese and finish absorbing moisture.
- Fluff rice with a fork and serve immediately with desired toppings.
Notes
Do not lift the lid while the rice is simmering to ensure proper steaming. Use long-grain white rice for best texture; brown rice requires more liquid and time. Drain grease from beef to prevent oily rice. For leftovers, reheat with a splash of water or broth to rehydrate the rice.
- Prep Time: 10 minutes
- Cook Time: 30 minutes
- Category: Main Course
- Cuisine: Mexican
Nutrition
- Serving Size: 1 bowl with toppings
- Calories: 520
- Sugar: 4
- Sodium: 850
- Fat: 20
- Carbohydrates: 55
- Fiber: 6
- Protein: 28
Keywords: one-pan dinner, ground beef recipe, taco skillet, cheesy rice, weeknight dinner, easy family meal, gluten-free option


