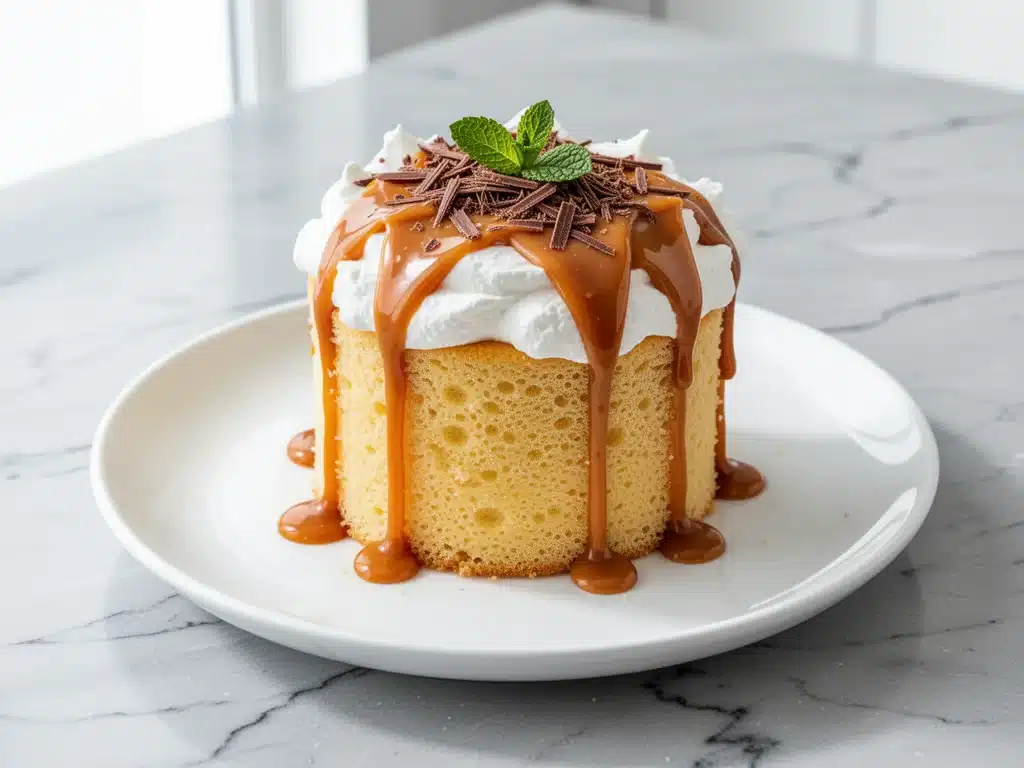
I still remember the first time I tried a real, authentic tres leches cake. I was about twelve, staying with my Tía Rosa in Chicago during a particularly humid July. It wasn’t a fancy bakery cake. It was sitting on a chipped Formica table in her kitchen, looking slightly sad and very wet. I poked a finger into it and watched the milky goodness soak into the sponge like a sponge cake actually does. I took a bite, and my brain just… stopped. It wasn’t dry like American cakes. It wasn’t dense like a cheesecake. It was airy, cool, sweet, and incredibly rich all at once. Tía Rosa laughed at my expression and said, “It’s not a cake, mijo. It’s a bath for the cake.”
That phrase has stuck with me for decades. Making this tres leches cake isn’t just about baking a dessert; it’s about recreating that moment of pure comfort. And honestly? It’s become my go-to recipe for any celebration, especially during Hispanic Heritage Month. There’s something deeply connecting about sharing a dish that carries so much cultural history and family love. Whether you’re hosting a large gathering or just treating yourself to a slice of nostalgia, this cake is the star of the show.
I’ve tested this recipe more times than I care to admit. I’ve made it with different brands of condensed milk, tried using whole milk versus evaporated milk ratios, and even experimented with adding a splash of rum (which, by the way, is amazing but optional). The version I’m sharing with you today is the one that works every single time. It’s moist without being soggy, sweet without being cloying, and the whipped cream topping is light enough to balance the rich soak. If you’ve been intimidated by the idea of a “wet” cake, let me assure you: it’s easier than you think, and the results are absolutely worth it.
Why You’ll Love This Recipe
There are a hundred reasons to bake this cake, but here are the ones that actually matter when you’re standing in your kitchen wondering if you have what it takes.
It’s Actually Foolproof — Seriously. You don’t need to be a pastry chef. I’ve walked my teenage niece through this recipe over the phone while she was in college, and she nailed it. The technique is simple: bake a basic sponge, mix three milks, pour it over, top with cream. That’s it. No complicated folding techniques, no tempering eggs, no fear of curdling.
It’s a Crowd-Pleaser — I’ve served this at everything from quinceañeras to casual Tuesday night dinners. Everyone loves it. Even people who say they “don’t like sweet desserts” will ask for seconds. The balance of the salty-sweet condensed milk and the fresh whipped cream hits that perfect note for almost every palate.
It’s Make-Ahead Friendly — This is the best part. You can make this cake two days in advance. In fact, it’s *better* the next day. The cake has time to fully absorb the milks, becoming uniformly moist and flavorful. You can prep the milks the night before, bake the cake in the morning, and just whip up the cream when guests arrive. It takes the stress out of hosting.
It’s Affordable — You don’t need exotic ingredients. The base is flour, sugar, eggs, and milk. The “tres leches” part is just three types of milk you probably already have or can grab at any grocery store. It feeds a lot of people for a very reasonable price, making it perfect for large celebrations.
This cake is my answer to “What should I bring to the party?” or “What should I make to honor my heritage?” It’s reliable, delicious, and deeply satisfying. It’s the kind of dessert that makes people close their eyes and smile.
Ingredients You’ll Need
Here’s the thing about tres leches cake: the ingredient list is short, which means quality matters. You can’t hide behind complex flavors. If your eggs are old or your cream is sour, you’ll taste it. But don’t worry, these are pantry staples.
For the Cake Base
Large eggs (4 large, room temperature) — This is non-negotiable. Room temperature eggs whip up much better and create more volume. If you’re in a rush, just drop them in a bowl of warm water for 10 minutes. Cold eggs = dense cake.
Granulated sugar (1 cup / 200g) — Standard white sugar works best. It dissolves easily into the egg whites. Don’t substitute with brown sugar here; it will change the color and flavor profile too much.
All-purpose flour (1 cup / 125g) — Sifted. Yes, sift it. It removes lumps and ensures the cake stays light and airy. If you skip this step, you might get pockets of dense flour.
Baking powder (1 teaspoon) — Make sure it’s fresh. Old baking powder won’t give the cake enough lift, and you want that sponge-like texture to soak up the milk.
Salt (½ teaspoon) — Just a pinch to balance the sweetness. It wakes up the flavor of the eggs and flour.
Vanilla extract (1 teaspoon) — Use real vanilla, not imitation. The flavor of the cake is subtle, so the vanilla shines through.
For the Tres Leches Soak
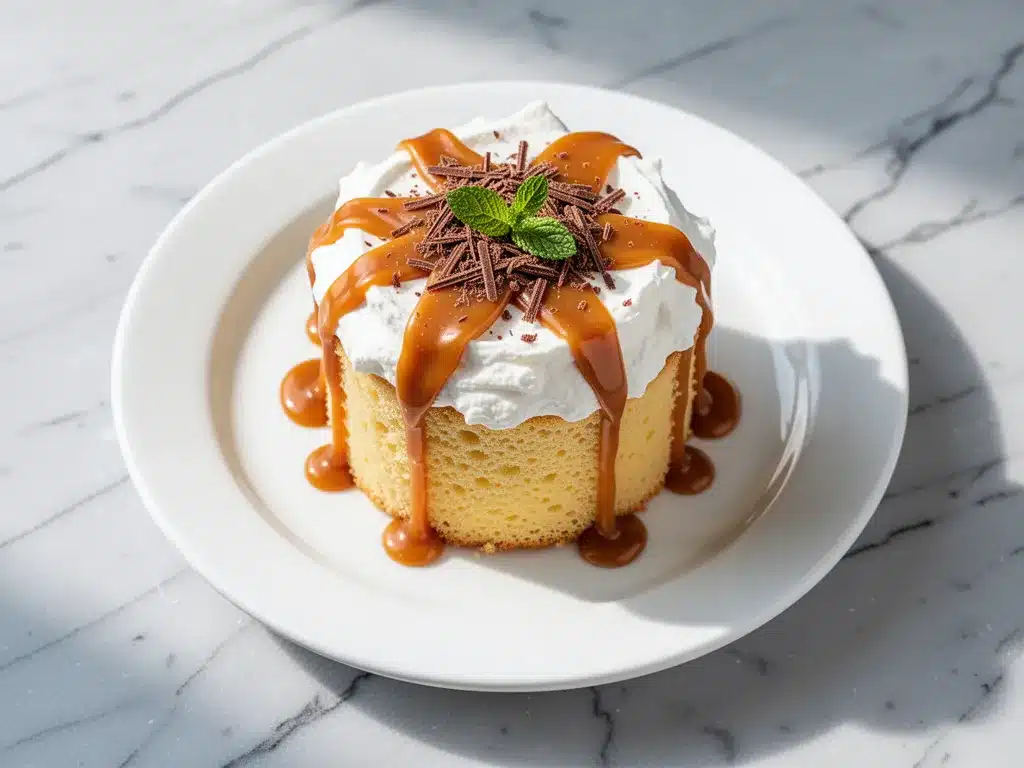
Evaporated milk (1 can / 12 oz / 340g) — This is milk with about 60% of the water removed. It’s thicker and has a slightly cooked, caramelized flavor. Don’t confuse it with sweetened condensed milk!
Whole milk (1 cup / 240ml) — Use full-fat whole milk. Skim milk will make the cake feel watery. You want richness.
Sweetened condensed milk (1 can / 14 oz / 397g) — This is the thick, sugary stuff. It’s what makes the cake sweet and sticky. Do not use unsweetened condensed milk (which doesn’t really exist as a standard product, but you get it).
For the Topping
Heavy whipping cream (2 cups / 480ml, cold) — This is crucial. If your cream isn’t cold, it won’t whip. Keep it in the fridge until the last second.
Confectioners’ sugar (powdered sugar) (¼ cup / 30g) — It dissolves instantly in the cream. Granulated sugar will make the whipped cream grainy.
Vanilla extract (1 teaspoon) — For extra flavor in the topping.
Optional: Cinnamon (for dusting) — A light sprinkle adds warmth and looks beautiful.
Optional: Fresh berries (strawberries or raspberries) — I love adding a few fresh berries on top. The tartness cuts through the sweetness of the milks perfectly.
Equipment Needed
You don’t need fancy gadgets for this. Here’s what I actually use.
9×13 inch baking dish — Glass or ceramic works best. It holds the milk soak well. Avoid metal if you can, as it can conduct heat too quickly and brown the edges too fast.
Electric mixer — Handheld or stand mixer. You need to beat the eggs and sugar for about 5-7 minutes until they are pale and fluffy. Doing this by hand is possible but will take 15 minutes and your arm will hurt.
Fine-mesh sieve or sifter — For the flour. Trust me on this.
Whisk — For mixing the three milks together.
Measuring cups and spoons — Standard stuff.
Pudding syringe or fork — To poke holes in the cake. A fork works fine, but a syringe lets you inject a little extra milk into the center if you want to be fancy.
How to Make It: Step-by-Step
Alright, let’s make this! I’m walking you through exactly how I do it, including the little tricks I’ve picked up over the years.
Step 1: Prep Your Oven and Pan (5 minutes)
Preheat your oven to 350°F (175°C). Grease your 9×13 inch baking dish with butter or non-stick spray. Dust it lightly with flour, tapping out the excess. This ensures the cake doesn’t stick, which is important because the soak is so liquid-heavy.
Step 2: Whip the Eggs and Sugar (5-7 minutes)
This is the most important step. In the bowl of your electric mixer, beat the room-temperature eggs and granulated sugar on high speed. You’re looking for the “ribbon stage.” This means when you lift the beaters, the batter falls back into the bowl in a thick ribbon that sits on the surface for a few seconds before dissolving. The mixture should be pale yellow, thick, and almost doubled in volume. Don’t rush this. If you skip this, your cake will be flat and dense.
Step 3: Fold in the Flour (2 minutes)
Sift the flour, baking powder, and salt over the egg mixture. Using a rubber spatula, gently fold the flour in. Fold slowly and deliberately. You want to keep as much air in the batter as possible. Stop folding as soon as you no longer see streaks of flour. Overmixing here will deflate the eggs and ruin the texture.
Step 4: Bake the Sponge (20-25 minutes)
Pour the batter into the prepared pan. Smooth the top with your spatula. Bake for 20-25 minutes. The cake is done when it’s golden brown on top and springs back when you lightly touch the center. A toothpick inserted in the middle should come out clean. Do not overbake, or the cake will be dry and won’t absorb the milk as well.
Step 5: Make the Soak (5 minutes)
While the cake is baking, mix the evaporated milk, whole milk, and sweetened condensed milk in a large bowl. Whisk until well combined. Set aside.
Step 6: Soak the Cake (10 minutes)
Remove the cake from the oven. While it’s still hot, use a fork to poke holes all over the surface. Don’t go all the way through to the bottom, but get close. Pour the milk mixture evenly over the hot cake. It will look like a lot, and it will look like the cake is drowning. That’s good. Let it sit for at least 30 minutes, but ideally, cover it and refrigerate it overnight. The cake will absorb almost all of the liquid.
Step 7: Whip the Cream (5 minutes)
In a cold bowl, whip the heavy cream, powdered sugar, and vanilla until stiff peaks form. You know it’s ready when you lift the beater and the cream stands up straight without drooping. Don’t overwhip it into butter!
Step 8: Top and Serve
Spread the whipped cream evenly over the chilled, soaked cake. Garnish with cinnamon or fresh berries if desired. Slice and serve cold. It’s best eaten within 24 hours of adding the whipped cream, as the cream can weep if left too long.
Expert Tips & Tricks
Here’s everything I’ve learned from making this dozens of times. These tips will save you from my mistakes.
Room Temperature Eggs are Key
I can’t stress this enough. Cold eggs will not whip to the same volume. If you forget, just warm them in a bowl of water for 10 minutes. It makes a huge difference in the lightness of the cake.
Don’t Skimp on the Soak
Some recipes use less milk. I don’t. The cake should be fully saturated. If you have leftover milk after pouring, pour it again. The cake will handle it. The goal is a pudding-like texture, not a dry sponge.
Chill Before Topping
Never put whipped cream on a warm cake. It will melt into a soup. Let the cake cool to room temperature, then refrigerate for at least an hour, preferably overnight, before adding the cream.
Use Cold Cream
Keep your bowl and beaters in the fridge for 15 minutes before whipping. If the cream gets warm, it won’t whip. If it happens, you can sometimes save it by adding a few ice cubes and whisking vigorously, but prevention is better.
The Fork Trick
When poking holes, do it while the cake is still warm. The pores are more open, and the milk absorbs faster. If you wait until it’s cold, the cake becomes denser and harder to penetrate.
Variations & Substitutions
Once you’ve nailed the basic version, here’s how you can mix it up. I’ve tried all of these.
Rum Tres Leches
Add 2 tablespoons of dark rum to the milk soak. It adds a sophisticated depth of flavor that’s perfect for adult celebrations. My family loves this version for birthdays.
Coffee Tres Leches
Replace ½ cup of the whole milk with strong brewed coffee. The coffee flavor pairs beautifully with the vanilla and cream. It’s like a dessert version of a café con leche.
Lemon Tres Leches
Add the zest of one lemon to the cake batter and a tablespoon of lemon juice to the milk soak. It’s brighter and less heavy, perfect for spring or summer.
Gluten-Free Option
Use a 1:1 gluten-free flour blend. The texture might be slightly denser, but it still works well. Make sure your baking powder is gluten-free.
Dairy-Free Option
This is trickier because the recipe relies on dairy. You can use coconut milk products: coconut cream for the whipping cream, and coconut condensed milk (or make your own by simmering coconut milk with sugar). The flavor will be distinctly coconut, which is delicious in its own right.
Serving & Storage
How to Serve:
I usually serve this straight from the fridge. It’s best eaten cold. The texture is cool and creamy. I cut it into squares using a sharp knife. For a cleaner cut, dip your knife in hot water and wipe it dry between cuts.
Side Dishes:
This cake is rich enough to stand alone. But if you want to pair it, keep it light. A simple green salad with a vinaigrette balances the sweetness. Or serve it with a cup of black coffee or a strong espresso.
Storage Instructions:
Refrigerator: Cover the cake tightly with plastic wrap or store in an airtight container. It will keep for up to 3 days. The longer it sits, the more the flavors meld together.
Freezing: You can freeze the cake *before* adding the whipped cream. Wrap the soaked cake tightly in plastic and foil. It will keep for up to 2 months. Thaw in the fridge overnight, then add the whipped cream. Do not freeze the cake with the whipped cream on it; it will separate and become watery.
Nutrition Information
I’m not a nutritionist, but here’s the breakdown if you’re tracking. This is a rich dessert, so moderation is key.
Per Serving (based on 12 slices):
- Calories: 380
- Protein: 6g
- Carbs: 45g
- Fiber: 0g
- Sugar: 35g
- Fat: 20g
- Saturated Fat: 12g
- Cholesterol: 110mg
- Sodium: 180mg
What’s Good:
- Good source of calcium from the milk.
- Provides energy from carbs.
What to Know:
- High in sugar and saturated fat due to the condensed milk and heavy cream.
- Contains dairy and gluten.
My Take:
Look, this is a celebration cake. It’s sweet, rich, and indulgent. It’s not a health food. But it’s made with simple ingredients, and knowing exactly what’s in it is better than buying a processed dessert from a store. When I make this, I enjoy a small slice and savor it. That’s the point.
Final Thoughts
So that’s my go-to tres leches cake! I’ve probably talked your ear off at this point, but when you make a recipe this often, you have a lot to say about it. This cake has been part of my family’s celebrations for years, and I hope it becomes part of yours.
Whether you’re making it for Hispanic Heritage Month, a birthday, or just because you want something sweet, this cake delivers. It’s a reminder that some of the best foods are the simplest, made with love and shared with others.
Make it yours! Try different garnishes, add a splash of rum, or serve it with fresh fruit. The best recipes are the ones you adapt to your family’s tastes. If you make this, drop a comment and let me know what you think! I love hearing how recipes turn out in your kitchen. And if something doesn’t work, tell me that too—I’m here to help troubleshoot.
Happy baking! And I hope your kitchen smells half as good as mine does right now.
Frequently Asked Questions
Can I use sweetened condensed milk instead of evaporated milk?
No, they are very different. Sweetened condensed milk is thick, sugary, and caramel-flavored. Evaporated milk is unsweetened and thinner. If you use only condensed milk, the cake will be incredibly sweet and sticky. The balance of the three milks is what makes it “tres leches.” You need all three for the right texture and flavor.
Why did my cake turn out dense?
Most likely, you didn’t whip the eggs and sugar enough, or you overmixed the flour in. The eggs need to be whipped until they are pale and form ribbons. When folding in the flour, be gentle. Also, make sure your baking powder is fresh. Old baking powder won’t give the cake the lift it needs.
Can I make this cake a day ahead?
Yes! In fact, it’s better if you do. Make the cake, soak it with the milks, and refrigerate it overnight. Add the whipped cream the day of serving. This gives the cake time to fully absorb the liquid and develop its signature moist texture.
Can I freeze this cake?
You can freeze the cake *before* adding the whipped cream. Wrap it tightly in plastic wrap and foil. Thaw in the fridge overnight. Do not freeze the cake with the whipped cream on it, as the cream will separate and become watery when thawed.
What kind of pan should I use?
A 9×13 inch glass or ceramic baking dish is ideal. It holds the liquid well and allows for even baking. Avoid metal pans if possible, as they can brown the edges too quickly. If you only have a metal pan, line it with parchment paper to prevent sticking.
Can I add alcohol to the cake?
Absolutely. Adding 2-3 tablespoons of rum, brandy, or coffee liqueur to the milk soak is a popular variation. It adds a sophisticated depth of flavor that pairs beautifully with the vanilla and cream. Just be aware that the alcohol will evaporate slightly during baking, but some flavor will remain.
Pin This Recipe!
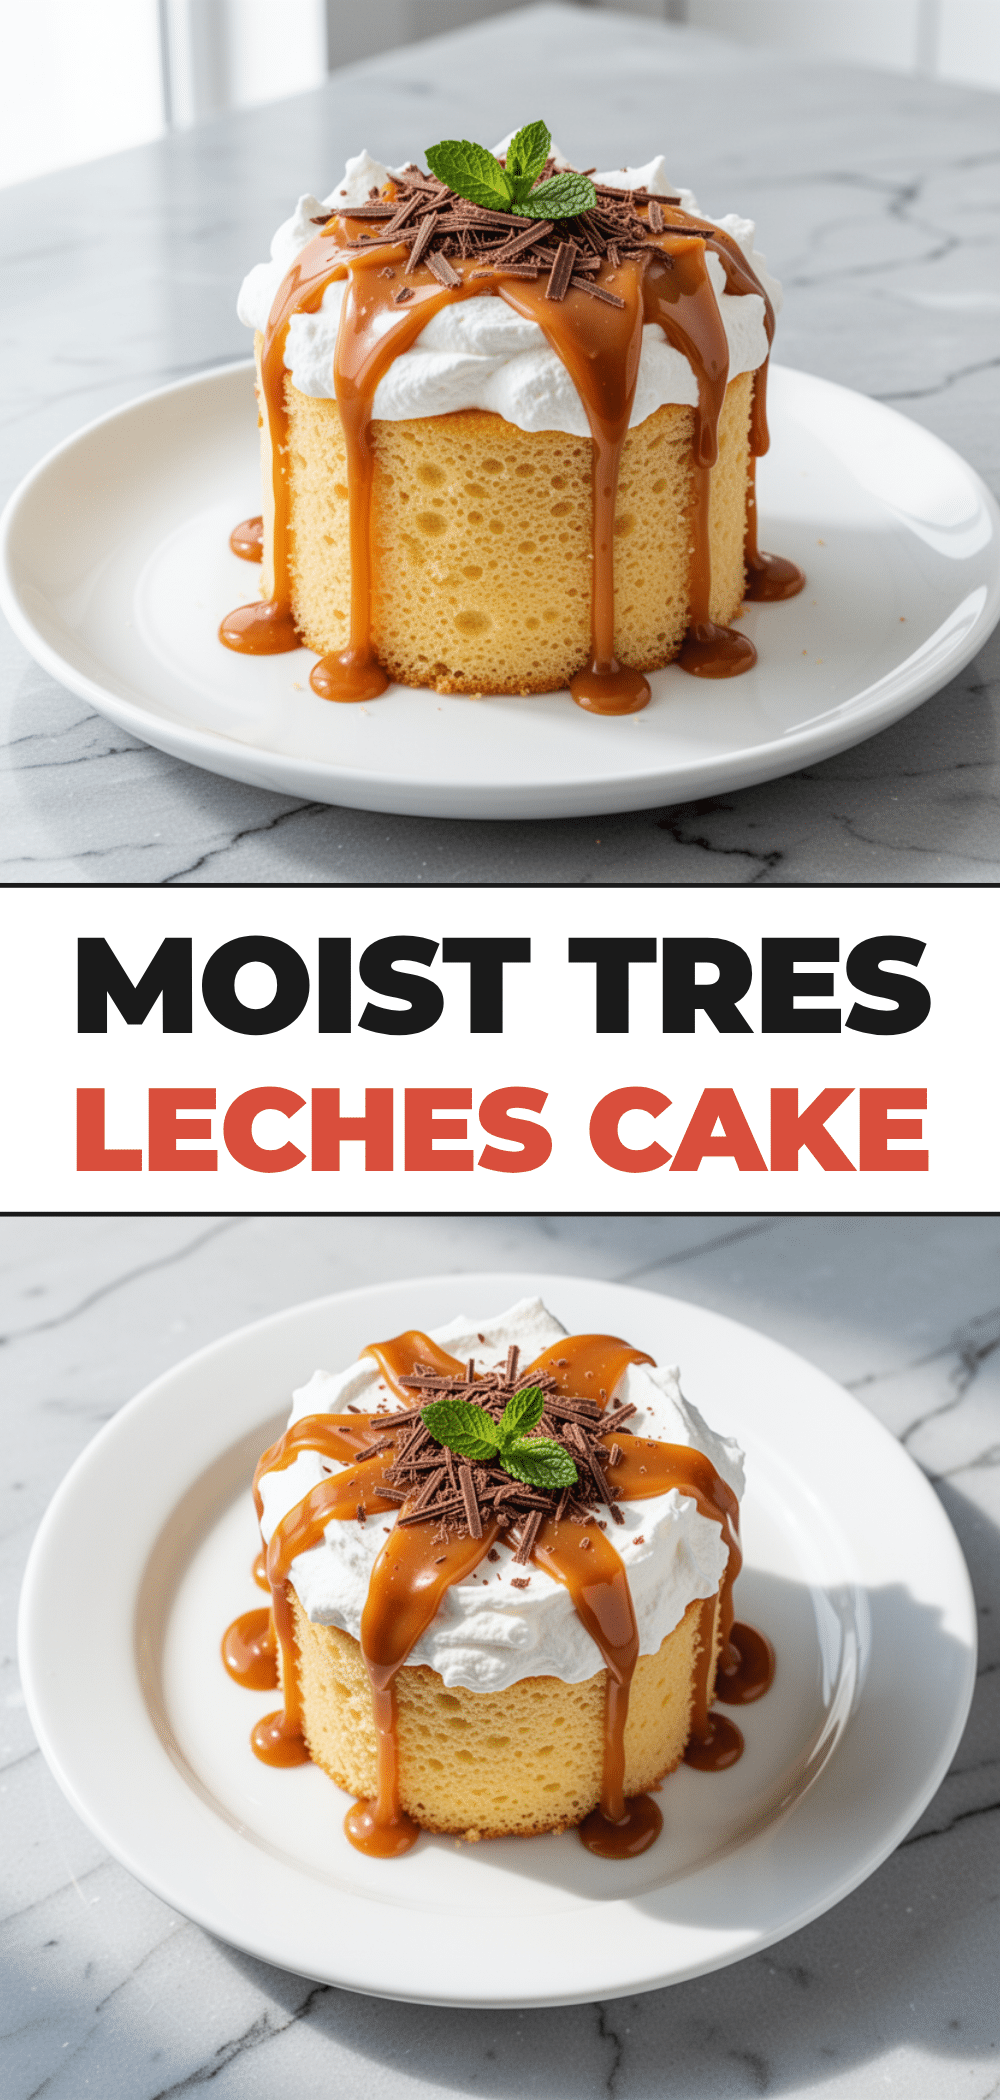

Tres Leches Cake: Easy Hispanic Heritage Month Celebration
- Total Time: 40 minutes
- Yield: 12 servings 1x
Description
A moist, airy sponge cake soaked in a rich mixture of evaporated milk, whole milk, and sweetened condensed milk, topped with light whipped cream. This foolproof recipe is perfect for celebrations and can be made ahead of time.
Ingredients
- 4 large eggs, room temperature
- 1 cup (200g) granulated sugar
- 1 cup (125g) all-purpose flour, sifted
- 1 teaspoon baking powder
- ½ teaspoon salt
- 1 teaspoon vanilla extract
- 1 can (12 oz / 340g) evaporated milk
- 1 cup (240ml) whole milk
- 1 can (14 oz / 397g) sweetened condensed milk
- 2 cups (480ml) heavy whipping cream, cold
- ¼ cup (30g) confectioners’ sugar (powdered sugar)
- 1 teaspoon vanilla extract (for topping)
- Cinnamon, for dusting (optional)
- Fresh berries, for garnish (optional)
Instructions
- Preheat oven to 350°F (175°C). Grease a 9×13 inch baking dish with butter or non-stick spray and dust lightly with flour.
- In an electric mixer bowl, beat room-temperature eggs and granulated sugar on high speed for 5-7 minutes until pale, thick, and forming a ribbon stage.
- Sift flour, baking powder, and salt over the egg mixture. Gently fold in with a rubber spatula until just combined, being careful not to deflate the batter.
- Pour batter into the prepared pan and bake for 20-25 minutes until golden brown and a toothpick comes out clean.
- While the cake bakes, whisk together evaporated milk, whole milk, and sweetened condensed milk in a large bowl.
- Remove cake from oven. While still hot, poke holes all over the surface with a fork. Pour the milk mixture evenly over the cake.
- Let the cake absorb the milk for at least 30 minutes, or ideally refrigerate overnight.
- In a cold bowl, whip heavy cream, powdered sugar, and vanilla extract until stiff peaks form.
- Spread whipped cream over the chilled, soaked cake. Garnish with cinnamon or fresh berries if desired. Serve cold.
Notes
Room temperature eggs are crucial for volume. Do not overmix the flour to avoid a dense cake. The cake is best made a day in advance to allow full absorption of the milks. Do not freeze with whipped cream on top; freeze the soaked cake only.
- Prep Time: 15 minutes
- Cook Time: 25 minutes
- Category: Dessert
- Cuisine: Hispanic
Nutrition
- Serving Size: 1 slice
- Calories: 380
- Sugar: 35
- Sodium: 180
- Fat: 20
- Saturated Fat: 12
- Carbohydrates: 45
- Protein: 6
Keywords: tres leches cake, hispanic heritage month, latin dessert, milk cake, easy baking, make ahead dessert