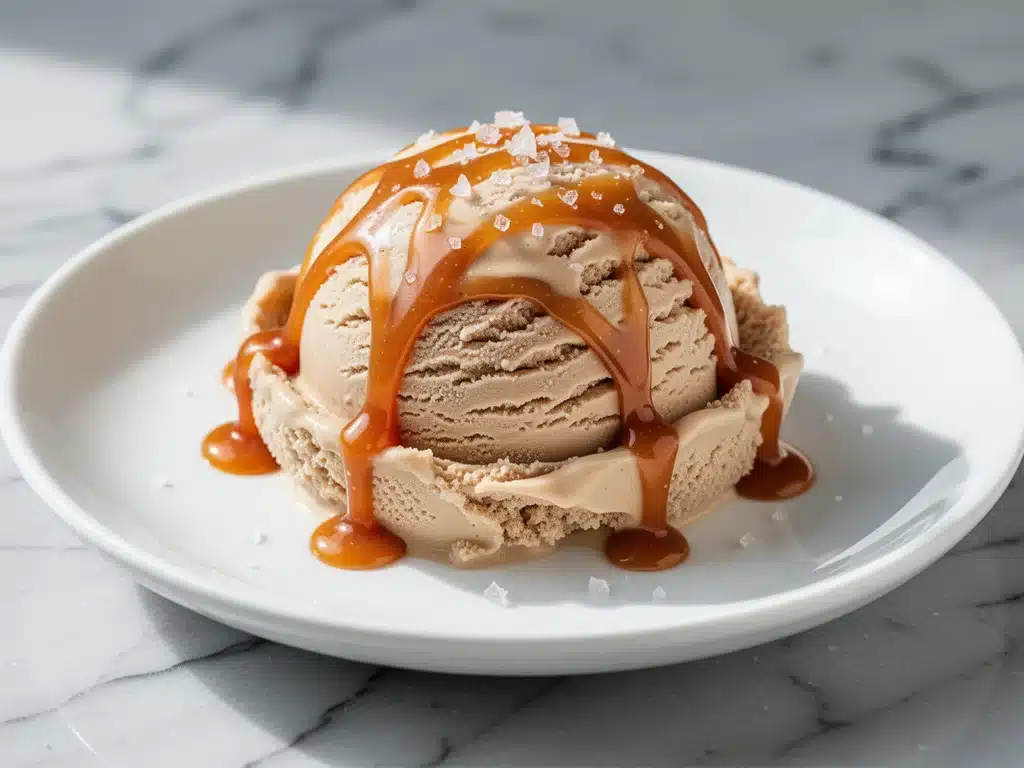
It was supposed to be a Tuesday. Just a regular, exhausted, “I really don’t want to cook” Tuesday. I had just come home from a long shift, my feet were throbbing, and the only thing that sounded good to me was something cold, sweet, and completely devoid of effort. I opened the freezer to check if we had any of that expensive artisanal vanilla bean stuff I bought for a dinner party three months ago. It was gone. Devoured by my husband and kids in one night, obviously.
I was staring at a half-empty fridge, feeling that specific brand of culinary despair, when I remembered I had two cans of sweetened condensed milk and a pint of heavy cream sitting on the counter. I also had a bag of salted caramel candies from the grocery store aisle I’d impulsively grabbed for no reason other than they looked pretty. I didn’t have an ice cream maker. I didn’t want to buy one. I just wanted ice cream.
So, I did what any desperate home cook does: I threw everything in a bowl, whisked it until my arm hurt, poured it into a loaf pan, and shoved it in the freezer. I told myself it would be icy and weird. I was ready to scrape it out and call it a day.
But then, I got curious. Three hours later, I pulled that pan out. I took one spoonful. Then another. It was impossibly creamy. The salted caramel had swirled through the vanilla base like golden ribbons, creating pockets of intense flavor that melted on my tongue. It wasn’t just “good for no-churn.” It was genuinely, undeniably the best ice cream I’ve ever tasted. Period.
That accidental Tuesday creation turned into a obsession. I’ve made this Ultra-Creamy No-Churn Salted Caramel Ice Cream at least twenty times since. It’s become my go-to when I need to impress guests without sweating in the kitchen, when I need to cheer up my kids after a bad day, or when I just need a quiet moment of self-care with a spoon and a loaf pan. And here’s the secret that nobody tells you: it’s easier than making fudgy mint chocolate brownies, and it requires zero active cooking. If you can whisk cream and open a can, you can make this. Seriously.
What started as a lazy snack has turned into a weekly ritual. This no-churn salted caramel ice cream you’ll make on repeat because it solves the biggest problem with homemade dessert: the effort-to-reward ratio is completely off the charts. You get restaurant-quality texture with five minutes of work. Let me show you how to do it right, because I’ve learned a few tricks along the way to ensure you never get icy, grainy ice cream again.
Why You’ll Love This No-Churn Salted Caramel Ice Cream
There are about ten reasons I keep making this, but let’s be real—you don’t need another recipe that requires an ice cream maker you’ll use twice and then hide in the back of the pantry. This recipe is different. It’s simple, it’s forgiving, and the results are consistently stunning.
Zero Equipment Needed
I’m serious. No ice cream maker. No churning. No waiting for a machine to cool down. You just need a mixing bowl, a whisk (or electric mixer), and a loaf pan. I’ve made this in a 9×5 loaf pan, a plastic storage container, and even a clean, empty milk jug (okay, maybe not the milk jug, but you get the point). Any container works. This is the ultimate low-barrier dessert.
Stupid Simple Ingredients
You probably have most of these in your fridge or pantry right now. Heavy cream, sweetened condensed milk, vanilla extract, and salted caramel. That’s it. No weird stabilizers, no xanthan gum, no gelatin. Just real, simple ingredients that you trust. It’s like making peanut butter chocolate chip cookie cups but frozen. Simple, delicious, and impossible to mess up.
Texture That Defies Logic
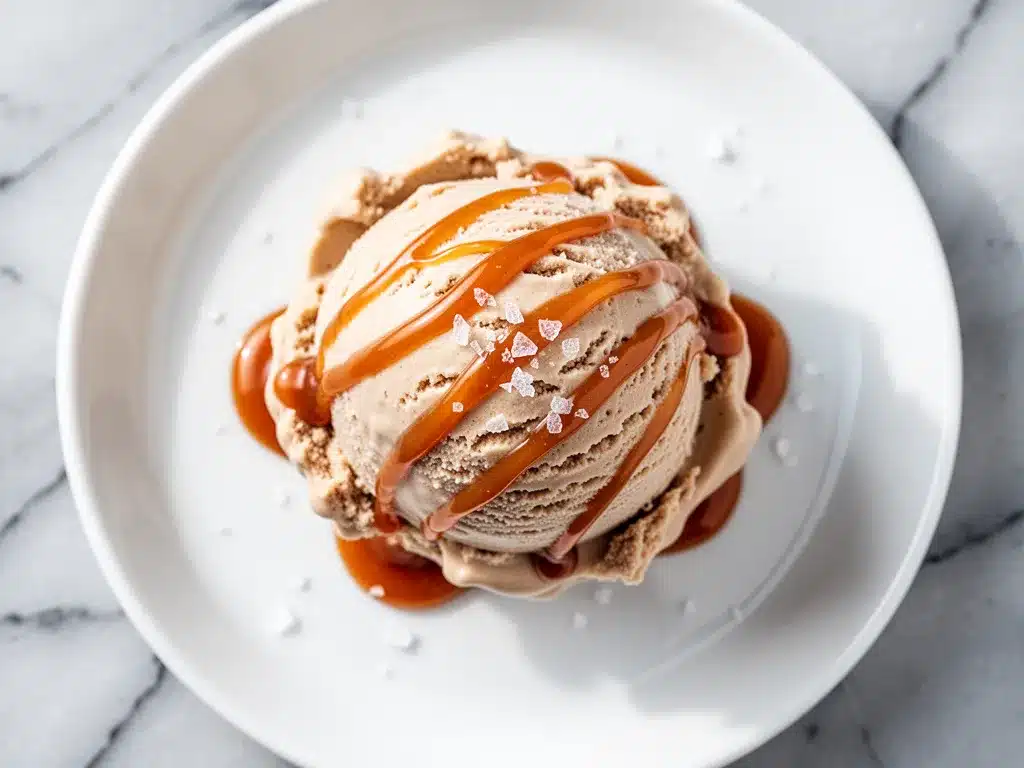
People ask me how it’s so creamy without churning. The magic is in the ratio of heavy cream to sweetened condensed milk. The fat in the cream creates the airiness (when you whip it), and the sugar in the condensed milk lowers the freezing point, preventing ice crystals from forming. The result? Smooth, scoopable, velvety ice cream that doesn’t turn into a rock in the freezer. It melts in your mouth like it should.
The Salted Caramel Swirl
This is the star of the show. We’re not just mixing caramel *into* the ice cream; we’re creating ribbons. The contrast between the sweet, rich vanilla base and the salty, chewy caramel pockets is addictive. It’s the kind of flavor combination that makes people stop mid-bite and ask, “Wait, did you make this?” Yes. Yes, I did. And it took me five minutes.
Makes Amazing Leftovers
Unlike baked goods that go stale in two days, this ice cream actually improves after a day or two. The flavors meld together, and the caramel softens slightly, creating an even more integrated taste. I deliberately make extra for my morning coffee break. It’s the only dessert I’ll eat at 10 AM.
Ingredients You’ll Need
Here’s the best part: this list is short. Like, shockingly short. But because there are so few ingredients, quality matters. You can’t cut corners here. If you use cheap cream or watery condensed milk, the texture will suffer. Here’s what you need and why.
For the Base:
Heavy whipping cream (2 cups / 480ml) — This is non-negotiable. You need a high fat content (35% or higher) to whip properly and create that stable air structure. Do not use half-and-half or light cream; it won’t whip. I buy the heavy cream in the cartons, not the little pints, because I always end up needing more than a cup for various recipes (like fall caramel apple cheesecake bars, for instance).
Sweetened condensed milk (1 can / 14 oz / 397g) — This is the canned, thick, sugary stuff, not evaporated milk. Do not confuse them. Evaporated milk is just canned milk; sweetened condensed milk has added sugar and is thick. This provides the sweetness and the creamy texture. I like the brand Eagle Brand, but any store brand works fine as long as it’s sweetened condensed.
Vanilla extract (2 teaspoons) — Use real vanilla extract, not imitation. I know imitation is cheaper, but in a recipe with only five ingredients, the vanilla flavor will be front and center. I use McCormick or Nielsen-Massey. If you’re feeling fancy, scrape in half a vanilla bean, but extract is fine.
Salt (½ teaspoon) — Even though we’re using salted caramel, a pinch of salt in the base enhances the overall flavor. Use fine sea salt or table salt.
For the Swirl:
Salted caramel candies (1 cup / about 15-20 pieces) — I use the individually wrapped caramels found in the baking aisle (like Kraft or Nestle). They hold their shape well when cut and create nice distinct ribbons. You can also make your own salted caramel sauce, but that requires cooking sugar and is a lot more work. For a quick no-churn recipe, the candies are perfect.
Optional: Sea salt flakes — For sprinkling on top before freezing. Adds a nice crunch and visual appeal.
Substitutions: Can’t find salted caramel candies? Use a high-quality salted caramel sauce. Just be careful not to add too much, or the ice cream will be too soft. You might need to freeze it longer. I’ve tried using caramel apples chopped up, which works too, but the texture can be chunkier.
Equipment Needed
You don’t need fancy gadgets for this. Here’s what I actually use in my kitchen.
Large mixing bowl — I use a 5-quart stainless steel bowl. It needs to be big enough to hold the whipped cream without splattering. Glass works too, but metal gets cold faster, which helps keep the cream stable.
Electric hand mixer or stand mixer — You *can* do this by hand, but honestly? My arm would fall off. An electric mixer takes about 3-4 minutes and gives you much better volume. If you’re doing it by hand, you’ll need to whisk for 10-15 minutes. Your choice.
9×5 inch loaf pan — This is the standard shape for no-churn ice cream. It fits nicely in most freezers. Line it with parchment paper for easy removal later, though it’s not strictly necessary.
Parchment paper — To line the pan. This is a lifesaver when you want to take the ice cream out to scoop it or if you want to wrap it tightly for storage.
Knife — To cut the caramel candies. A sharp chef’s knife works best.
Spatula — A silicone spatula is best for folding. You want to be gentle to keep the air in the whipped cream.
Measuring cups and spoons — Standard stuff.
How to Make It: Step-by-Step
Alright, let’s make this! I’m walking you through exactly how I do it, including the little tricks I’ve picked up over twenty iterations.
Step 1: Prep Your Pan
Line your 9×5 loaf pan with parchment paper. Leave an overhang on the long sides like handles. This makes it easy to lift the ice cream out later if you want to wrap it or if you’re just being neat. Set it aside in the freezer. Chilling the pan helps the ice cream set faster.
Step 2: Whip the Cream
Pour the cold heavy cream into your large mixing bowl. Using an electric mixer on medium-high speed, whip the cream until you see stiff peaks. This means when you lift the beaters, the cream stands up straight and doesn’t droop. It should look thick and hold its shape. This usually takes 3-5 minutes. Don’t over-whip it into butter! Stop as soon as you see stiff peaks.
Step 3: Mix the Condensed Milk
In a separate medium bowl, pour in the sweetened condensed milk. Add the vanilla extract and the ½ teaspoon of salt. Whisk it together gently until combined. It’s already sweet and thick, so you don’t need to mix much.
Step 4: Fold Them Together
This is the most important step. Add about one-third of the whipped cream into the condensed milk mixture. Gently fold it in with your spatula to lighten the dense condensed milk. Then, pour that mixture back into the bowl with the remaining whipped cream. Fold gently until just combined. You want to keep as much air in there as possible. Over-mixing will deflate the cream and make dense ice cream. Stop when you see no white streaks left, but don’t beat it.
Step 5: Add the Caramel
Take your salted caramel candies and cut them into quarters or halves. You want chunks that are about ½ inch to 1 inch in size. Too small, and they’ll melt away; too big, and you’ll get giant hard chunks. Toss the caramel pieces into the ice cream mixture and gently fold them in. Reserve a few pieces for the top layer.
Step 6: Assemble and Freeze
Transfer half of the ice cream mixture into your prepared loaf pan. Smooth the top with a spatula. Drop spoonfuls of the reserved caramel pieces onto the surface. Then, add the remaining ice cream mixture on top. Use a knife or skewer to gently swirl the caramel into the base. Don’t over-swirl; you want distinct ribbons, not a uniform brown mix. Sprinkle a few extra caramel pieces on top.
Step 7: The Wait
Cover the pan tightly with plastic wrap or a lid. Freeze for at least 6 hours, but ideally overnight. The longer it freezes, the firmer it gets. If you pull it out after 4 hours, it might be soft-serve consistency.
Step 8: Serve
Let the ice cream sit at room temperature for 5-10 minutes before scooping. This makes it easier to get nice scoops. Serve with extra caramel drizzle if you’re feeling indulgent.
Expert Tips & Tricks
Here’s everything I’ve learned from making this dozens of times. These tips will save you from my mistakes.
Keep Everything Cold
Make sure your heavy cream is very cold before whipping. If your kitchen is hot, chill your mixing bowl and beaters in the freezer for 15 minutes beforehand. Warm cream won’t whip up properly, and you’ll end up with soup instead of ice cream.
Don’t Skimp on the Whipping
It’s tempting to rush this step, but whipping the cream properly incorporates air. That air is what makes the ice cream light and creamy rather than dense and icy. Take the time to get those stiff peaks.
The Caramel Cut Matters
If you cut the candies too finely, they’ll dissolve into the mixture and you’ll lose the texture contrast. If they’re too large, you’ll get hard lumps. Aim for bite-sized chunks. If you’re using caramel sauce, drizzle it in thin lines and swirl less.
Storage is Key
Ice cream absorbs odors. Make sure your loaf pan is covered tightly with plastic wrap pressed directly onto the surface of the ice cream, then add the lid. This prevents freezer burn and keeps it tasting fresh.
Scooping Strategy
If you’re having trouble scooping, run your ice cream scoop under hot water for a few seconds, then dry it. The warm scoop glides through the frozen ice cream like butter. This is a pro tip from every ice cream shop.
Variations & Substitutions
Once you’ve nailed the basic version, here’s how you can mix it up. I’ve tried all of these.
Dark Chocolate Swirl
Instead of caramel, fold in chopped dark chocolate bars or chocolate hazelnut spread ribbons. It’s like a gourmet rocky road.
Cookie Dough
Add 1 cup of homemade or store-bought cookie dough chunks. This is a huge hit with kids. Just make sure the dough is safe to eat raw (no raw eggs).
Birthday Cake
Add ½ cup of sprinkles and use birthday cake extract instead of vanilla. It’s fun, festive, and tastes like a party.
Gooey Butter
Crush up some butter cookies or graham crackers and fold them in for a crunchier texture. Or swirl in some cheesecake batter for a layered effect.
Dairy-Free Option
This is trickier because sweetened condensed milk is usually dairy-based. You can use coconut cream (the thick part from a can of full-fat coconut milk) and dairy-free sweetened condensed milk (available online or in specialty stores). The texture will be slightly different but still delicious.
Serving & Storage
How to serve and keep this thing fresh.
How to Serve
I usually serve this straight from the loaf pan with a nice spoon. It looks rustic and homemade. But here are other ways I’ve enjoyed it:
- Sundae Style: Drizzle with warm caramel sauce and top with whipped cream and a cherry.
- Sandwich: Use two scoops between two chocolate waffle cones for an instant ice cream sandwich.
- Float: Drop a scoop into a glass of cola or root beer. The salted caramel pairs surprisingly well with cola.
Storage Instructions
Refrigerator: Ice cream doesn’t store well in the fridge; it melts. Keep it in the freezer.
Freezer: Store in an airtight container for up to 2 weeks. After that, it might start to get icy or absorb freezer odors. The caramel might harden over time, so let it sit out for 10 minutes before eating.
Reheating: Don’t reheat ice cream. Just let it soften at room temperature for 5-10 minutes.
Pro Tip
If you’re meal-prepping desserts, this is perfect. Make it on Sunday, and you have dessert ready for the week. It’s better than any takeout ice cream and costs a fraction of the price.
Nutrition Information
I’m not a nutritionist, but here’s the breakdown if you’re tracking. Keep in mind, this is a rich, creamy dessert, so portions should be moderate.
Per Serving (based on 8 servings):
- Calories: 380
- Protein: 5g
- Carbs: 45g
- Fiber: 0g
- Sugar: 42g
- Fat: 22g
- Saturated Fat: 14g
- Cholesterol: 70mg
- Sodium: 120mg
What’s Good:
It’s simple. No weird additives. You know exactly what’s in it. The fat content helps keep you satisfied, so you might eat less.
What to Know:
It’s high in sugar and saturated fat. This is ice cream, after all. It’s not a health food. But it’s way better than store-bought versions that contain gums and preservatives. When I want to make it lighter, I use less caramel and more fruit mix-ins, but usually? I just enjoy a small scoop and savor it.
Final Thoughts
So that’s my ultra-creamy no-churn salted caramel ice cream! I’ve probably talked your ear off at this point, but when you make a recipe this often, you have a lot to say about it.
This has saved weeknight desserts more times than I can count. It’s my answer to “what’s for dessert” when I’m tired, don’t want to bake, and still want something that tastes really good. My kids are happy, my husband’s happy, and I’m happy because I’m not stressed about cooking.
Make it yours! Try different add-ins, swap in your favorite candies, adjust the salt. The best recipes are the ones you adapt to your family’s tastes. And remember, if you mess up the swirl, it still tastes good. Perfection is overrated.
If you make this, drop a comment and let me know what you think! I love hearing how recipes turn out in your kitchen. And if something doesn’t work, tell me that too—I’m here to help troubleshoot.
Happy cooking! And I hope your kitchen smells half as good as mine does right now (which is just like a candy store).
Frequently Asked Questions
Can I use milk instead of heavy cream?
You can, but the texture will be very different. Milk has less fat, so it won’t whip into stiff peaks. You’ll end up with a softer, icier ice cream. If you must use milk, you’ll need to add a stabilizer like gelatin or cornstarch, which complicates the “easy” part of this recipe. Stick with heavy cream for the best results.
Why did my ice cream turn out icy?
Usually, this means the cream wasn’t whipped enough, or the ice cream wasn’t frozen long enough. Make sure you get stiff peaks when whipping the cream. Also, ensure your freezer is cold enough (0°F or -18°C). If your freezer is on defrost mode, the ice cream might get icy.
Can I make this ahead for a dinner party?
Absolutely! This is actually better when made ahead. Make it 24 hours before your party. The flavors will meld, and it will be perfectly firm. Just remember to take it out 10 minutes before serving so it’s scoopable.
Can I use homemade caramel sauce?
Yes, but be careful. Homemade caramel sauce is thinner than candies. If you use sauce, drizzle it in thin lines and swirl gently. You might need to add a bit more frozen time to compensate for the extra liquid. I recommend starting with ½ cup of sauce and adjusting from there.
How long does this ice cream last?
It lasts up to 2 weeks in the freezer if stored properly. After that, it might start to get freezer-burned or lose its creamy texture. I usually make enough to last about 10 days, so it’s always at its peak.
Can I double this recipe?
Yes, but you’ll need a larger container. A 9×13 pan would work well. Just make sure your mixer can handle the volume. If not, make two batches separately and combine them. The process is the same.
Is there a way to make it less sweet?
Sweetened condensed milk is very sweet, so it’s hard to reduce the sugar without affecting texture. You can try using unsweetened condensed milk (rare to find) and adding your own sweetener, but that changes the chemistry. A better option is to balance the sweetness with very salty caramel or dark chocolate. The salt cuts the sweetness effectively.
Pin This Recipe!
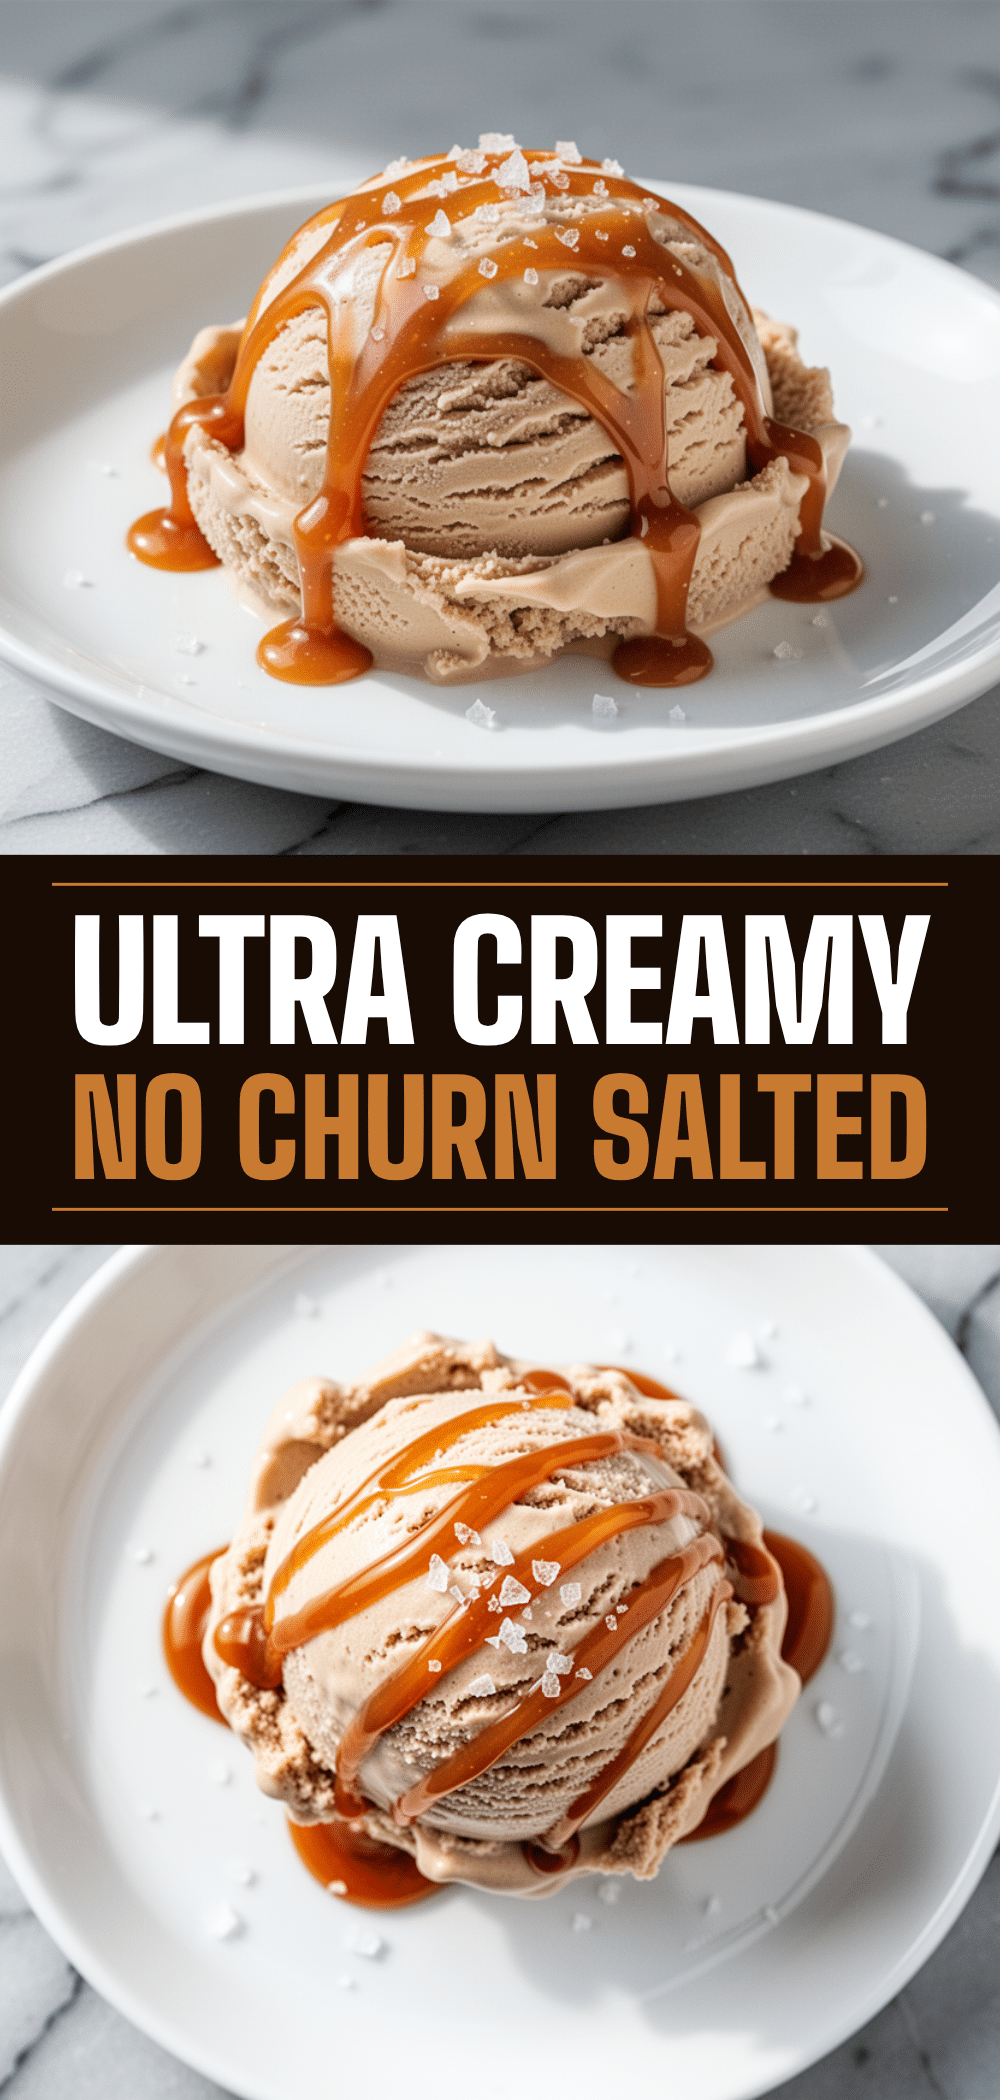

Ultra-Creamy No-Churn Salted Caramel Ice Cream
- Total Time: 6 hours 15 minutes
- Yield: 8 servings 1x
Description
An easy, 3-ingredient no-churn ice cream that requires no ice cream maker. This dessert features a velvety vanilla base swirled with chewy salted caramel candies for a rich, restaurant-quality treat.
Ingredients
- 2 cups heavy whipping cream (cold)
- 1 can (14 oz) sweetened condensed milk
- 2 teaspoons vanilla extract
- 1/2 teaspoon salt
- 1 cup salted caramel candies (cut into quarters or halves)
- Sea salt flakes (optional, for topping)
Instructions
- Line a 9×5 inch loaf pan with parchment paper, leaving an overhang on the long sides, and place it in the freezer to chill.
- In a large mixing bowl, whip the cold heavy cream using an electric mixer on medium-high speed until stiff peaks form (about 3-5 minutes). Be careful not to over-whip into butter.
- In a separate medium bowl, whisk together the sweetened condensed milk, vanilla extract, and salt until combined.
- Add about one-third of the whipped cream to the condensed milk mixture and gently fold in with a spatula to lighten the mixture.
- Pour the condensed milk mixture back into the bowl with the remaining whipped cream. Gently fold until just combined, ensuring no white streaks remain while keeping the air in the cream.
- Toss the cut salted caramel candies into the ice cream mixture and gently fold them in. Reserve a few pieces for the top layer.
- Transfer half of the ice cream mixture into the prepared loaf pan and smooth the top. Drop the reserved caramel pieces onto the surface.
- Add the remaining ice cream mixture on top. Use a knife or skewer to gently swirl the caramel into the base to create ribbons.
- Cover the pan tightly with plastic wrap or a lid and freeze for at least 6 hours, ideally overnight.
- Before serving, let the ice cream sit at room temperature for 5-10 minutes to soften slightly for easier scooping.
Notes
Ensure heavy cream is very cold before whipping for best results. If your kitchen is warm, chill your bowl and beaters in the freezer for 15 minutes beforehand. Do not substitute milk for heavy cream as it will not whip properly. For storage, press plastic wrap directly onto the surface of the ice cream to prevent freezer burn. This ice cream improves in flavor after sitting for a day or two.
- Prep Time: 15 minutes
- Cook Time: 0 minutes
- Category: Dessert
- Cuisine: American
Nutrition
- Serving Size: 1 scoop
- Calories: 380
- Sugar: 42
- Sodium: 120
- Fat: 22
- Saturated Fat: 14
- Carbohydrates: 45
- Protein: 5
Keywords: no-churn ice cream, salted caramel ice cream, easy dessert, 3 ingredient dessert, homemade ice cream, no ice cream maker, summer dessert, weeknight dessert


